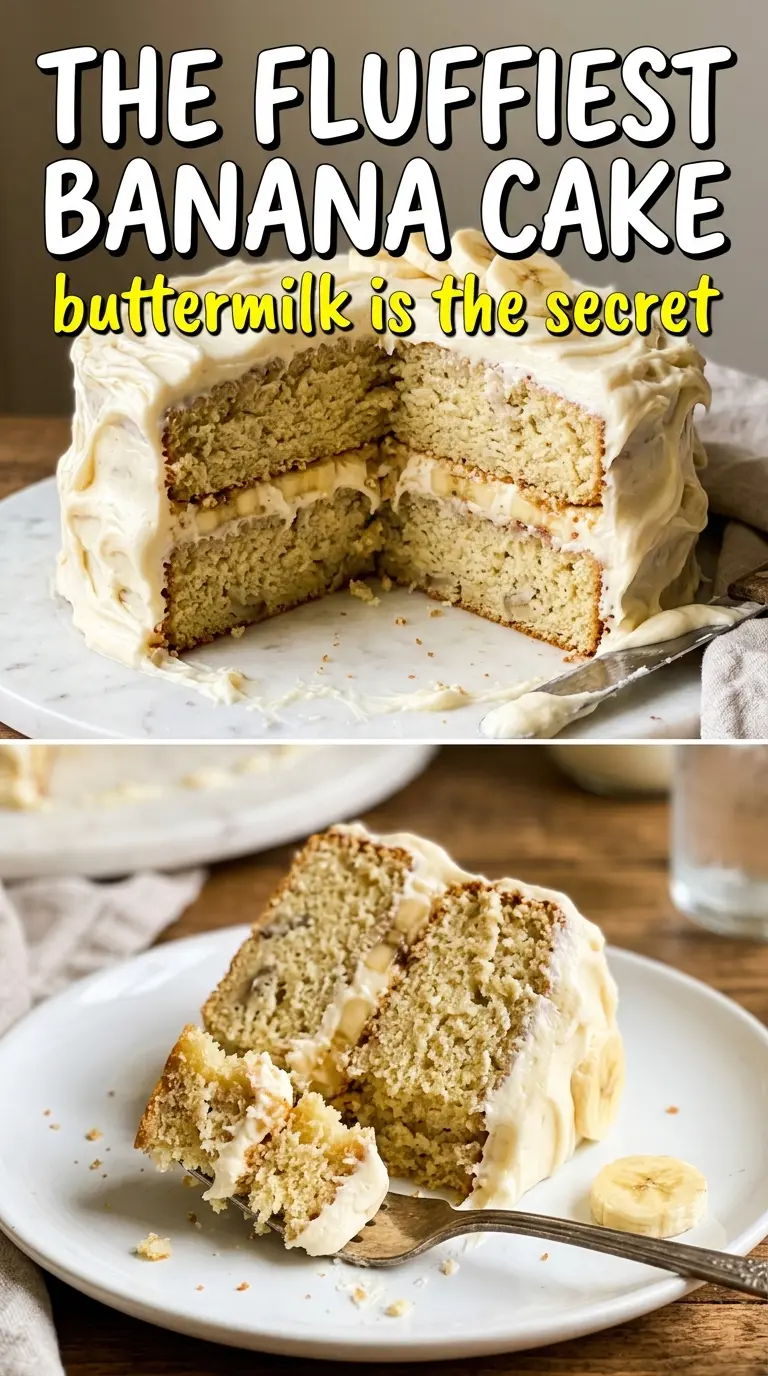
Pillowy banana cake gets its best texture from the one-two punch of ripe bananas and buttermilk. The crumb stays soft and moist without turning heavy, and the tang in the frosting keeps the whole cake from tasting one-note sweet. It’s the kind of sheet cake that slices cleanly, holds up well for a party, and still feels homemade in the best way.
The key here is the mixing order. Creaming the butter and sugar first gives the cake some lift, while alternating the dry ingredients with buttermilk keeps the batter smooth and prevents overworking the flour. The bananas go in mashed, not puréed, so you still get that familiar banana flavor without a gummy texture.
Below, I’ll walk through the detail that matters most for a tender banana cake, plus the frosting swap I use when I want something a little lighter and less sweet.
The cake came out unbelievably soft and the buttermilk gave it a little tang that balanced the frosting perfectly. Mine baked in 34 minutes and the center bounced back just like you said.
Save this buttermilk banana cake for when you want a tender banana layer with tangy cream cheese frosting.
The Part That Keeps Banana Cake Light Instead of Dense
Banana cake goes heavy fast when the batter is overmixed or the bananas are too wet. The flour needs to be folded in just until the streaks disappear, and the buttermilk should be added in alternating additions so the batter stays emulsified instead of turning patchy. That little bit of structure from creaming the butter and sugar is what keeps the crumb airy.
Use bananas that are deeply speckled and soft enough to mash easily with a fork. Green-tinted bananas won’t give you the same flavor, and if they’re stringy and under-ripe, the cake tastes flat. If your bananas are extra large and very wet, keep the mash to about 1 1/2 cups so the cake doesn’t sink in the center.
- Ripe bananas — These bring moisture and the main banana flavor. Brown-speckled bananas work best because they’re sweet and mash smoothly without needing extra sugar.
- Buttermilk — This adds tang and tenderness, and it reacts with the baking soda for lift. If you don’t have it, stir 1 tablespoon lemon juice or vinegar into 1 cup milk and let it sit for 5 minutes, but the cake will be a touch less rich.
- Butter — Softened butter traps air when beaten with sugar, which gives the cake a lighter crumb. Cold butter won’t cream properly, and melted butter changes the texture from fluffy to more compact.
- Baking soda — This is doing more than leavening. It also helps tame the banana’s acidity and gives the cake a tender, even rise.
What Each Ingredient Is Actually Doing in This Banana Bread
- Bananas (ripe, mashed) — Ripeness is critical. Ripe bananas are sweeter and add natural moisture. Use overripe for best flavor.
- Flour (all-purpose or whole wheat) — This provides structure. Don’t overmix or bread becomes tough and dense.
- Sugar (brown or white) — This tenderizes and adds flavor. The right amount creates moist crumb without gumminess.
- Eggs (the binder) — These hold everything together and add structure. Beat in gradually for volume.
- Butter or oil (the moisture keeper) — This keeps bread tender and prevents dryness. Oil creates moister bread than butter.
- Baking soda or baking powder (the leavening) — This creates rise. Too much creates bitter taste; too little makes dense bread.
- Vanilla extract (the flavor enhancer) — This deepens banana flavor and adds complexity. Don’t skip it.
- Mix-ins (nuts, chocolate chips, or fruit) — These add texture and prevent one-dimensional taste. Toss in flour so they don’t sink.
Building the Batter Without Beating the Air Out of It
Cream the Butter and Sugar Until It Looks Pale
Beat the butter and sugar until the mixture turns lighter in color and looks fluffy, not greasy. That usually takes a few minutes with a hand mixer or stand mixer, and you’ll see the texture loosen up instead of staying grainy. If you rush this part, the cake still bakes, but it won’t have that soft, lifted crumb.
Add the Eggs and Bananas in a Smooth Base
Mix in the eggs one at a time so the batter stays emulsified. After that, add the vanilla and mashed bananas and stir just until combined. The mixture may look a little curdled once the bananas go in; that’s normal and it comes together once the flour and buttermilk are added.
Alternate the Dry Ingredients and Buttermilk
Add the flour mixture and buttermilk in three additions, starting and ending with the dry ingredients. This keeps the batter from splitting and helps the flour hydrate evenly. Stop mixing the moment the last flour streak disappears. If you keep going, the cake turns tighter and less tender.
Bake Until the Center Springs Back
Pour the batter into a greased 9×13 pan and bake at 350°F until the center bounces back when lightly pressed and a toothpick comes out clean, usually 30 to 35 minutes. The edges should pull slightly from the pan and the top should look set with a soft golden color. Don’t wait until it looks deeply browned or the cake will dry out before the middle finishes.
Banana Buttercream for a Sweeter Finish
Swap the cream cheese frosting for a banana-forward buttercream if you want a softer, sweeter finish. Add 2 to 3 tablespoons of very ripe mashed banana with the butter and powdered sugar, then beat it well so the frosting stays smooth. It won’t have the same tang, but it leans into the banana flavor and feels a little more birthday-cake styled.
Dairy-Free Version
Use a plant-based butter and a dairy-free milk mixed with 1 tablespoon lemon juice in place of the buttermilk. The texture stays tender, though the cake loses a little of that classic buttermilk tang. For the frosting, use a dairy-free cream cheese alternative that’s firm enough to beat without turning slack.
Gluten-Free Adaptation
A good 1:1 gluten-free baking blend works here as long as it includes xanthan gum. The cake will be a little more delicate when warm, so let it cool fully before frosting and slicing. If your blend is especially starch-heavy, expect a slightly softer crumb and check for doneness at the earlier end of the bake time.
Storage and Reheating
- Refrigerator: Store frosted cake covered for up to 5 days. The crumb stays moist, and the frosting firms up slightly in the fridge.
- Freezer: Freeze unfrosted slices tightly wrapped for up to 2 months. Frosting can get grainy after thawing, so I prefer to freeze the cake plain and frost it after defrosting.
- Reheating: Bring slices to room temperature before serving, or warm them for 10 to 15 seconds in the microwave. Too much heat will melt the frosting and make the cake greasy.
Answers to the Questions Worth Asking
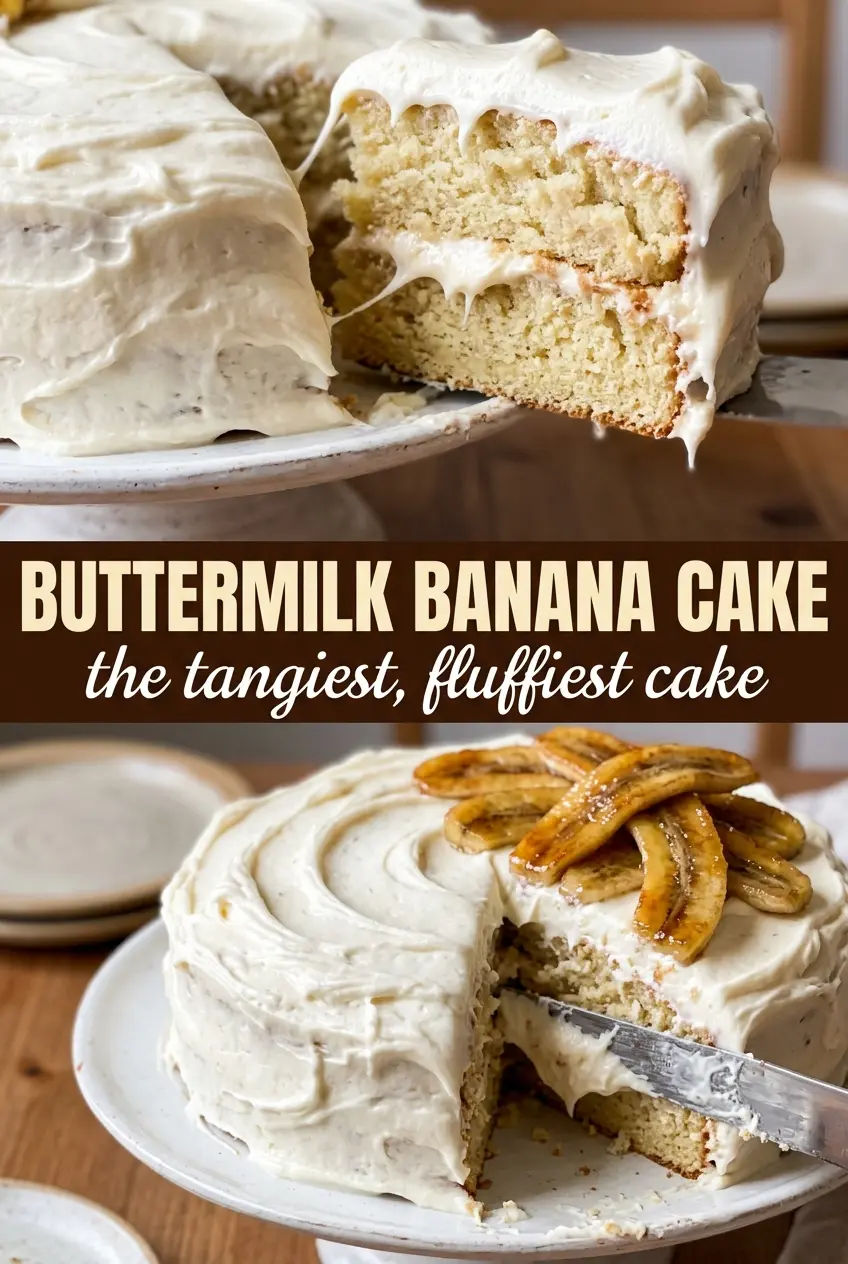
Buttermilk Banana Cake
Ingredients
Equipment
Method
- Preheat the oven to 350°F, then grease a 9x13 pan. Make sure the pan is fully coated so the cake releases cleanly.
- Beat the softened butter and sugar until very light and fluffy. The mixture should look pale and airy.
- Add the eggs one at a time and mix after each addition. Mix until the batter looks smooth, then stir in vanilla and mashed bananas.
- In three additions, alternately fold in the flour mixture and buttermilk, starting and ending with the flour. Fold gently each time so the batter stays tender.
- Pour the batter into the greased pan and spread it evenly. Tap the pan lightly so the top settles flat.
- Bake for 30–35 minutes at 350°F, until the center bounces back when pressed and a toothpick comes out clean. The edges should be golden and the middle should not look wet.
- Beat the softened cream cheese and butter until smooth, then add powdered sugar, vanilla, and heavy cream. Mix until thick and fluffy with a spreadable texture.
- Frost the completely cooled cake generously. Use swirls across the top and let the frosting settle into the surface.