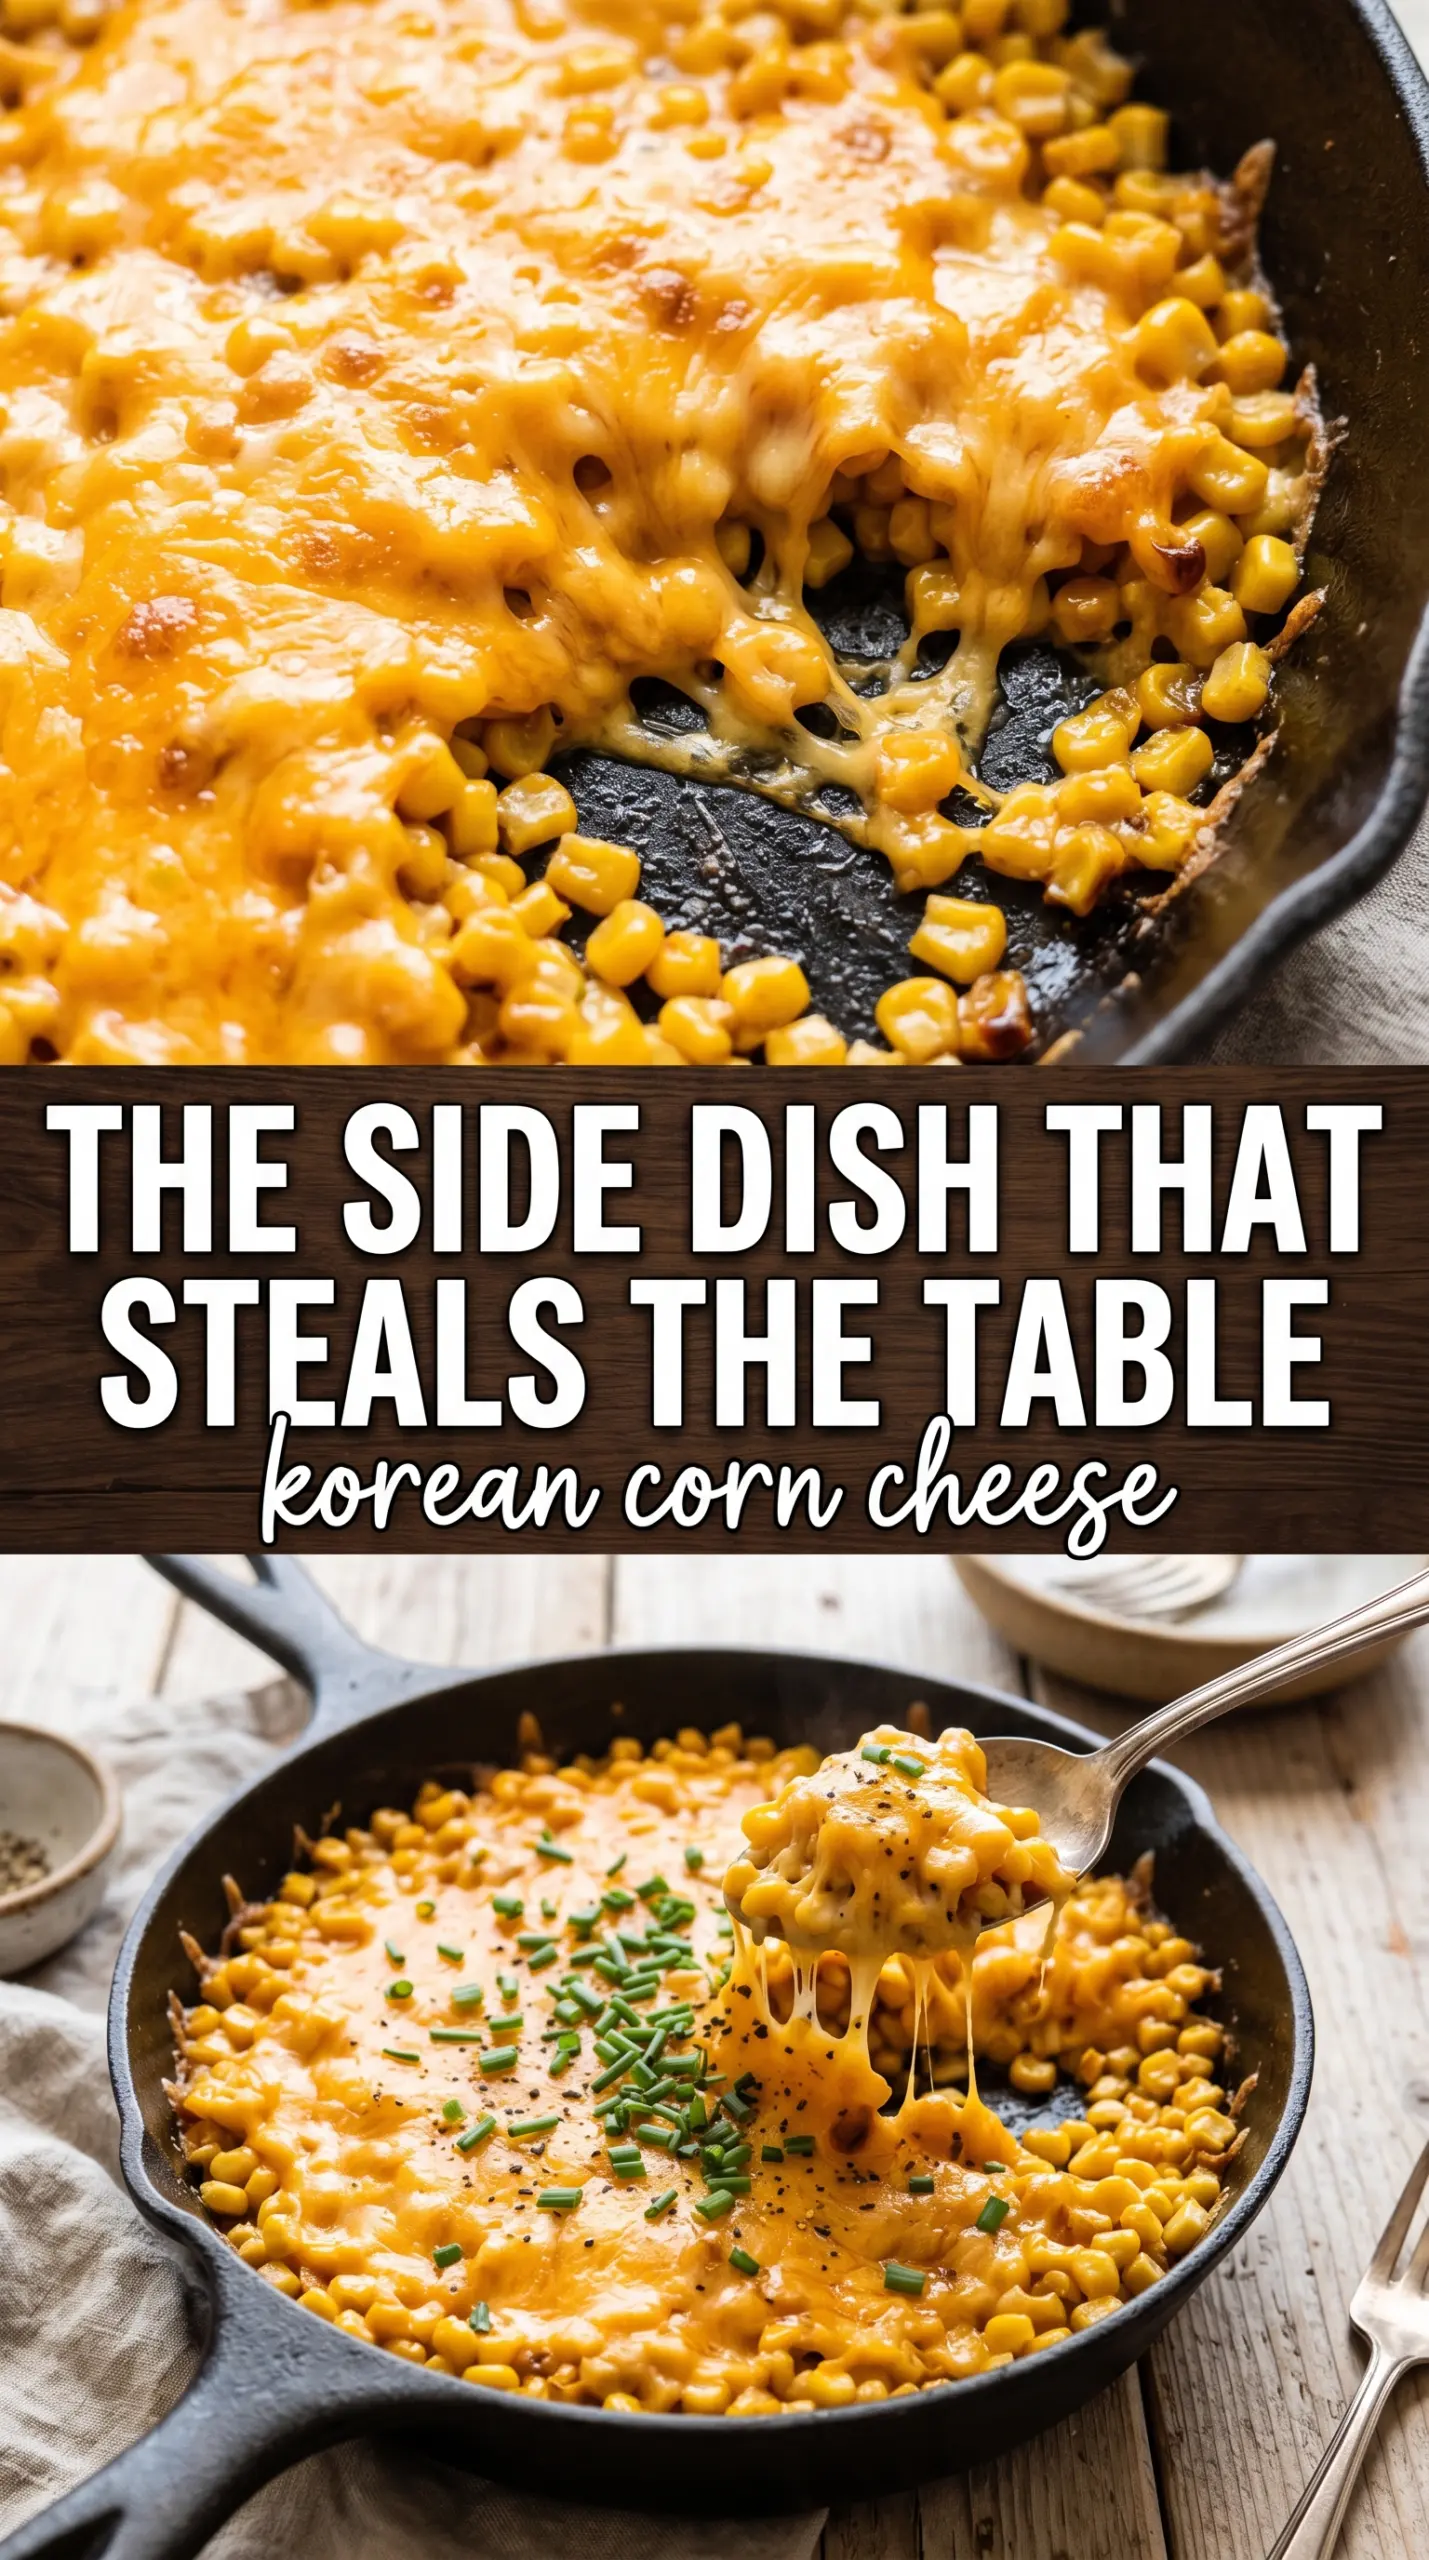
Bubbling Korean corn cheese lands on the table with the kind of pull-apart, spoon-it-fast energy that makes people hover near the pan before it even cools. The corn stays sweet and juicy under a thick layer of mozzarella, while the mayo turns the whole thing creamy instead of greasy. It’s the kind of dish that works as an appetizer, a side, or a late-night snack, and it disappears the moment the cheese hits that golden edge.
What makes this version work is the balance. A little sugar sharpens the corn’s sweetness, mayo keeps the base lush, and parmesan adds enough savory depth that the topping tastes like more than just melted cheese. The broiler finish matters here too. You want the mozzarella melted through first, then just enough direct heat to blister the top and give you those browned spots that make the whole dish taste richer.
Below, I’ll walk you through the small details that keep Korean corn cheese from turning runny or bland, plus a few smart swaps if you want to use what’s already in your kitchen.
The cheese browned on top and the corn stayed sweet underneath, and using the broiler at the end gave it that restaurant-style finish. It came together in minutes and tasted like the version we order at Korean bars.
Like this bubbling Korean corn cheese? Save it to Pinterest for the nights when you want a quick, cheesy side with a golden broiled top.
The Trick to Keeping Korean Corn Cheese Creamy Instead of Soupy
The main thing people miss is that the corn has to be drained well before it goes into the dish. Extra liquid pools at the bottom and keeps the cheese from browning cleanly, which leaves you with a loose, wet skillet instead of that spoonable, stretchy finish. If you’re using frozen corn, thaw it first and pat it dry. That small step pays off immediately once the dish hits the oven.
The other thing that matters is heat control at the end. The base only needs enough time to warm through and let the cheese melt; the broiler is there for color, not for cooking the whole dish from scratch. If you broil too long, the top can go from golden to leathery before the center has the right texture. Watch for bubbling around the edges and browned patches across the mozzarella, then pull it.
What Each Ingredient Is Doing in This Dish
- Corn — Canned corn is the fastest route and works well as long as it’s drained. Frozen corn gives you a little more snap, especially if you thaw and dry it first. Fresh corn is great when it’s in season, but it isn’t necessary for a good result.
- Mayonnaise — This is what turns the corn into a creamy base that clings together under the cheese. Kewpie gives you a rounder, slightly richer taste, but regular mayo still works. Don’t swap in something thin like salad dressing; it won’t hold the same body in the oven.
- Sugar — It sounds odd until you taste the finished dish. The sugar pulls the sweetness already in the corn forward and gives the cheese a better sweet-savory contrast. Leave it out and the dish tastes flatter, not less sweet.
- Mozzarella — Use a low-moisture shredded mozzarella if you can. It melts into long, stretchy strands and browns more predictably than fresh mozzarella, which can leak too much water. If you grate your own, the melt is even better, but pre-shredded works fine here.
- Parmesan — Parmesan adds the salty edge that keeps this from tasting one-note. It also helps the top brown faster. A fine-grated version is enough; you don’t need the fancy wedge for this dish.
Building the Broil for the Right Kind of Stretch
Mix the Creamy Base First
Stir the drained corn with mayonnaise, sugar, and salt until every kernel looks lightly coated. You’re not trying to drown the corn; you want just enough mixture to help it bake into a creamy layer. If the bowl looks watery at this stage, the corn wasn’t drained well enough and the final dish will slide around in the pan. Fix that now before anything goes into the oven.
Choose a Small Dish That Holds the Heat
Use a small oven-safe baking dish or cast iron skillet so the corn sits in a thicker layer. A thin spread cooks too fast on top and dries out before the cheese has time to melt underneath. Cast iron gives the best browning, but any shallow ovenproof dish will work. The goal is a compact layer that bubbles up instead of spreading out.
Let the Oven Finish the Middle Before the Broiler Starts
Bake for about 10 minutes first, until the mixture is hot and the cheese is fully melted. Then switch to broil for just 3 to 5 minutes and watch it closely. You’re looking for golden spots, bubbling edges, and a top that looks toasted rather than pale. If the cheese starts to darken in wide patches, it’s gone a little too far.
Serve It Right Away
Garnish with parsley and bring it to the table immediately with chips or bread. Korean corn cheese waits for no one; the cheese is at its stretchiest and the texture is at its best straight from the oven. If it sits too long, the top firms up and the creamy base underneath loses some of that dramatic pull. That’s normal, but it’s also why this dish should be the last thing finished before serving.
How to Adapt This for a Bigger Crowd or a Different Pantry
Make It Gluten-Free Without Changing the Texture
The base recipe is naturally gluten-free as written, so the only thing to watch is what you serve alongside it. Use gluten-free chips, crackers, or toasted bread. The dish itself keeps the same creamy, broiled texture because none of the core ingredients need wheat to hold together.
Swap in Frozen Corn When That’s What You Have
Frozen corn works well here and often tastes sweeter than canned. Thaw it fully and pat it dry before mixing so the extra moisture doesn’t thin the mayo base. The finished dish will still be tender and creamy, with a little more bite in the kernels.
Make It Vegetarian-Friendly as Written
This recipe is already vegetarian, but parmesan can sometimes contain animal rennet. If that matters for your table, use a vegetarian parmesan-style cheese or a different hard salty cheese with a similar melt. The flavor stays savory and the top still browns well.
Turn It Into a Larger Party Dish
Double the ingredients and use a wider baking dish so the layer doesn’t get too deep. The cook time may need a few extra minutes before broiling because more volume takes longer to heat through. Watch for the same cues: melted cheese, bubbling edges, and a browned top.
Storage and Reheating
- Refrigerator: Store leftovers in an airtight container for up to 3 days. The cheese firms up and the corn loses a little of its fresh pop, but the flavor stays good.
- Freezer: I don’t recommend freezing it. The mayo base can separate and the texture turns grainy after thawing.
- Reheating: Warm it in a 350°F oven until hot and the cheese softens again. The microwave works in a pinch, but it can make the cheese rubbery and the corn unevenly hot.
Questions I Get Asked About This Recipe

Korean Corn Cheese
Ingredients
Equipment
Method
- Preheat the oven to 400°F, or prepare the broiler for direct browning.
- Choose a small oven-safe cast iron skillet or baking dish so the cheese top turns golden without spreading.
- Mix the drained corn with mayonnaise, sugar, and salt until evenly coated.
- Transfer the corn mixture to a small oven-safe baking dish or cast iron skillet and spread it into an even layer.
- Top evenly with shredded mozzarella, then sprinkle grated parmesan over the surface.
- Bake at 400°F for 10 minutes, until the edges are hot and the mozzarella starts melting.
- Broil for 3–5 minutes until the cheese is golden and bubbling, with visible melt and stretch.
- Garnish with fresh parsley and serve immediately with tortilla chips or bread.