Golden zucchini fritters with crisp edges and a tender middle are one of those recipes that disappear fast, even when you set them out as a side dish. The best batches have a real crunch when they hit the plate, then give way to a soft, savory center with little pops of herb and parmesan in every bite.
The difference between fritters that fry up crisp and fritters that slump in the pan comes down to moisture. Zucchini holds a lot of water, and if you skip the salting and squeezing step, the batter turns loose and steams instead of browning. A little parmesan helps with both flavor and structure, while just enough flour keeps the patties together without making them heavy.
Below, I’ll walk through the squeeze that matters, the pan cues that tell you it’s time to flip, and a few smart ways to adapt these fritters if you need a gluten-free or dairy-free version.
I followed the salting and squeezing step and the fritters came out crisp instead of soggy. The dill sour cream was the perfect cool contrast, and even the leftovers reheated better than I expected in the skillet.
Like these crispy zucchini fritters? Save them to Pinterest for the day you want a golden vegetable side with a cool dill sour cream.
The Secret to Crisp Fritters Is Removing More Water Than You Think
Zucchini gives up moisture slowly, and that is where most fritters go wrong. Salting it first pulls out some of that water, but the real difference comes from squeezing hard after it sits. If you only give the shreds a gentle press, the batter still carries too much liquid and the patties spread before they brown.
When the mixture is right, it should hold together when you scoop it and look damp, not wet. The pan should do the work of crisping, not evaporating a puddle. That means medium-high heat and a thin layer of oil, not a shallow fry situation that leaves the centers greasy.
What the Parmesan, Flour, and Herbs Are Actually Doing
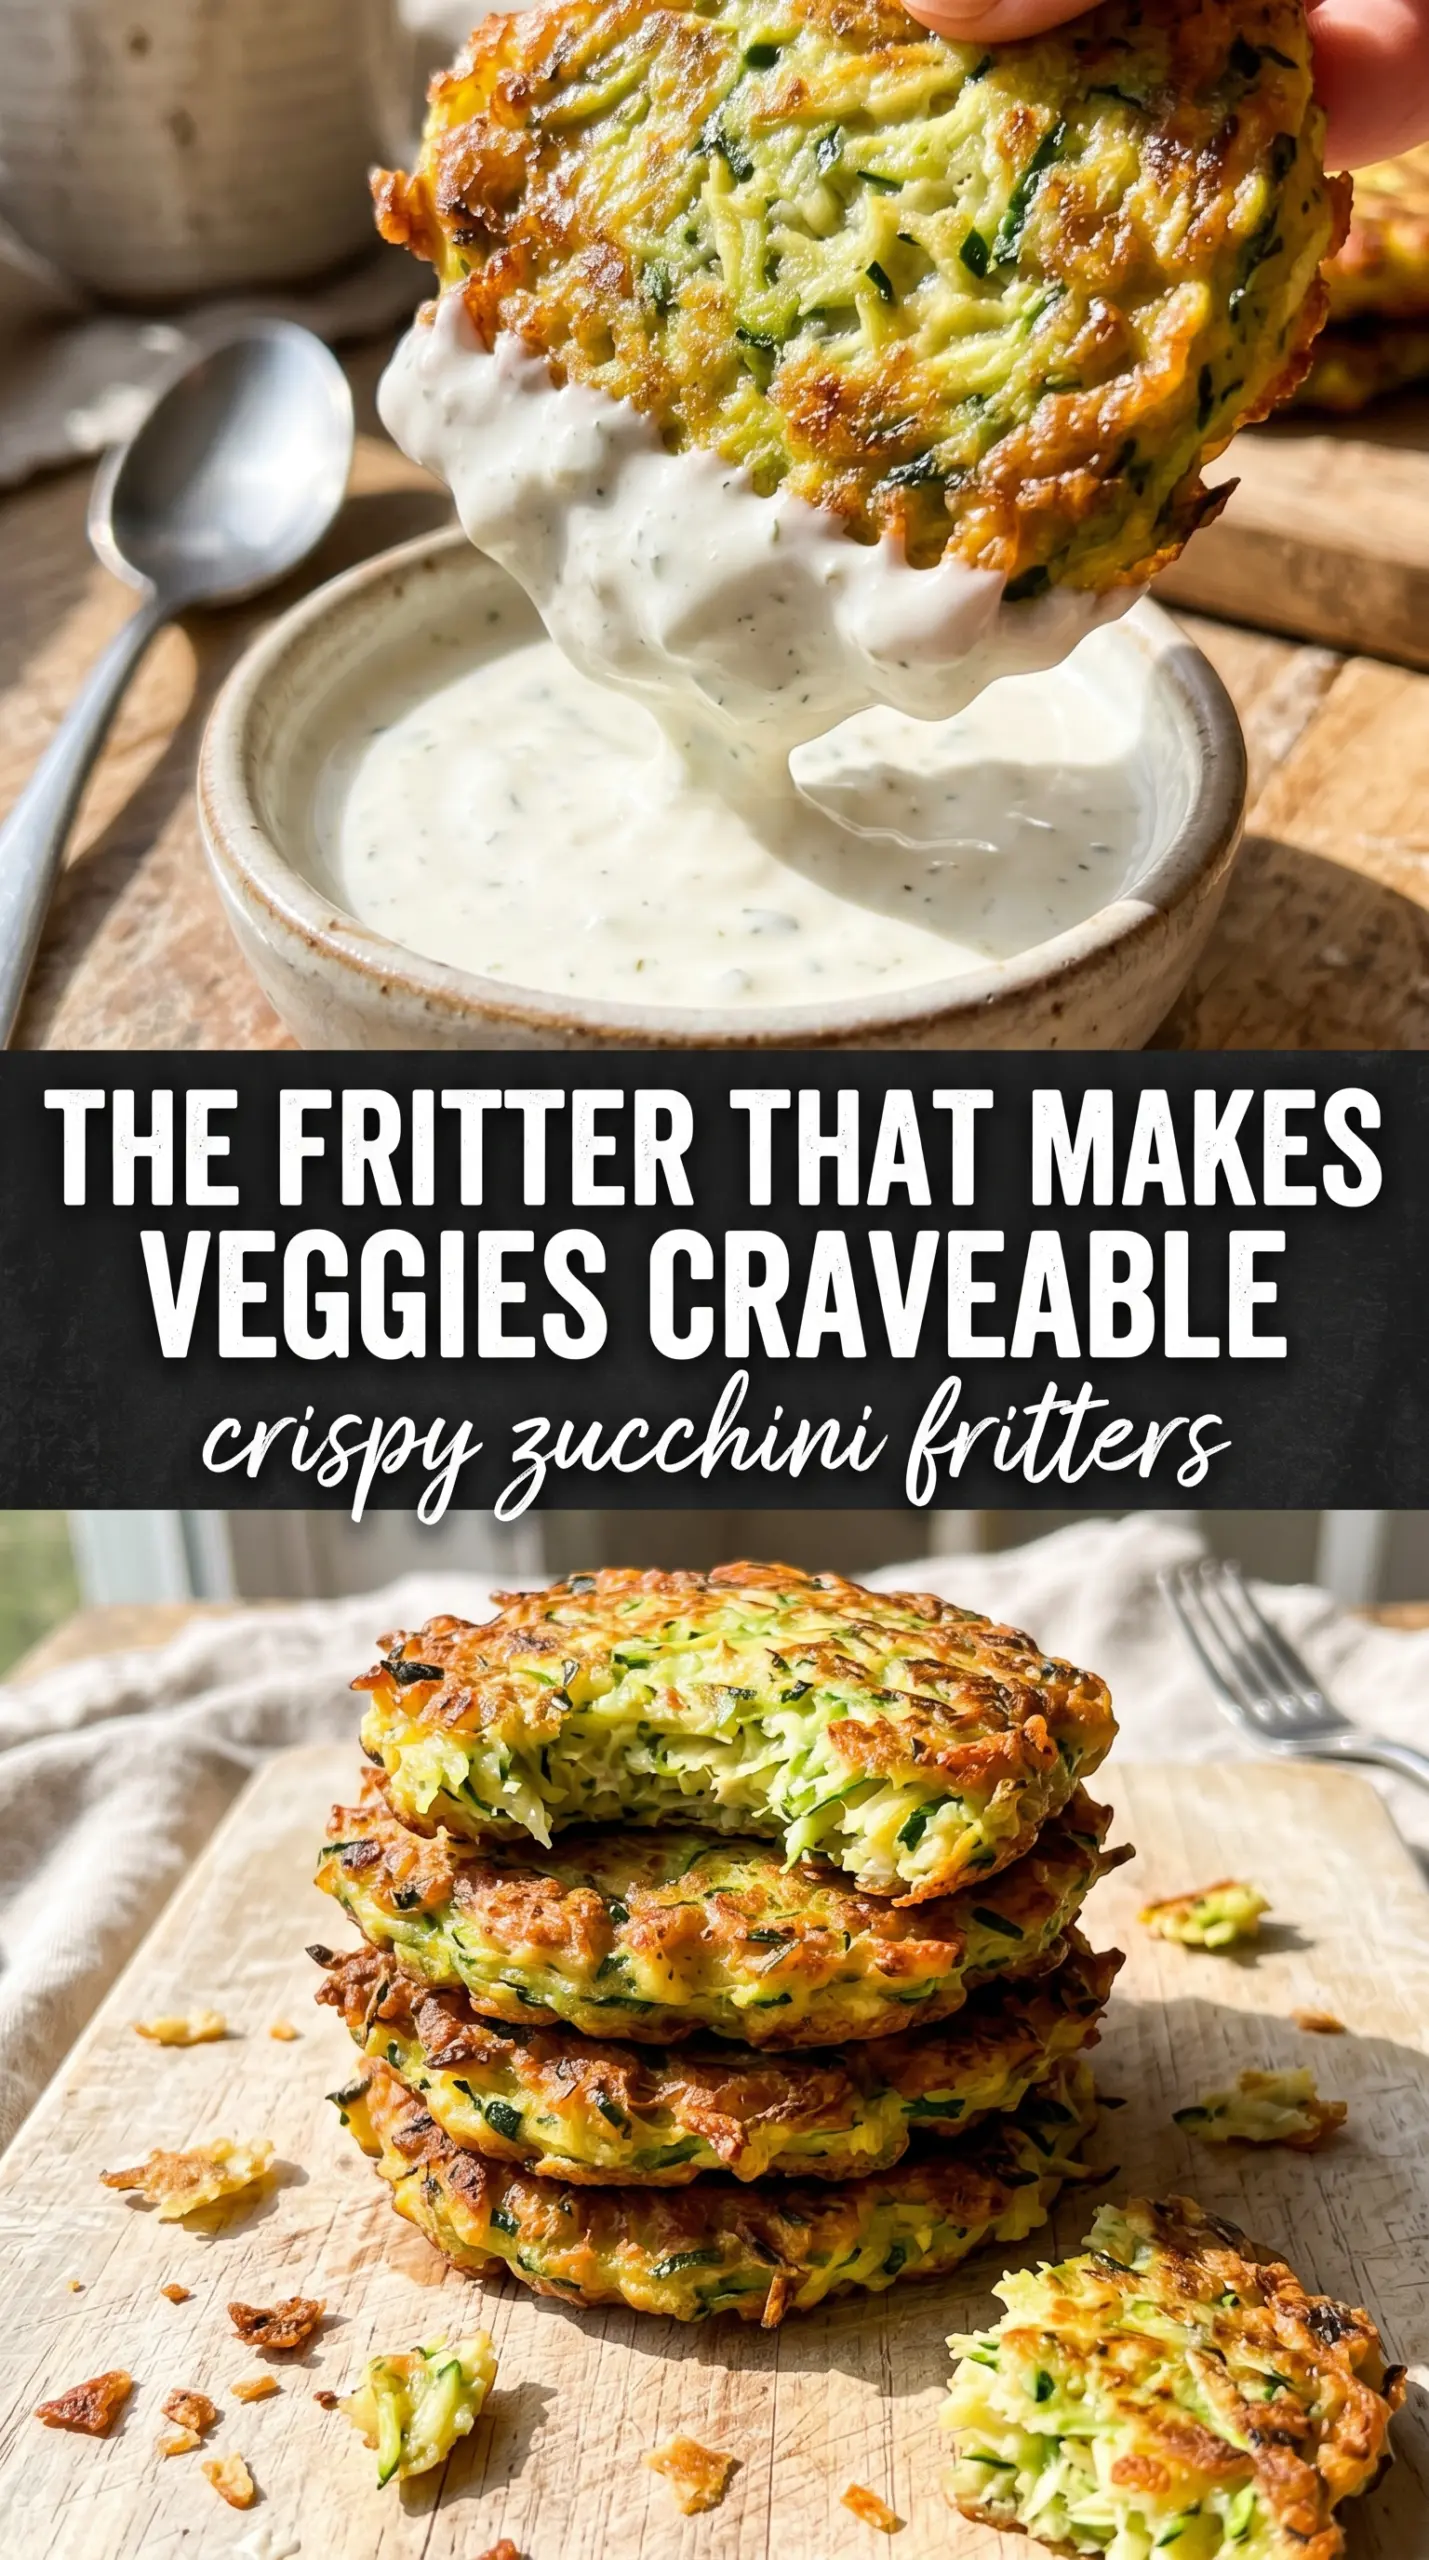
- Zucchini — Fresh zucchini is the base, but it needs to be squeezed dry or it will steam in the skillet. Smaller to medium zucchini tend to be less watery and less seedy, which helps the fritters hold together better.
- Parmesan — This adds salt, umami, and a little structure. Pre-grated parmesan works in a pinch, but freshly grated melts into the batter better and gives a cleaner savory flavor.
- Flour — The flour binds the mixture just enough to make scoopable patties. If you need a gluten-free version, use a cup-for-cup gluten-free flour blend; almond flour won’t bind the same way and the fritters will be more fragile.
- Eggs — Eggs hold everything together and help the centers set before the exterior burns. There isn’t a great substitute here if you want the same texture, though a flax egg can work for a vegetarian-style binder in a pinch, with a softer result.
- Fresh dill or chives — These keep the fritters from tasting flat. Dill leans fresher and brighter, while chives give a gentle onion note.
- Sour cream and lemon juice — The dill cream brings a cool, tangy finish that cuts through the fried edges. Greek yogurt can stand in for sour cream if you want something lighter, but it will taste a little sharper and less rich.
Building the Batter and Frying Until the Edges Go Deep Gold
Salting and Squeezing the Zucchini
Grate the zucchini on the large holes of a box grater, then toss it with the salt and let it sit for about 10 minutes. You’ll see moisture pool at the bottom of the bowl, and that’s what you want before the squeeze. Wrap the shreds in a clean kitchen towel and twist hard over the sink until almost no liquid comes out. If you skip this part, the fritters will look fine at first and then collapse into soft, pale rounds in the pan.
Mixing the Batter Just Until It Holds
Stir the drained zucchini with the eggs, parmesan, flour, garlic, herbs, and black pepper until the mixture is evenly coated. Don’t overwork it into a paste; you want the shreds still visible so the fritters stay light. The mixture should be thick enough to mound on a spoon. If it seems loose, add a spoonful more flour rather than guessing with extra egg, which only makes the batter heavier.
Frying in the Right Heat
Heat the olive oil in a large skillet over medium-high heat until it shimmers. Drop in quarter-cup portions and flatten them gently with a spatula so they cook through evenly. You’re looking for a deep golden crust on the first side before you flip; if you try to turn them too early, they’ll stick and smear. Work in batches and add a touch more oil as the pan dries out, because dry spots are where fritters scorch instead of crisp.
Finishing With the Dill Cream
Mix the sour cream, dill, lemon juice, and a pinch of salt while the fritters finish cooking. The sauce should taste cool, tangy, and herb-forward enough to stand up to the fried edges. Serve it right away beside the hot fritters so the contrast stays sharp. If the fritters sit too long under a lid, steam softens the crust, so keep them on a rack or a paper towel-lined plate instead.
How to Adapt These Fritters Without Losing the Crunch
Gluten-Free Version
Swap the all-purpose flour for a cup-for-cup gluten-free blend. It binds close to the original and keeps the fritters crisp, while almond flour makes them softer and a little more delicate in the pan.
Dairy-Free Fritters
Leave out the parmesan and add a little extra salt plus a spoonful of nutritional yeast if you want that savory edge back. For the sauce, use plain dairy-free yogurt with dill and lemon; it’ll taste brighter and less rich than sour cream, but it still works well with the fritters.
Extra Herb or Onion Flavor
Use dill for a fresher finish or chives for a softer onion note, then add a little more of whichever herb you chose to the sour cream. The fritters stay the same, but the flavor shifts enough to match what you’re serving them with.
Storage and Reheating
- Refrigerator: Store the cooled fritters in an airtight container for up to 3 days. They’ll soften a bit, but the flavor holds up well.
- Freezer: Freeze in a single layer, then move to a bag or container for up to 2 months. They freeze better without the sour cream sauce.
- Reheating: Reheat in a skillet over medium heat or in a 400°F oven until the edges crisp back up. The biggest mistake is microwaving them, which turns the crust soggy fast.
Questions I Get Asked About This Recipe
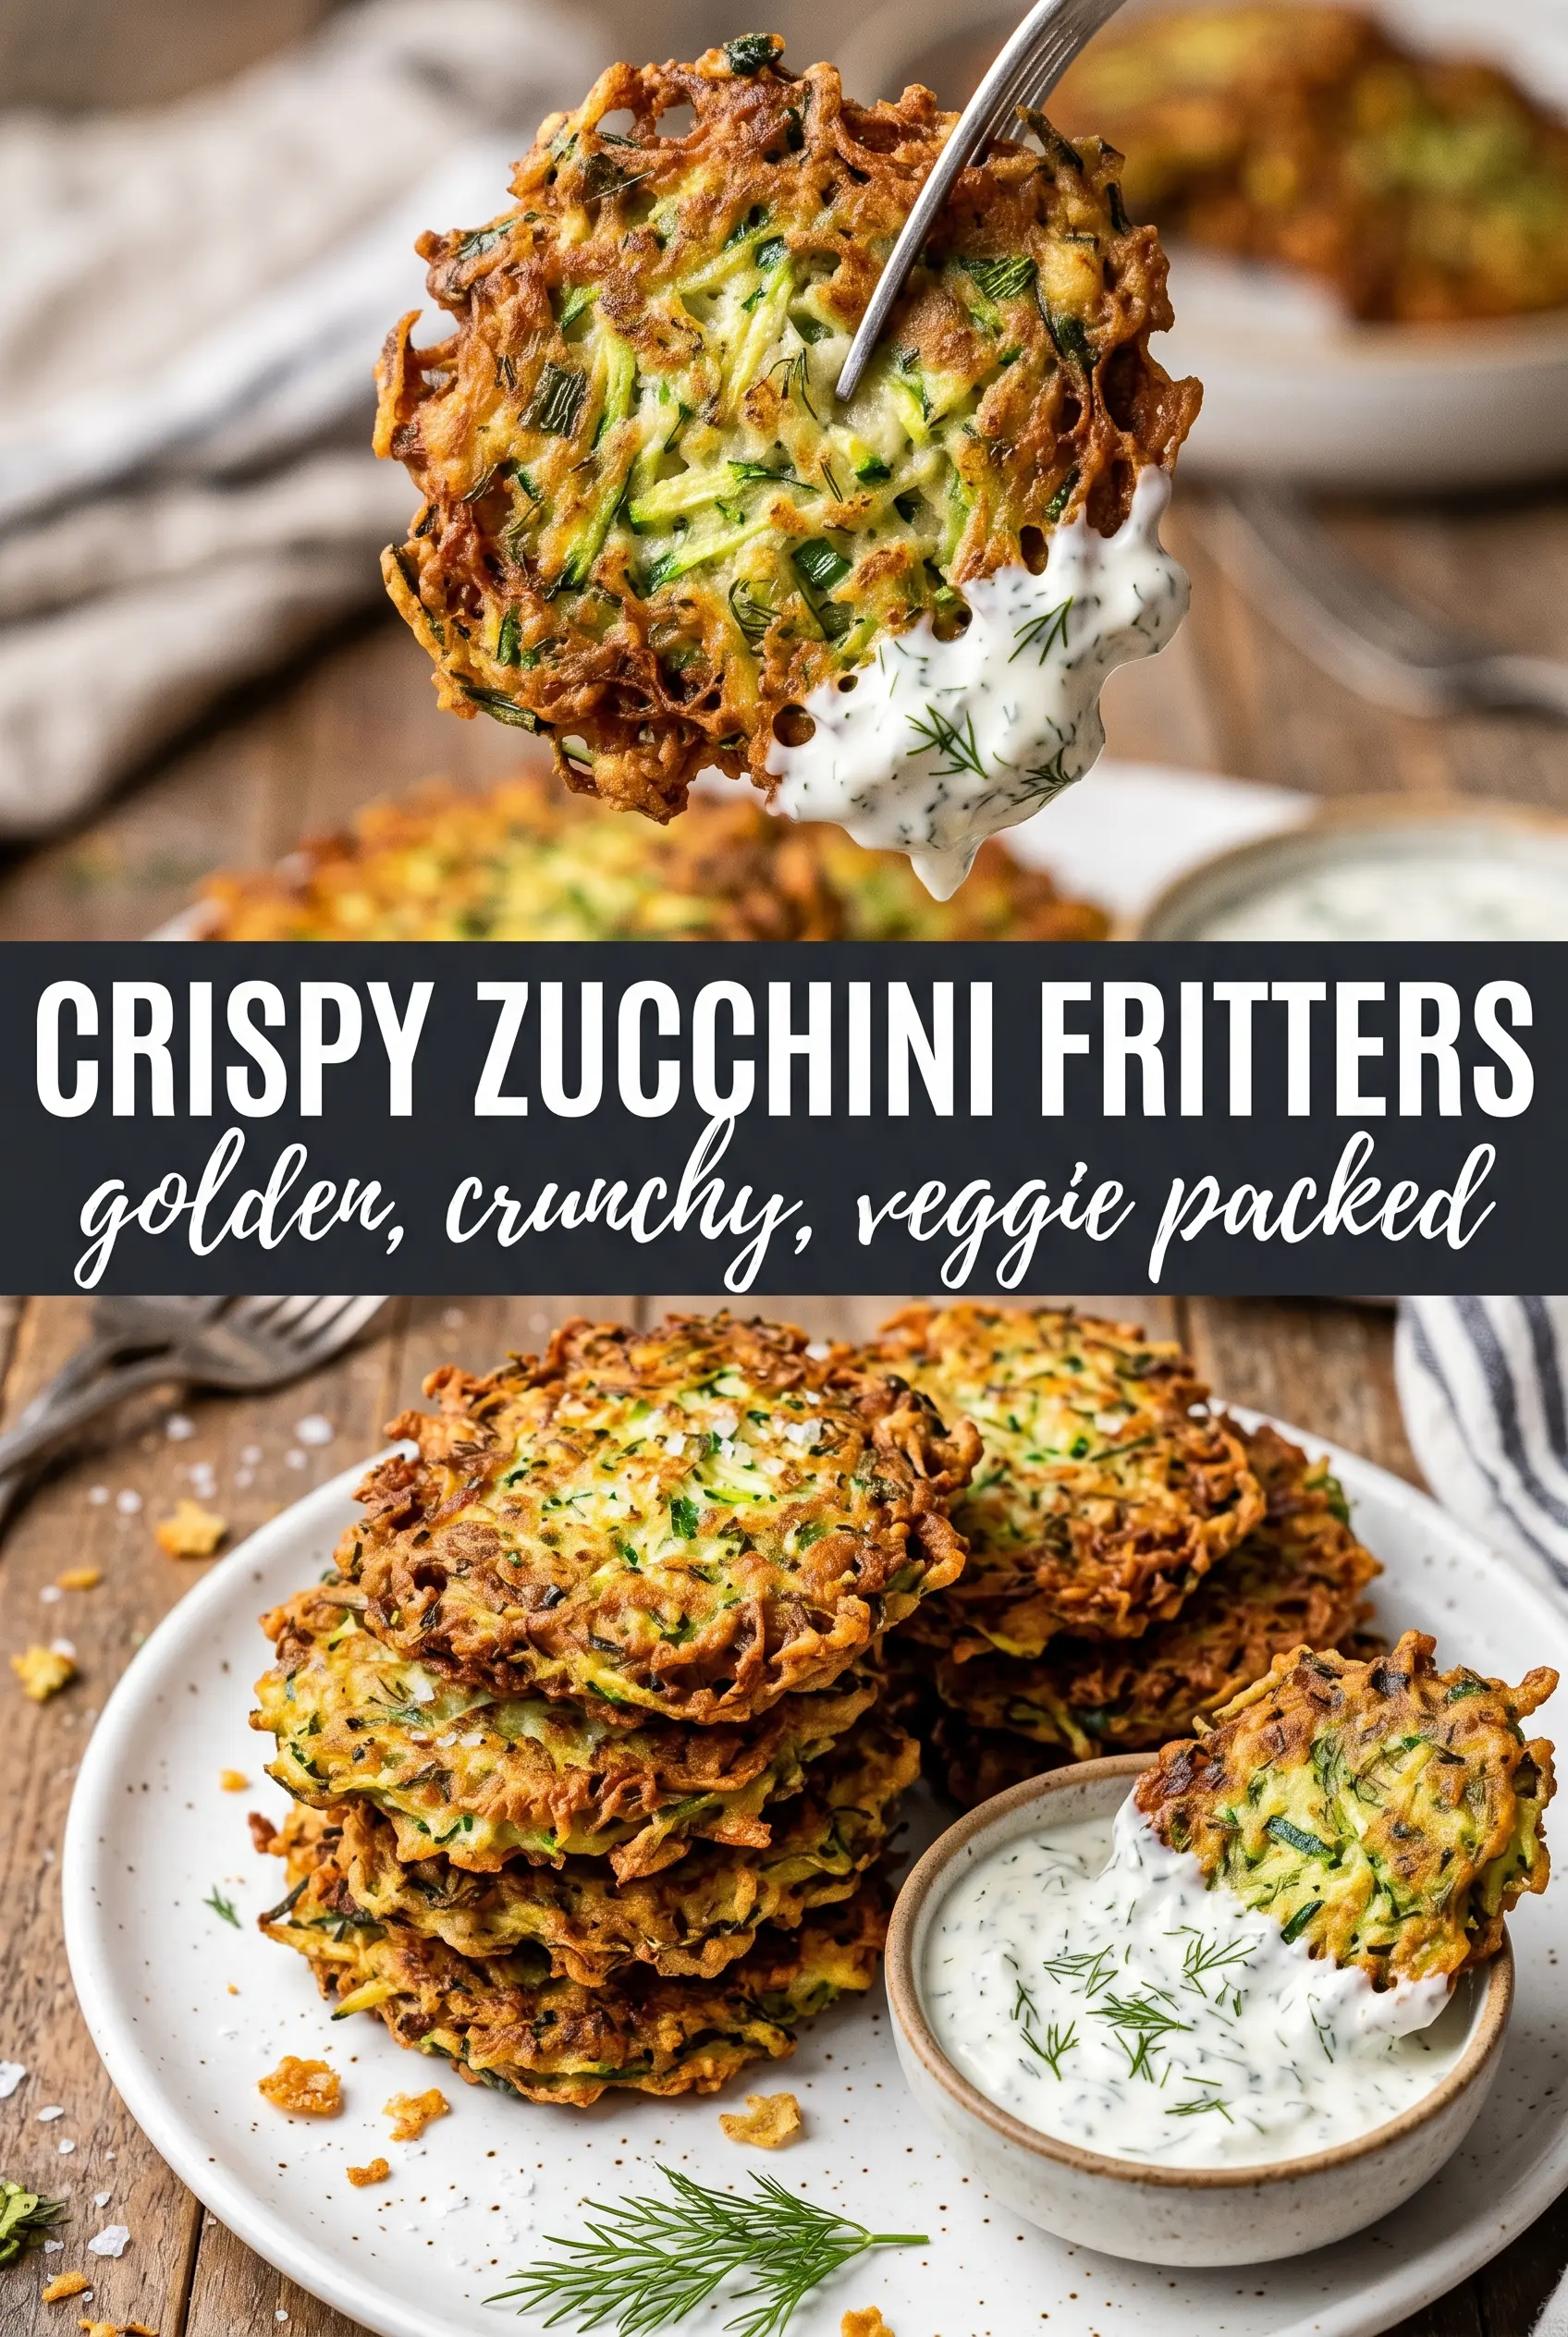
Crispy Zucchini Fritters
Ingredients
Equipment
Method
- Grate the zucchini and toss it with salt, then let it sit for 10 minutes to draw out moisture.
- Squeeze the salted zucchini as much as possible using a clean kitchen towel until it feels noticeably drier.
- In a mixing bowl, combine the drained zucchini with eggs, parmesan cheese, flour, minced garlic, chopped herbs, and black pepper until evenly combined.
- Heat olive oil in a large skillet over medium-high heat until shimmering.
- Drop 1/4-cup portions of the zucchini mixture into the skillet and flatten into patties.
- Cook for 3 to 4 minutes per side, flipping once, until deeply golden and crispy with visible green zucchini flecks.
- Work in batches, adding more olive oil as needed between batches, until all fritters are cooked.
- Mix sour cream, fresh dill, lemon juice, and salt to taste until smooth.
- Serve the hot zucchini fritters immediately with the dill cream on the side.