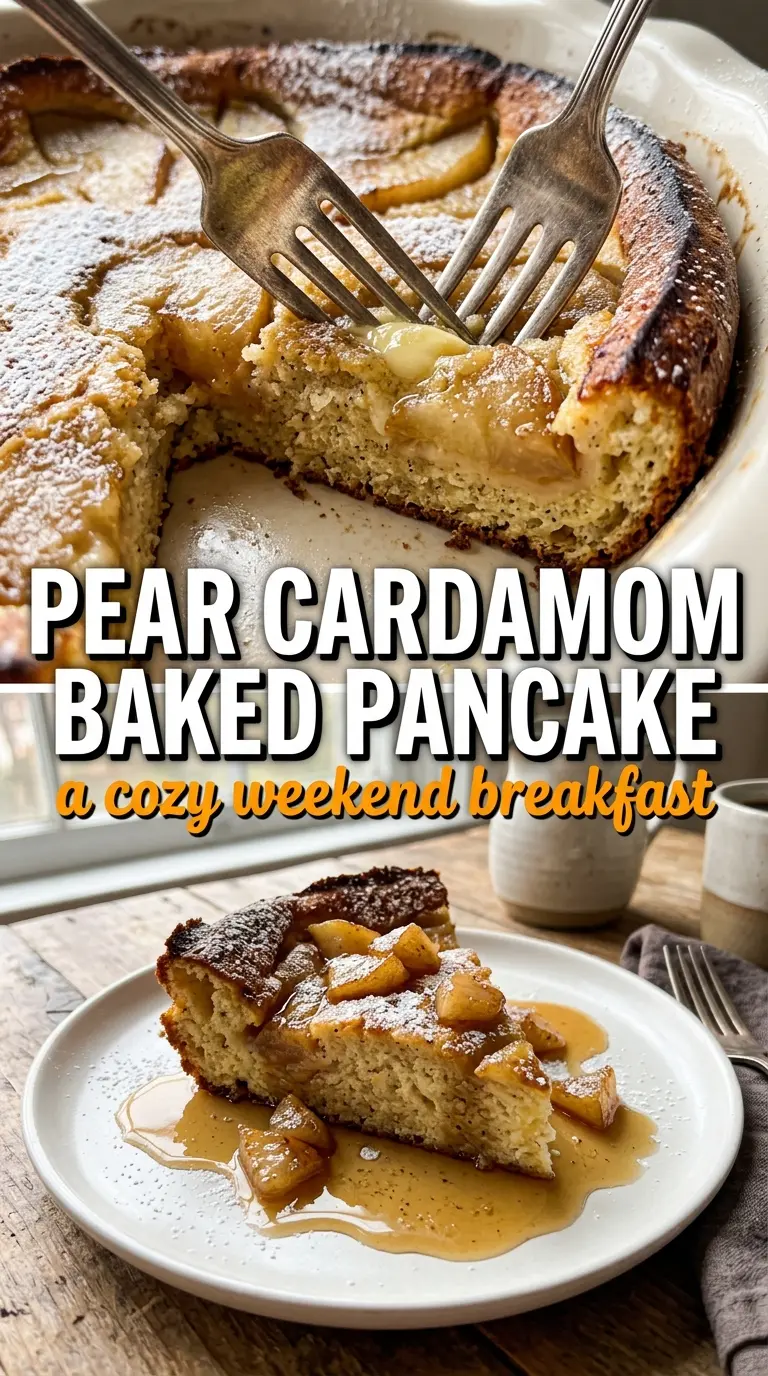
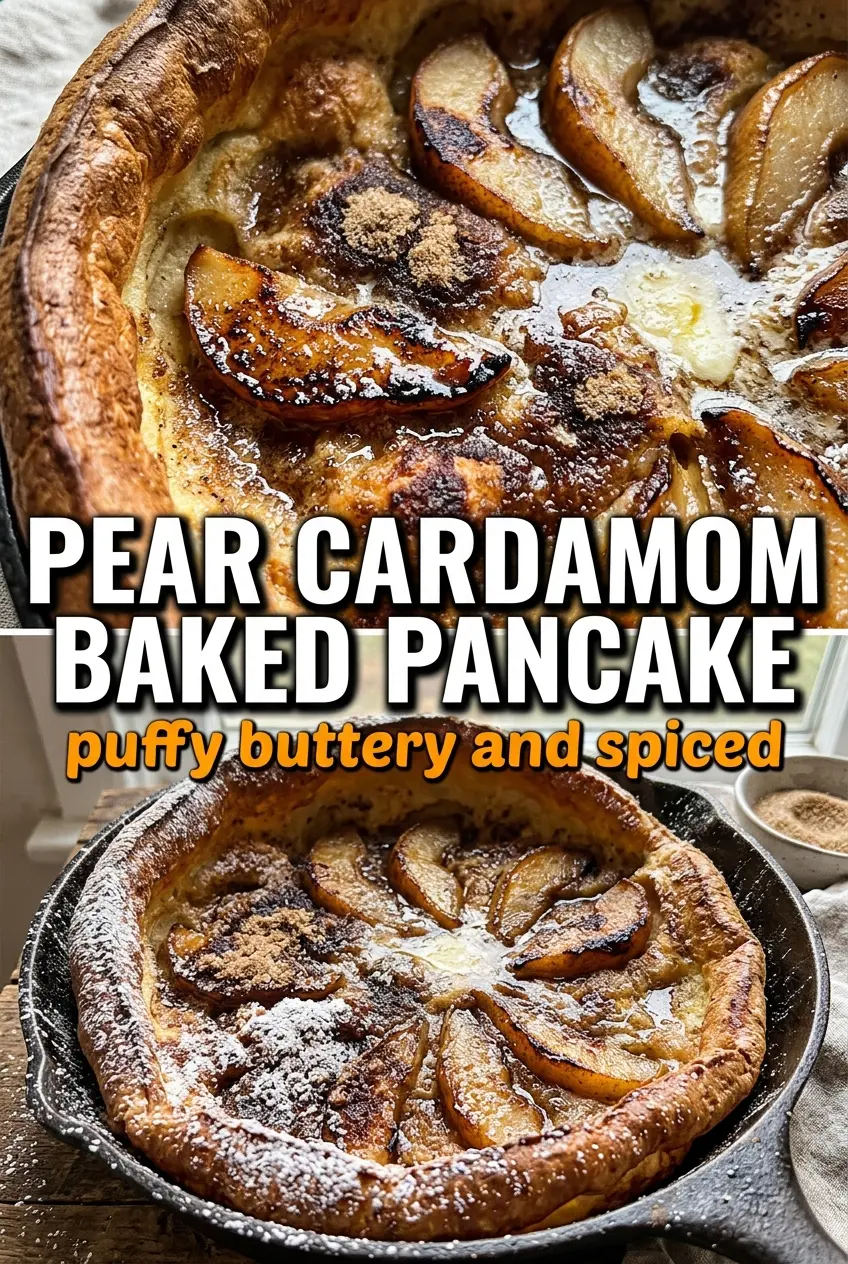
Puffed, golden baked pancakes have a way of looking far more complicated than they are, and this pear-and-cardamom version earns its place at the table fast. The edges climb high in the skillet, the center stays tender, and the pears soften just enough to turn jammy without disappearing into the batter. A dusting of powdered sugar and a squeeze of lemon at the end keep the whole thing from leaning too sweet.
The part that makes this work is the hot skillet. Heating the cast iron in the oven before the batter goes in gives the pancake its dramatic lift and helps the butter brown around the pears instead of soaking into the batter. Blending the batter until smooth matters too, because lumps show up fast in a pancake with this little structure. Cardamom is the quiet move here; it gives the whole dish a warm, floral note that plays beautifully with the pears.
Below you’ll find the small timing details that matter, plus a few smart swaps if your pears are very ripe or you want to change the spice direction. Once you’ve made it this way, the method starts to feel second nature.
The skillet stayed hot enough for the pancake to puff right up, and the pears on the bottom turned soft and caramelized instead of watery. I served it with lemon and it tasted like something from a brunch café.
Save this pear and cardamom Dutch baby for the mornings when you want a big puff, soft pears, and almost no extra cleanup.
The Hot Skillet Is What Gives This Pancake Its Lift
The biggest mistake with a Dutch baby is treating the pan like a regular pancake griddle. This batter needs immediate heat from below and around the edges, which is why the skillet goes into the oven first. When the butter hits that hot pan and the batter follows right away, the outside starts setting before the center can spread flat.
If your pancake comes out dense, the skillet probably wasn’t hot enough or the oven lost too much heat while you were moving too slowly. Work fast once the butter goes in. The pears go in before the batter so they stay anchored in the bottom and get a little caramelization instead of floating to the top.
- Cast iron skillet — This is the best pan here because it holds heat long enough to create the puff. A heavy oven-safe skillet can work, but a thin pan won’t give you the same rise.
- Pears — Use pears that are ripe but still firm. Very soft pears break down too quickly and turn mushy before the center finishes baking.
- Cardamom — Fresh ground cardamom gives the cleanest, brightest spice note. If yours has been sitting in the cupboard forever, the flavor will fade into the background.
What Each Ingredient Is Actually Doing in the Pan
- Eggs — They build the structure and the dramatic rise. Room temperature eggs blend more smoothly, but straight-from-the-fridge eggs still work once they’re fully mixed.
- Milk — Whole milk gives the richest, most tender crumb. You can use 2% in a pinch, but the pancake will be a little less lush.
- Flour — All-purpose flour gives enough body to hold the puff without turning bready. Don’t swap in too much whole wheat; it makes the batter heavier and the edges less crisp.
- Butter — This does double duty: it flavors the pan and helps the pears caramelize. If you use salted butter, just keep the pinch of salt in the batter.
- Brown sugar — Tossing the pears with brown sugar draws out a little juice and helps them soften into a glossy layer. White sugar won’t give the same depth.
Getting the Batter In Before the Puff Disappears
Blending the Batter Until It’s Silky
Blend until the mixture looks completely smooth and a little foamy on top. Any dry flour streaks will bake into little lumps, and they’re especially noticeable in a pancake this simple. Let the batter sit only while the oven finishes heating; if it stands too long, the flour starts to settle and the texture gets less even.
Caramelizing the Pears in the Hot Butter
The pears go into the skillet right after the butter melts, before the butter has a chance to brown too far. Arrange them in a single layer or a loose fan so they touch the pan and pick up color. If the butter is smoking hard, the skillet is too hot and the pears will scorch at the edges before the batter sets.
Baking Until the Center Sets
Once the batter is in, close the oven door and leave it alone. The pancake needs steady heat to climb; opening the door too early can collapse the puff. It’s done when the edges are deep golden, the center is set but still has a little soft jiggle, and the pears look lacquered rather than raw.
How to Adapt This When You Want a Different Finish
Make it dairy-free
Use unsweetened oat milk or almond milk and swap in a plant-based butter that behaves well in heat. The pancake will still puff, but the flavor will be a little lighter and the browning around the pears won’t be as rich.
Make it gluten-free
A 1:1 gluten-free baking flour can work here if it includes xanthan gum. The texture will be a touch more delicate and less stretchy, but the dramatic rise still happens if the batter is blended smooth and baked immediately.
Swap the pears for apples
Thinly sliced apples give a firmer, more tart finish and hold their shape a little longer in the oven. They won’t turn as soft as pears, so if you want a more caramelized result, slice them thinner and keep the brown sugar on them.
Add a warmer spice edge
A small pinch of nutmeg or ginger can join the cardamom if you want the pancake to lean more aromatic. Keep the amount modest so the pears still taste like pears instead of spice cake.
Storage and Reheating
- Refrigerator: Store leftovers covered for up to 2 days. The puff will fall, and the pears will soften more, but the flavor stays good.
- Freezer: This doesn’t freeze well. The texture turns soggy after thawing, especially around the pears.
- Reheating: Reheat slices in a 350°F oven for 8 to 10 minutes until warmed through. The microwave makes the pancake rubbery and the center can turn damp before the edges heat evenly.
Answers to the Questions Worth Asking
Baked Pancake with Pear and Cardamom
Ingredients
Equipment
Method
- Preheat the oven to 425°F with a 10-inch cast iron skillet inside until the oven reaches full heat and the pan is scorching hot.
- Blend eggs, milk, flour, sugar, cardamom, cinnamon, vanilla extract, and salt until completely smooth with no visible lumps.
- Toss the sliced pears with brown sugar until the pieces look lightly coated and glossy.
- When the oven is hot, carefully remove the skillet and swirl in the butter to coat the surface.
- Arrange the pear slices in the skillet in a single even layer, then immediately pour the batter over the top.
- Return the skillet to the oven and bake for 20–25 minutes, until the pancake is dramatically puffed and golden.
- Dust with powdered sugar and serve immediately with lemon wedges for the best rise.