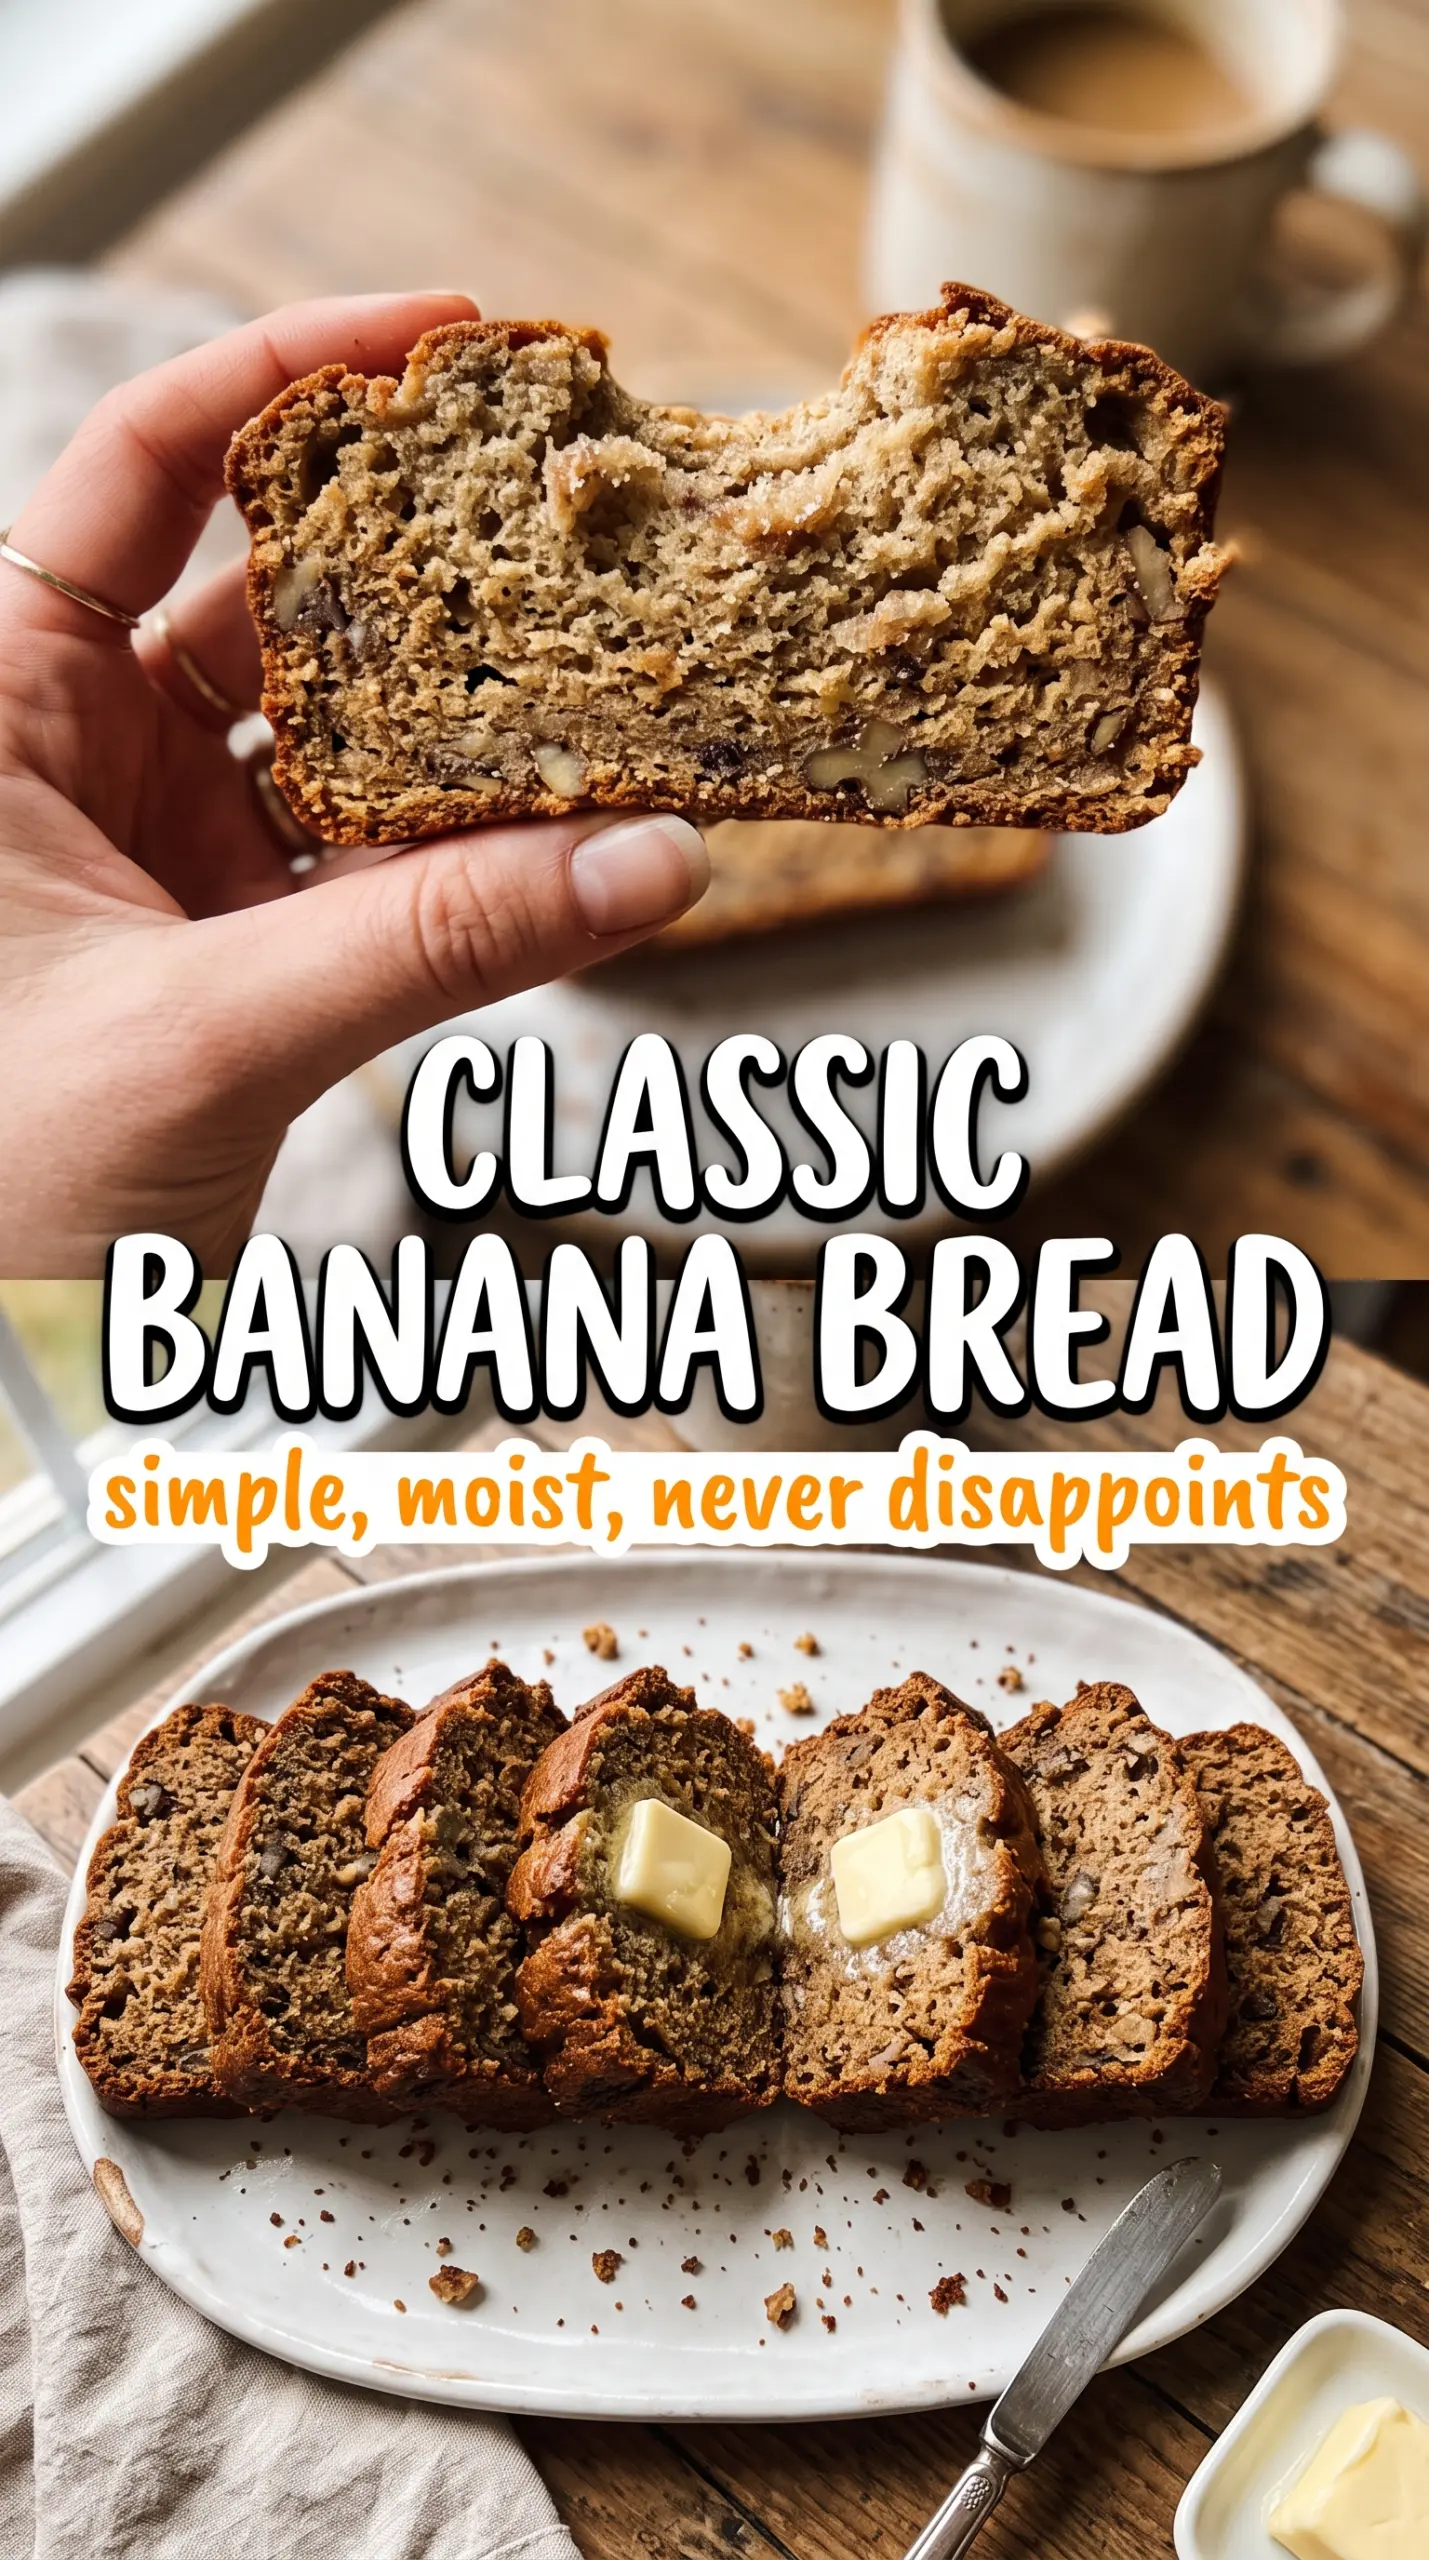
Banana bread gets a lot better when it bakes up with a tight, tender crumb, a deeply caramelized top, and just enough walnut crunch to keep each slice interesting. This Ina Garten version has that bakery feel people are usually chasing: moist without being gummy, sturdy enough to slice cleanly, and rich enough to eat plain or with a little salted butter.
The sour cream is doing a lot of the work here. It adds moisture without thinning the batter, which means the loaf stays soft for days instead of drying out by the second morning. Creaming the butter and sugar until genuinely fluffy also matters more than people think; that extra air gives the bread a lighter crumb instead of a dense, heavy center. The walnuts on top aren’t just decoration, either. They bake into the crust and give the loaf that unmistakable finished look.
Below, I’ve included the small details that keep this loaf from sinking in the middle or turning tough around the edges. If you’ve ever had banana bread that looked right but baked up dull, this one fixes that.
The sour cream kept the loaf incredibly moist and the crust baked up deep golden with those walnut halves on top looking straight from a bakery case.
Love a bakery-style banana loaf with sour cream and walnut crunch? Save this one for the next time you’ve got ripe bananas on the counter.
The Step Most Banana Breads Miss Before They Ever Reach the Oven
The biggest mistake in banana bread is treating it like a dump-and-stir batter. If the butter and sugar never get properly beaten, the loaf bakes up dense and a little flat, even when the bananas are plenty ripe. That first mixing stage gives the bread lift, and it also helps the sugar dissolve enough to keep the crumb finer and more even.
Bananas matter too, but not in the way people think. You want them deeply spotted and soft, not watery or underripe. If they’re still firm, the bread can taste bland and the texture turns pasty instead of plush. And when you add the flour, stop as soon as the streaks disappear. Overmixing makes banana bread tough fast.
What Each Ingredient Is Actually Doing in This Banana Bread
- Ripe bananas — They provide sweetness, moisture, and that classic banana flavor. The browner the skins, the better the loaf tastes. If yours are only partly ripe, bake them first on a sheet pan at 300°F until the peels blacken and the fruit softens.
- Sour cream — This is the ingredient that keeps the loaf tender for days. It adds richness without making the batter loose, which is why this version stays moist instead of turning heavy. Plain full-fat yogurt works in a pinch, but the flavor is a little sharper and the crumb isn’t quite as plush.
- Butter and sugar — Creaming them gives the loaf its lightest texture. Melted butter won’t give the same lift, and the bread will bake up more compact. Use room-temperature butter so it traps air instead of sliding around the bowl.
- Walnuts — Toasting them first wakes up the flavor and keeps them from tasting raw inside the loaf. The chopped walnuts bring crunch through the crumb, while the whole halves on top give you that classic finished look and a better bite in the crust.
How to Keep the Loaf Tender From Batter to Cool-Down
Creaming the Base
Beat the butter and sugar together until the mixture looks pale and fluffy, not just combined. That usually takes 3 to 4 minutes and it should look a little lighter in color than when you started. If you rush this step, the loaf will bake up tighter and denser. Scrape the bowl once or twice so the butter at the bottom gets worked in too.
Adding the Eggs and Dairy
Add the eggs one at a time so the batter stays smooth and emulsified. If you dump them in all at once, the mixture can look curdled for a minute and stay uneven longer than it should. Vanilla and sour cream go in next, and the batter may look a little loose at that point; that’s normal and it will come together once the bananas and flour go in.
Finishing the Batter
Fold in the bananas first, then the dry ingredients just until no dry flour remains. This is the part that decides whether the crumb stays tender or turns chewy. Once the flour is in, stop stirring as soon as you stop seeing streaks. The walnuts go in at the end so they stay evenly distributed instead of sinking to the bottom.
Baking to the Right Center
Pour the batter into the prepared loaf pan, press the walnut halves gently into the top, and bake until the loaf is deep golden and a toothpick comes out clean from the center. Start checking at 65 minutes, because ovens vary and the top can darken before the middle is done. If the crust is getting too dark while the center still needs time, tent the loaf loosely with foil for the final stretch.
Cooling Before You Slice
Let the bread sit in the pan for 15 minutes before turning it out. That short rest helps the structure set so the loaf doesn’t break apart. After that, move it to a rack and let it cool mostly before slicing. Warm banana bread is great, but if you cut it too early, the crumb can seem gummy even when it’s baked through.
How to Adapt This Loaf for Different Kitchens and Different Bananas
Dairy-Free Banana Bread
Swap the butter for a neutral dairy-free baking stick and use thick dairy-free yogurt in place of the sour cream. The loaf will still be moist, but it won’t have quite the same richness or browned-butter-style depth that real butter brings. Choose an unsweetened yogurt so the bread doesn’t turn overly sweet.
Gluten-Free Version
Use a 1:1 gluten-free flour blend that already contains xanthan gum. The texture will be a little more delicate and slightly less springy, but the sour cream keeps it from tasting dry. Let the loaf cool completely before slicing so it holds together.
Walnut-Free Banana Bread
Leave out the walnuts and bake the loaf as written, or replace them with pecans for a sweeter, softer crunch. Without nuts, the bread slices a little cleaner and the flavor leans more fully into banana and vanilla. If you skip the topping, the crust won’t have the same bakery look, but the loaf still bakes beautifully.
Storage and Reheating
- Refrigerator: Store tightly wrapped for up to 5 days. The crumb stays moist, though the top crust softens a little after day one.
- Freezer: Banana bread freezes well. Wrap the whole loaf or individual slices in plastic, then foil, and freeze for up to 3 months.
- Reheating: Thaw at room temperature, then warm slices in a 300°F oven for a few minutes or toast them lightly. Microwaving works in a pinch, but too much heat makes the crumb rubbery.
Questions I Get Asked About This Banana Bread
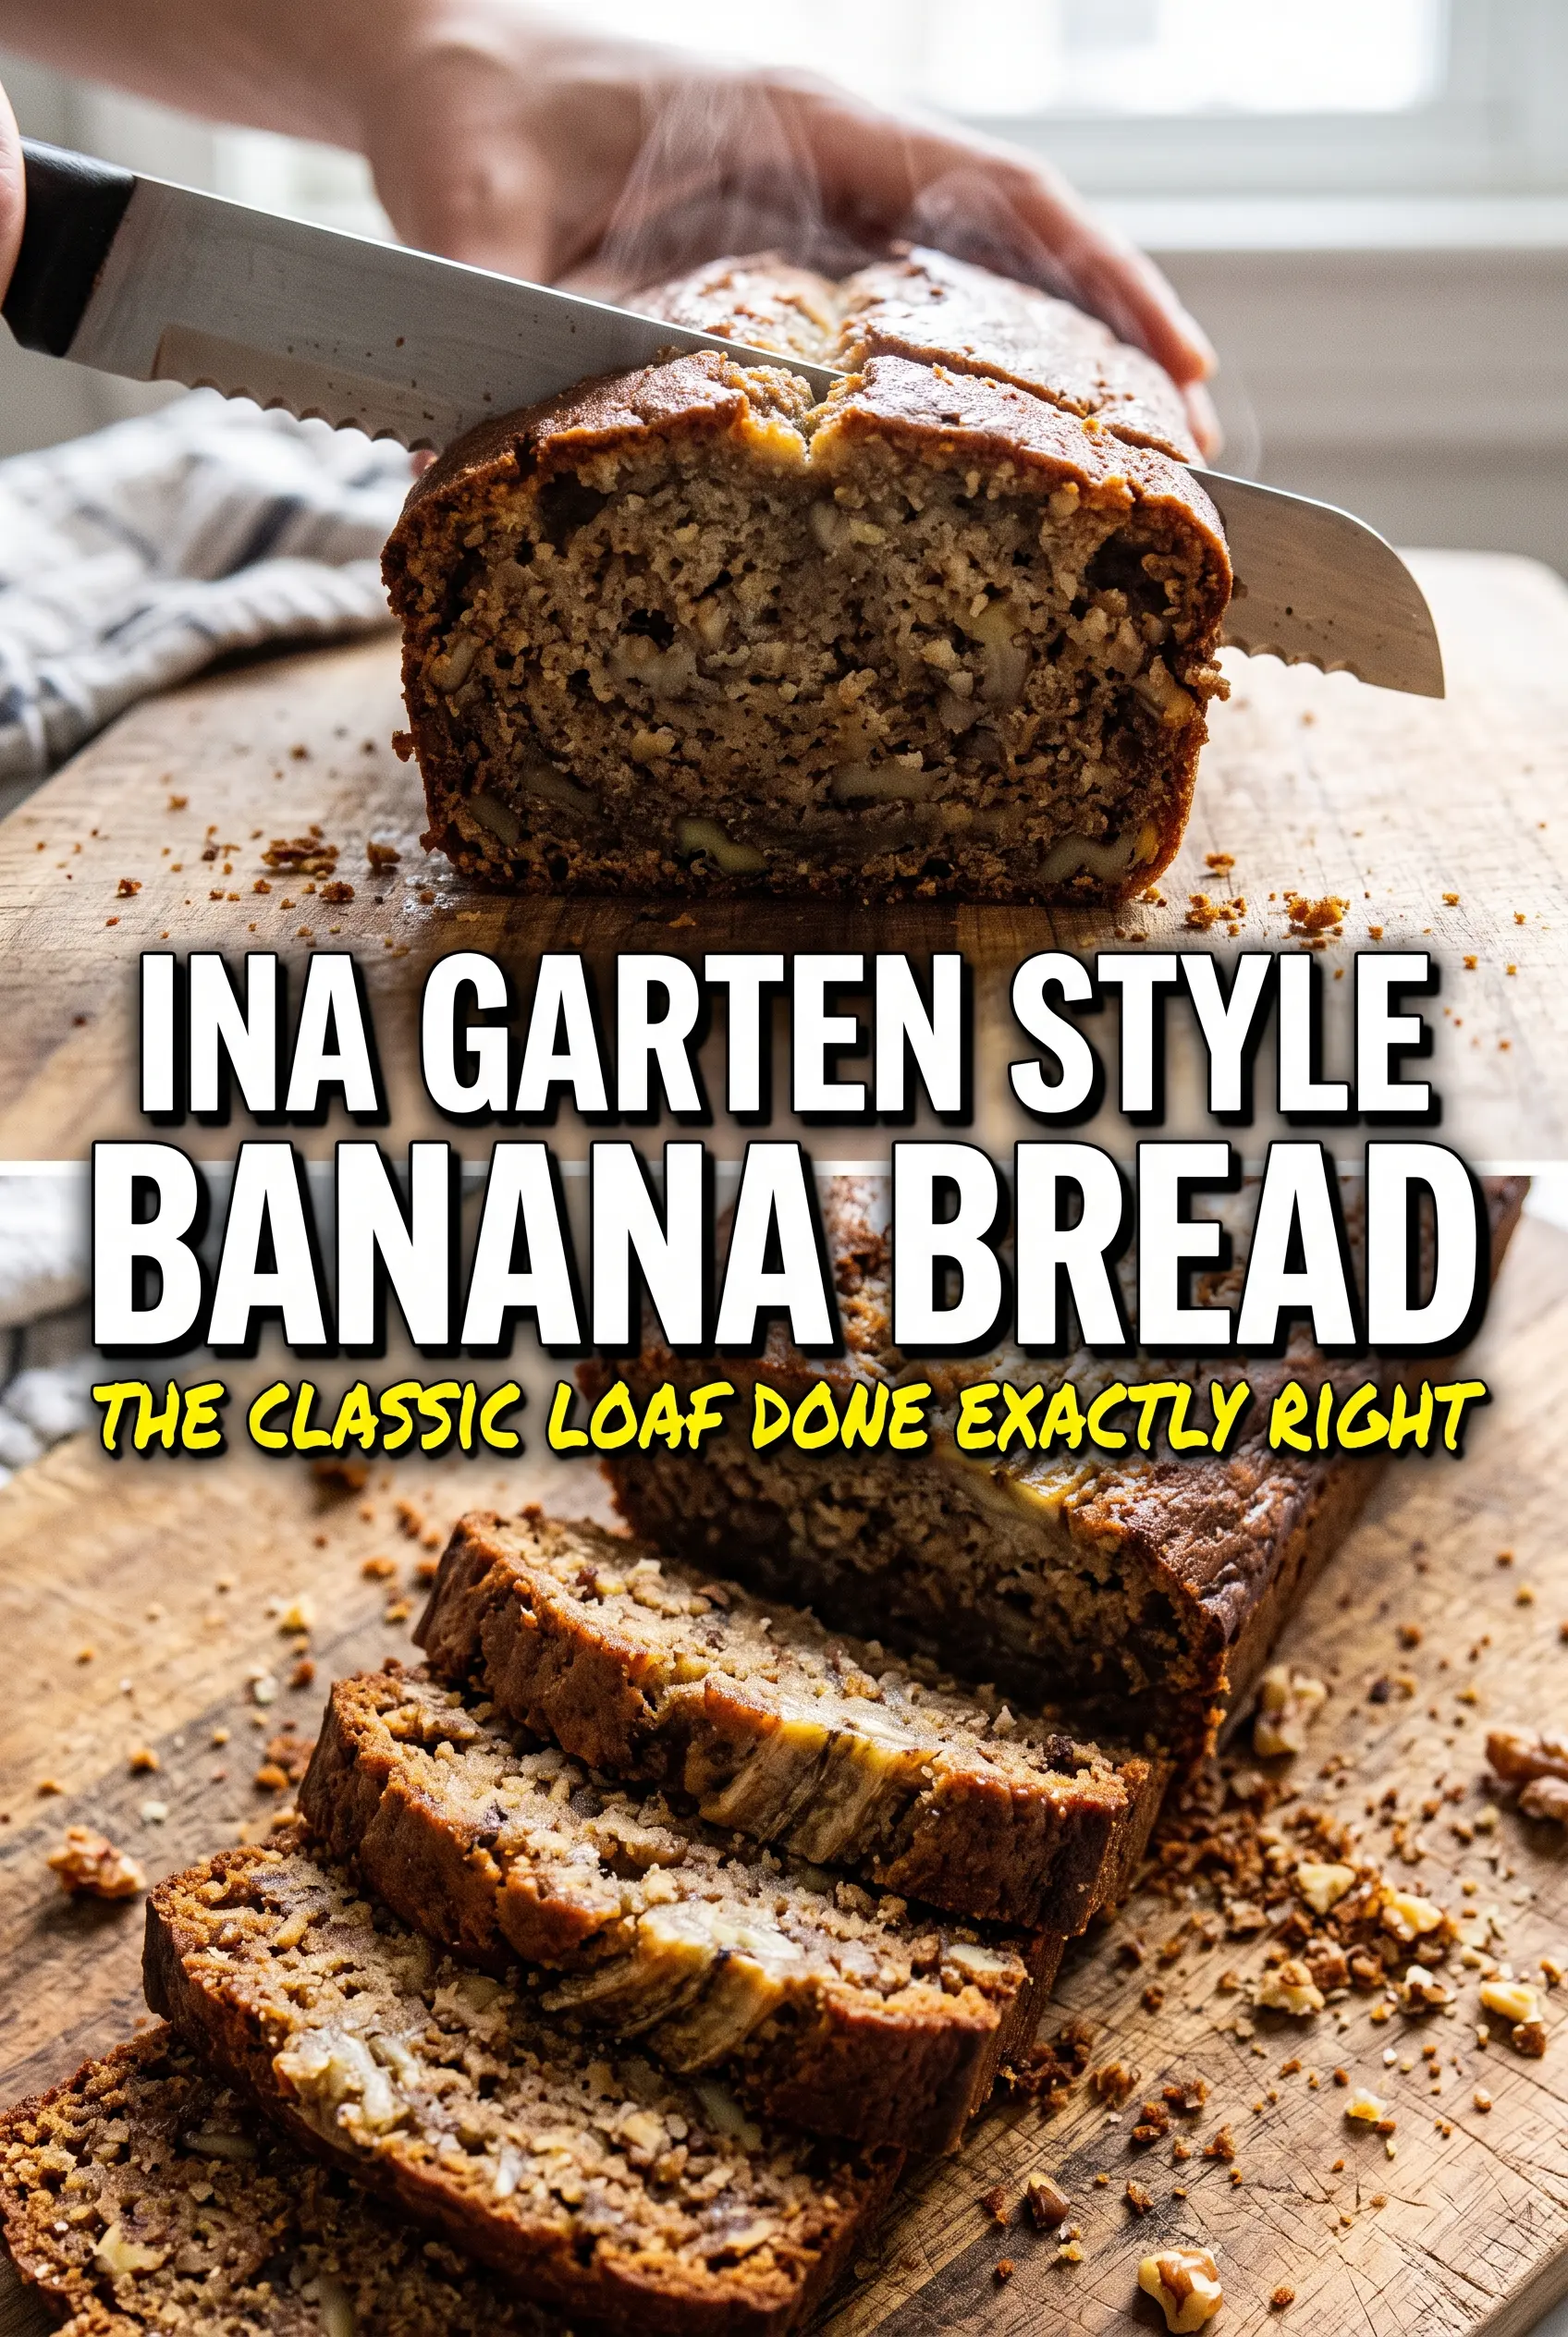
Ina Garten-Style Sour Cream Banana Bread with Walnut Topping
Ingredients
Equipment
Method
- Preheat the oven to 350°F, then grease a 9x5 loaf pan and dust with flour so the loaf releases cleanly.
- Beat the butter and sugar together until light and fluffy, about 3–4 minutes, with the mixture looking paler and airy.
- Add the eggs one at a time, beating after each, until the batter turns smooth and glossy.
- Mix in the vanilla and sour cream until fully combined, creating a thick, creamy base.
- Stir in the mashed bananas until just incorporated, with no dry banana streaks visible.
- Fold in the flour, baking soda, and salt until just combined, stopping as soon as you don’t see any flour pockets.
- Fold in the chopped walnuts so they’re evenly distributed throughout the batter.
- Pour the batter into the prepared pan, then press whole walnut halves down the center for a decorative ridge.
- Bake for 65–70 minutes at 350°F until deep golden and a toothpick inserted in the center comes out clean.
- Cool the loaf for 15 minutes before turning out so it holds its shape and sliceable crumb.