Homemade apple cider tastes rounder, deeper, and more fragrant than anything from a carton. The apples cook down until the liquid turns a clear golden amber, carrying cinnamon, clove, orange, and just enough sweetness to make the whole pot smell like you’ve been simmering it all afternoon. It’s the kind of drink that makes a house feel warm the second the lid comes off.
The biggest difference between a good cider and a thin one is time. Letting the apples simmer uncovered pulls out color and concentrates the fruit, while the final mash and strain give you body without a muddy texture. Keeping the peels and cores in the pot matters here; they add both flavor and natural pectin, which gives the cider a fuller mouthfeel.
Below, I’ve included the one step people tend to rush, the ingredient that matters most for balance, and a few easy ways to adjust the sweetness or make it work for a crowd.
The cider got that deep apple flavor after simmering, and straining it made it smooth instead of pulpy. I added a little extra vanilla at the end and it tasted like it came from a farm stand.
Save this homemade apple cider for the day you want a pot of spiced, from-scratch comfort on the stove.
The Apple Peels Are Doing More Than You Think
It’s tempting to peel and core everything before it goes into the pot, but that strips out some of the best things in homemade cider. The peels give the liquid its deep color, and the cores add natural pectin, which helps the finished cider feel fuller instead of watery. You’re not making applesauce here, so there’s no need to fuss over perfect cutting or neat prep.
The other mistake is boiling too hard for too long. A gentle uncovered simmer pulls flavor from the apples and spices without cooking the cinnamon and clove into something harsh. If the pot is at a rolling boil, the liquid can reduce too fast before the apples have time to collapse and release their flavor.
- Mixed apples — Using both sweet and tart apples gives the cider more balance. Honeycrisp and Fuji bring sweetness, while Granny Smith keeps it bright.
- Orange slices — The orange should go in with the apples, not at the end. That slow simmer pulls out the citrus oils without making the cider bitter.
- Star anise — This adds a faint licorice note that makes the cider taste deeper and more spiced. One or two extra pods can take over fast, so don’t overdo it.
- Brown sugar or maple syrup — Start small and add more after straining. The sweetness concentrates as the cider reduces, so it’s easier to adjust at the end than fix an overly sweet pot.
How to Turn Apples Into Cider Without Ending Up With Apple Soup
Building the Base
Put the apples, cinnamon sticks, cloves, star anise, and orange slices in a large pot, then add enough water to cover them. Bring it to a boil first so the fruit starts breaking down quickly, then reduce the heat right away. The liquid should settle into a steady simmer with small bubbles moving across the surface, not a hard boil that slaps the fruit around and clouds the cider.
The Long Simmer
Let the pot cook uncovered for about 2 hours, stirring now and then, until the apples are collapsing and the liquid tastes strongly of spice and fruit. Uncovered simmering matters because it lets the cider reduce and concentrate. If the pot looks too low on liquid before the apples soften, add just enough water to keep them partially submerged.
Mashing for More Flavor
Once the apples are very soft, mash them with a potato masher and keep simmering for another 30 minutes. This step pulls out the last bit of juice from the fruit and gives the cider a deeper apple body. If you skip it, the cider can taste thin even if it smells wonderful.
Straining and Sweetening
Strain the mixture through a fine mesh sieve, pressing the pulp to extract every bit of liquid. Stir in the brown sugar and vanilla while the cider is still warm so they dissolve evenly, then taste and adjust. If it tastes flat, it usually needs a pinch more sweetness or a little more orange; if it tastes sharp, let it sit for a few minutes and taste again before adding more sugar.
Three Ways to Make This Cider Fit Your Table
Dairy-Free and Naturally Vegan
This cider already fits both, as long as you use maple syrup instead of brown sugar if you want a fully plant-based sweetener. The flavor stays round and warm, and the maple adds a little extra depth without changing the texture.
Sweeter or Brighter Cider
For a sweeter finish, add the sugar in small amounts after straining. For a brighter, tarter cider, use more Granny Smith apples and hold back on the sweetener until the end. The cider should taste like concentrated apples first, spice second, and dessert only if you want it to.
Making It Ahead for a Crowd
You can make the cider a day or two ahead and rewarm it gently before serving. The flavor often improves overnight because the spices settle in, but keep the heat low when reheating so the cinnamon and clove don’t turn sharp.
Storage and Reheating
- Refrigerator: Store in a covered container for up to 5 days. The spices will keep infusing, so the flavor deepens a bit over time.
- Freezer: Freeze for up to 3 months in freezer-safe containers, leaving room for expansion. Thaw overnight in the fridge before reheating.
- Reheating: Warm it slowly over low heat on the stove. Don’t boil it again or the spice flavors can get muddy and the fresh apple note fades.
Answers to the Questions Worth Asking
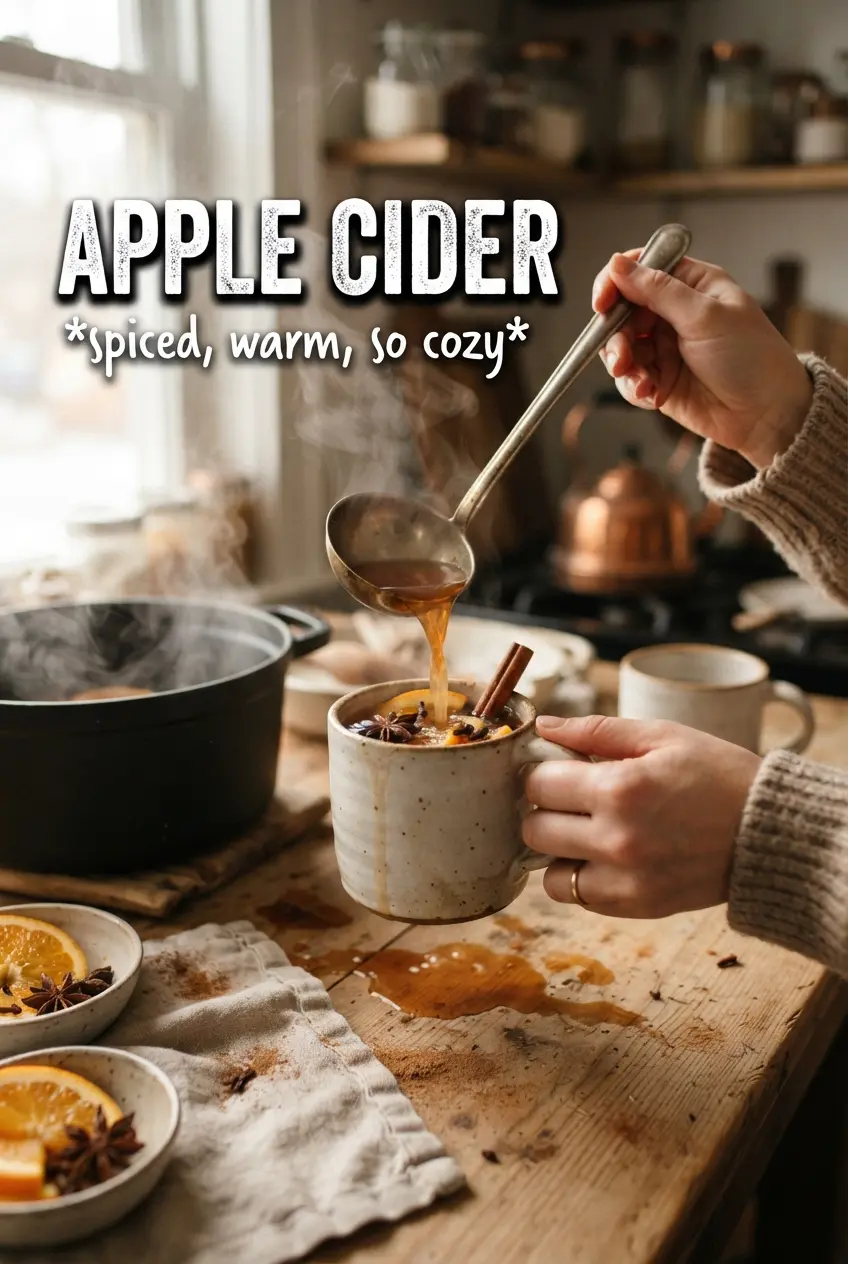
Apple Cider
Ingredients
Equipment
Method
- Place the quartered apples, cinnamon sticks, whole cloves, star anise, and sliced orange into a large Dutch oven, leaving the apples unpeeled and uncored so the skins and cores add color and pectin. Add enough water to cover the fruit and spices.
- Bring the mixture to a boil over high heat, then immediately reduce to a low simmer. Keep it simmering uncovered for 2 hours until the apples are very soft and the liquid is flavorful.
- Mash the softened apples with a potato masher while they are still in the simmering liquid. Simmer uncovered for 30 more minutes to further break down the fruit.
- Strain the cider through a fine-mesh sieve, pressing the pulp firmly to extract all the liquid. Discard the solids.
- Stir in the brown sugar or maple syrup and the vanilla extract, then taste and adjust the sweetness to your preference. Heat gently for 2 minutes if needed to dissolve sweetness, keeping the mixture at a low simmer.
- Serve the apple cider warm in mugs, garnished with additional cinnamon sticks and orange slices. Let it sit 1 minute so the spices settle before sipping, and enjoy with visible steam rising.