Roasted garlic butternut squash pasta lands on the table with that silky, coated-everywhere kind of richness that makes a bowl go quiet for a minute. The squash turns sweet and velvety in the oven, the garlic goes soft and mellow, and the sauce clings to rigatoni in a way that feels far more luxurious than the ingredient list looks on paper. Crispy sage on top keeps it from tasting flat, and the parmesan sharpens the whole thing just enough to keep every bite moving.
The key is roasting both the squash and the garlic until they’re completely tender, not just browned on the outside. If the squash isn’t soft enough to blend into a puree, the sauce will stay grainy. If the garlic still feels firm, it won’t melt into the sauce the way it should. Blending the roasted vegetables with broth, cream, and a little pasta water gives you a sauce that’s smooth, spoonable, and easy to loosen at the end without thinning out the flavor.
Below, you’ll find the little details that make this pasta work: how to keep the sauce creamy, why the pasta water matters, and what to change if you want a lighter or dairy-free version.
The sauce turned out silky and coated the rigatoni perfectly, and the crispy sage on top made it taste like something from a nice restaurant.
Save this roasted garlic butternut squash pasta for the nights when you want a creamy, cozy sauce that clings to every bite.
The Part That Keeps This Sauce Silky Instead of Grainy
The biggest mistake with squash pasta is stopping the roast too early. Butternut squash needs enough time in the oven to collapse into something you can blend completely smooth; if the center still has any firmness, the sauce will taste chalky and look a little broken no matter how long you stir it on the stove. The garlic matters just as much. Roasted garlic should squeeze out like paste, not chunks, or it won’t disappear into the sauce.
Broth and cream work together here, but they don’t do the same job. The broth loosens the puree without making it heavy, and the cream gives the sauce its rounded, glossy finish. Parmesan goes in after the sauce has had a minute to simmer, not before. If you add it to a boiling sauce, it can turn stringy or clump up instead of melting cleanly.
- Butternut squash — Roast it until the flesh is deeply tender all the way through. That’s what gives the sauce its body and natural sweetness.
- Garlic — One head may sound like a lot, but roasted garlic turns mellow and almost buttery. Raw garlic would overpower the sauce.
- Parmesan — Use finely grated parmesan, not big shreds, so it melts smoothly into the sauce.
- Vegetable broth — This keeps the sauce savory and helps it blend without turning heavy. Chicken broth works if that’s what you have, but the flavor will shift slightly.
What Each Ingredient Is Doing in the Bowl
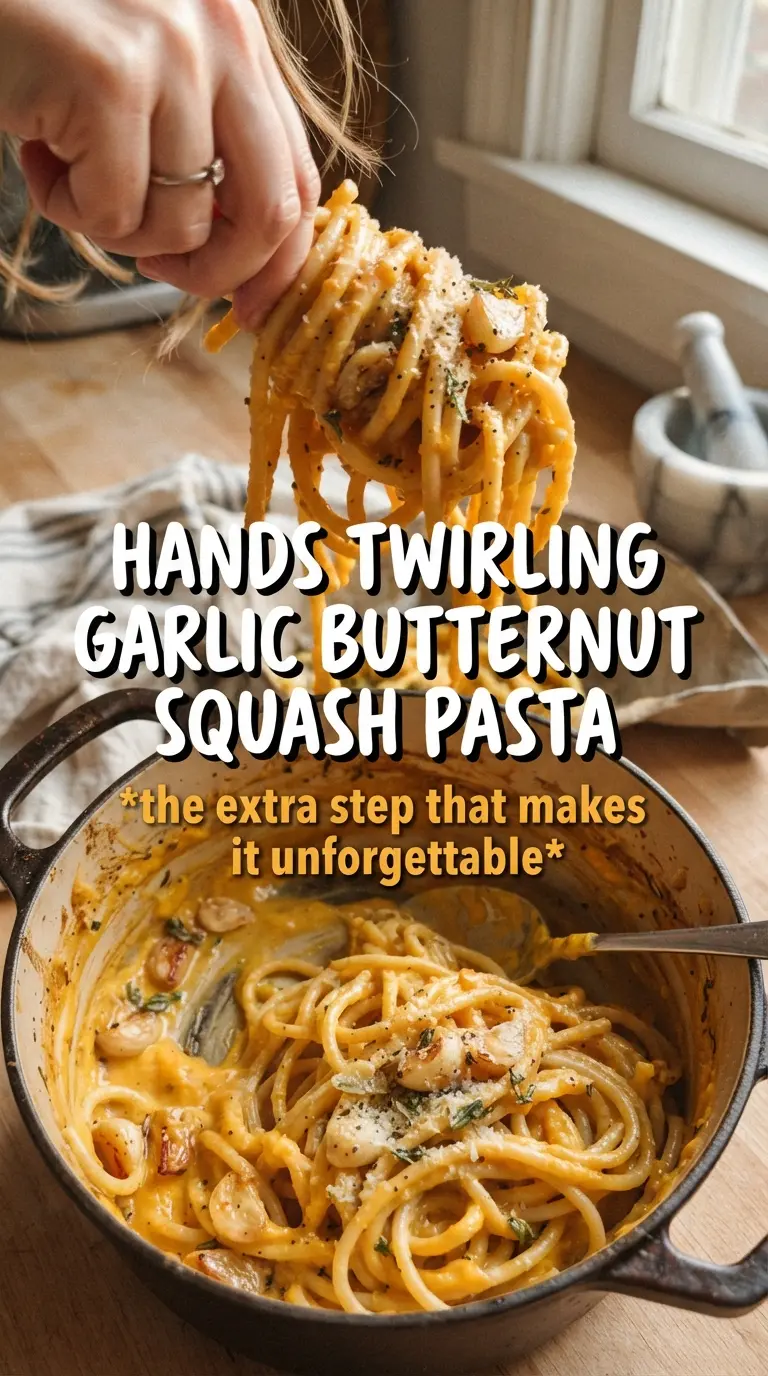
- Rigatoni or penne — Short pasta with ridges catches the sauce better than long noodles. If you use a smooth pasta, the sauce slides off more easily.
- Heavy cream — This gives the sauce its lush finish. Half-and-half will work in a pinch, but the sauce will be thinner.
- Nutmeg — Just a little is enough to make the squash taste fuller and warmer without calling attention to itself.
- Red pepper flakes — They don’t make the pasta spicy; they keep the sweetness of the squash from taking over.
- Fresh sage — Crisped in oil, it adds crunch and an earthy finish that cuts through the creaminess.
- Pasta water — This is what helps the sauce coat the pasta instead of sitting in the bowl. Add it a splash at a time until the sauce loosens and clings properly.
Blending, Simmering, and Tossing Everything Together
Roasting the Squash and Garlic Until They Collapse
Set the oven to 425F and give both the squash and garlic enough time to become completely soft. The squash is ready when a fork slides through the flesh with no resistance and the edges have started to caramelize. The garlic is ready when the cloves feel loose inside the skin and smell sweet, not sharp. If either one goes into the blender undercooked, you’ll end up working against tiny bits that never fully disappear.
Turning the Roast Into a Sauce
Scoop the squash into a blender, squeeze in the roasted garlic, then add the cream, broth, nutmeg, and red pepper flakes. Blend until the mixture looks smooth and glossy, with no visible fibers or chunks. If the mixture seems too thick to move, add a little more broth. Don’t add all the pasta water here; you want the sauce thick enough to cling before the pasta goes in.
Finishing in the Pan
Warm the sauce gently for a few minutes after blending, then stir in the parmesan until it disappears. Add the cooked pasta and toss it well, adding pasta water a splash at a time until every piece is coated. The finished sauce should look creamy and loose in the pan, then settle into a clingy coating once it hits the pasta. Finish with the fried sage just before serving so it stays crisp.
How to Adjust This Pasta Without Losing What Makes It Good
Dairy-Free But Still Creamy
Swap the heavy cream for full-fat coconut milk or an unsweetened oat cream and use a dairy-free parmesan-style topping if you want the same creamy texture without the dairy. Coconut milk adds a faint sweetness, so keep the red pepper flakes and sage in place to balance it out.
Make It a Little Lighter
Use half-and-half instead of heavy cream and add a touch more pasta water at the end. The sauce won’t be quite as rich, but it will still coat the pasta well if you let it simmer briefly after blending.
Gluten-Free Pasta Swap
Use a sturdy gluten-free short pasta and cook it just to al dente. Gluten-free pasta can break down fast once it hits a hot sauce, so toss it in at the very end and serve right away.
Add Protein Without Changing the Sauce
Toss in browned Italian sausage, roasted chicken, or sautéed mushrooms after the pasta is coated. Mushrooms are the best match if you want to keep the earthy squash-and-sage balance intact.
Storage and Reheating
- Refrigerator: Store in an airtight container for up to 4 days. The sauce thickens as it sits, so the pasta may look a little dense after chilling.
- Freezer: The sauce freezes well on its own for up to 2 months. Freeze the pasta separately if you can; cooked pasta gets soft after thawing.
- Reheating: Warm gently on the stove with a splash of broth, milk, or water. High heat can make the sauce tighten up and turn pasty before it loosens again.
Questions I Get Asked About This Recipe
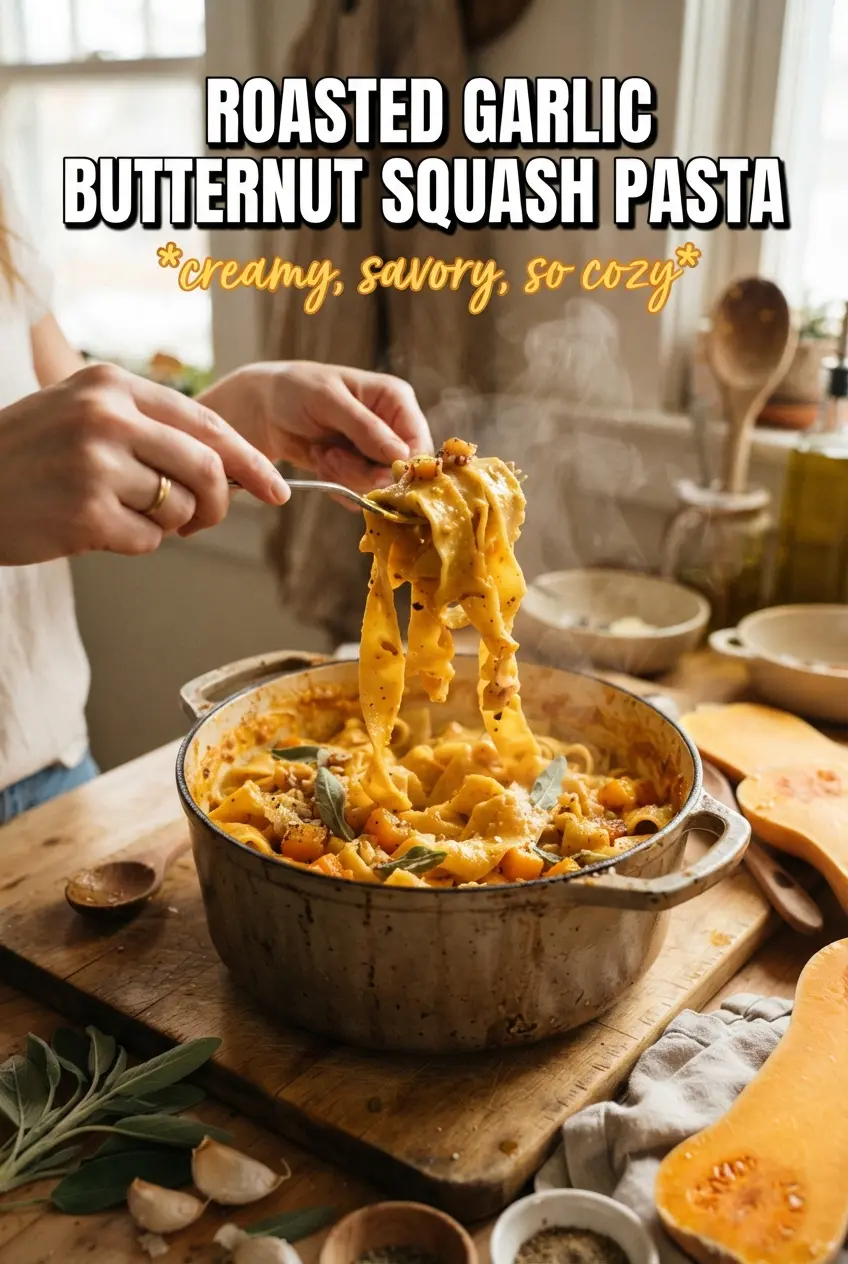
Roasted Garlic Butternut Squash Pasta
Ingredients
Equipment
Method
- Preheat the oven to 425F. Brush the butternut squash halves and the garlic head with olive oil, then season with salt and pepper.
- Roast in the preheated oven for 35-40 minutes for the squash and 35 minutes for the garlic, until completely tender and golden at the edges.
- Scoop the squash flesh from the skins and squeeze the roasted garlic cloves out of their skins into a blender.
- Add the roasted squash, roasted garlic, heavy cream, vegetable broth, nutmeg, and red pepper flakes, then blend until very smooth.
- Pour the blended sauce into a saucepan and simmer for 5 minutes, then stir in the parmesan until melted and glossy.
- Toss the cooked rigatoni or penne with the sauce and pasta water, then season with additional salt and pepper as needed for balance.
- Top the pasta with the crispy fried sage and serve hot.