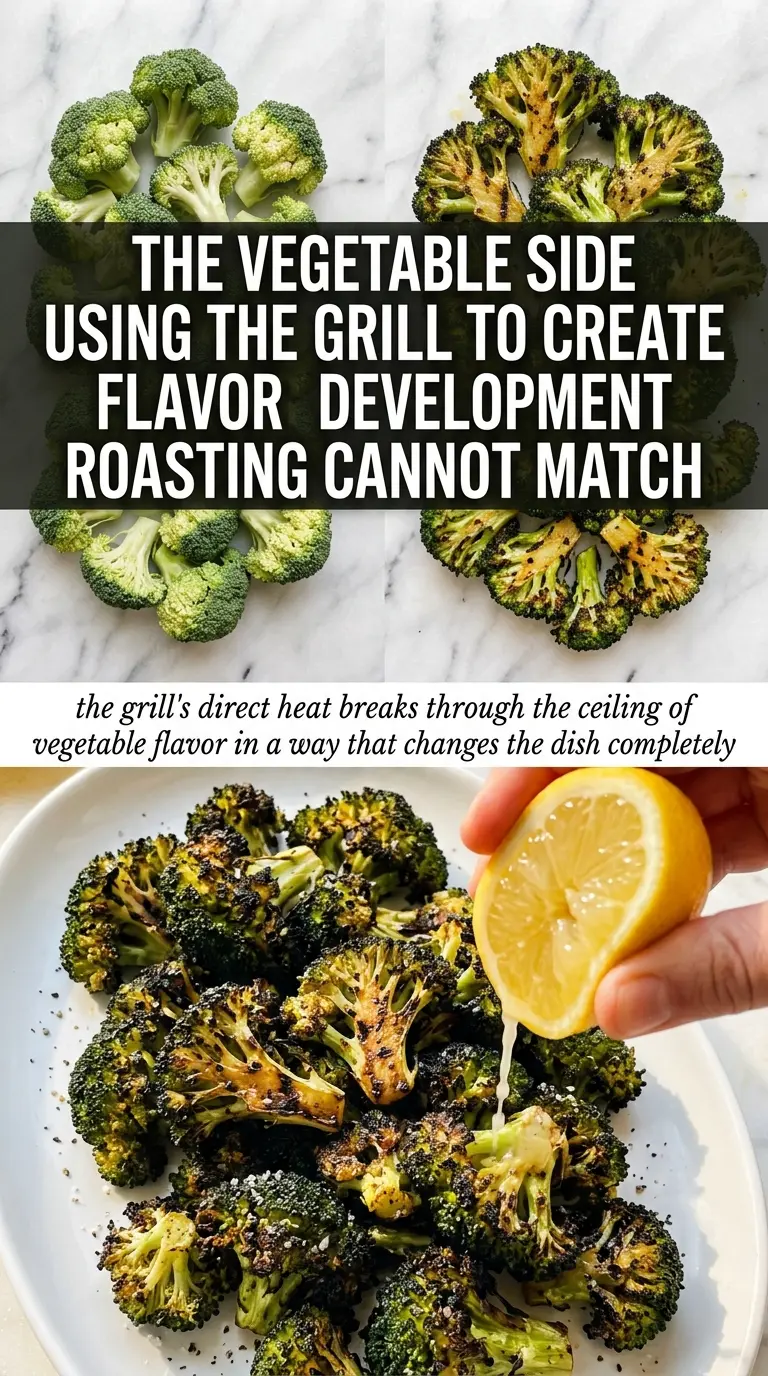
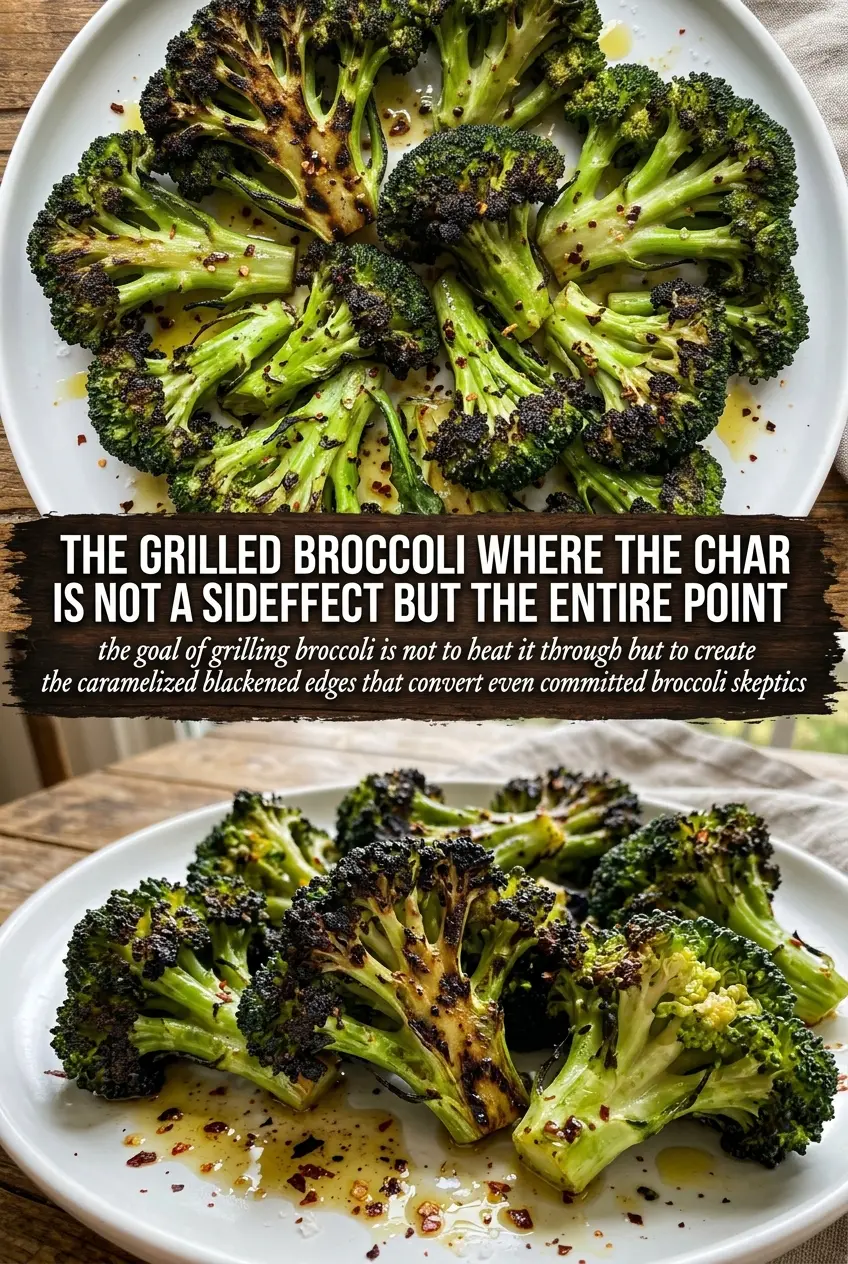
Charred broccoli on the grill gets edges that crisp up and pick up a smoky bite you just can’t get from the oven alone. The florets stay tender inside, but the outside takes on those dark, blistered spots that make every forkful taste deliberate instead of like an afterthought.
The trick is a quick blanch before it ever hits the grill. That short boil softens the stems just enough so the broccoli cooks through before the leaves burn, and it also helps the florets hold onto the lemon-garlic seasoning. A fast toss in olive oil keeps everything from sticking, while the lemon zest goes in with the oil instead of waiting until the end so the aroma gets carried right onto the hot grill.
Below, I’ve included the part most people skip: how to keep the broccoli from turning mushy or falling through the grates, plus a few smart ways to change it up without losing that charred, bright finish.
The broccoli came off the grill with crisp edges and tender stems, and the lemon-garlic coating stuck instead of sliding off. Even my husband, who usually passes on vegetables, went back for seconds.
Grilled Broccoli with lemon-garlic char and crispy edges is the side dish worth keeping on repeat.
The Blanching Step That Keeps the Broccoli Tender, Not Tough
Broccoli gets stubborn on the grill when the stems are still raw in the center. That’s why the quick blanch matters here. Two minutes in boiling water takes the edge off the toughest part of the stalk without cooking the florets into submission, so the grill can do what it does best: add char and smoke instead of trying to soften everything from scratch.
The other payoff is control. Once the broccoli is partially cooked, you only need a few minutes per side over medium-high heat. If you skip the blanch, the outside burns before the inside gets tender. If you blanch too long, the broccoli turns soft and loses the texture that makes grilled vegetables worth making in the first place.
- Blanching — This is what keeps the stems snappy-tender instead of woody. Drain the broccoli well afterward; extra water washes off the seasoning and causes steaming on the grill.
- Cut size — Large florets are easier to turn and less likely to fall through the grates. Keep the stems attached where you can, since they help anchor the pieces.
- Medium-high heat — Hot enough for char, but not so hot that the garlic burns before the broccoli finishes. If your grill runs fierce, move the broccoli to a cooler spot after the first side picks up color.
What Each Ingredient Is Doing in This Grilled Broccoli
- Broccoli — Two large heads give you enough structure for the grill and enough surface area for char. Fresh broccoli with tight florets holds up best; older broccoli can dry out faster and taste woody at the stem.
- Olive oil — This helps the seasoning cling and protects the florets from sticking to the grates. A decent everyday olive oil is fine here; save the fancy finishing oil for the platter.
- Garlic — Fresh minced garlic gives the broccoli its punch, but it burns quickly. Toss it in with the oil so it coats the florets evenly, and keep the grill temperature steady so it turns fragrant instead of bitter.
- Lemon zest and juice — Zest brings the bright citrus aroma, while juice adds the sharp finish. Use both; if you only use juice, the flavor tastes thinner and more one-note.
- Parmesan — This adds salt and a nutty finish right at the end. Use finely grated Parmesan so it melts slightly on the hot broccoli instead of clumping on top.
How to Get the Char Without Burning the Garlic
Blanch and Dry the Broccoli Well
Drop the florets into boiling water for about two minutes, just until the color turns a brighter green. Drain them thoroughly and let the steam escape for a minute or two. If you rush this and leave water clinging to the broccoli, the grill will steam it instead of browning it.
Toss for Even Coating
Mix the warm broccoli with olive oil, garlic, lemon zest, lemon juice, salt, pepper, and red pepper flakes if you’re using them. The broccoli should look lightly coated, not slick or oily. Too much oil can drip and flare on the grill, while too little leaves the florets dry and prone to sticking.
Grill Until the Edges Darken
Lay the broccoli directly over medium-high heat and let it sit long enough to mark before turning. You want deep char in spots and crisp-tender stems, not a full black crust. If the garlic starts to look too dark too fast, move the florets to a slightly cooler part of the grill and keep going there.
Finish While It’s Hot
Move the grilled broccoli to a platter and shower it with Parmesan while it’s still steaming. That last hit of heat helps the cheese soften just enough to cling. A squeeze of extra lemon over the top wakes everything up if the flavor needs a little more lift right before serving.
Three Ways to Change the Finish Without Losing the Char
Dairy-Free With the Same Bright Edge
Skip the Parmesan and finish with a little extra lemon zest and a pinch of flaky salt. You lose the nutty, salty finish from the cheese, but the broccoli stays cleaner and brighter, and the char still carries the whole dish.
Spicier Broccoli for a Bigger Kick
Double the red pepper flakes or add a pinch of smoked paprika to the oil mixture. The paprika deepens the grill flavor, while the extra heat gives the charred edges a sharper finish without changing the texture.
No Grill, Same Idea
Use a very hot cast-iron skillet or grill pan and work in batches so the florets have room to brown. You won’t get the same open-flame smoke, but you’ll still get crisp, dark edges and tender stems if the pan stays hot and you don’t crowd it.
Make It Ahead for a Crowd
Blanch and season the broccoli a few hours ahead, then grill it close to serving time. The texture holds better that way than grilling early and reheating, which softens the edges and dulls the lemon.
Storage and Reheating
- Refrigerator: Store leftovers in an airtight container for up to 3 days. The broccoli softens a bit, but it still tastes good cold or rewarmed.
- Freezer: I don’t recommend freezing this. The florets turn watery and lose the crisp edges that make the recipe worth making.
- Reheating: Warm it in a hot skillet or under the broiler for a few minutes until the edges perk back up. The biggest mistake is microwaving it until it steams, which wipes out the char and makes the broccoli limp.
Questions I Get Asked About This Recipe
Grilled Broccoli
Ingredients
Equipment
Method
- Bring a pot of boiling water to a boil, then blanch the broccoli florets for 2 minutes. The florets should brighten in color and begin to tenderize at the edges.
- Drain the broccoli well in a colander and shake off excess water. Let it sit briefly so the surface looks dry before grilling.
- In a large bowl, toss the drained broccoli with olive oil, minced garlic, lemon zest, lemon juice, salt, and pepper. Coat thoroughly so florets glisten with seasoning.
- Finish tossing until the garlic and lemon are evenly distributed across the florets. You should see small specks of garlic clinging to the broccoli surface.
- Preheat your grill to medium-high heat, about 400°F (204°C). Arrange broccoli on the grate in a single layer so char marks can form.
- Grill the broccoli for 4-5 minutes per side until charred and tender. Look for dark grill marks and a slight give when pierced with a fork.
- Transfer the charred broccoli to a serving platter immediately. Spread it out to keep the edges from steaming.
- Sprinkle with red pepper flakes and Parmesan cheese if desired, then serve with lemon wedges. The surface should look speckled and lightly glossy.