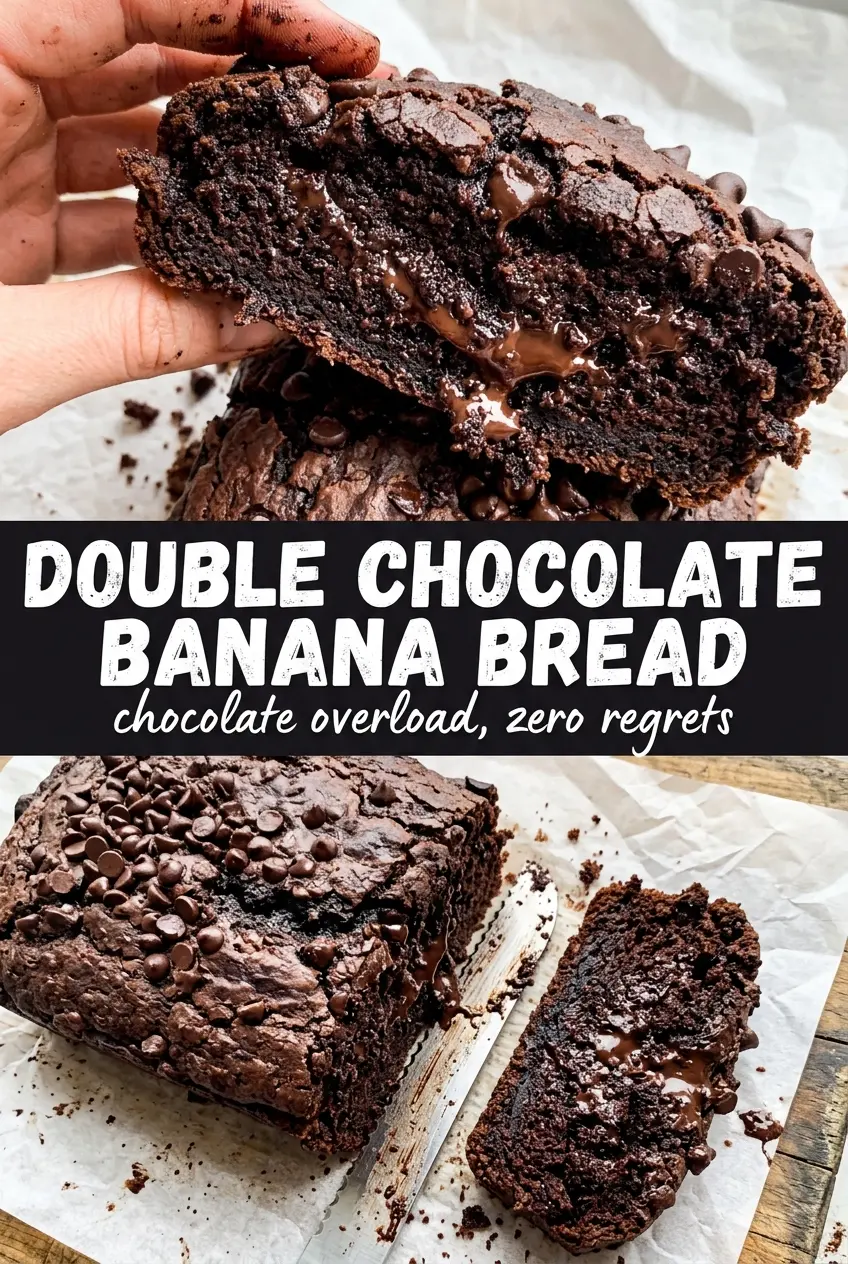
Double chocolate banana bread lands with a deep cocoa aroma, a fudgy crumb, and those little pockets of melted chocolate that make each slice feel halfway between breakfast and dessert. The top bakes into a crackly shell while the center stays tender and rich, especially if your bananas are fully ripe and speckled. It’s the kind of loaf that disappears fast because one slice never quite feels like enough.
This version works because the banana brings moisture, the cocoa brings depth, and the melted butter keeps the crumb soft without turning it greasy. Sifting the dry ingredients helps the cocoa disperse evenly, which matters more here than in a plain banana bread because cocoa likes to clump and can leave you with bitter pockets. Folding in most of the chocolate chips gives you little bursts throughout the loaf, while the handful on top creates that glossy, bakery-style finish.
Below, you’ll find the small details that keep this loaf from sinking in the middle, plus the swaps that still give you a dark, fudgy result when you need to work around what’s in the pantry.
The loaf came out incredibly fudgy, and the chocolate chips on top formed that shiny crackly lid I always want in chocolate banana bread. I baked mine 63 minutes and it sliced cleanly once it cooled.
Save this double chocolate banana bread for the days when you want a dark, fudgy loaf with melted chocolate chips in every bite.
The Secret to a Fudgy Loaf Instead of a Dry One
The difference between a rich chocolate banana loaf and a dry one usually comes down to two things: how much flour gets packed into the cup and how long the batter is mixed. Bananas bring a lot of moisture, but cocoa powder absorbs it fast, so the batter should look thick and glossy, not loose or pourable. If it looks cake-like before baking, the loaf can rise quickly and then sink as it cools.
Mix only until the dry streaks disappear. Overmixing develops the flour and makes the loaf bouncy instead of tender, which is the opposite of what you want here. The melted chocolate chips on top also help you judge the bake; when they’re shiny and the center gives just a little under pressure, the loaf is close.
What Each Ingredient Is Actually Doing in This Loaf
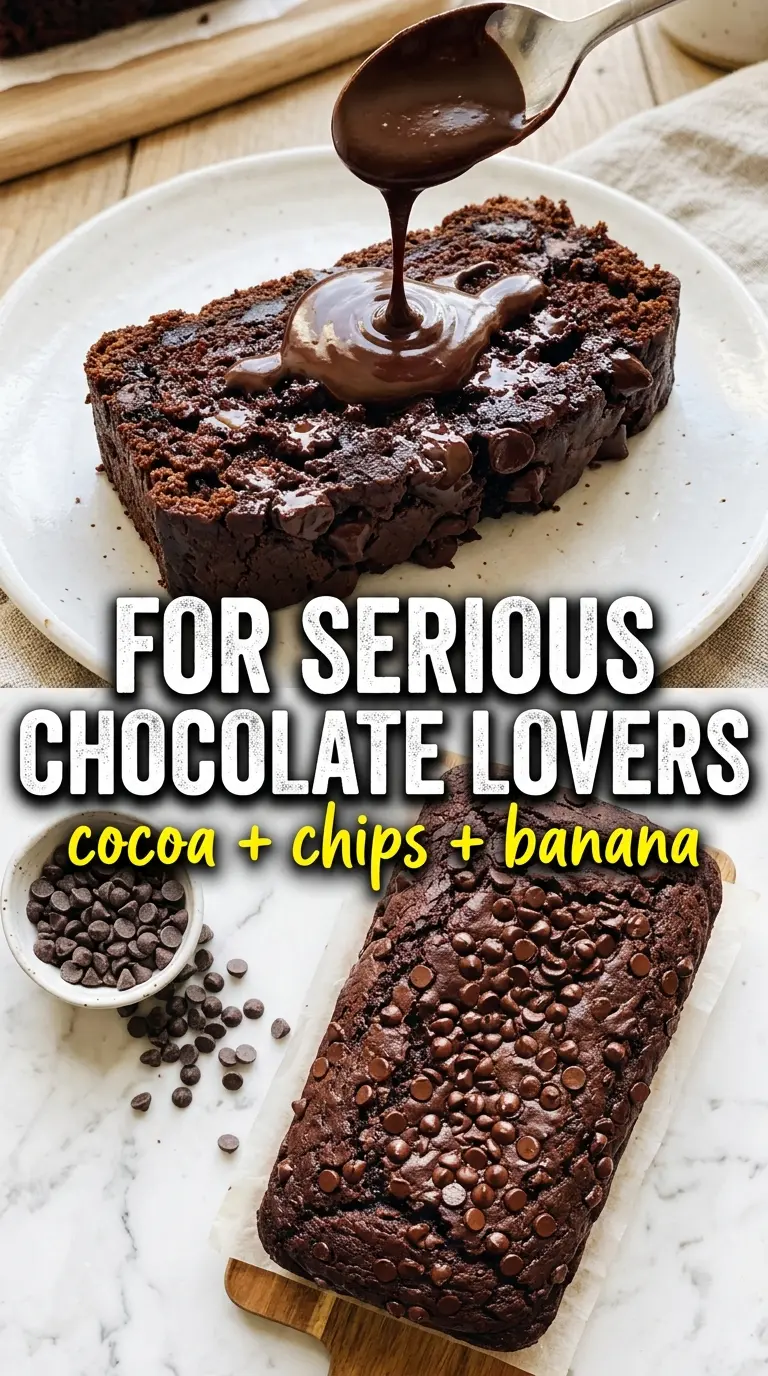
- Ripe bananas — The darker and spottier they are, the better the flavor and texture. Under-ripe bananas won’t give you the same sweetness or moisture, and this loaf depends on both.
- Melted butter — This gives the bread a dense, brownie-like crumb and helps the loaf slice cleanly once cooled. Oil works in a pinch, but butter gives more flavor and a firmer set.
- Cocoa powder — This is where the deep chocolate flavor comes from, so use unsweetened cocoa with a strong aroma. Dutch-process cocoa will make the loaf darker and smoother, while natural cocoa gives a slightly sharper chocolate edge.
- Chocolate chips — Semi-sweet chips keep the loaf from tasting too sweet, while dark chips push it farther into dessert territory. Save part of them for the top so the surface bakes into that crackly, melted finish.
- All-purpose flour — This gives the loaf enough structure to rise without turning cakey. Swapping in a heavy gluten-free blend works only if it includes xanthan gum or a similar binder.
Building the Batter and Knowing When to Stop
Whisking the Wet Base
Start with the mashed bananas, melted butter, sugar, eggs, and vanilla, and whisk until the mixture looks smooth and glossy. A few banana bits are fine, but large lumps make the loaf bake unevenly. If the butter is too hot, it can scramble the eggs, so let it cool a minute or two after melting.
Bringing in the Dry Ingredients
Sift the flour, cocoa powder, baking soda, and salt together before adding them to the bowl. Cocoa clumps easily, and those little pockets never mix out once they’re in the batter. Fold gently with a spatula and stop as soon as the flour disappears; if you keep stirring, the loaf turns tough and loses that dense, fudgy texture.
Finishing with the Chocolate Chips
Fold in most of the chips, then scatter the rest across the top after the batter goes into the pan. That top layer isn’t just for looks — it creates the glossy, melted finish that makes this loaf stand out. Bake until the top looks very dark and set, but not wet in the center; a toothpick should come out with a few moist crumbs, not raw batter.
How to Adapt This for Different Kitchens and Different Cravings
Make It Dairy-Free
Swap the butter for melted coconut oil or a neutral dairy-free baking stick. Coconut oil keeps the loaf rich, but it adds a faint coconut note; a baking stick gives the cleanest flavor if you want the chocolate to stay front and center.
Use Dark Chocolate for a More Intense Loaf
Use dark chocolate chips instead of semi-sweet if you want a less sugary loaf with a deeper cocoa finish. The crumb stays the same, but the chocolate taste gets sharper and more grown-up.
Turn It Into Muffins
Divide the batter into a lined muffin tin and bake at the same temperature for about 18 to 22 minutes. You’ll lose a little of the loaf’s brownie-like center, but you gain crisp edges and faster baking time.
Storage and Reheating
- Refrigerator: Store tightly wrapped for up to 5 days. The loaf gets a little firmer in the fridge, which actually helps the chocolate flavor stand out.
- Freezer: It freezes well. Wrap the cooled loaf or individual slices tightly and freeze for up to 3 months.
- Reheating: Warm slices in the microwave for 10 to 15 seconds or in a low oven until just heated through. Don’t overheat it or the chocolate will seize up and the crumb can dry out fast.