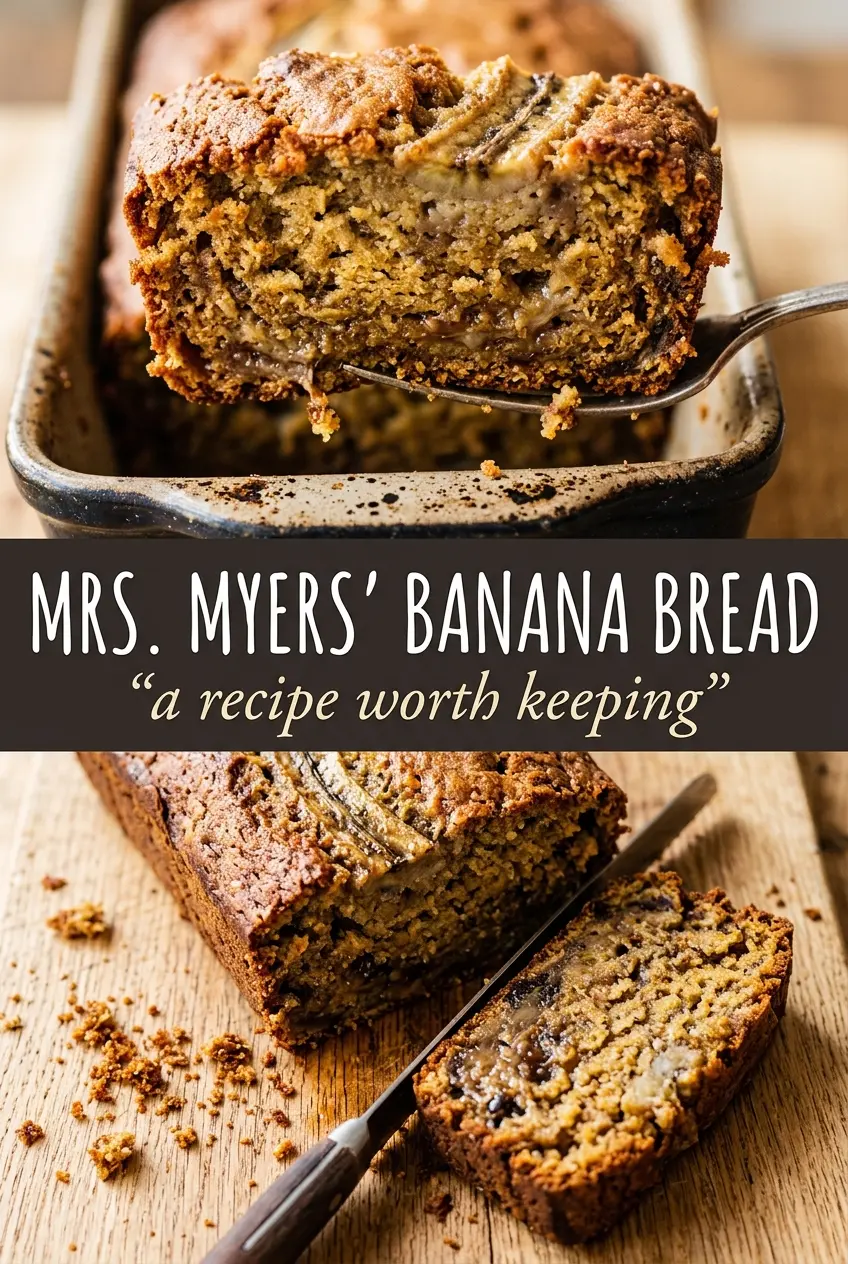
Mrs. Myers’ Banana Bread bakes up with a cracked, golden top and a soft crumb that stays moist for days. It tastes like the version people remember from childhood kitchens: simple, sturdy, and full of banana without turning gummy or overly sweet. The loaf slices cleanly once it has rested, which matters more than it gets credit for.
The texture comes from the way the batter is built. Creaming the shortening or butter with sugar gives the loaf a little lift, while the mashed bananas add moisture and that unmistakable old-fashioned banana bread flavor. The dry ingredients go in last, and the milk is there just to loosen the batter enough to bake evenly without making it heavy.
Below, I’ll walk through the small details that keep this loaf dependable, including the mixing order that protects the crumb and the cooling step that gives you neat slices instead of a warm, crumbling middle.
The top cracked beautifully and the center stayed so moist without being underbaked. I used the butter version and the loaf smelled amazing while it baked — my kids ate half of it warm.
Save Mrs. Myers’ Banana Bread for the days when you want a deeply golden loaf with a tender crumb and classic banana flavor.
The Crumb Stays Tender When You Don’t Overwork the Batter
Banana bread goes wrong when the flour gets stirred until the batter looks smooth. That’s how you end up with a loaf that bakes up tight and bready instead of soft and sliceable. Once the dry ingredients go in, the goal is to stop as soon as the flour disappears. A few streaks are fine; a heavy hand is not.
The other thing that matters here is the balance between moisture and structure. Three bananas is enough for strong banana flavor without flooding the batter, and the milk gives the loaf just enough looseness to rise without collapsing. If your bananas are huge and the batter starts looking loose, hold back a spoonful of milk rather than adding it all at once.
What Each Ingredient Is Actually Doing in This Loaf
- Ripe bananas — The bananas carry the flavor and the moisture. You want them heavily speckled or even fully brown, because underripe bananas taste flat and don’t mash into the right soft texture. If yours are a little short on ripeness, bake them in their skins at 300°F until the peels blacken and the fruit softens.
- Shortening or butter — Shortening gives a more old-fashioned, tender crumb and a loaf that stays soft a little longer. Butter brings better flavor and a richer aroma while baking. Either works, and the choice mostly comes down to whether you want classic texture or classic butter flavor.
- Flour — All-purpose flour gives the loaf enough structure to hold the bananas without sinking. Spoon it into the cup and level it off if you’re measuring by volume, since packing flour can make the bread dry and dense.
- Baking soda — This is what helps the loaf rise and also reacts with the bananas to deepen the color. If your soda is old, the bread can bake up flat, so use a fresh box if it’s been sitting in the pantry for a while.
- Milk — Just a little milk keeps the batter from feeling stiff after the flour goes in. Whole milk is fine, but any milk will work here, including dairy-free milk, as long as it’s plain and unflavored.
Building the Batter in the Right Order
Creaming the Fat and Sugar
Start by beating the softened shortening or butter with the sugar until the mixture looks pale and a little fluffy. This step traps air, which helps the loaf rise instead of baking up dense. If the fat is melted or too cold, it won’t cream properly, and the batter will look greasy instead of light.
Adding the Eggs and Bananas
Beat in the eggs one at a time so the batter stays smooth and emulsified. Then stir in the mashed bananas and vanilla until just combined. The mixture may look slightly curdled once the bananas go in; that’s normal and it smooths out when the flour is added.
Folding in the Dry Ingredients
Sift or whisk the flour, baking soda, and salt together before adding them. Fold them into the wet mixture alternately with the milk, stopping as soon as the batter comes together. If you keep stirring after the flour is incorporated, the loaf will lose tenderness and bake up with a tougher crumb.
Knowing When the Loaf Is Done
Pour the batter into the prepared pan and bake until the top is deep golden brown and a toothpick comes out clean from the center. The crack on top should look set and dry, not shiny and wet. Let the loaf rest in the pan for 15 minutes before turning it out, because that short rest helps it finish setting without breaking apart.
How to Make Mrs. Myers’ Banana Bread Work for Your Kitchen
Use butter for a richer slice
Butter gives the loaf a fuller flavor and a slightly more pronounced crust. The crumb still stays tender, but the finished bread tastes a little more bakery-style. If you want the softest, most old-fashioned texture, stick with shortening.
Make it dairy-free without losing the texture
Use shortening and swap the milk for an unsweetened plain non-dairy milk. The loaf still bakes up moist and tender, and you won’t lose the structure that the milk provides. Avoid anything flavored or sweetened, since that can throw off the balance of the bread.
Add walnuts without weighing down the loaf
Fold in about 1/2 cup chopped walnuts at the very end for crunch. Toss them with a spoonful of flour first so they don’t all sink to the bottom. The bread stays classic, but the texture gets a nice little contrast.
Freeze extra loaves the right way
This banana bread freezes well once it’s fully cooled. Wrap the whole loaf or individual slices tightly in plastic wrap, then again in foil or a freezer bag. Thaw at room temperature so the crumb stays soft instead of getting damp from rushed reheating.
Storage and Reheating
- Refrigerator: Keep covered at room temperature for up to 3 days, or refrigerate for up to 5 days if your kitchen is warm. The crumb firms up a bit in the fridge.
- Freezer: Freeze for up to 3 months. Wrap tightly and thaw before slicing for the best texture.
- Reheating: Warm slices in a toaster oven or microwave for just a few seconds. Don’t overheat it or the banana bread turns dry fast.
Questions I Get Asked About This Recipe
Mrs. Myers' Banana Bread
Ingredients
Equipment
Method
- Preheat oven to 350°F and grease and flour a 9x5 loaf pan, so the loaf releases cleanly.
- Cream shortening or butter with sugar until light and fluffy, about 2–3 minutes, for a tender crumb.
- Add eggs one at a time, beating well after each, until the mixture looks smooth and evenly combined.
- Stir in mashed bananas and vanilla until combined, with no dry banana streaks visible.
- Sift flour, baking soda, and salt together, then fold into the banana mixture alternating with the milk.
- Pour batter into the prepared loaf pan and smooth the top with a gentle visual level cue.
- Bake at 350°F for 60–70 minutes until a toothpick comes out clean and the top is a deep golden brown.
- Cool in the pan 15 minutes before turning out, so the loaf firms up and holds its shape.
- Rest fully before slicing for the cleanest cut, with the slice staying moist and intact.