Golden, lightly sweet banana bread with a tender crumb and a soft, cakey center doesn’t need a long ingredient list to be worth making. This three-ingredient version bakes up with just enough structure to slice cleanly, while still staying moist from the bananas and soft enough to eat warm with a little butter. It’s the kind of loaf that disappears fast because it tastes like you put in more effort than you did.
The key is using bananas that are past the point of plain snacking and into deep-speckled, fragrant territory. Those bananas mash smoothly, sweeten the loaf naturally, and keep the texture from turning dry. Self-rising flour does a lot of the work here, which is why this recipe stays simple without baking like a dense brick.
Below, you’ll find the little details that matter: how smooth the bananas should be, why the pan size changes the bake time, and what to do if you only have all-purpose flour on hand.
I mashed the bananas until they were almost completely smooth, and the loaf came out so tender with a clean slice. The honey gave it a mellow sweetness, and it was done right at 34 minutes in my square pan.
Save this 3-Ingredient Banana Bread for the days when you want a golden, tender loaf with almost no measuring.
The Part That Keeps This Loaf Light Instead of Heavy
With a short ingredient list, texture depends on restraint. The biggest mistake is overmixing after the flour goes in. That wakes up too much gluten and turns a simple banana loaf into something tight and rubbery instead of soft and cakey.
The other thing that matters is how fully the bananas are mashed. Small chunks aren’t a disaster, but smoother banana puree gives you a more even crumb and better moisture distribution. If your bananas are only lightly speckled, the loaf will still bake, but it won’t taste as full or sweet.
- Bananas — The riper they are, the better this bread tastes and the softer it bakes. Black-speckled bananas are ideal. If yours are still a little firm, warm them in the oven for a few minutes first so they soften and sweeten up.
- Self-rising flour — This is what gives the loaf its lift without adding another long list of ingredients. If you use all-purpose flour, you need to replace the built-in leavening yourself or the bread will bake up flat and dense.
- Honey or sugar — This adds just enough sweetness to balance the bananas. Honey gives a rounder, slightly softer flavor, while sugar keeps the taste a little cleaner. Either one works, and you only need a small amount because the bananas are doing most of the heavy lifting.
How to Mix It So the Crumb Stays Tender
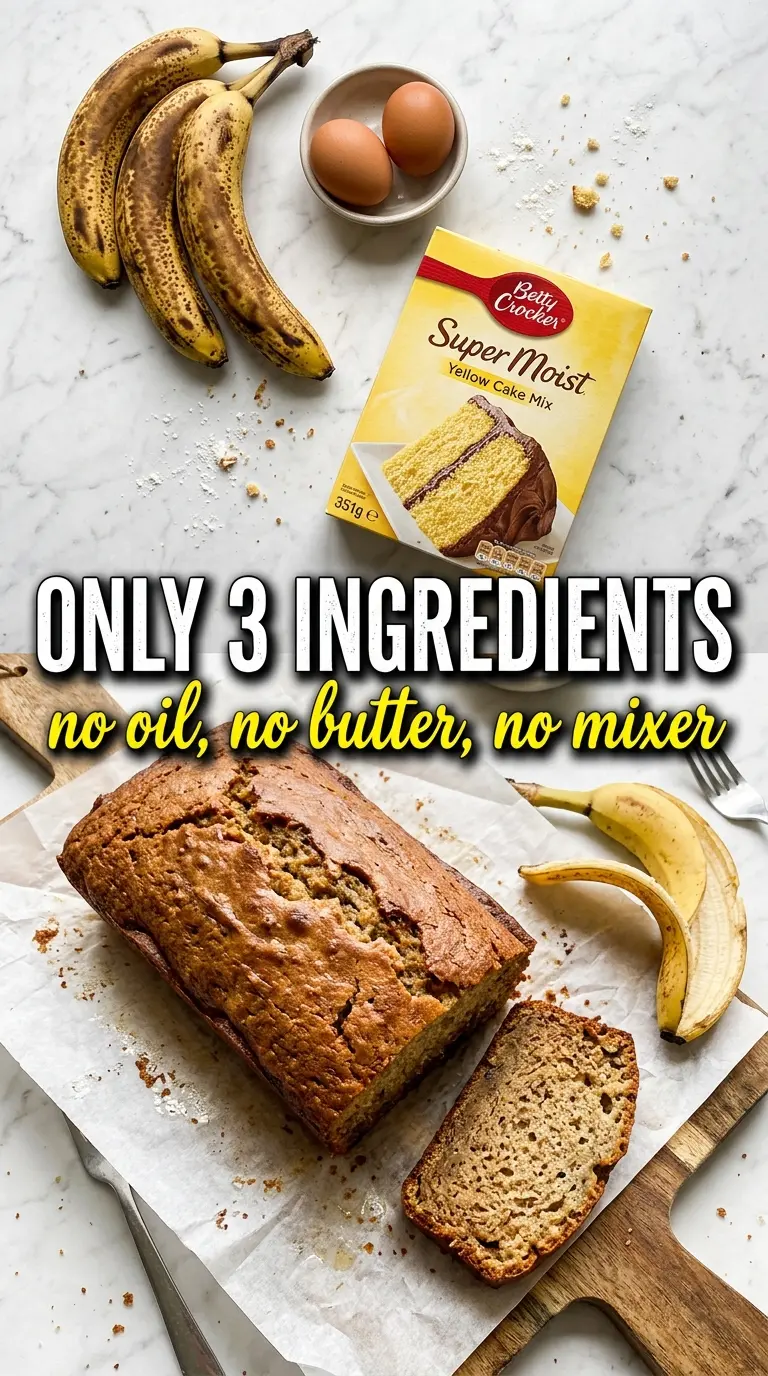
- Bananas — Mash them until they’re as smooth as you can get them. A few tiny lumps are fine, but big pieces of banana leave wet pockets in the loaf. If you want the cleanest crumb, use a fork, potato masher, or even a whisk to break them down thoroughly.
- Sweetener — Stir the honey or sugar in with the mashed bananas before the flour goes in. That helps it disperse evenly without needing extra mixing once the flour is added.
- Flour — Add it last and stop stirring the second the dry streaks disappear. The batter will look thick and a little rough, and that’s correct. Overworking it is the fastest way to lose the soft texture that makes this loaf worth baking.
Mix, Pan, Bake, Slice
Starting With Smooth Bananas
Preheat the oven to 350°F and grease your pan well. Mash the bananas until they’re mostly smooth and glossy, with only a few small bits left if needed. The more blended they are, the more evenly the loaf bakes. If the bananas still have firm chunks, the bread can come out uneven in texture and slightly under-sweet in spots.
Bringing the Batter Together
Stir in the honey or sugar, then add the self-rising flour and mix just until the flour disappears. Don’t beat the batter or keep stirring to make it look polished. This is a quick bread batter, not cake frosting, and the less you handle it, the softer the finished loaf stays.
Watching the Bake, Not the Clock Alone
Pour the batter into the prepared pan and smooth the top. An 8×8 square pan usually takes about 30–35 minutes, while a 9×5 loaf pan needs closer to 50–60 minutes because the batter sits deeper. Pull it when the top is golden and a toothpick comes out clean or with just a few moist crumbs; if it looks wet in the center, give it a few more minutes and check again.
Cooling Before the First Slice
Let the bread rest for 10 minutes before slicing. That short pause helps the crumb set so the loaf doesn’t collapse or smear when you cut it. It’s best warm with butter, but if you slice too soon, the middle can seem gummy even when the bake is technically done.
What to Change When You’re Out of Self-Rising Flour
Use all-purpose flour plus baking powder and salt
If you don’t have self-rising flour, use 1.5 cups all-purpose flour with 2.25 teaspoons baking powder and 3/4 teaspoon salt. That gets you the lift and seasoning the loaf needs without changing the texture much. The bread will still be soft, but the rise may be a touch less airy than with a fresh bag of self-rising flour.
Swap honey for sugar for a cleaner banana flavor
Honey adds a little warmth and moisture, while sugar keeps the banana flavor a bit brighter and more direct. If you want the loaf to taste more like classic banana bread and less like a baked honey loaf, use sugar. The texture stays almost the same either way.
Bake it in a square pan for faster, more even slices
An 8×8 square pan bakes this batter faster and gives you thinner, snack-sized pieces with more golden edges. A loaf pan makes a taller slice and a more traditional look, but it needs a much longer bake. If you’re after speed, the square pan wins.
Storage and Reheating
- Refrigerator: Store covered for up to 4 days. The crumb firms up a little in the fridge, but the flavor stays good.
- Freezer: This bread freezes well. Wrap individual slices tightly, then freeze for up to 2 months. Thaw at room temperature or straight from frozen in the toaster oven.
- Reheating: Warm slices in a toaster oven or microwave just until heated through. Don’t overheat it or the bread will dry out fast, especially because this recipe is so lean.
Questions I Get Asked About This Recipe
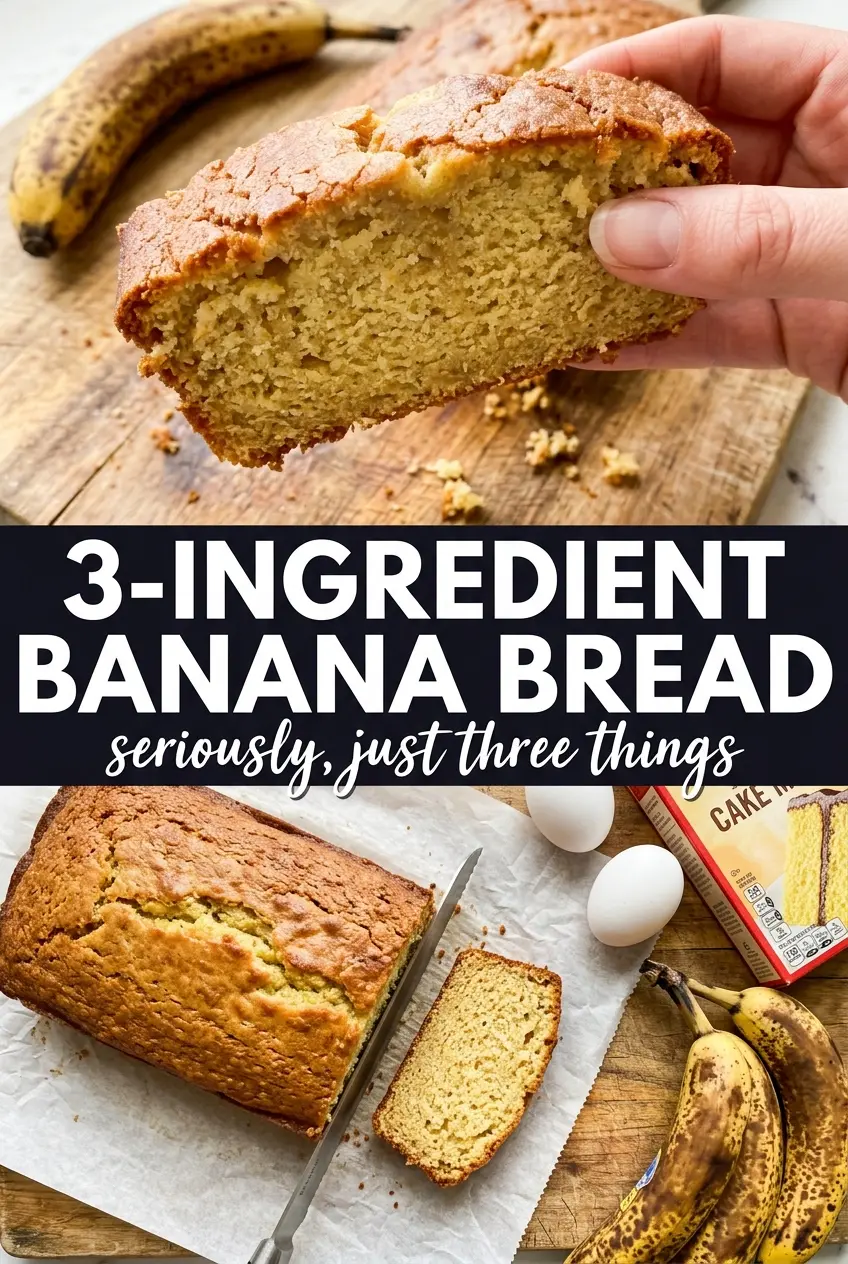
3-Ingredient Banana Bread
Ingredients
Equipment
Method
- Preheat oven to 350°F and grease a 9x5 loaf pan or an 8x8 square pan.
- Mash bananas until completely smooth as possible, noting that the riper the bananas, the sweeter the bread.
- Stir in honey and self-rising flour until just combined and no dry flour remains.
- Pour batter into the prepared pan and smooth the top.
- Bake until golden and a toothpick comes out clean, 30–35 minutes for a square pan or 50–60 minutes for a loaf pan.
- Cool for 10 minutes before slicing, then serve with butter if desired.