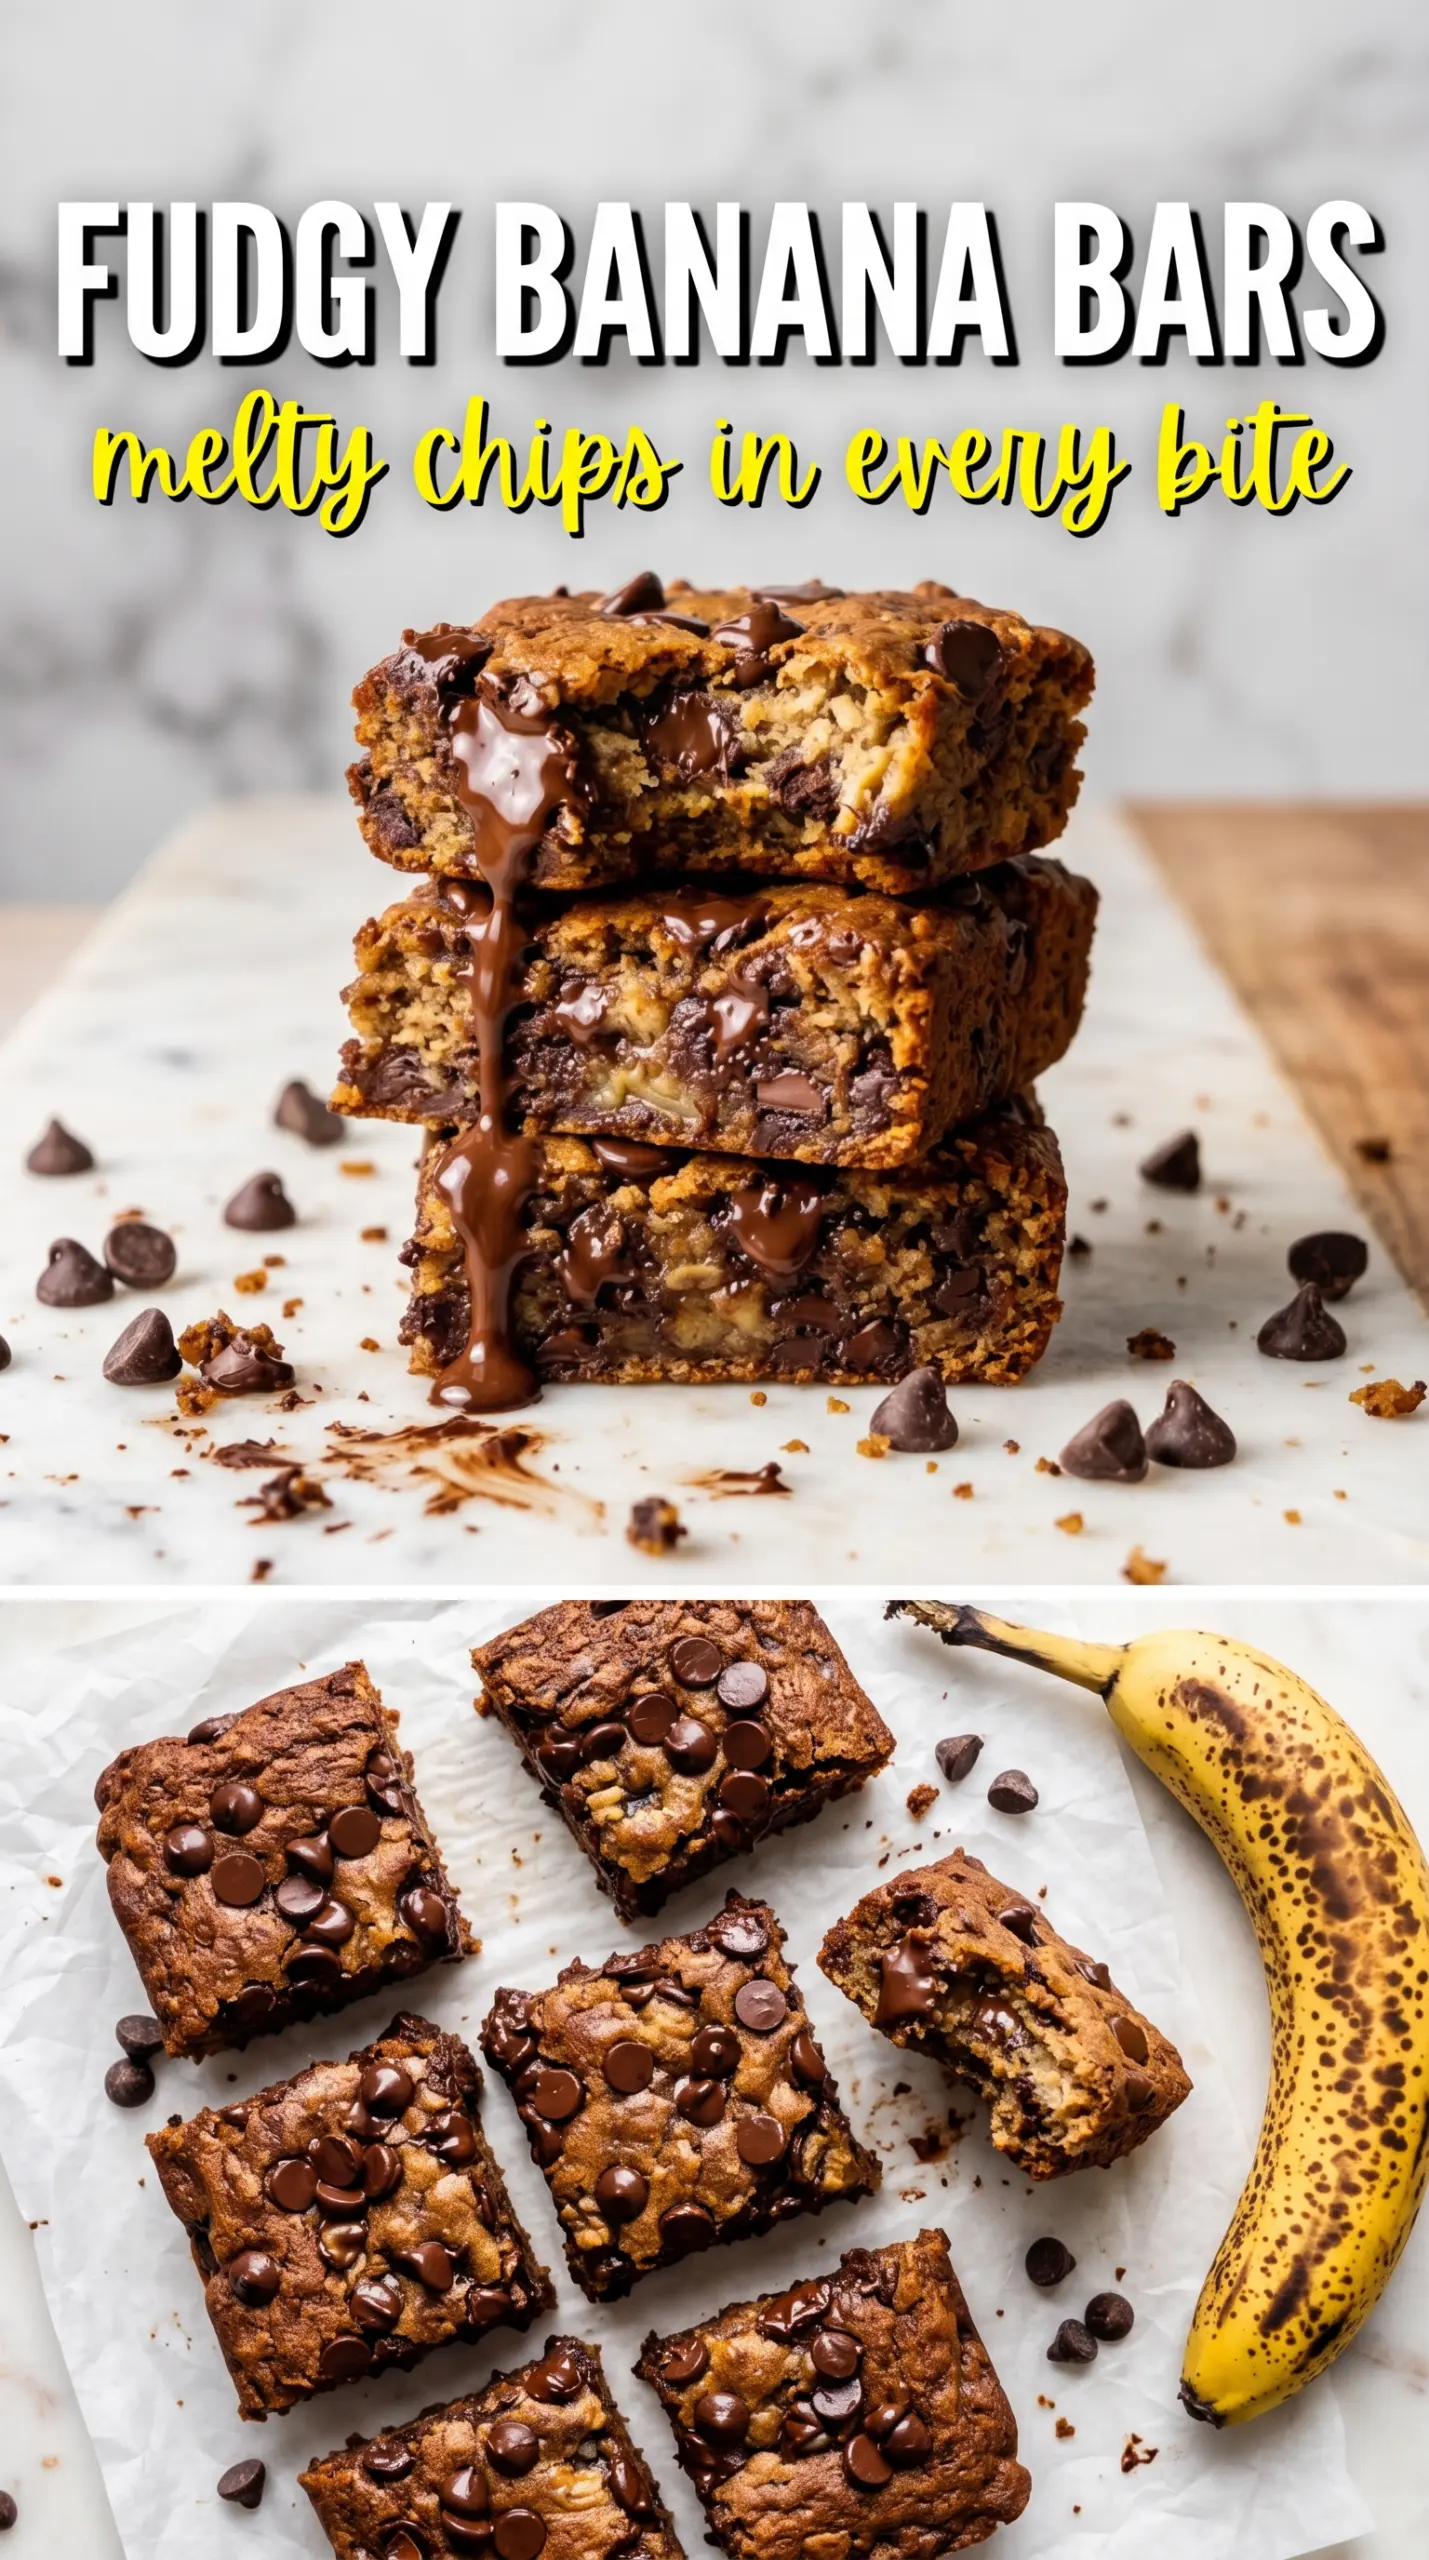
Soft banana bars with melted chocolate in every bite are one of those bakes that disappear faster than you expect. The edges set up with a gentle chew, the center stays tender, and the chocolate chips on top turn glossy as they melt into the surface. It lands somewhere between banana bread and a blondie, which is exactly why it works so well for dessert, lunchboxes, or an afternoon snack.
The trick is keeping the batter just mixed once the flour goes in. Overworking it turns these bars dense instead of soft, and the bananas already bring plenty of moisture and structure. Brown sugar gives the bars a deeper, almost caramel-like sweetness, while a little cinnamon keeps the banana flavor from tasting flat. Using ripe bananas with plenty of brown spots matters here; underripe bananas won’t give you the same sweetness or that mellow banana flavor that makes the bars taste finished.
Below, I’ll walk you through the small details that keep these bars chewy instead of cakey, plus a few swaps that still give you a pan full of soft, chocolate-studded banana bars.
These baked up so soft and the chocolate stayed melted in the middle instead of sinking to the bottom. I used very ripe bananas and the bars had the perfect chewy texture after cooling.
Save these chocolate chip banana bars for the times you want soft, chewy banana bars with melted chocolate on top.
The Bake Time That Keeps Banana Bars Soft Instead of Cakey
Banana bars can tip into cakey territory fast if they bake too long or start with too much flour. The goal here is a set edge and a center that loses its raw shine, not a dry crumb that pulls away from the pan. Pull them when the top is golden and a toothpick comes out clean or with a few moist crumbs; if it comes out wet with batter, they need a few more minutes.
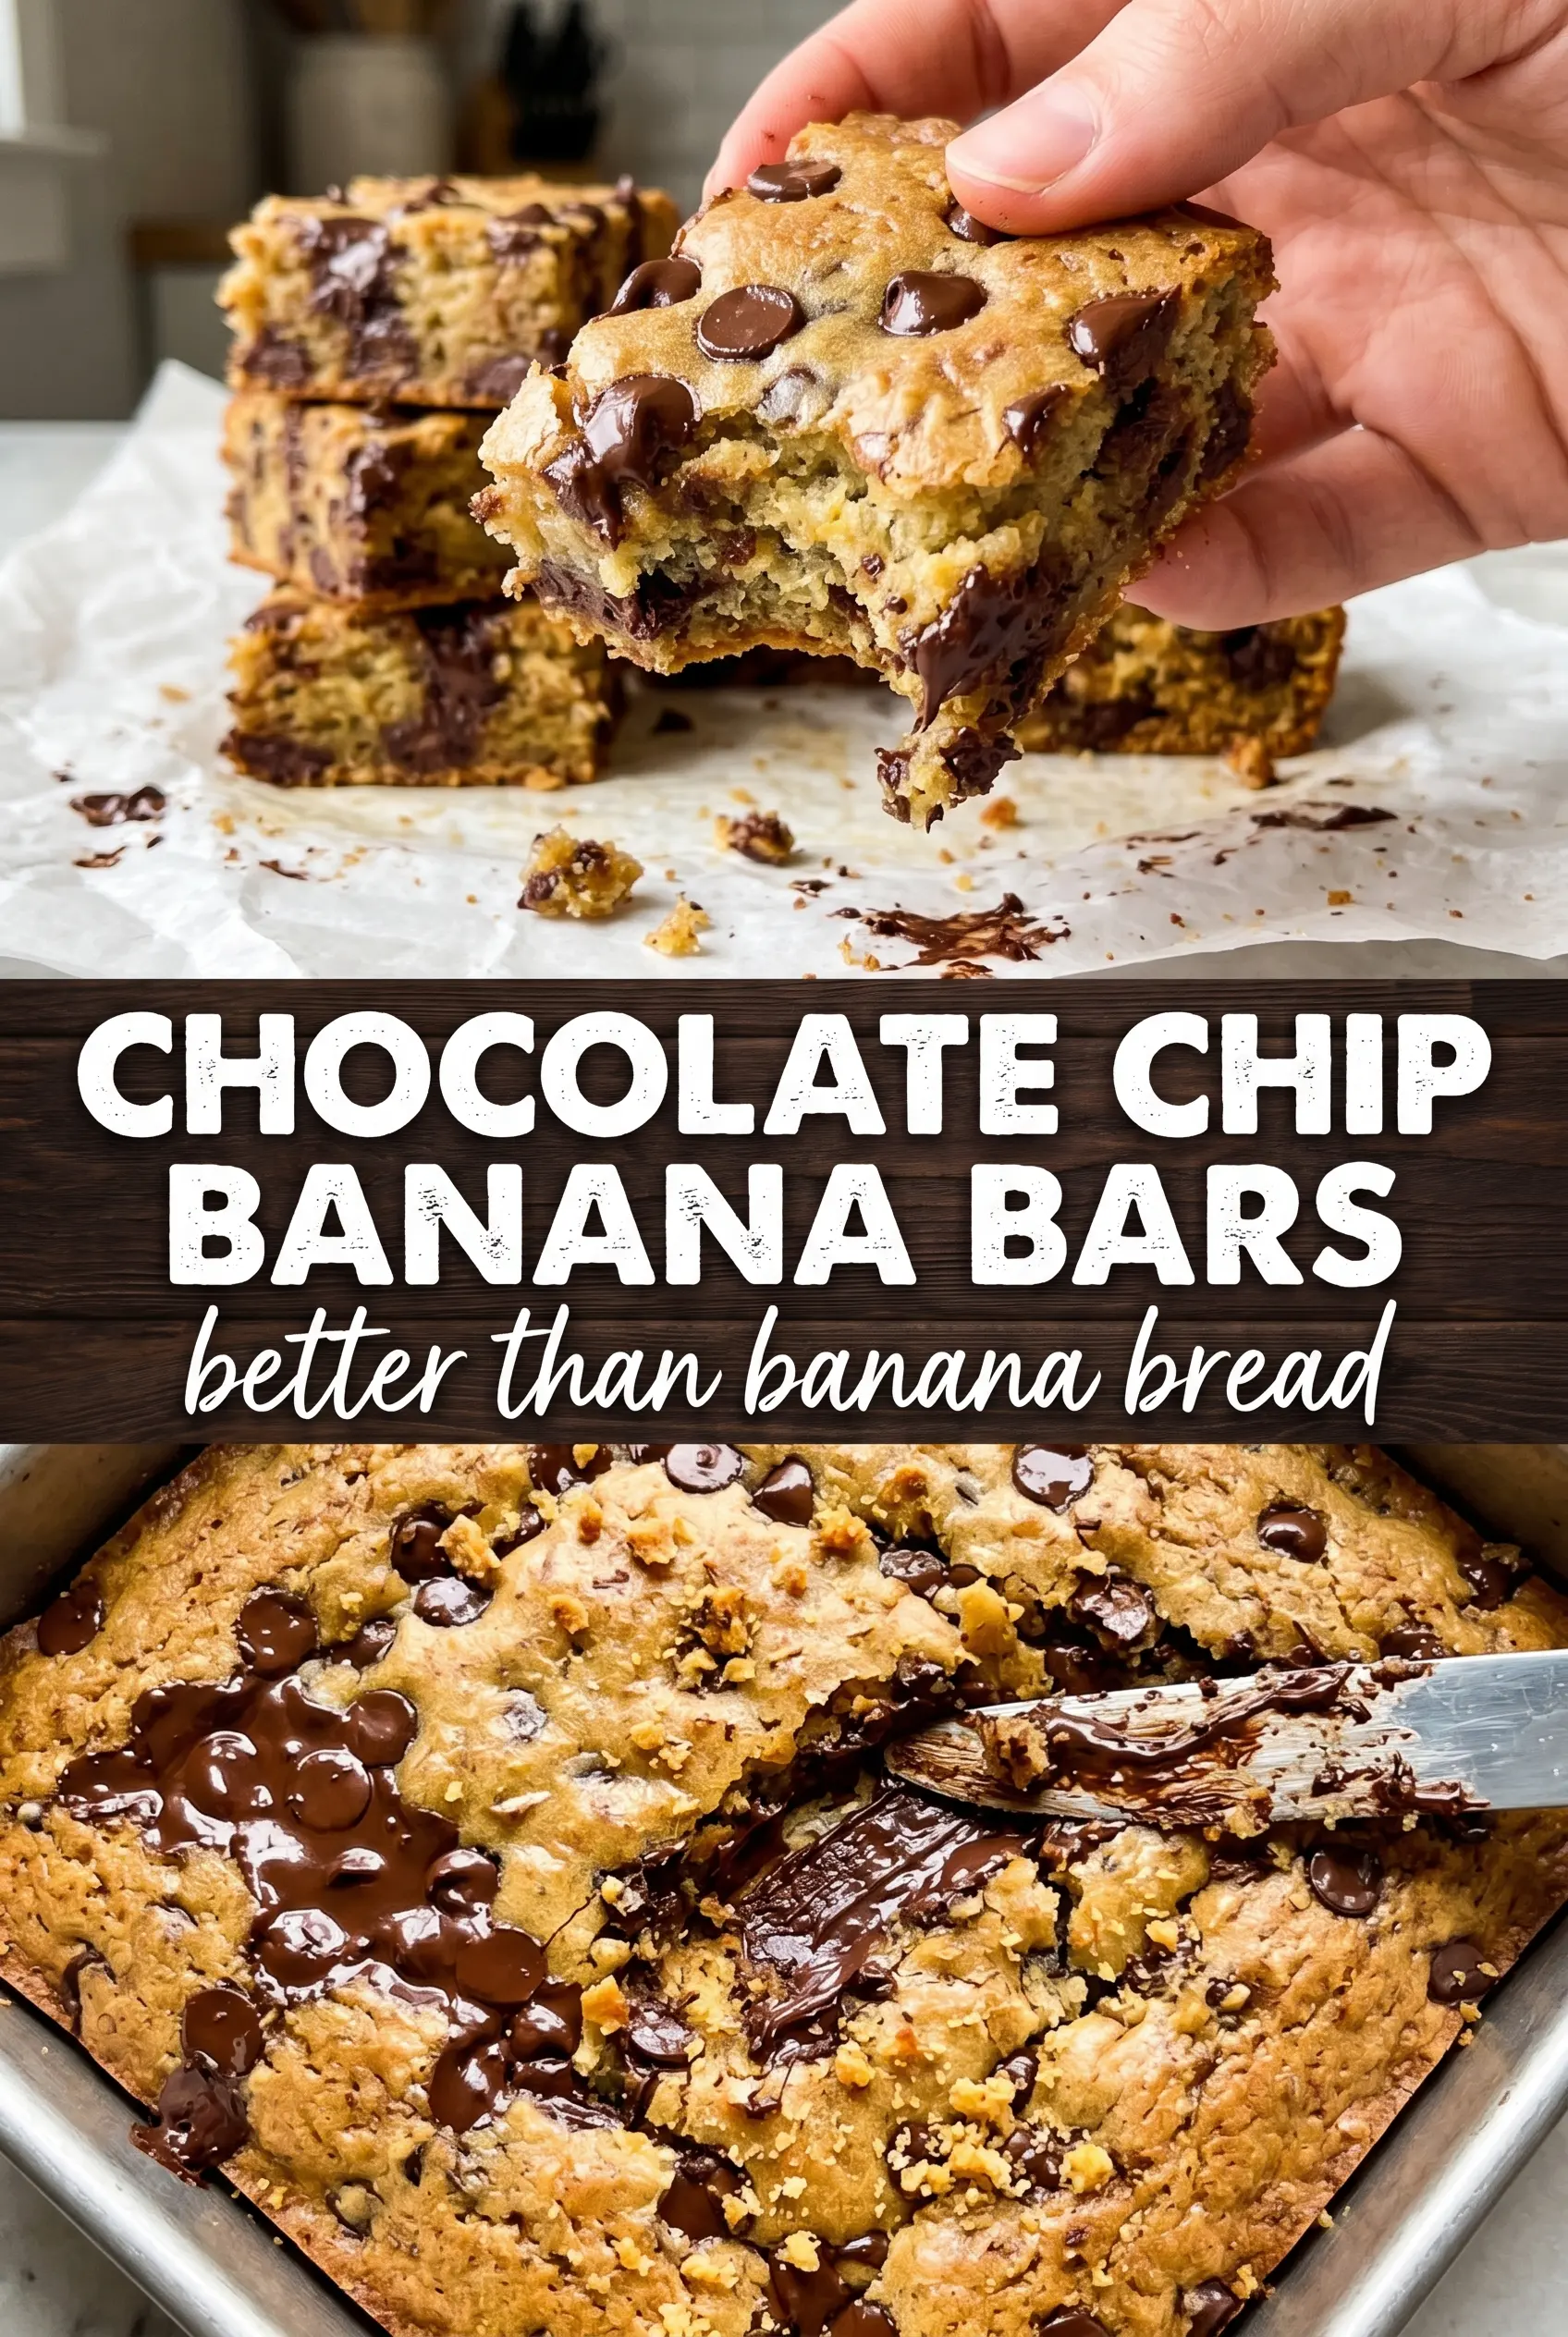
Cooling matters just as much as baking. These bars finish setting as they sit, and cutting them too early squashes the texture and makes the chocolate streak across the pan instead of staying in neat pockets. A parchment-lined pan makes lifting and slicing easier, especially if you want cleaner squares.
- Ripe bananas — The darker and spottier, the better. They mash smoothly and bring the sweet, unmistakable banana flavor this recipe depends on.
- Brown sugar — This gives the bars a deeper sweetness and a softer bite than white sugar would. Light or dark brown sugar both work; dark brown sugar makes the bars taste a little richer.
- Butter — Softened butter creams with the sugar and helps create that tender, chewy texture. Melted butter changes the texture and makes the bars denser.
- Semi-sweet chocolate chips — Semi-sweet balances the sweet bananas without making the bars cloying. Milk chocolate works if you want a sweeter bar, but it softens more quickly and tastes lighter.
What Each Ingredient Is Actually Doing in This Recipe
- Primary ingredient (the star) — Quality matters most. Choose the best you can find.
- Cooking medium (oil, butter, or broth) — This carries flavors and prevents dryness.
- Seasonings (salt, pepper, spices, herbs) — Layer flavors so nothing overpowers. Build depth gradually.
- Aromatics (garlic, onion, herbs) — Cook with fat to bloom flavors. Become the foundation.
- Supporting ingredients — Complement the main ingredient without overpowering it.
- Sauce or liquid (if applicable) — Brings flavors together. Balance richness with acid.
- Acid (lemon, vinegar, wine, or other) — Brightens and prevents flat-tasting results.
- Final finish (garnish, glaze, or sauce) — Prevents one-dimensional taste and adds visual appeal.
Building the Batter So the Bars Stay Tender
Creaming the Butter and Sugar
Beat the softened butter and brown sugar until the mixture looks lighter in color and a little fluffy. That step traps air and helps the bars bake up with a soft crumb instead of a heavy, greasy one. If your butter is too cold, the mixture stays sandy; if it’s melted, you lose the structure that makes the bars feel balanced.
Adding the Bananas and Vanilla
Stir in the mashed bananas until they’re fully blended into the batter. A few small banana lumps are fine, but you don’t want streaks of butter showing through. The batter should look thick and glossy at this point, and the vanilla rounds out the banana flavor without taking over.
Folding in the Dry Ingredients
Add the flour, baking soda, salt, and cinnamon, then fold just until the dry pockets disappear. Stop as soon as the batter comes together; overmixing builds too much gluten and makes the bars tough. Fold in one cup of the chocolate chips at the end so they stay distributed instead of getting broken up in the bowl.
Finishing the Pan and Baking
Spread the batter evenly into the pan and scatter the remaining chocolate chips over the top. The surface will look thick rather than pourable, and that’s what you want. Bake until the top is golden and lightly crinkled, then let the pan cool completely before slicing. If you cut while warm, the bars will seem underdone even when they’re not.
Make Them Extra Nutty
Add up to 3/4 cup chopped walnuts or pecans with the chocolate chips. The nuts add crunch and cut through the sweetness, which makes the bars taste a little more like banana bread in bar form.
Dairy-Free Version
Swap the butter for a plant-based baking stick, not a soft tub spread. Baking sticks behave more like butter and keep the bars from turning oily or overly soft in the center.
Use Chocolate Chunks Instead of Chips
Chocolate chunks melt into bigger pockets and give you those puddles on top that look dramatic when the bars are warm. Chips hold their shape a little better, so the choice comes down to whether you want cleaner slices or bigger melted spots.
Storage and Reheating
- Refrigerator: Store in an airtight container for up to 5 days. The bars firm up a little in the fridge, which makes them even chewier once they come back to room temperature.
- Freezer: These freeze well. Wrap individual bars tightly and freeze for up to 2 months, then thaw at room temperature for the best texture.
- Reheating: Warm a bar in the microwave for 8 to 12 seconds if you want the chocolate soft again. Don’t overheat it or the banana bars dry out fast and lose that tender middle.
Answers to the Questions Worth Asking
Chocolate Chip Banana Bars
Ingredients
Equipment
Method
- Preheat the oven to 350°F and grease a 9x13 baking pan or line with parchment. Make sure the pan is ready before you mix so the batter can go in right away.
- Beat the softened butter and brown sugar together until light and fluffy. You should see the mixture turn paler and look aerated.
- Beat in the egg and vanilla extract until smooth. Stop once fully blended with no streaks remaining.
- Stir in the mashed bananas until fully incorporated. The batter should look thick and uniform.
- Fold in the all-purpose flour, baking soda, salt, and cinnamon until just combined. Stop when you no longer see dry flour.
- Fold in 1 cup of the chocolate chips. Distribute them evenly through the batter.
- Spread the batter evenly into the pan, then scatter the remaining chocolate chips across the top. Aim for a fairly even layer so each bar gets chips.
- Bake for 18–22 minutes at 350°F until golden and a toothpick comes out clean. Look for a top that is set, lightly browned, and slightly crinkled.
- Cool completely before cutting into bars. This helps the soft interior firm up so the slices hold together.