Maple banana bread bakes up with a soft, tender crumb and a crust that turns deep golden at the edges, then gets brushed with warm maple syrup for a finish that smells like a bakery and tastes like a better version of the banana bread you already know. The maple doesn’t just sweeten the loaf; it gives every slice a round, caramel-like depth that plain sugar can’t quite match.
The trick is keeping the batter simple and not overworking it. Ripe bananas bring moisture, the melted butter keeps the texture rich, and the maple syrup adds flavor without making the loaf heavy when it’s measured carefully. A handful of pecans or walnuts gives each bite a little crunch, and the warm syrup brushed on top after baking is what makes the crust glossy and fragrant instead of dry.
Below you’ll find the one detail that keeps this loaf from turning gummy in the middle, plus a few swaps that work when you want to lean into nuts, skip them, or make the bread dairy-free without losing that maple warmth.
The loaf came out with a real maple flavor, not just sweetness, and the crumb stayed moist for two days without getting dense. Brushing the top with syrup while it was still hot made a sticky, caramelized crust that my kids kept picking at before I even sliced it.
Save this maple banana bread for the days when you want a tender loaf with real maple flavor and a brushed-on syrup crust.
The Reason This Loaf Stays Tender Instead of Heavy
Banana bread gets dense when the batter is overmixed or when too much liquid tries to do the work of structure. Maple syrup adds moisture and flavor, but it also behaves differently than granulated sugar, so the batter needs just enough flour to hold together without turning into paste. The goal here is a smooth, spoonable batter that still looks a little rough at the end.
The other thing that keeps this loaf from getting leaden is the order of the wet ingredients. Whisking the melted butter, maple syrup, egg, and vanilla into the bananas first helps everything emulsify before the flour goes in. Once the flour is added, stop as soon as the streaks disappear. A few small lumps are fine. A perfectly smooth banana bread batter usually means the loaf will bake up tight.
What Each Ingredient Is Actually Doing In This Loaf
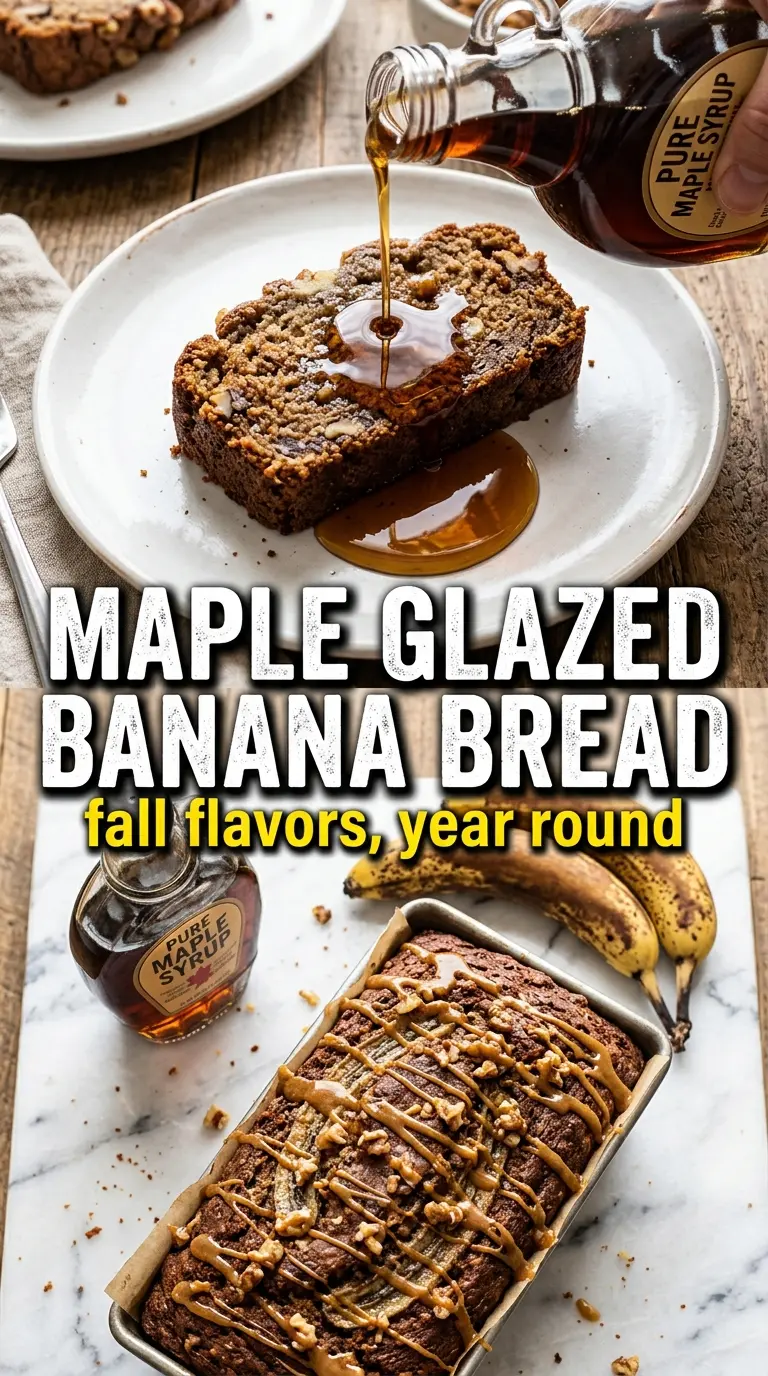
- Ripe bananas — These bring the moisture, sweetness, and classic banana flavor. Use bananas with plenty of brown spots; underripe bananas taste flat and won’t mash into the soft base this loaf needs.
- Pure maple syrup — This is the flavor that makes the bread stand out. Use real maple syrup, not pancake syrup, because the taste is deeper and less one-note, and that’s what carries through after baking.
- Melted butter — Melted butter gives the crumb richness without needing a mixer. You can swap in melted coconut oil for a dairy-free loaf, but the flavor will be a little less buttery and a little more neutral.
- Cinnamon and nutmeg — These don’t make the loaf taste like spice cake; they just warm up the banana and maple so the flavor feels fuller. Keep them measured, because too much nutmeg takes over fast.
- Pecans or walnuts — Nuts add texture and help break up the softness of the crumb. Toasted nuts taste better here, but if you’re short on time, raw nuts still work fine because they bake inside the loaf.
- Extra maple syrup for brushing — This is the finishing move. Brushing it on while the loaf is still hot lets it soak slightly into the crust and gives you that sticky, glossy top.
Getting the Batter Right, Then Letting the Oven Do Its Job
Build the Banana Base
Start by mashing the bananas until mostly smooth with a few small bits left behind. Those little pieces soften in the oven and give the bread a more handmade texture. Whisk in the melted butter, maple syrup, egg, and vanilla until the mixture looks glossy and unified. If the butter is hot enough to scramble the egg, let it cool for a minute first.
Fold in the Dry Ingredients
Add the flour, baking soda, cinnamon, nutmeg, and salt all at once, then stir just until the last dry streak disappears. The batter should look thick and slightly lumpy, not whipped. Overmixing at this stage develops too much gluten and gives you a rubbery loaf instead of a tender one. Fold in the nuts at the end so they stay evenly distributed.
Bake Until the Center Sets
Scrape the batter into a greased 9×5 loaf pan and bake at 350°F until the top is deep golden and a toothpick comes out clean or with a few moist crumbs. If the top browns too quickly before the center is done, lay a loose piece of foil over it for the last 15 minutes. The loaf needs time in the pan after baking, too; 15 minutes is enough for it to firm up without steaming itself soggy.
Brush the Syrup While It’s Hot
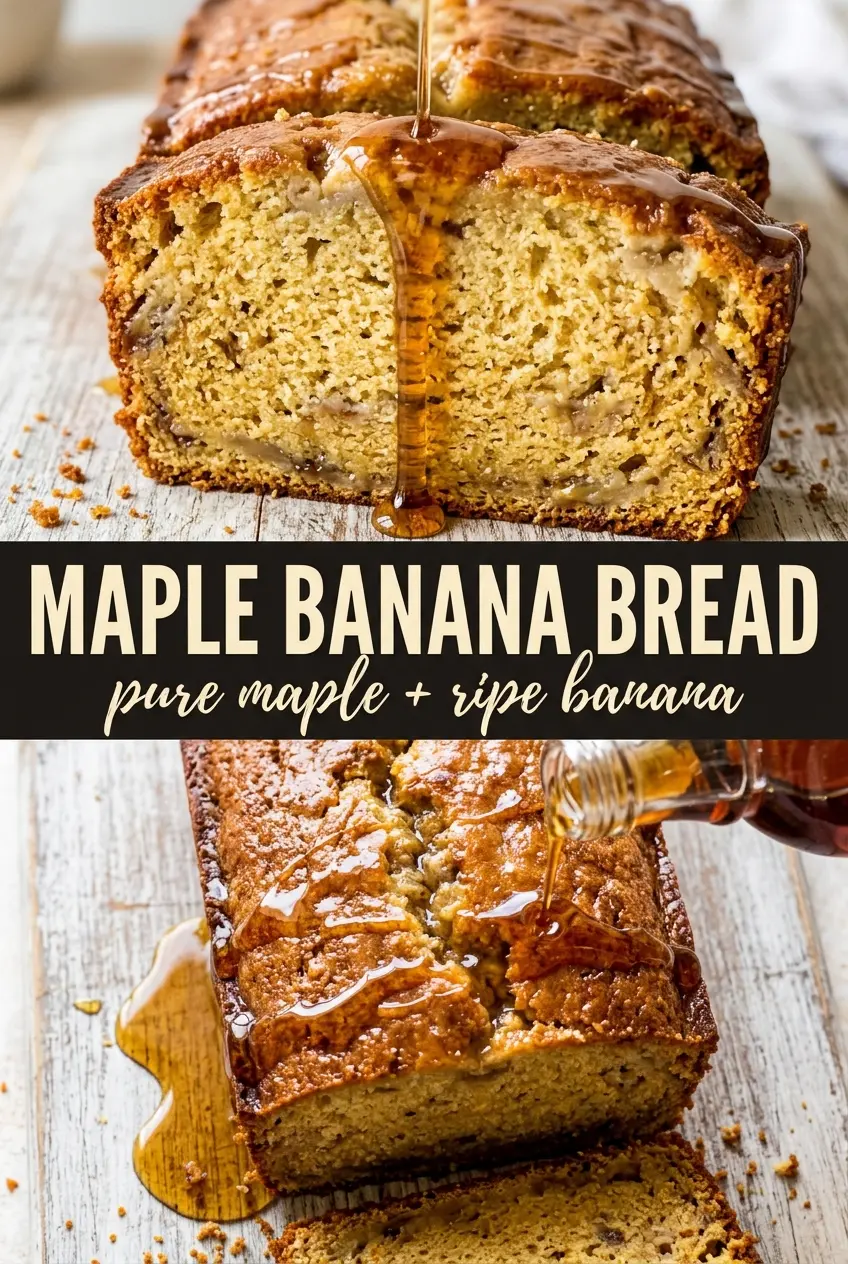
Warm the extra maple syrup slightly, then brush it over the hot loaf as soon as it comes out of the oven. The heat helps the syrup sink into the crust and creates that shiny finish without making the top sticky in a sloppy way. If you wait until the bread cools completely, the syrup mostly sits on top instead of becoming part of the crust.
Three Useful Ways To Adjust This Banana Bread
Make it dairy-free with coconut oil
Swap the melted butter for an equal amount of melted coconut oil. The loaf will still bake up moist, but the flavor shifts slightly lighter and less rich. Let the coconut oil cool a bit before whisking it in so it doesn’t seize when it hits the cold bananas.
Skip the nuts without changing the loaf
Leave the pecans or walnuts out entirely if you want a smoother crumb. The bread still holds together well because the bananas and maple syrup provide enough moisture, and the texture becomes a little more uniform and sliceable. Add a tablespoon of toasted seeds on top if you still want a little crunch.
Turn it into muffins
Divide the batter into lined muffin cups and bake at the same temperature for about 18 to 22 minutes. Muffins set faster, so they’re a good choice when you want individual portions and a little more browned edge. Start checking early; once the tops spring back when touched, they’re done.
Storage and Reheating
- Refrigerator: Store for up to 5 days wrapped tightly or in an airtight container. The crumb firms up a little in the fridge, but the maple flavor stays strong.
- Freezer: Freeze slices or the whole loaf well wrapped for up to 3 months. Wrap first in plastic or parchment, then in foil, so the bread doesn’t pick up freezer odors.
- Reheating: Warm slices in the microwave for 10 to 15 seconds or toast them lightly in a skillet. Don’t overheat it, or the loaf dries out and the maple finish loses that soft, sticky top.
Questions I Get Asked About This Recipe
Maple Banana Bread
Ingredients
Equipment
Method
- Preheat the oven to 350°F and grease a 9x5 loaf pan.
- Whisk melted butter, maple syrup, egg, and vanilla into the mashed bananas until smooth.
- Fold in all-purpose flour, baking soda, cinnamon, nutmeg, and salt until just combined, keeping the batter thick.
- Fold in chopped pecans or walnuts so they’re evenly distributed through the crumb.
- Pour the batter into the prepared pan and bake for 60–70 minutes, until the loaf is deep golden and a toothpick comes out clean.
- Immediately brush the top with 1–2 tablespoons of warm maple syrup while still hot to create a glossy, amber finish.
- Cool for 15 minutes in the pan before unmolding so the loaf sets cleanly.