These red, white and blue mini cheesecakes come out with a creamy center, a neat little cookie crust, and a topping that makes them look festive without turning the whole dessert into a project. The best part is the texture: each one chills into a smooth, bakery-style bite that feels rich but still light enough to serve after a big meal.
The trick here is baking them just until the centers are barely set. That’s what keeps the filling from cracking or turning dry once they chill. A full-size cheesecake gives you more room for error, but mini cheesecakes set fast, which is exactly why they’re so reliable when you want something that looks polished and doesn’t need slicing.
Below, I’ll walk through the one detail that keeps the filling from sinking, the ingredient swaps that actually work, and the storage notes that matter if you’re making these ahead for a party.
The centers set up perfectly in the muffin tin and the Oreo crust stayed crisp even after chilling overnight. I used the whipped cream and berry topping right before serving, and they looked like something from a bakery.
Like this red, white and blue mini cheesecake recipe? Save it to Pinterest for an easy patriotic dessert with creamy filling, fruit topping, and a golden cookie crust.
The Reason These Mini Cheesecakes Hold Their Shape
Mini cheesecakes can go wrong in a sneaky way. The edges set first, the center looks done, and then the whole top sinks or cracks because the filling kept cooking after it left the oven. The fix is to pull them when the centers still have the tiniest wobble. They finish setting as they cool in the pan, and that gentle carryover is what keeps the texture creamy instead of dense.
The other thing that matters is the batter itself. Cream cheese needs to be fully softened before it goes in, or you’ll chase lumps around the bowl and overmix the batter trying to smooth them out. Overmixing adds air, and air is what causes puffy tops that collapse later. A smooth batter, mixed just until combined, bakes into neat little cheesecakes with a clean top and a tender center.
What the Cookie Base and Topping Are Really Doing Here
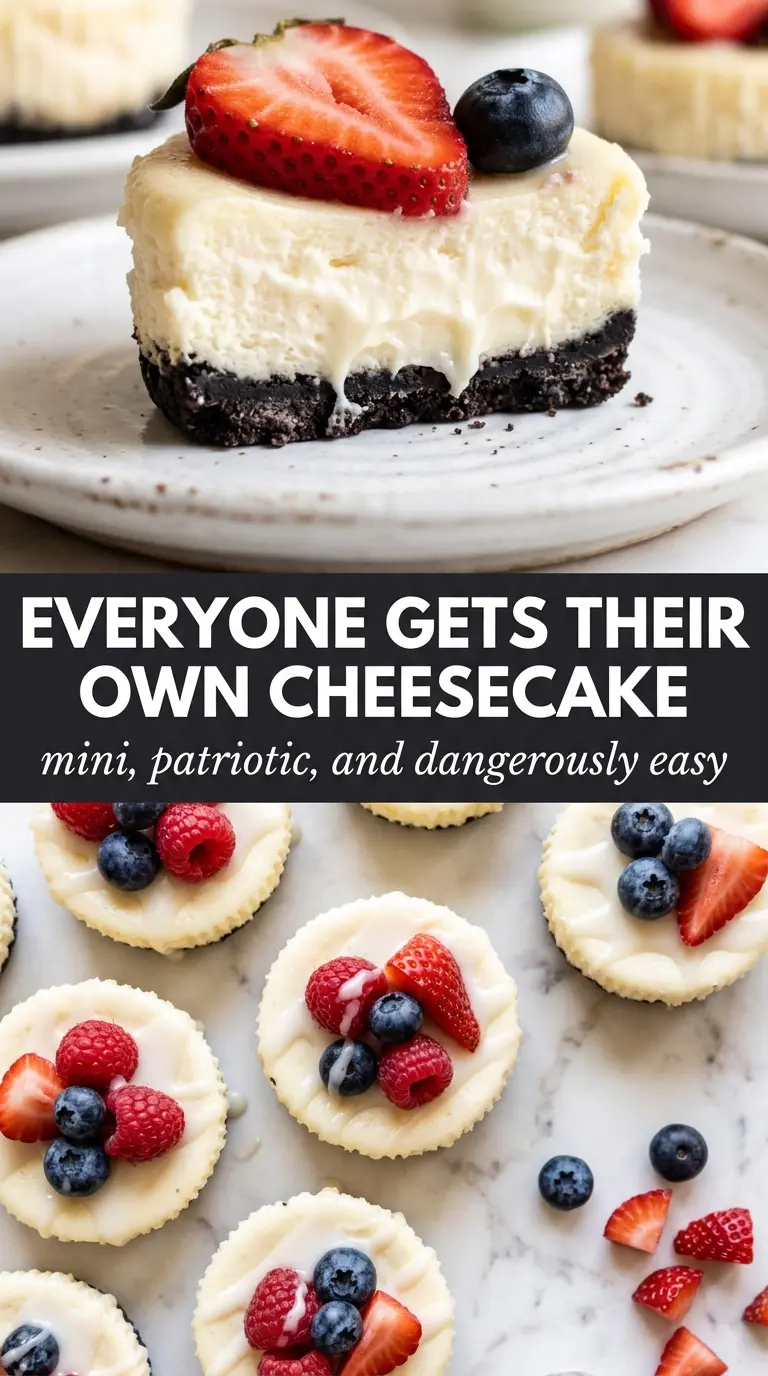
- Oreo or Golden Oreo cookies — One cookie per cup keeps this base fast and sturdy. Golden Oreos give you a sweeter, more vanilla-forward crust that matches the cheesecake filling and the fruit on top, while regular Oreos bring a darker chocolate note. Both work. If you want a more classic cheesecake look, use Golden Oreos; if you like a little contrast, go with the chocolate version.
- Cream cheese — This is the backbone of the filling, so quality matters here more than anywhere else. Use full-fat block cream cheese if you can. Tub-style cream cheese has more moisture and can bake up looser. If you need a substitute, a good dairy-free cream cheese will work, but the texture will be a little softer and the tang may read differently.
- Sour cream — This keeps the filling from tasting flat and helps the texture stay silky after chilling. If you don’t have it, plain full-fat Greek yogurt is the closest swap, but it adds a little more tang and can make the batter slightly thicker.
- Fresh strawberries and blueberries — Fresh fruit matters here because it keeps the tops clean and bright. Frozen berries will weep as they thaw, which can bleed onto the whipped cream and make the tops look messy. Slice the strawberries just before serving so they stay glossy and don’t bleed into the cheesecake.
Building the Batter Without Whipping Too Much Air Into It
The Cookie Base
Set one cookie flat in each lined muffin cup. That’s enough; there’s no need to crush and press a crust unless you want a more traditional base. The whole point is speed and structure, and the cookie softens just enough under the filling to turn into a neat little layer without going soggy.
Smoothing the Cream Cheese
Beat the cream cheese and sugar until the mixture looks completely smooth and lighter in color. Stop and scrape the bowl well, especially around the bottom where lumps like to hide. If the cream cheese is still cold, the batter will look grainy no matter how long you mix it, so let it sit out until it gives easily under your finger.
Adding the Eggs and Finishing the Batter
Add the eggs one at a time and mix just until each disappears. Then beat in the vanilla and sour cream. At this stage the batter should look glossy and thick, not fluffy. If it starts looking airy, you’ve gone too far, and that extra air can cause the tops to rise and fall as they bake.
Baking Until Barely Set
Divide the batter evenly, filling each cup about three-quarters full, and bake until the centers are just barely set. The tops should look matte at the edges with a faint jiggle in the middle. Let them cool in the pan for 30 minutes before moving them to the fridge. That resting time matters because sudden temperature changes can make the centers sink.
Make them with a chocolate crust
Regular Oreos give these a deeper cocoa note and a little more contrast against the sweet filling and fruit. The flavor is less classic vanilla cheesecake and a little more dessert-shop style, which works well if you like the berries to stand out on top.
Swap the topping for mixed berries
Raspberries or blackberries work if that’s what you have, but they change the look fast. Raspberries are softer and can bleed a little more, while blackberries add a deeper color that leans less patriotic and more everyday summer dessert.
Make them gluten-free
Use certified gluten-free sandwich cookies or a gluten-free vanilla cookie in place of the Oreo base. The filling doesn’t need any changes, and the texture stays nearly the same as long as the cookie base is sturdy enough to hold the batter.
Storage and Reheating
- Refrigerator: Store covered for up to 4 days. The crust stays firm for the first couple of days, then softens a bit from the moisture in the filling.
- Freezer: These freeze well before topping. Wrap each cheesecake tightly and freeze for up to 1 month, then thaw overnight in the refrigerator. Add the whipped cream and fruit after thawing so the tops stay neat.
- Reheating: Don’t reheat these. Cheesecake is meant to be served cold or slightly cool, and warming it will loosen the texture and make the filling greasy.
Questions I Get Asked About This Recipe
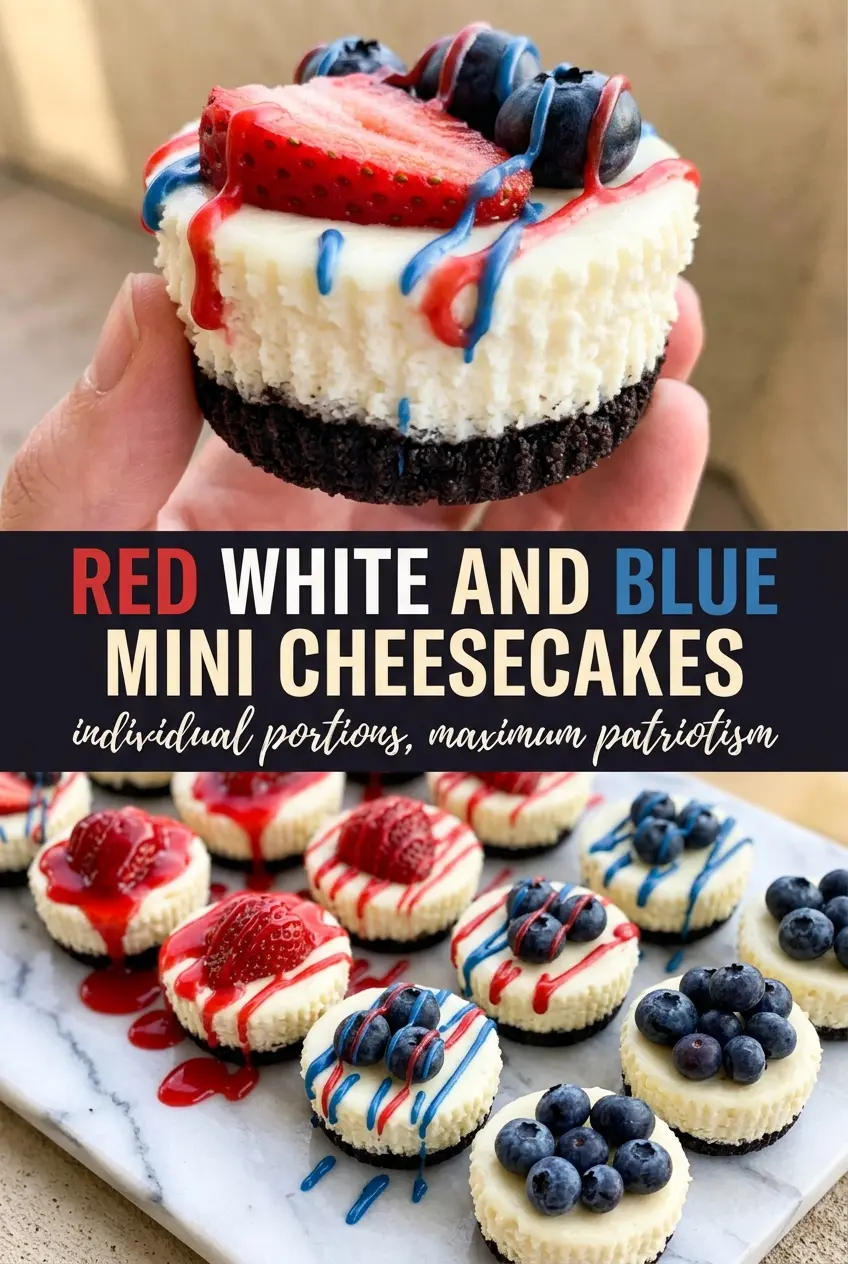
Red, White and Blue Mini Cheesecakes
Ingredients
Equipment
Method
- Preheat oven to 325°F and line a 12-cup muffin tin with cupcake liners.
- Place one Oreo cookie flat in the bottom of each liner, creating a crust layer.
- Beat cream cheese and sugar until smooth.
- Add eggs one at a time, mixing well after each until fully incorporated.
- Beat in vanilla and sour cream until the batter looks silky and uniform.
- Divide batter evenly among the 12 cups, filling about 3/4 full and keeping tops level.
- Bake at 325°F for 18–20 minutes until centers are just barely set with a slight wobble.
- Cool in the pan for 30 minutes, watching the cheesecakes firm up at the edges.
- Refrigerate for at least 2 hours to fully chill and set.
- Before serving, add a swirl of whipped cream to the top of each mini cheesecake.
- Top each with a strawberry slice and a few blueberries so the red and blue show clearly.
- Finish each with a pinch of red and blue sprinkles for a patriotic look.