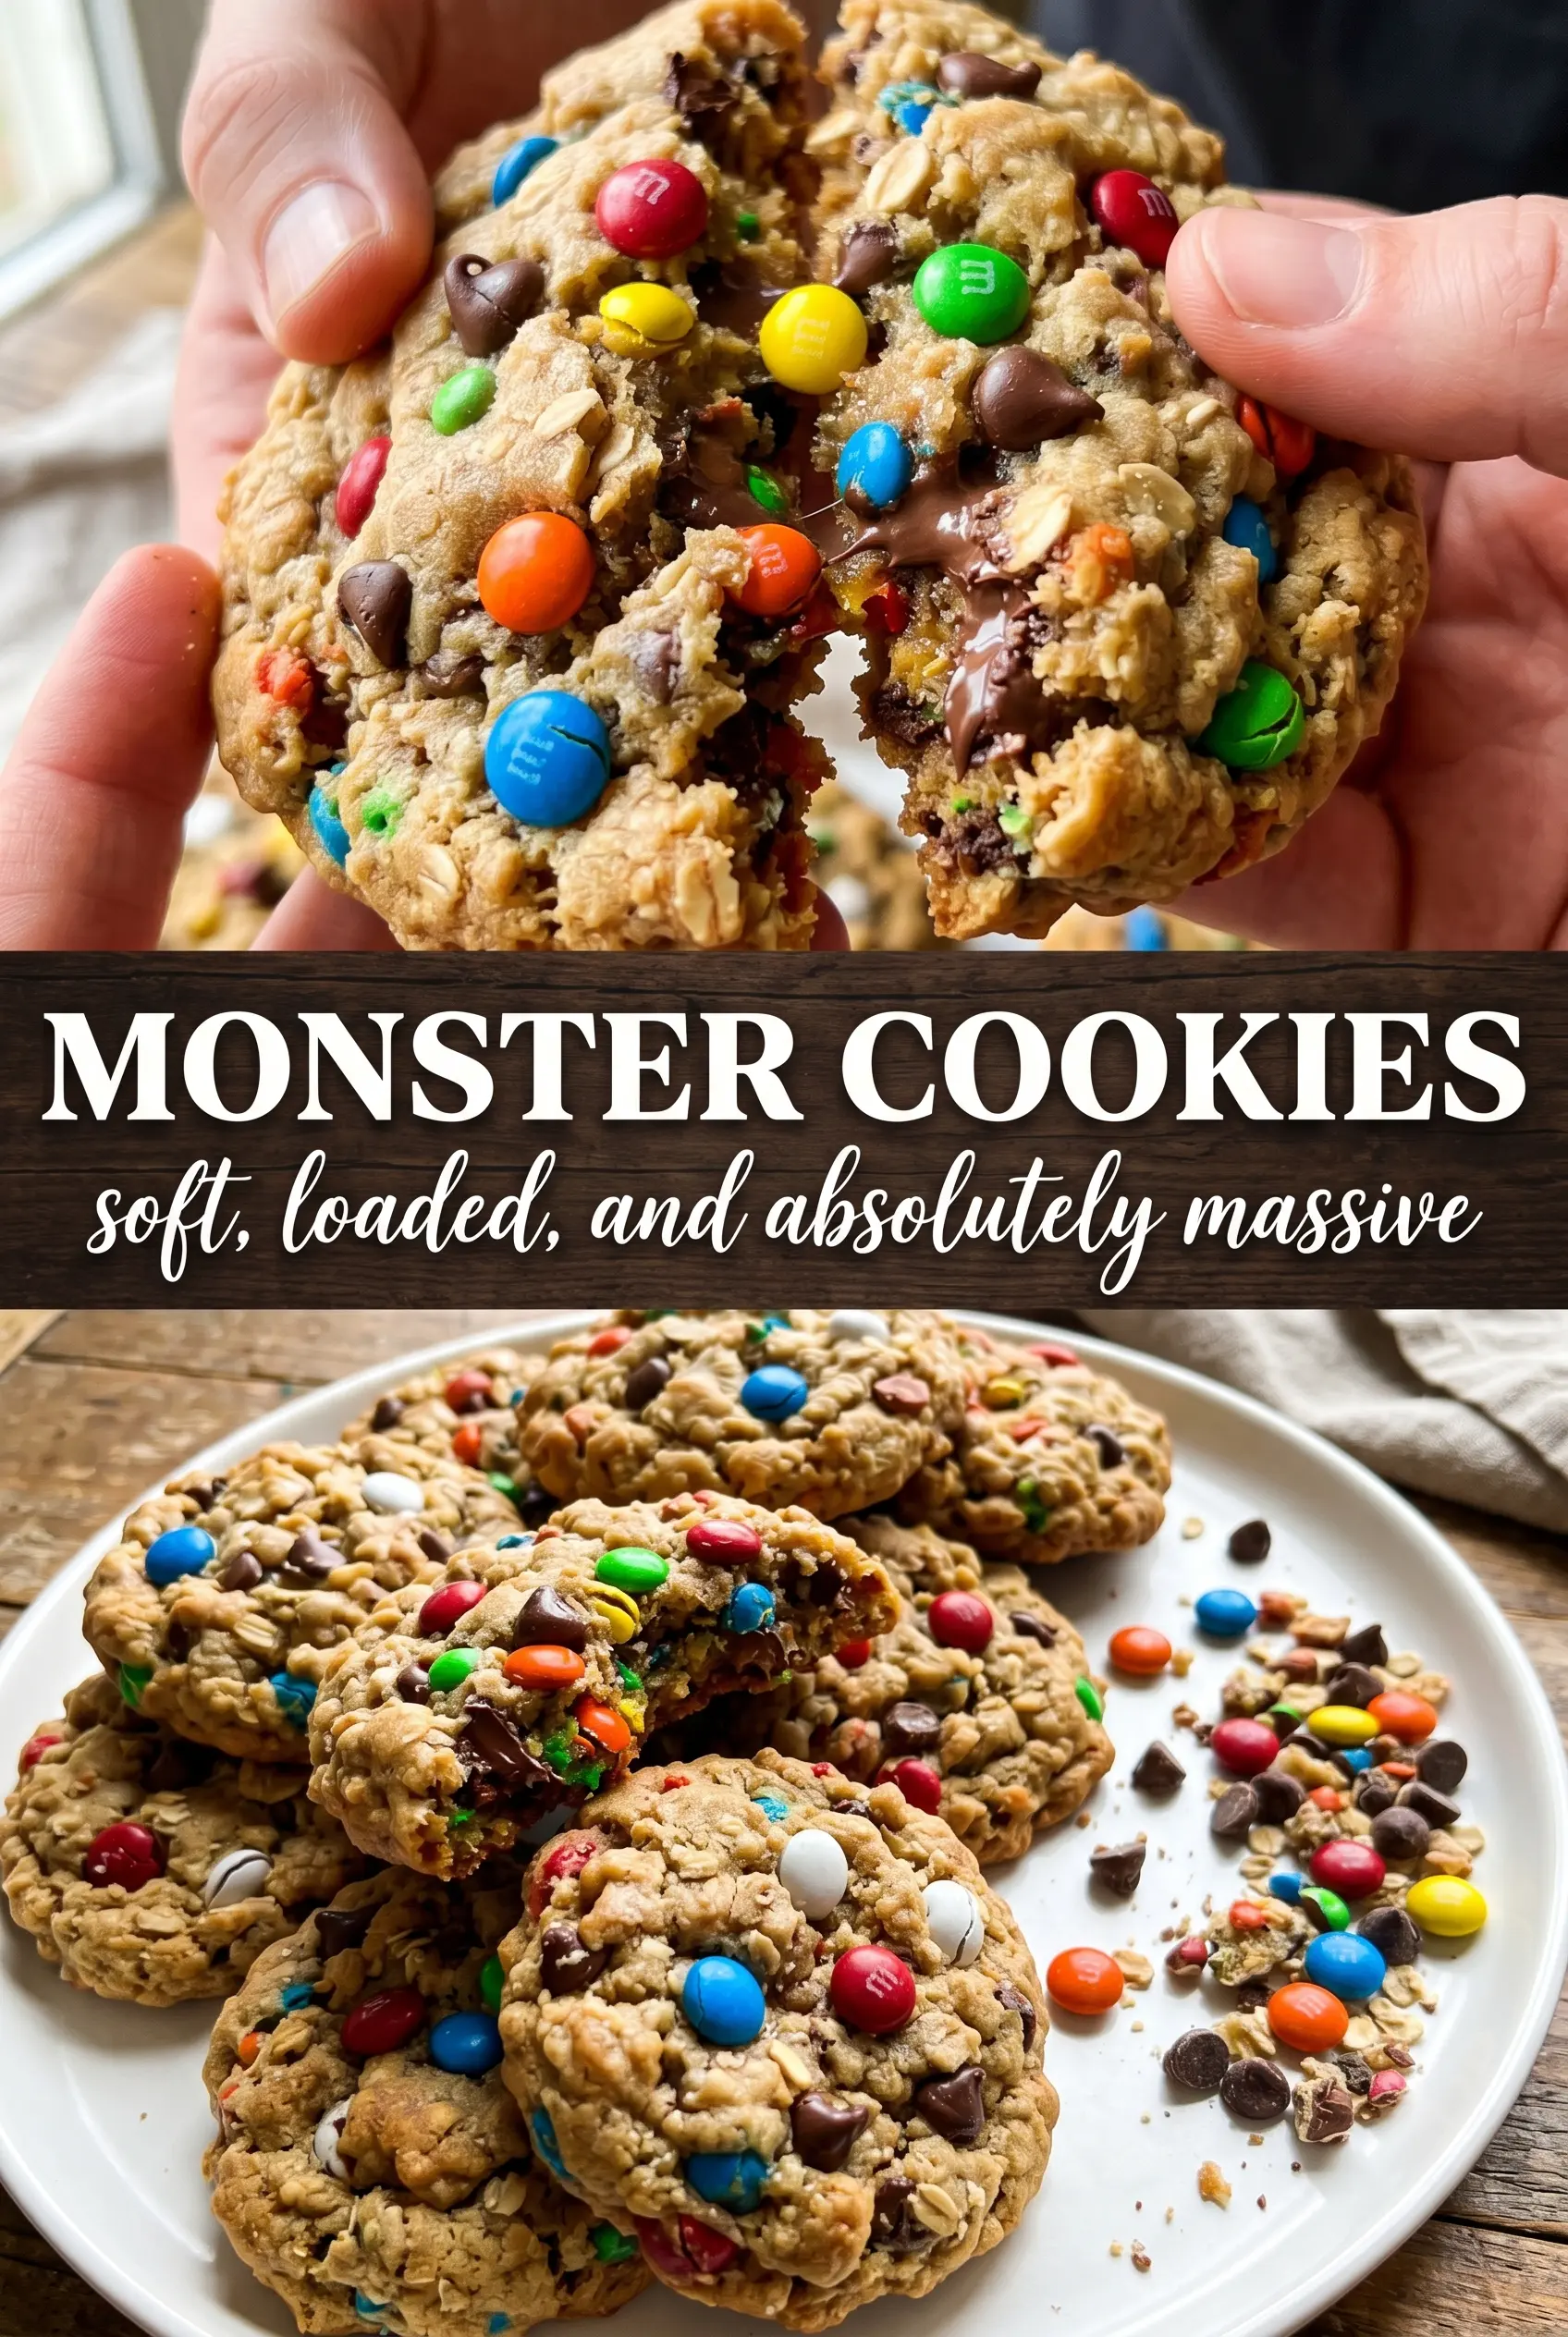
Monster cookies land in that sweet spot between a peanut butter cookie, an oatmeal cookie, and a candy-studded bakery cookie, which is exactly why they disappear fast. They bake up thick and chewy with crisp edges, soft centers, and pockets of melted chocolate tucked between the oats. Every bite has a little texture, a little salt, and enough color to make the whole tray feel fun before they even cool.
This version keeps the dough flourless, so the oats do the structure work instead of wheat flour. The peanut butter brings richness and chew, while the brown sugar keeps the centers tender. The eggs matter here more than in a standard cookie dough because they bind everything together and help the cookies hold their shape without turning dry or sandy. If you’ve ever had monster cookies spread too much or come out crumbly, the trick is in the balance: enough oats to set the dough, but not so much that the cookies get dense and heavy.
Below, I’m breaking down the one step that keeps these cookies thick instead of flat, plus the small ingredient choices that make a real difference when you want colorful, bakery-style monster cookies from a home oven.
The cookies stayed thick and chewy, and the M&Ms didn’t melt into a mess. I loved that the centers were still soft after cooling, not dry like some oatmeal cookies get.
Like these chewy peanut butter monster cookies? Save them to Pinterest for the nights when you want a colorful, flourless cookie loaded with oats, M&Ms, and chocolate chips.
The One Thing That Keeps Monster Cookies Thick Instead of Flat
Monster cookies can spread faster than people expect because peanut butter dough starts softer than a typical drop cookie dough. The fix isn’t more flour, since these cookies don’t use any. It’s a combination of the oats, the right scoop size, and pulling them from the oven while the centers still look a little underdone. They finish setting on the pan, which keeps the middle chewy instead of turning dry.
Another common mistake is overmixing after the oats go in. Once the oats are fully coated and the dough looks even, stop. If you beat it too long, the dough gets tighter and the baked cookies lose that soft, nubby texture that makes monster cookies worth making in the first place.
What Each Ingredient Is Doing in These Cookies

- Creamy peanut butter — This is the backbone of the dough. Use a no-stir style if you can, since natural peanut butter can separate and make the texture less predictable. The creamy kind gives you the best balance of richness and structure.
- Quick-cooking oats — These help the cookies hold together without flour and give the finished cookies that classic monster cookie chew. Quick oats blend into the dough better than old-fashioned oats, which can make the cookies chunkier and a little rougher.
- Brown sugar and granulated sugar — Brown sugar keeps the centers soft and adds a little caramel note, while granulated sugar helps the edges set with a light crispness. Using both gives you a better cookie than relying on one or the other.
- M&Ms and chocolate chips — The mix of candy-coated chocolate and regular chocolate gives you contrast in both texture and flavor. If you only use M&Ms, the cookies can taste a little one-note; the chocolate chips round everything out.
- Eggs — These are the binder here. They keep the flourless dough from falling apart and help the cookies bake up thick instead of sandy.
Getting the Dough to Bake Up Soft in the Center
Mix the peanut butter base first
Beat the peanut butter with both sugars until the mixture looks smooth and evenly blended, with no streaks of dry sugar hiding at the bottom of the bowl. This first step sets the texture for the whole batch. If the base looks grainy here, the finished cookies will bake up unevenly.
Add the eggs and vanilla until the mixture loosens
Once the eggs go in, the dough will look glossy and slightly lighter in color. That’s what you want. Mix just until it turns smooth, because beating aggressively at this stage can add too much air and make the cookies puff and fall in the oven.
Fold in the oats, then the candy
Stir in the oats until every bit of dough is coated and the mixture feels thick and scoopable. Then fold in the M&Ms and chocolate chips by hand so they stay whole and distributed instead of getting crushed. If the dough looks too soft to scoop, let it sit for 5 minutes; the oats will absorb moisture and firm it up.
Bake just until the edges set
Scoop the dough into mounds and flatten each one slightly before baking. Watch for edges that look set and centers that still look soft and a little glossy. That’s your cue to pull the tray. If you wait for the tops to look fully baked, the cookies will end up dry after cooling.
Let the cookies finish on the pan
Give the cookies 5 minutes on the baking sheet before moving them to a rack. They’re still fragile when they come out, and that short rest lets them firm up without overbaking. This is the difference between a chewy center and a cookie that crumbles when you pick it up.
How to Adapt These Monster Cookies for Different Needs
Gluten-Free Monster Cookies
These are naturally gluten-free as long as your oats are certified gluten-free. That matters because oats are often processed in facilities that handle wheat, and the cookies depend on oats for structure. Nothing else needs changing.
Dairy-Free Version
Use dairy-free chocolate chips and dairy-free M&Ms if needed. The cookie dough itself doesn’t rely on butter or milk, so this swap is straightforward and doesn’t change the texture much.
Extra-Chunky Monster Cookies
Use a mix of regular and mini chocolate chips, then press a few extra M&Ms onto the tops before baking. The dough can hold the extra mix-ins, but don’t go overboard or the cookies won’t bind cleanly.
Storage and Reheating
- Refrigerator: Store in an airtight container for up to 5 days. The cookies stay chewy, though the oats firm up a little after the first day.
- Freezer: These freeze well baked or as scooped dough balls. Freeze baked cookies in a single layer first, then transfer to a bag, or freeze dough balls and bake straight from frozen with 1 to 2 extra minutes.
- Reheating: Warm a cookie in the microwave for 8 to 10 seconds if you want the chocolate soft again. Don’t overheat it or the peanut butter texture turns greasy and the cookie gets tough.
Questions I Get Asked About These Cookies
Monster Cookies
Ingredients
Equipment
Method
- Preheat the oven to 350°F and line two baking sheets with parchment paper for easy release and clean browning.
- Beat creamy peanut butter, brown sugar, packed, and granulated sugar together in a large bowl until the mixture looks fully combined and glossy.
- Add eggs, vanilla extract, and baking soda, then mix until smooth and no streaks remain.
- Stir in quick-cooking oats until fully incorporated, then fold in M&Ms and chocolate chips so the dough is thick and studded.
- Scoop dough into 2-tablespoon balls and place them 2 inches apart on the prepared baking sheets.
- Flatten each ball slightly with your palm so the cookies bake evenly and stay soft-centered.
- Bake for 10–12 minutes at 350°F until the edges are set but the centers still look slightly underdone, with a lightly golden rim.
- Let the cookies cool on the baking sheet for 5 minutes so they firm up before you move them to a wire rack.