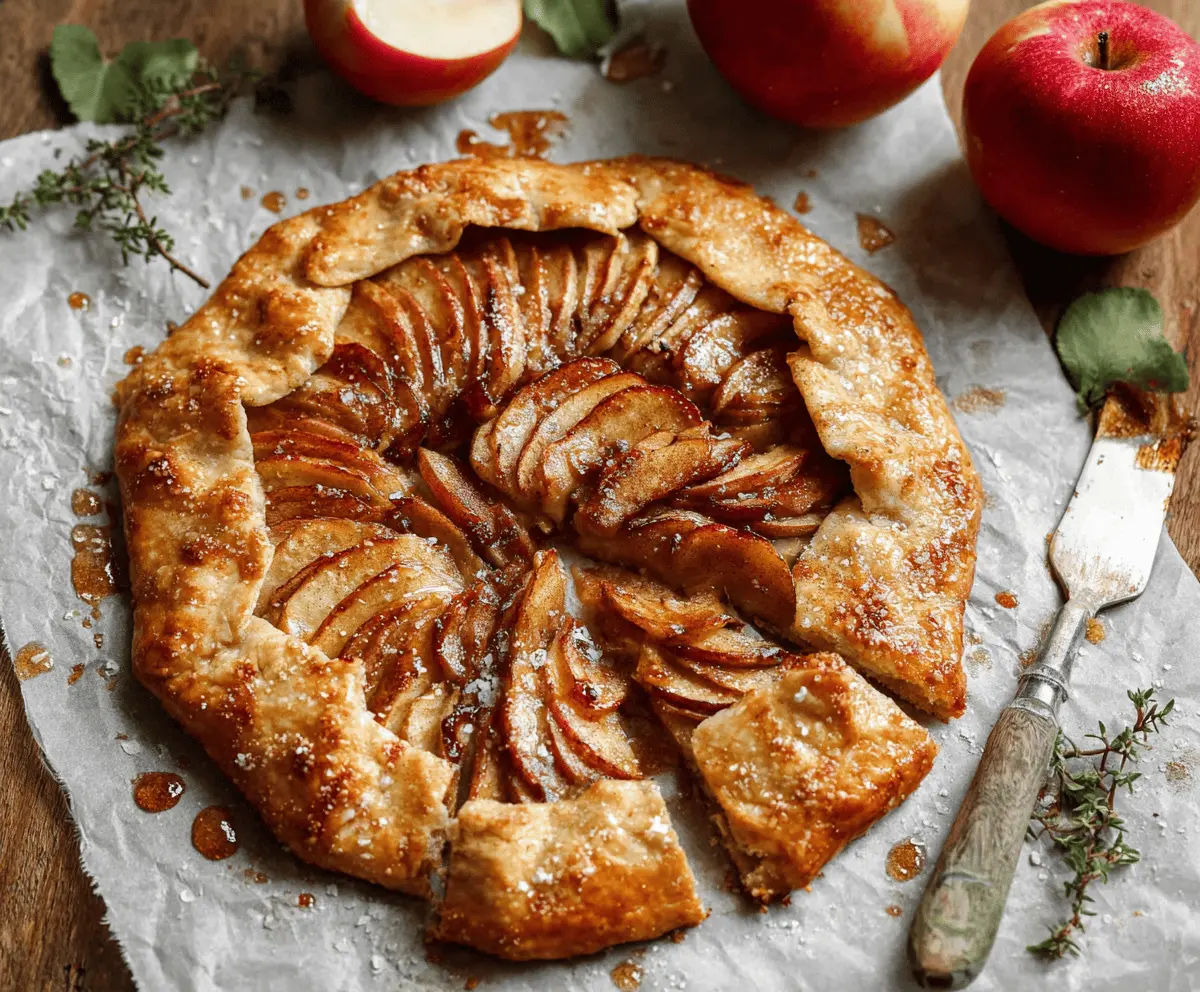
An apple galette is like a cozy hug in dessert form. With a flaky crust and sweet, spiced apples, it’s easy to make and tastes so good! A perfect treat for any day!
What I love most is how rustic it looks, like it just came out of Grandma’s kitchen. Seriously, who can resist warm apples with a scoop of ice cream? Yum! 🍏
Key Ingredients & Substitutions
All-Purpose Flour: This gives the crust its structure. You can swap it out for whole wheat flour for a nuttier flavor, but it might change the texture slightly.
Unsalted Butter: Cold butter is essential for a flaky crust. If you’re dairy-free, coconut oil or a vegan butter can work well. Just keep it cold too!
Apples: Honeycrisp or Gala are great for their sweetness and texture. For a twist, try Granny Smith for a tart bite, or a mix for flavor depth!
Coarse Sugar: This adds a nice crunch to the crust. If you don’t have any, regular sugar can do, or you could sprinkle on some cinnamon-sugar for added flavor.
How Do You Make a Flaky Crust for the Galette?
Getting the crust just right is key to the galette’s success. The cold butter and minimal handling keep it flaky. Here’s how to nail it:
- When mixing the butter into the flour, aim for small pea-sized pieces. This will help create pockets of steam in the oven, making your crust flaky.
- Don’t skip the ice-cold water! This helps the butter stay solid while mixing. Add it gradually until the dough holds together.
- After mixing, let the dough chill. This gives it time to relax and makes rolling it out easier.
Follow these steps, and you’ll have a deliciously flaky crust to hold all those tempting apples!
How to Make an Apple Galette
Ingredients You’ll Need:
For the Dough:
- 1 1/4 cups all-purpose flour
- 1/2 teaspoon salt
- 1 tablespoon sugar (for the dough)
- 8 tablespoons (1 stick) unsalted butter, cold and cut into cubes
- 3-4 tablespoons ice-cold water
For the Apple Filling:
- 2 large apples (such as Honeycrisp or Gala), thinly sliced
- 1/4 cup granulated sugar (for filling)
- 1 teaspoon ground cinnamon
- 1 tablespoon lemon juice
- 1/2 teaspoon vanilla extract (optional)
- 1 tablespoon all-purpose flour (for filling)
For Assembly:
- 1 egg, beaten (for egg wash)
- 1 tablespoon coarse sugar (for sprinkling on crust)
- Powdered sugar (for dusting after baking)
- Maple syrup or honey (optional, for drizzling)
How Much Time Will You Need?
This delicious apple galette takes about 20 minutes to prepare, plus 1 hour for chilling the dough. Once it’s in the oven, you’ll need another 35-45 minutes to bake. In no time, you’ll have a charming dessert ready to enjoy!
Step-by-Step Instructions:
1. Prepare the Crust:
Start by whisking together the flour, salt, and sugar in a large bowl. Next, add the cold butter cubes. Use a pastry cutter or your fingers to mix the butter into the flour until it looks like coarse crumbs, with some pieces about the size of peas. This is what will give your crust a nice flakiness!
2. Bring the Dough Together:
Slowly add ice-cold water, one tablespoon at a time, mixing gently until the dough holds together. Try not to overwork it. Once mixed, shape the dough into a disk, wrap it in plastic wrap, and pop it in the fridge for at least 1 hour to chill. This rest helps keep the crust flaky!
3. Prepare the Apple Filling:
While your dough chills, you can get the filling ready. In a bowl, combine the thinly sliced apples, granulated sugar, cinnamon, lemon juice, and optional vanilla. Sprinkle in the tablespoon of flour and gently toss everything together, making sure the apples are coated evenly.
4. Assemble the Galette:
When the dough is chilled, preheat your oven to 400°F (200°C). On a lightly floured surface, roll out the dough into a rough 12-inch circle. Don’t worry about perfection! Transfer the dough to a baking sheet lined with parchment paper. Now, arrange the apple slices in the center, leaving a 2-inch border around the edges.
5. Fold the Edges:
Time to fold! Gently fold the edges of the dough up and over the apples, making pleats as you go to create a rustic border. It’s okay if the center is still exposed—that’s part of the charm!
6. Add the Finishing Touches:
Brush the dough with the beaten egg for a beautiful shine and sprinkle coarse sugar on top. It adds a lovely crunch!
7. Bake the Galette:
Slide the galette into your preheated oven. Bake it for about 35-45 minutes, or until the crust is golden brown and the apples are tender and starting to caramelize—your kitchen will smell divine!
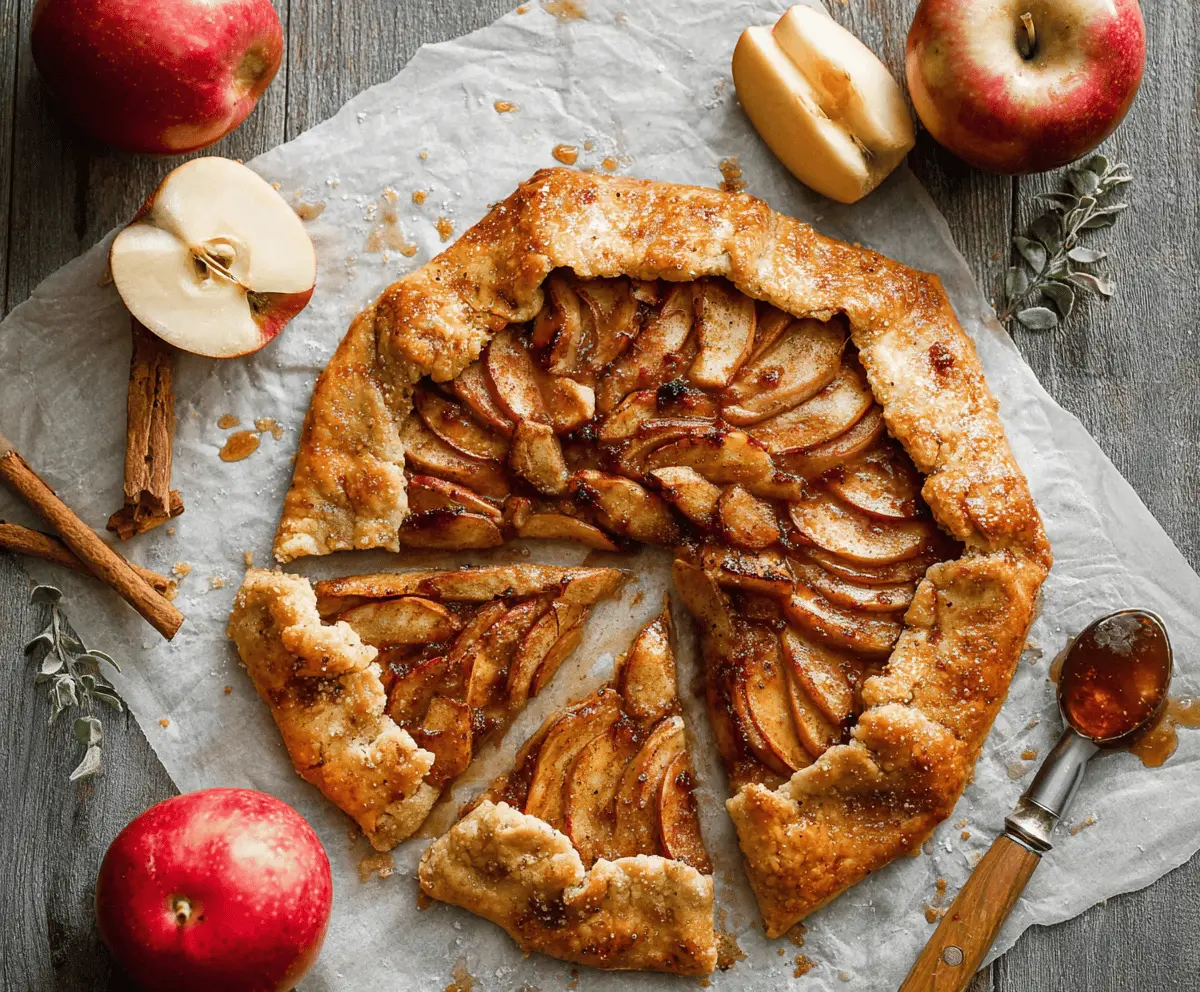
8. Cool and Serve:
Once done baking, take the galette out of the oven and let it cool slightly on a wire rack. Dust the top with powdered sugar and, if you like, drizzle a little maple syrup or honey over it.
9. Enjoy:
Serve your apple galette warm, ideally with a scoop of vanilla ice cream or a dollop of whipped cream. It’s the perfect sweet treat!
Enjoy your delightful, rustic apple galette!🍏✨
Can I Use Different Types of Apples for the Galette?
Absolutely! While Honeycrisp and Gala are great options, you can use any mix of apples you like. Tart apples like Granny Smith offer a nice contrast to the sweetness, while sweeter varieties will enhance the dessert flavor.
How Do I Store Leftover Apple Galette?
Store any leftovers in an airtight container in the refrigerator for up to 3 days. You can enjoy it cold, or for the best taste, reheat in the oven at 350°F (175°C) for about 10-15 minutes until warmed through.
Is It Possible to Make the Dough in Advance?
Yes, you can definitely make the dough ahead of time! Simply prepare it, shape it into a disk, wrap it in plastic wrap, and refrigerate for up to 2 days. Just make sure to bring it to room temperature for about 10 minutes before rolling it out.
Can I Make This Recipe Gluten-Free?
Yes! To make a gluten-free apple galette, substitute the all-purpose flour with a 1:1 gluten-free flour blend. Make sure your other ingredients, like the baking powder, are also gluten-free. The texture may vary slightly but should still be delicious!