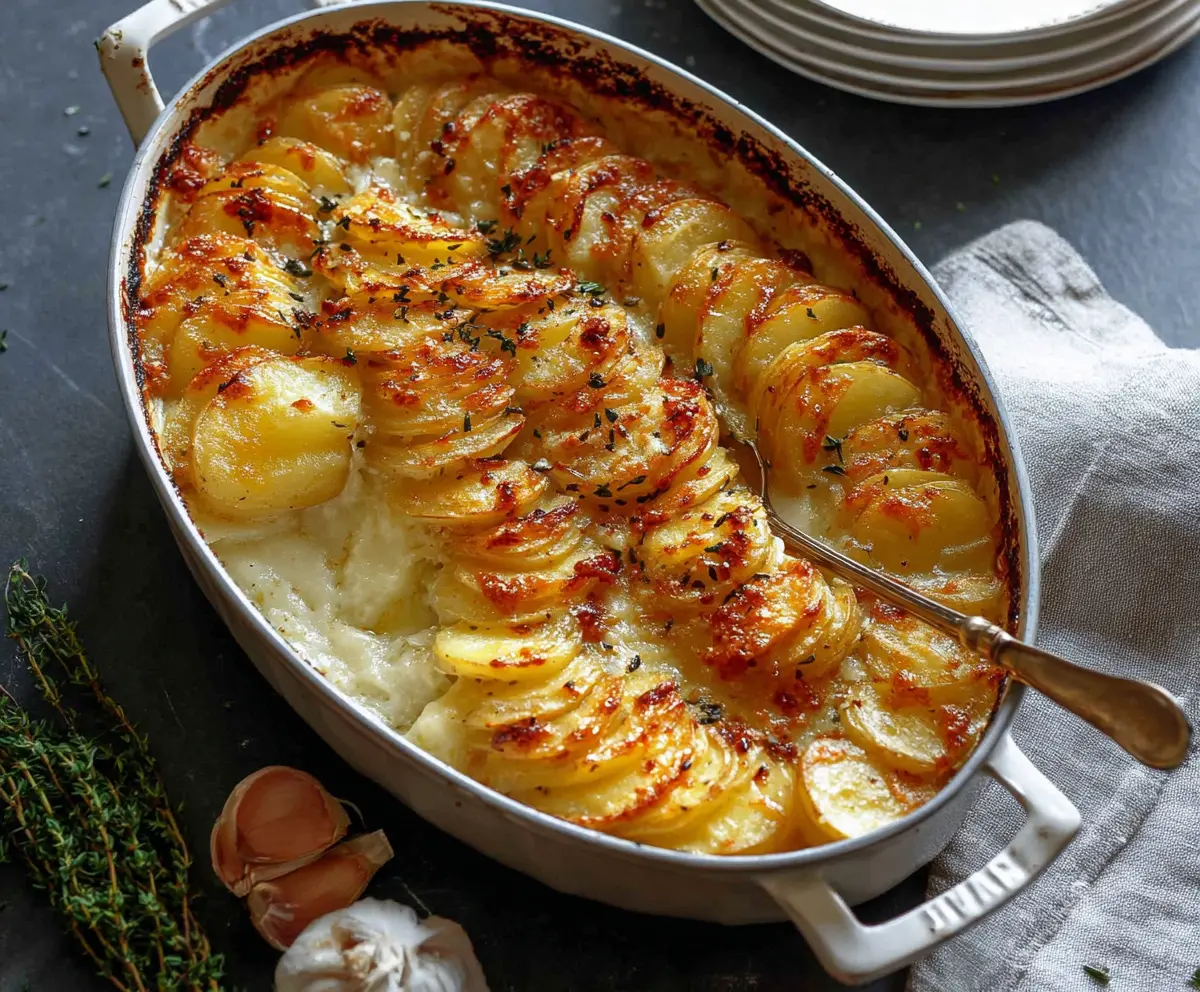
This Cheesy Garlic Butter Potato Bake is a warm hug on a plate! You’ll love the crispy edges and creamy, cheesy center packed with buttery garlic goodness.
I mean, who doesn’t adore potatoes slathered in cheese and garlic? It’s like a party for your taste buds! 🤤 I usually pair it with a fresh salad for a delightful meal.
Key Ingredients & Substitutions
Potatoes: Large russet potatoes work best here for their starchiness, which yields a creamy texture. You can substitute with Yukon Golds for a buttery flavor or even sweet potatoes for a twist. Just keep in mind it will alter the taste!
Butter: Unsalted butter allows you to control the salt content in the dish. In a pinch, you can use olive oil or vegan butter if you’re looking for a dairy-free option.
Garlic: Fresh garlic adds a punch, but garlic powder can be a quick alternative if you’re low on fresh cloves. Adjust the amount to your preference; I often add a little extra for more flavor!
Cheese: I love using a mix of cheddar and mozzarella for that gooey texture. If you’re feeling adventurous, try gouda or a nice smoked cheese for added depth. Vegan cheese can be a substitute for a dairy-free version.
Thyme: Dried thyme is always ready to use, but fresh thyme leaves elevate the dish with a brighter flavor. Feel free to skip if you don’t have it on hand- the dish will still be delicious!
How Do I Layer the Potatoes Perfectly?
The layering of the potatoes is important for even cooking and flavor distribution. Here’s how to do it easily:
- Start with a layer of potatoes, slightly overlapping each slice for maximum coverage. This way, every slice can soak up the creamy sauce.
- When pouring the sauce, do so evenly over each layer to ensure every potato gets that cheesy goodness.
- Repeat until you’ve used all the potatoes and sauce, topping off with cheese to create a crispy, delicious crust.
Use a gentle hand while layering to keep the slices intact. Patience is key for a beautiful bake! Enjoy your cooking adventure!
How to Make Cheesy Garlic Butter Potato Bake
Ingredients You’ll Need:
For the Bake:
- 4 large potatoes, thinly sliced
- 3 tbsp unsalted butter
- 3 cloves garlic, minced
- 1 cup heavy cream
- 1 cup whole milk
- 1 ½ cups shredded cheddar cheese (or a mix of cheddar and mozzarella)
- ½ cup grated Parmesan cheese
- 1 tsp dried thyme (or fresh thyme leaves)
- Salt and black pepper, to taste
- Fresh parsley or thyme, for garnish (optional)
How Much Time Will You Need?
This cheesy garlic butter potato bake will take approximately 15 minutes to prepare and 1 hour total to bake in the oven. You’ll spend a quick 15 minutes mixing and layering everything up, then just sit back and let the oven do the work while your home fills with delightful aromas!
Step-by-Step Instructions:
1. Preheat the Oven:
First things first, preheat your oven to 375°F (190°C). Grease a baking dish with a little butter or a non-stick spray to keep your potato bake from sticking. This will make serving so much easier!
2. Make the Garlic Butter Sauce:
In a small saucepan over medium heat, melt the unsalted butter. Once melted, add in the minced garlic. Sauté it gently for about 1-2 minutes, just until you can smell the incredible garlic aroma without letting it brown—that’s when it’s at its best!
3. Combine Cream and Cheese:
Next, pour in the heavy cream and milk while stirring to mix everything well. Heat this mixture just until it starts to simmer, then take it off the heat. Stir in half of your shredded cheddar cheese and the Parmesan until everything is melted and creamy. Season it all with salt, pepper, and thyme for a burst of flavor!
4. Layer the Potatoes:
Now it’s time to assemble! Begin by arranging a layer of the thinly sliced potatoes at the bottom of your prepared baking dish, slightly overlapping the slices for even coverage. This will help every slice absorb that delicious sauce!
5. Add the Sauce:
Pour a portion of your creamy garlic sauce over the potatoes, making sure to cover them well. Don’t be shy—you want every slice to soak up that goodness!
6. Repeat the Layers:
Continue layering with the remaining potato slices and sauce, making sure to finish with a layer of sauce on top. This will keep your potatoes moist and flavorful.
7. Top with Cheese:
Finally, sprinkle the rest of your shredded cheddar cheese over the top. This will create a wonderfully cheesy, bubbly crust while it cooks.
8. Bake the Dish:
Cover your dish with aluminum foil to keep the moisture in, and bake it in your preheated oven for 40 minutes. After that, remove the foil and bake for an additional 20-25 minutes. You want the potatoes to be tender and the top to be golden and bubbly!
9. Cool and Garnish:
Once baked, take the dish out of the oven and let it cool for a few minutes before serving. If you’d like, sprinkle some fresh parsley or thyme on top for a touch of color and flavor.
10. Serve and Enjoy!
Now, it’s time to dig in! Serve your cheesy garlic butter potato bake warm as a comforting side dish or even as a satisfying main. Enjoy every cheesy, garlicky bite!
Can I Use Different Types of Potatoes?
Absolutely! While russet potatoes are ideal for their starchiness and creaminess, you can also use Yukon Gold potatoes for a buttery flavor or even sweet potatoes for a unique twist. Just remember that different potatoes will slightly alter the taste and texture!
Can I Substitute Heavy Cream?
If you want to lighten things up, you can replace heavy cream with half-and-half or a combination of whole milk and Greek yogurt. Just keep in mind that the dish will be less rich, but still delicious!
How Do I Store Leftovers?
Store any leftovers in an airtight container in the refrigerator for up to 3 days. To reheat, warm gently in the oven at 350°F (175°C) until heated through or pop it in the microwave for a quick fix—just be sure to cover it to keep moisture in!
Can I Make This Recipe Ahead of Time?
Yes! You can prepare the entire dish and refrigerate it before baking. Just cover it tightly with plastic wrap or foil. When you’re ready to bake, remove the covering and allow it to sit at room temperature for about 30 minutes before putting it in the oven. Baking time might require a bit longer if the dish is cold from the fridge.