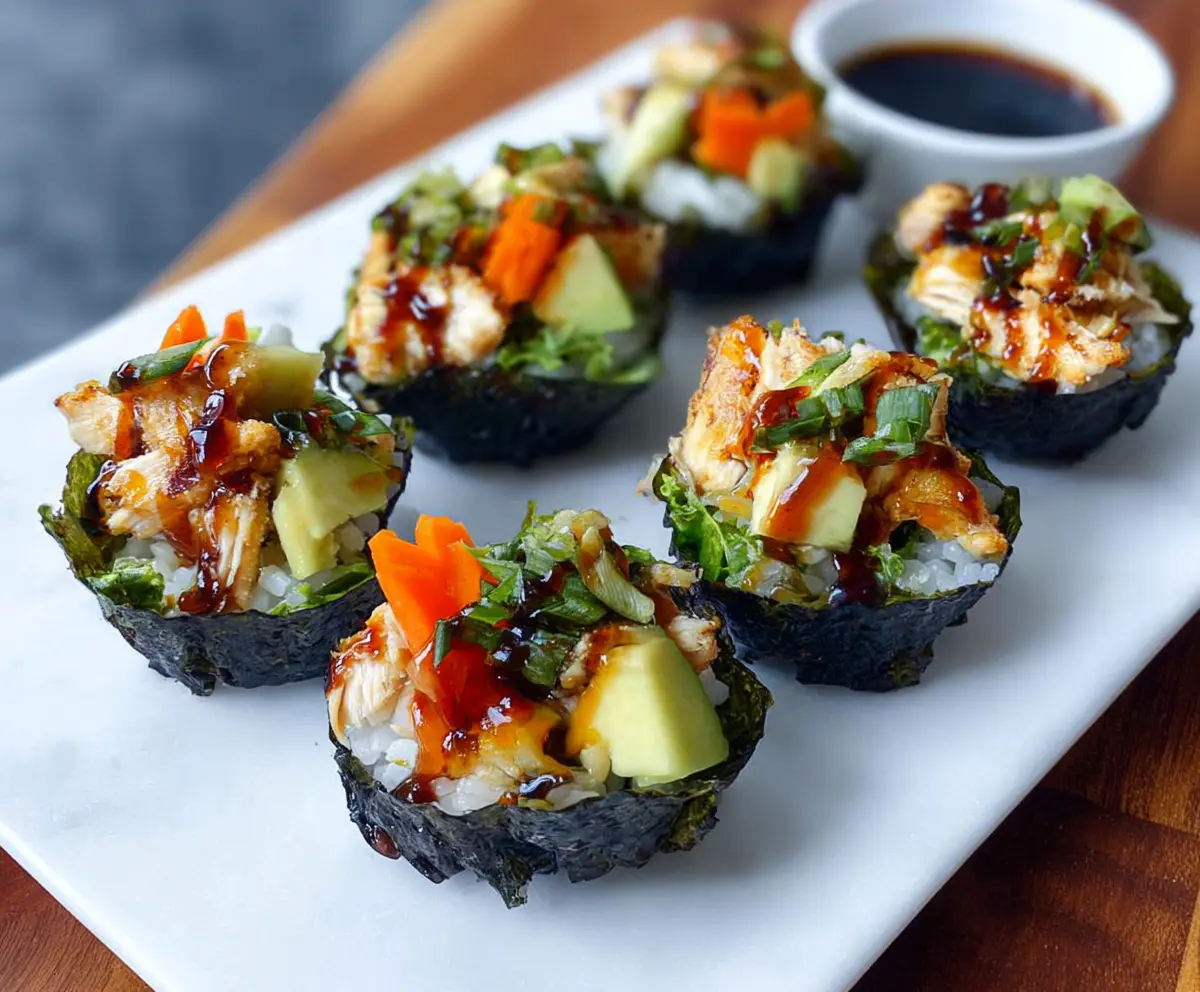
These Chicken Sushi Cups are a fun twist on traditional sushi! Made with bite-sized pieces of chicken, fresh veggies, and a tasty sauce, they’re perfect for snacking or sharing.
Honestly, who doesn’t love a dish that looks cute and is easy to eat? I love making them for parties—everyone gets excited when they see these colorful little cups on the table!
They’re super simple to make, too! Just layer your chicken and goodies in a cup, and you’re all set for a tasty and fun meal. Easy peasy!
Key Ingredients & Substitutions
Nori Seaweed: Nori is essential for wrapping these cups. If you can’t find it, consider using thinly sliced lettuce or rice paper instead to create your cups.
Sushi Rice: Sushi rice gives the right sticky texture. If you’re in a pinch, you can use short-grain white rice or even brown rice, though the flavor and stickiness will vary.
Chicken: I often use grilled chicken breast for its lean quality. Rotisserie chicken works great too, saving you time. You can also swap it with tofu for a vegetarian option.
Vegetables: Fresh veggies like cucumbers and carrots add crunch. Feel free to add other favorites like avocado, bell peppers, or radish. Mix it up to suit your taste!
Sauces: Teriyaki and eel sauce provide some sweetness. You can substitute with hoisin sauce or a tangy ponzu for a different flavor profile.
How Do You Make Nori Cups That Hold Their Shape?
Creating sturdy nori cups can be tricky but very rewarding! To ensure they hold their shape, we’ll bake them slightly to add some crispness.
- First, cut your nori into quarters and lightly grease a muffin tin.
- Press nori pieces into the muffin tin, shaping them into cups.
- Preheat your oven to 275°F (135°C) and bake for 5-7 minutes until slightly crisp. This process helps them maintain their structure while holding the fillings.
Let them cool before adding rice and toppings. This ensures they stay firm and don’t get soggy from the moisture. Enjoy making these light and fun sushi cups!
How to Make Chicken Sushi Cups
Ingredients You’ll Need:
Nori and Rice:
- 3 sheets of nori seaweed
- 1 cup sushi rice (uncooked)
- 1 1/4 cups water (for cooking rice)
Seasoning for Rice:
- 2 tbsp rice vinegar
- 1 tbsp sugar
- 1/2 tsp salt
Fillings:
- 1 cooked chicken breast, chopped or shredded (grilled or pan-seared with a light seasoning)
- 1 small cucumber, peeled and diced
- 1 small carrot, peeled and julienned or diced
- 2 green onions, finely sliced
- 1 tsp sesame seeds (optional)
For Drizzling and Serving:
- Teriyaki sauce or eel sauce for drizzling
- Soy sauce, for serving
How Much Time Will You Need?
This recipe takes about 30 minutes to prepare, plus an additional 7-10 minutes for cooking and cooling the rice. After that, you’ll assemble everything, and it’s ready to serve! Perfect for a fun meal or snack!
Step-by-Step Instructions:
1. Cook the Sushi Rice:
First, rinse the sushi rice under cold water until the water runs clear. This helps remove excess starch. Then, combine the rice and 1 1/4 cups of water in a pot, bring it to a boil. Once boiling, reduce the heat to low and cover it, cooking for about 15 minutes until the water is absorbed. After that, remove the pot from the heat and let it sit covered for another 10 minutes.
2. Season the Rice:
In a small bowl, mix together the rice vinegar, sugar, and salt until dissolved. Once your rice has cooled to room temperature, gently fold this mixture into it. This step adds flavor and gives the rice that classic sushi taste!
3. Prepare the Nori Cups:
Cut each nori sheet into quarters. Lightly grease a mini muffin tin, and then press the pieces of nori into each cup, forming small cups around the edges. This creates a fun, edible holder for your sushi!
4. Crisp the Nori Cups:
Preheat your oven to 275°F (135°C). Place your muffin tin with the nori cups inside for about 5-7 minutes. This will slightly crisp them and make them more flexible. Once done, remove them from the oven and let them cool.
5. Assemble the Sushi Cups:
Spoon a small layer of sushi rice into each nori cup. Gently press down to fill about 2/3 full, making sure it’s even at the top.
6. Add Fillings:
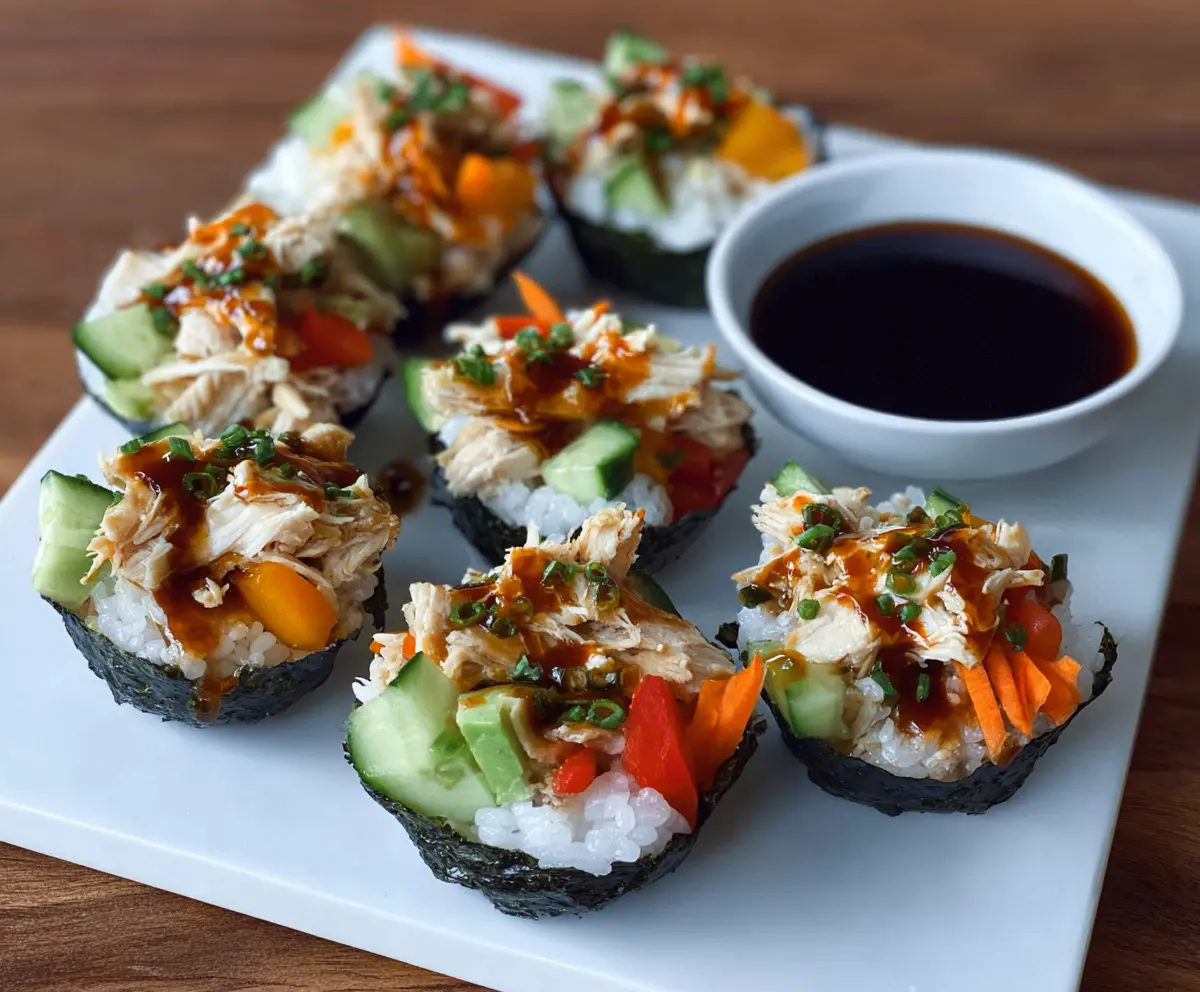
Top the rice with pieces of the cooked chicken, cucumber, and carrot. Lastly, sprinkle some green onions and sesame seeds on top if you like.
7. Finish and Garnish:
Drizzle teriyaki or eel sauce over the top of each sushi cup for that delicious finishing touch!
8. Serve:
Arrange the chicken sushi cups on a platter, and don’t forget to have some soy sauce on the side for dipping. Enjoy these delightful, bite-sized treats!
These Chicken Sushi Cups are not just tasty—they’re a hit at parties and make for a fun meal any day! Enjoy!
Can I Use Other Proteins in This Recipe?
Absolutely! If chicken isn’t your thing, you can use cooked shrimp, tofu for a vegetarian option, or even leftover pork. Just ensure whatever protein you use is cooked and diced into small pieces for easy assembly.
How Do I Store Leftovers?
Store any leftover sushi cups in an airtight container in the fridge for up to 1 day. However, keep in mind that the nori may become soggy over time. If possible, assemble the cups fresh and store the components separately until you’re ready to eat!
Can I Make These Ahead of Time?
You can prep the rice, fillings, and nori cups a few hours before serving. Just don’t assemble them until you’re ready to eat to keep the nori crisp!”
What Can I Substitute for Sushi Rice?
If you can’t find sushi rice, short-grain white rice or even brown rice can work. Just be aware that the texture and flavor will differ slightly. For a lower-carb option, cauliflower rice can be a great alternative!