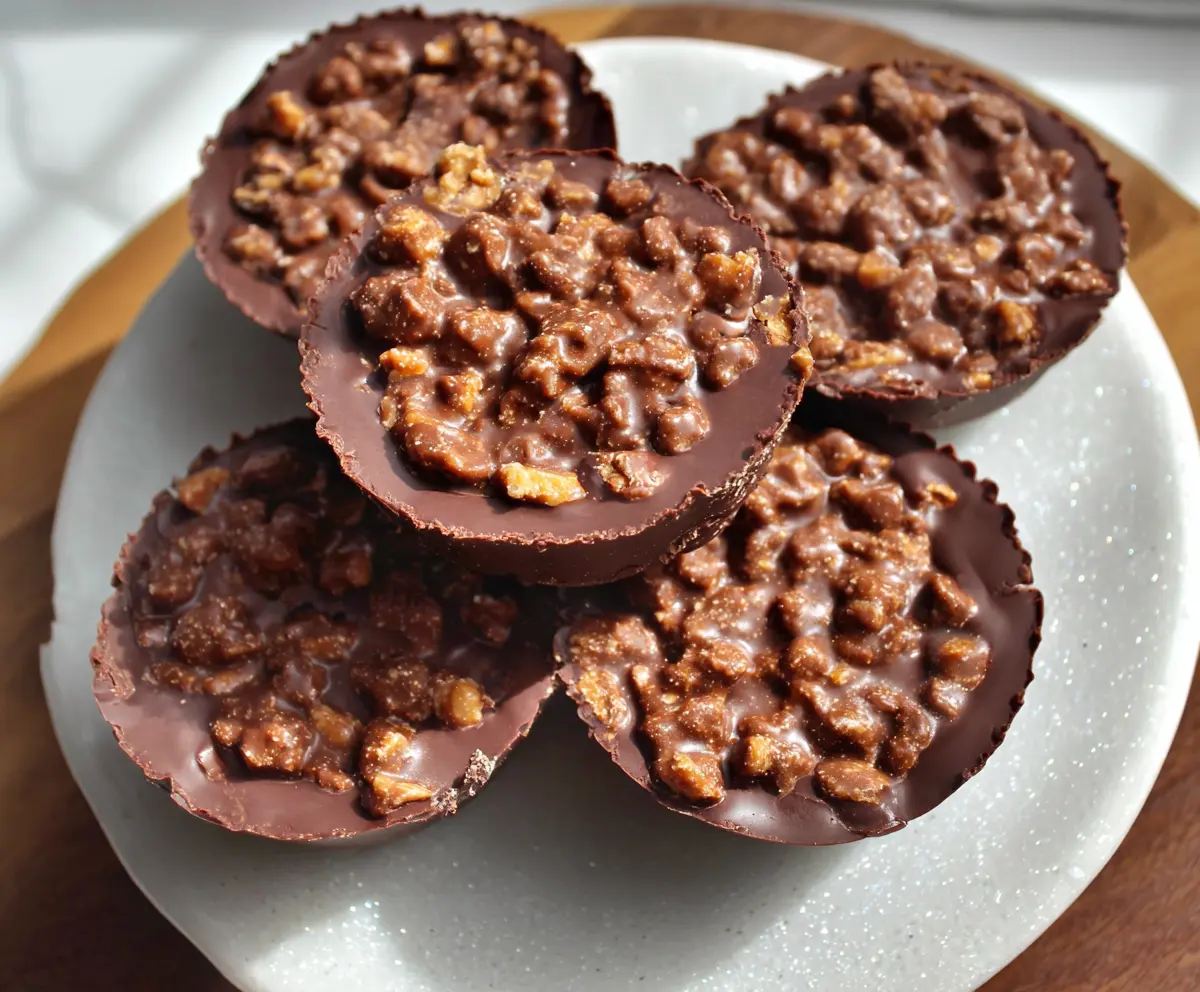
These Chocolate Peanut Butter Crunch Cups are a sweet match made in heaven! With a smooth, creamy peanut butter center surrounded by rich chocolate, they’re super tasty.
Who can resist a little crunch? I love how quick and easy they are to make. Perfect for snack time or sharing with friends—if you can resist the urge to keep them all for yourself! 😄
Key Ingredients & Substitutions
Creamy Peanut Butter: This is the star ingredient! If you’re looking for a healthier option, try using natural peanut butter or almond butter. Just note that the texture and flavor might be slightly different.
Unsalted Butter: For a dairy-free version, substitute with coconut oil or a plant-based butter. This will keep the richness without compromising on flavor.
Powdered Sugar: If you’re aiming to reduce sugar, consider using a sugar substitute like erythritol or coconut sugar. Just be sure to adjust the amounts as needed to fit the substitute’s sweetness level.
Semi-sweet Chocolate Chips: My personal favorite! You can use dark chocolate for a richer flavor or even milk chocolate if you prefer something sweeter. If you’re dairy-free, look for vegan chocolate chips.
Crisped Rice Cereal: Don’t have it? You can use crushed graham crackers or even chopped nuts for added crunch. For a gluten-free option, look for gluten-free rice cereal!
How Do You Achieve the Perfect Chocolate Shell?
Coating the cups with chocolate is crucial for that satisfying crunch. Here’s how to do it right:
- Start by melting the chocolate slowly to avoid burning it. Stir every 30 seconds in the microwave or use a double boiler.
- When coating your cups, make sure the chocolate is thick enough to hold its shape. A soft brushing works best to cover the sides evenly.
- Don’t rush the setting! Refrigerate the coated cups for at least 5 minutes until firm, creating a solid base for your peanut butter filling.
- If you want a thicker shell for extra crunch, you can re-apply another layer of melted chocolate after the first coat has set.
With these tips, you’ll create a delicious shell that perfectly complements the creamy peanut butter center!
How to Make Chocolate Peanut Butter Crunch Cups
Ingredients You’ll Need:
For the Peanut Butter Filling:
- 1 cup creamy peanut butter
- 1/4 cup unsalted butter
- 1 cup powdered sugar
- 1 tsp vanilla extract (optional)
- Pinch of salt (if peanut butter is unsalted)
For the Chocolate Coating:
- 2 cups semi-sweet chocolate chips (or chopped chocolate)
For the Crunch Layer:
- 1/2 cup crisped rice cereal (e.g., Rice Krispies)
Time Needed:
This delightful recipe requires about 15 minutes of active preparation time, plus an additional 30 minutes to chill in the refrigerator after assembly. So, in just under an hour, you can enjoy these delicious treats!
Step-by-Step Instructions:
1. Prepare the Peanut Butter Filling:
In a medium bowl, mix together the creamy peanut butter, unsalted butter, powdered sugar, vanilla extract (if you’re using it), and a pinch of salt. Stir until the mixture is smooth and well combined. Set this aside while we prepare the chocolate coating!
2. Melt the Chocolate for the Shell:
Take 1 cup of the chocolate chips and melt them. You can do this in a microwave-safe bowl by heating in 30-second intervals, stirring in between, until the chocolate is completely smooth. Alternatively, you can use a double boiler if you prefer.
3. Coat the Cups with Chocolate:
Using a spoon or a small brush, take the melted chocolate and coat the bottom and sides of silicone muffin cups or paper-lined muffin tin cups. Make sure to cover them evenly. Once coated, place the cups in the refrigerator for about 5 minutes to let the chocolate set.
4. Fill with Peanut Butter Mixture:
After the chocolate shell has set, spoon a layer of the peanut butter mixture into each cup. Spread it out evenly to create a nice filling.
5. Prepare the Crunch Layer:
Melt the remaining 1 cup of chocolate chips. Once melted, stir in the crisped rice cereal until it’s all evenly coated with chocolate. This is where the fun crunch comes in!
6. Add the Crunch Layer:
Now, spoon this chocolate-crisped rice mixture over the peanut butter layer. Press it gently to form a nice, even top layer that will hold everything together.
7. Chill to Set:
Return the cups to the refrigerator and let them chill for at least 30 minutes, or until they are completely set and firm to the touch.
8. Serve & Enjoy!
Once the cups are nice and firm, carefully remove them from the mold or paper liners. Store any leftovers in an airtight container in the refrigerator for up to a week. Enjoy your deliciously crunchy, creamy treats!
Can I Substitute the Peanut Butter?
Absolutely! You can use almond butter, cashew butter, or sun butter if you have a nut allergy. Just keep in mind that the flavor and texture may vary slightly, but they will still be delicious!
How Do I Store Leftovers?
Store your Chocolate Peanut Butter Crunch Cups in an airtight container in the refrigerator for up to a week. For longer storage, you can freeze them for up to 3 months. Just make sure to layer parchment paper between the cups so they don’t stick together!
Can I Use Sugar Alternatives?
Yes! You can substitute powdered sugar with a sugar alternative, like powdered erythritol or coconut sugar. Adjust the quantity according to the sweetness level of the substitute you choose.
What If I Don’t Have Silicone Muffin Cups?
No worries! You can use a paper-lined muffin tin or even a regular muffin tin. Just make sure to lightly grease the paper liners or the tin to ensure easy removal once set.