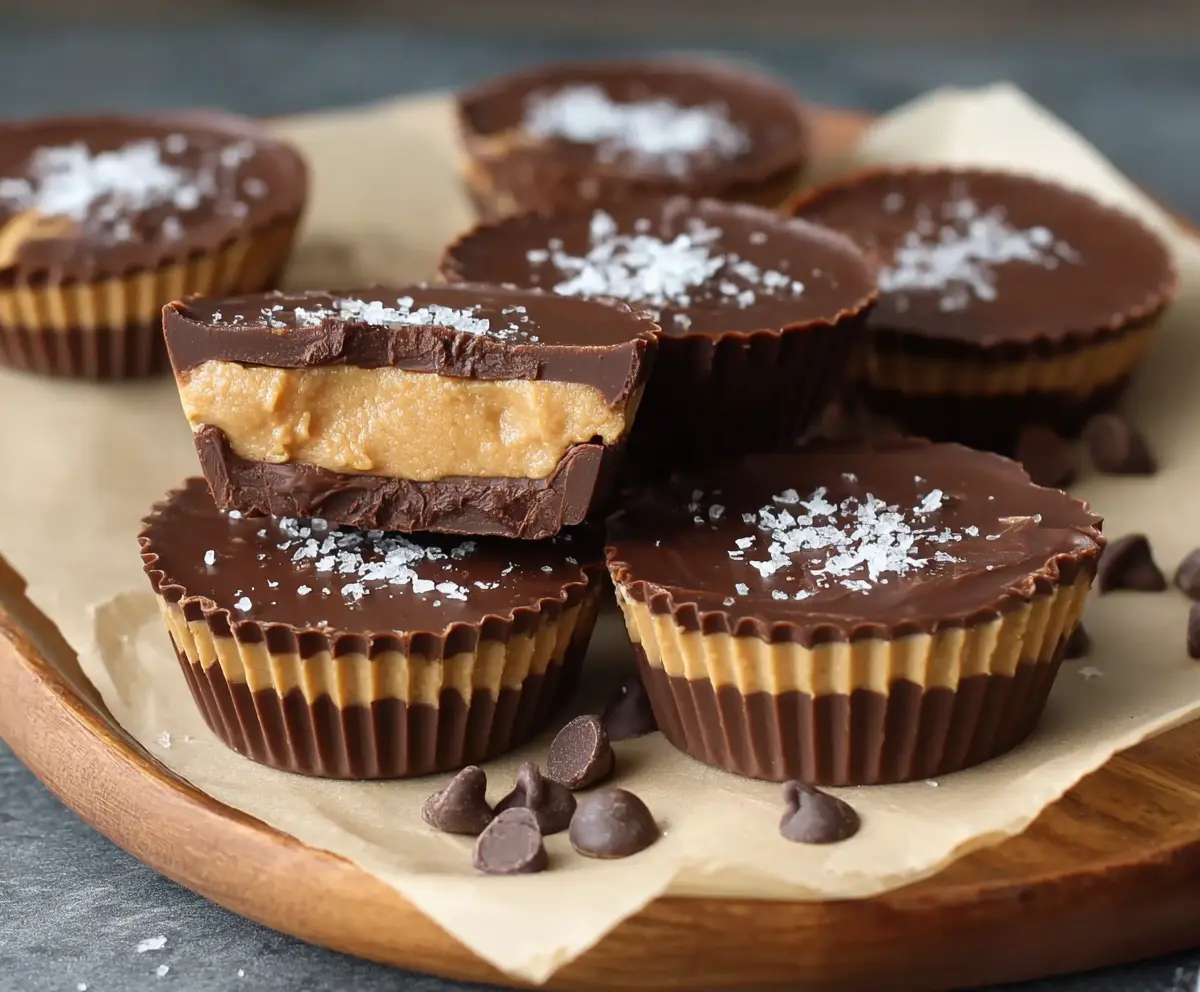
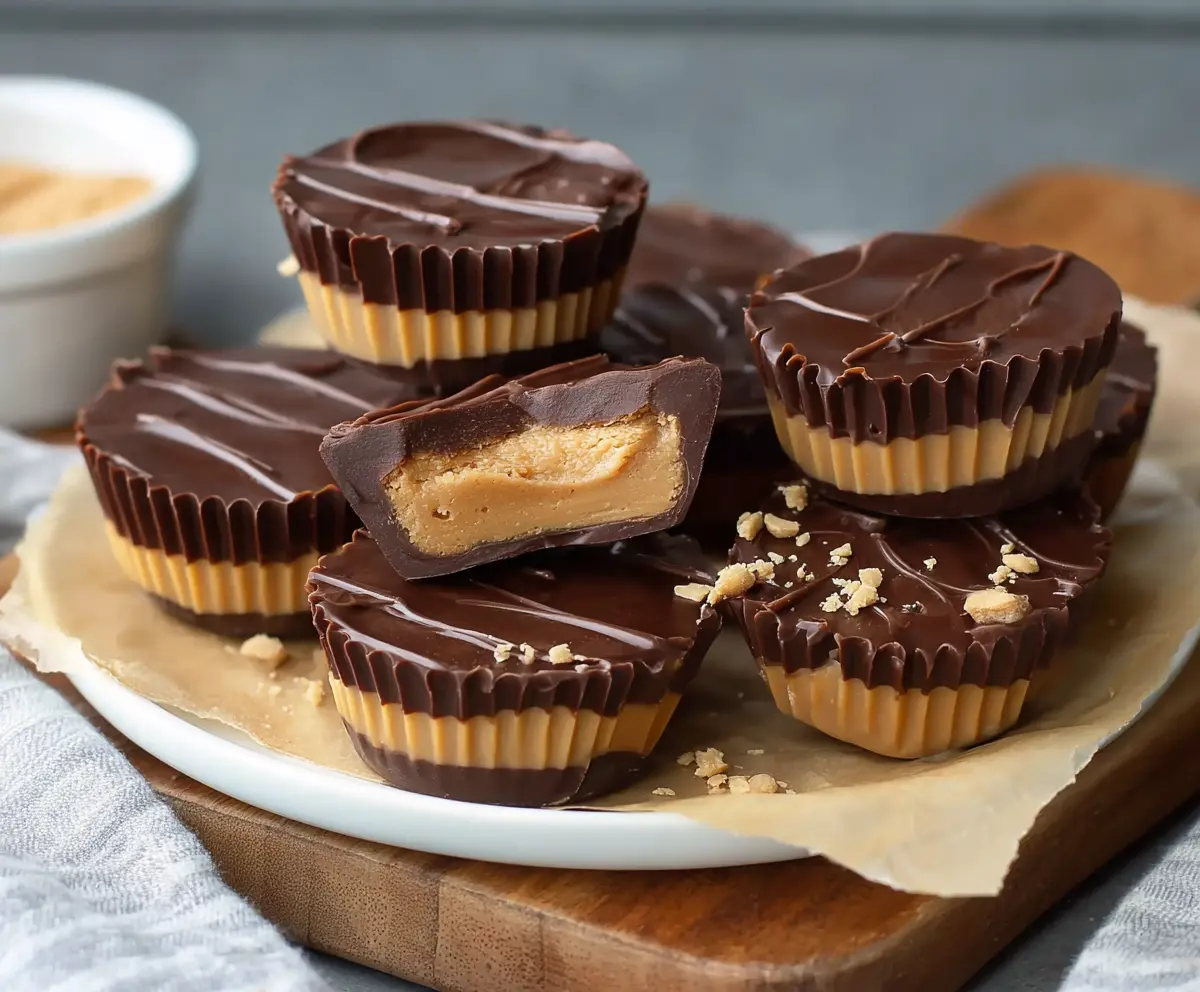
Cottage Cheese Peanut Butter Cups are a fun twist on classic treats! With creamy cottage cheese and rich peanut butter, these little cups are both tasty and nutritious.
I love making these as a quick snack. They’re my go-to when I want something sweet yet healthy. Plus, who can resist that peanut buttery goodness? Yum! 🤤
Key Ingredients & Substitutions
Cottage Cheese: Use well-blended cottage cheese for a smooth texture. If you prefer dairy-free options, try silken tofu or blended cashews as a substitute, maintaining creaminess while changing the flavor slightly.
Peanut Butter: Creamy peanut butter works best here. If you’re nut-free, sunflower seed butter or tahini can be great alternatives. They add a nice flavor without the allergens!
Sweeteners: Honey or maple syrup adds sweetness, but feel free to omit them if you prefer a less sweet treat. You could also use agave syrup or a sugar-free sweetener based on your needs.
Chocolate Chips: Dark chocolate offers a rich flavor, but semi-sweet works too! For a lower-sugar option, choose sugar-free chocolate chips or even carob chips if you want a different taste.
Coconut Oil: This helps to smooth the chocolate mixture. If you don’t have it, you can use butter or another neutral oil, but coconut oil adds a lovely taste!
What’s the Best Way to Layer These Cups?
Layering is key to getting that delicious experience in every bite! Here’s how to do it perfectly:
- Start with melted chocolate in the bottom, spreading it evenly to create a solid base.
- After chilling, add the cottage cheese and peanut butter mix; make sure it’s spread well to the edges!
- Finish with another layer of chocolate, ensuring it covers completely for a smooth finish. This layer seals in the filling.
- Don’t forget the sprinkle of sea salt! It enhances the flavors beautifully.
Patience is crucial! Let each layer set in the freezer to keep the structure intact. Enjoy your yummy homemade treats!
How to Make Cottage Cheese Peanut Butter Cups
Ingredients You’ll Need:
For the Filling:
- 1 cup cottage cheese (preferably smooth or well-blended)
- 1/2 cup creamy peanut butter
- 2 tablespoons honey or maple syrup (optional, for sweetness)
- 1 teaspoon vanilla extract
For the Chocolate Coating:
- 1 1/2 cups dark or semi-sweet chocolate chips
- 1 tablespoon coconut oil or butter (to help melt the chocolate)
For the Topping:
- Flaky sea salt for topping (optional)
How Much Time Will You Need?
This delightful treat requires about 15 minutes of active preparation time and at least 30 minutes in the freezer to set. So, set aside around 45 minutes to an hour total for making and chilling these creamy cups!
Step-by-Step Instructions:
1. Make the Filling:
Start by adding cottage cheese, peanut butter, honey (if you like it sweeter), and vanilla extract to a blender or food processor. Blend until everything is smooth and creamy, then set this mixture aside. It will be your delicious filling.
2. Prepare the Cupcake Tin:
Line a muffin tin with mini cupcake liners. This makes it easier to remove the cups once they’re set, and gives them a nice presentation!
3. Melt the Chocolate:
In a microwave-safe bowl, toss in the chocolate chips and coconut oil. Microwave this mix in 30-second intervals, stirring in between, until everything is melted and silky smooth. Be careful not to overheat it!
4. Create the Chocolate Base:
Using a spoon, fill the bottom of each cupcake liner with about 1 tablespoon of melted chocolate. Use the back of the spoon to spread the chocolate evenly across the bottom. Then, pop the muffin tin into the freezer for 5-7 minutes to let the chocolate harden.
5. Add the Filling:
Once the chocolate base is firm, take the muffin tin out of the freezer. Spoon about 1 tablespoon of the cottage cheese and peanut butter mixture on top of each chocolate layer. Spread it out evenly so every bite will have a great filling!
6. Seal with More Chocolate:
Pour another tablespoon of the melted chocolate over the peanut butter layer, completely covering it. This will keep the delicious filling inside!
7. Add Finishing Touches:
If you like, sprinkle a tiny pinch of flaky sea salt on each cup while the chocolate is still soft. It adds a wonderful flavor contrast!
8. Freeze to Set:
Place the muffin tin back in the freezer for at least 30 minutes, or until the cups are fully set and firm enough to handle.
9. Serve and Store:
Once ready, take the cups out of the freezer and let them sit at room temperature for a couple of minutes. This makes them easier to eat! You can store any leftovers in the refrigerator or freezer for a sweet treat anytime.
Enjoy your delicious Cottage Cheese Peanut Butter Cups! They’re creamy, rich, and have a perfect balance of flavors — a delightful snack or dessert for any occasion!
Can I Use Non-Dairy Alternatives?
Absolutely! For a dairy-free option, substitute cottage cheese with blended silken tofu or a smooth cashew cream. You can also use almond butter or sunflower seed butter in place of peanut butter if you need a nut-free option!
How Long Do the Cups Last?
Your Cottage Cheese Peanut Butter Cups can be stored in an airtight container in the fridge for up to 5 days or in the freezer for up to 2 months. Just make sure they’re fully set and wrapped well to keep them fresh!
Can I Adjust the Sweetness?
Yes, you can adjust the sweetness to your taste! If you prefer less sweetness, cut back on the honey or maple syrup, or omit it altogether. You can also use flavored protein powder to add sweetness without extra sugar!
What Should I Do If My Chocolate Isn’t Melting Smoothly?
If your chocolate isn’t melting smoothly, try adding a bit more coconut oil or butter to help it along. Melt the chocolate in shorter intervals and stir it thoroughly; sometimes, it just needs a little more blending to become glossy and smooth!