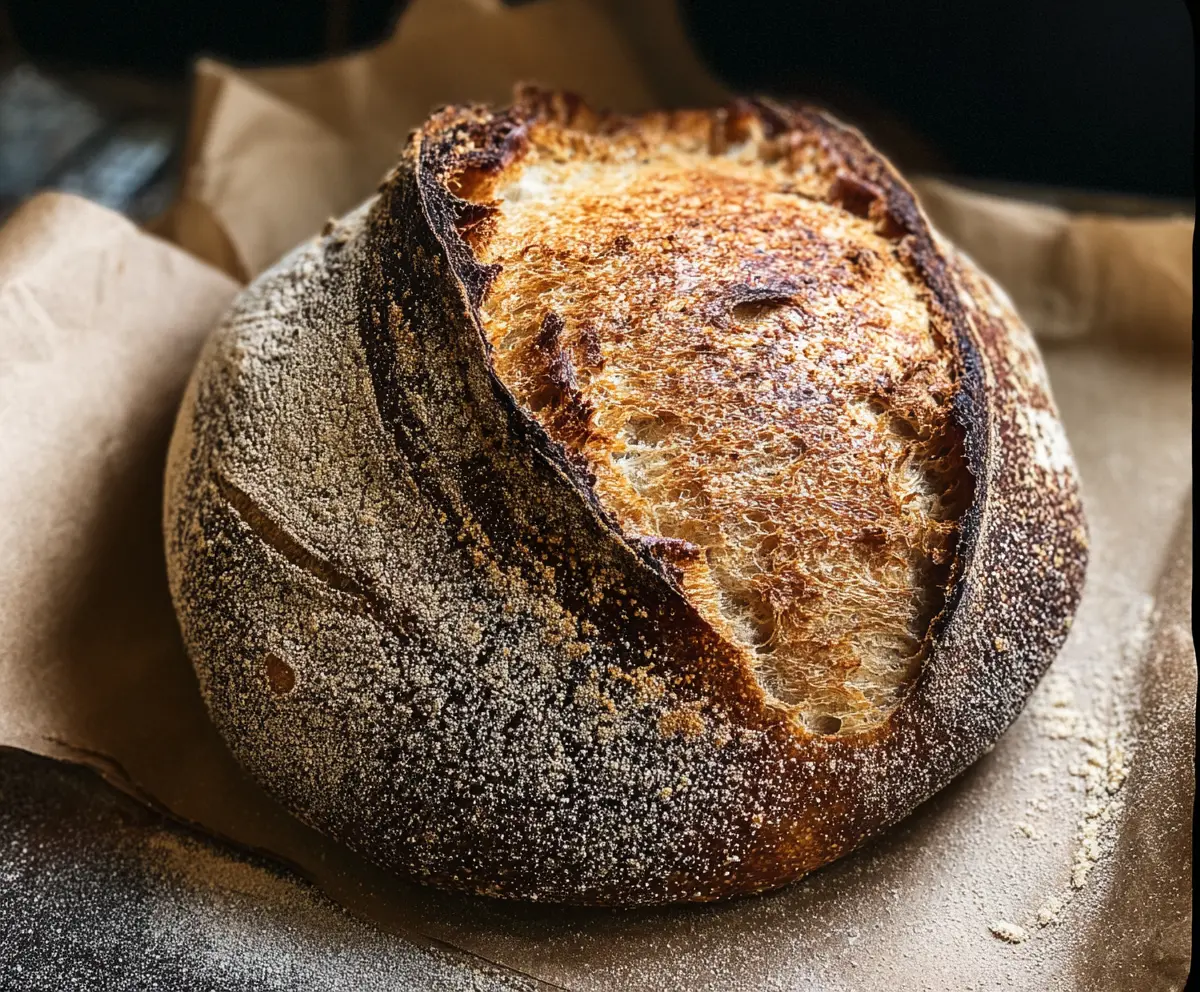
This Crust Sourdough Bread is a perfect blend of crispy outside and soft inside! It’s made with just flour, water, salt, and a little time, giving it that classic tangy flavor we love.
I enjoy enjoying this bread with my morning coffee. Just the smell of it baking fills the house with warmth and comfort—who wouldn’t want that? 😄
Baking this sourdough can feel like a fun project. I often make extra loaves to share with friends. It’s the best way to show I care—who can resist fresh bread?
Key Ingredients & Substitutions
Bread Flour: Strong white bread flour works best for structure, but you can mix in whole wheat for a nuttier flavor. If you’re in a pinch, all-purpose flour will work too, though the bread may be less chewy.
Sourdough Starter: Make sure your starter is active and bubbly—this is key for good rise. Can’t find one? You can buy a dehydrated starter or make your own by mixing equal parts flour and water and letting it ferment for a week.
Salt: Regular table salt is fine, but if you’d like to enhance flavor, consider fine sea salt or kosher salt. Avoid using iodized salt, as it can affect yeast activity.
Extra Flour for Dusting: While any flour can be used for dusting, semolina or rice flour is a great option because they prevent sticking and add a lovely texture to the crust.
How Do I Master the Stretch and Fold Technique?
The stretch and fold method is crucial for building gluten, giving your bread great structure. Here’s how to do it perfectly:
- After your dough has rested for 30 minutes, reach under the dough with one hand.
- Gently pull the dough up and stretch it towards the top. It’s okay if it tears a bit.
- Fold it back over itself. Repeat this for all sides (four times) during those crucial first 2 hours.
- Keep the dough covered to maintain moisture as you work through each fold.
Taking the time to stretch and fold may feel tedious, but it’s rewarding! Your dough will become smooth and elastic, and you’ll end up with a wonderfully airy crumb in your bread.
Crusty Sourdough Bread Recipe
Ingredients You’ll Need:
For the Dough:
- 500g bread flour (preferably strong white or a mix with some whole wheat)
- 350ml water (room temperature)
- 100g active sourdough starter (fed and bubbly)
- 10g salt
For Dusting:
- Extra flour (for dusting during shaping and proofing)
How Much Time Will You Need?
The total time required for this recipe is approximately 5-8 hours. You’ll spend about 30 minutes on preparation, followed by around 4-6 hours of fermentation (including the stretch and folds), some resting time, and finally, 40-55 minutes for baking and cooling. Early mornings or late afternoons are perfect for this delightful project!
Step-by-Step Instructions:
1. Mix the Dough:
In a large bowl, combine the bread flour and room temperature water. Use your hands or a spoon to mix until everything is combined and forms a shaggy, sticky dough. Once mixed, cover the bowl lightly with a cloth or plastic wrap, and let it rest for 30 minutes. This time is called autolyse, and it helps develop flavor and gluten.
2. Add Starter and Salt:
After the dough has rested, add your bubbly sourdough starter and salt into the bowl. Mix thoroughly by hand until both the starter and salt are fully incorporated. The dough will still be sticky but should start to feel elastic.
3. Bulk Fermentation with Folds:
Cover the bowl with a damp cloth or plastic wrap. Let the dough rise at room temperature for about 4-6 hours. During the first 2 hours, perform a series of stretch and folds every 30 minutes: reach under the dough, pull it up, and fold it over itself. This action encourages gluten development.
4. Shape the Loaf:
Once the bulk fermentation is complete, lightly flour a clean work surface. Gently turn the dough out onto this surface, being careful to preserve the air bubbles that formed. Shape the dough into a round boule (round shape). Allow it to rest for about 20 minutes to relax the gluten.
5. Proof the Dough:
Dust a banneton basket or a bowl lined with a tea towel generously with flour. Place your shaped dough seam-side up into the basket. Cover it with plastic wrap or a towel. Now, let it proof for another 2-4 hours at room temperature. For a more flavorful bread, you can also refrigerate it overnight for an extended ferment.
6. Preheat Your Oven:
About 30 minutes before you’re ready to bake, place a Dutch oven or heavy oven-safe pot (with a lid) into the oven and preheat it to 230°C (450°F). This step ensures that your bread develops a nice crust.
7. Score and Bake:
Once your dough is fully proofed, carefully flip it out of the basket onto a piece of parchment paper. Take a sharp knife or a razor blade and make a deep slash or pattern on the surface of the dough; this helps it expand while baking.
8. Bake with Steam:
Using the parchment paper, transfer the dough into your preheated Dutch oven. Cover with the lid and bake for 20 minutes. After 20 minutes, remove the lid and continue baking for an additional 20-25 minutes until the crust is golden and crusty.
9. Cool:
Once the bread is baked, carefully remove it from the oven and transfer it onto a cooling rack. Let the bread cool completely before slicing; this helps finish the crust development.
10. Serve:
Your crusty sourdough bread is ready to enjoy! Slice it up, and serve it plain, with a spread of butter, or alongside your favorite meal. It’s perfect for coffee or as a sandwich base!
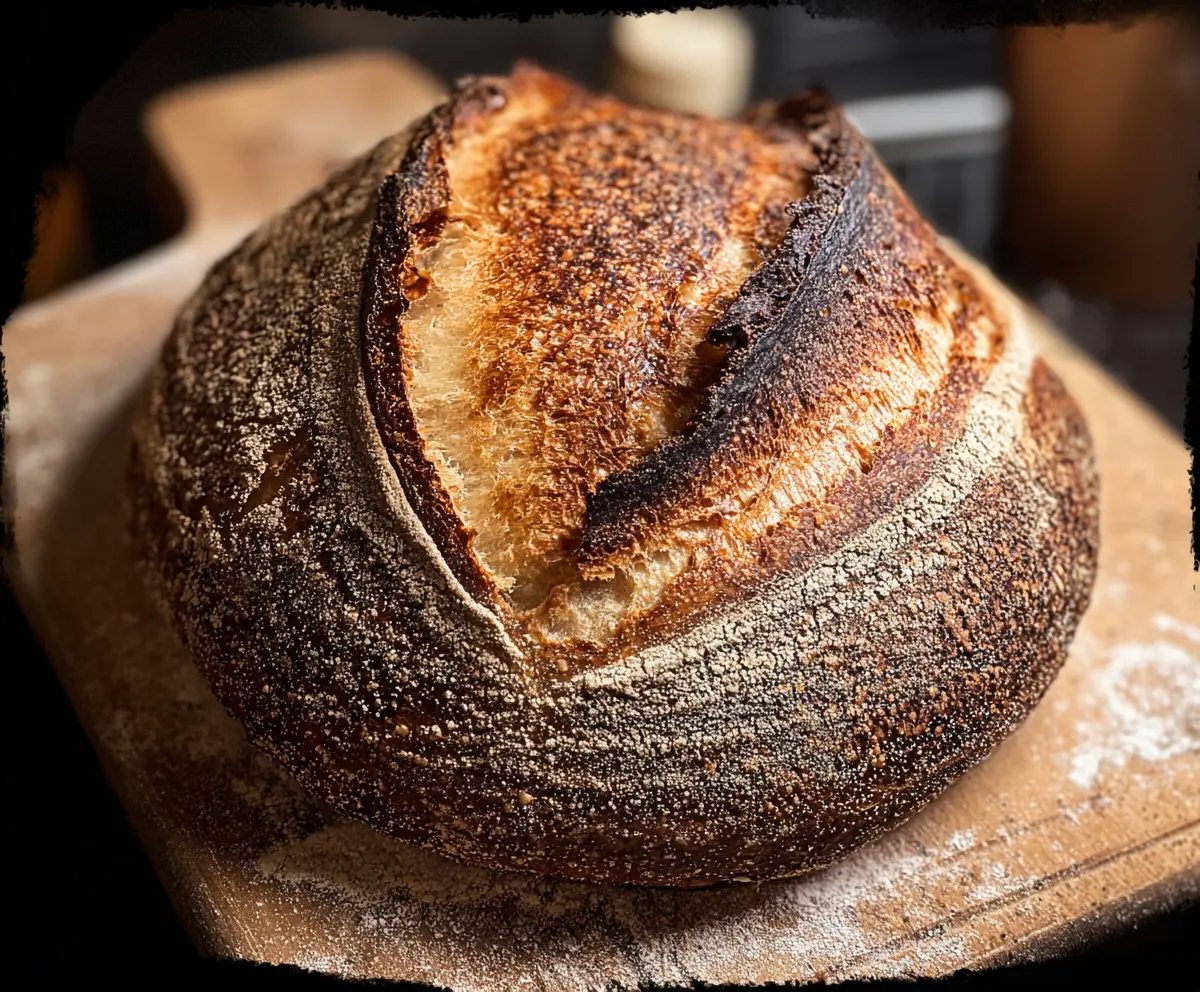
This recipe yields a deeply crusted, golden sourdough loaf with a chewy, airy crumb. Every crust lover will relish in this scrumptious bread!
Can I Use All-Purpose Flour Instead of Bread Flour?
Yes, you can use all-purpose flour, but the bread may not have the same chewy texture and structure that bread flour provides. If possible, opt for a strong white flour for the best results, or consider mixing in some whole wheat for added flavor.
How Can I Tell If My Sourdough Starter Is Active?
Your sourdough starter should be bubbly, doubled in size, and have a pleasant, slightly tangy smell after feeding it. If it hasn’t risen significantly or appears flat, give it another feeding and let it rest before using it in your recipe.
What Should I Do If My Dough Is Too Sticky to Handle?
If your dough feels too sticky, avoid adding too much flour; instead, wet your hands with water to help handle the dough more easily. If you find it persistently too wet, it may need a bit more flour next time, or allow it to rest a bit longer during the autolyse phase.
Can I Refrigerate My Dough for Longer Proofing?
Absolutely! Refrigerating the dough overnight can improve the flavor and texture of your bread by allowing for a slow fermentation process. Just make sure to cover it well to prevent it from drying out.