Summer is here, and what better way to cool down than with delicious homemade ice cream? I’ve put together five easy ice cream recipes that are perfect for any warm day. Get ready to make some amazing frozen treats yourself!
Whether you like classic ice cream flavors or something a bit different, these easy desserts will make you feel like a pro. You don’t need fancy equipment for most of these, just a little time and a freezer. Let’s make some simple, sweet ice cream!
Jump to Recipe:
- 1. Easy Cottage Cheese Peanut Butter Ice Cream
- 2. Easy Creamy Greek Yogurt Ice Cream Recipe
- 3. Easy Homemade Birthday Cake Ice Cream Recipe
- 4. Easy Homemade Brown Butter Ice Cream With Candied Pecans
- 5. Easy Homemade Espresso Ice Cream Recipe
Easy Cottage Cheese Peanut Butter Ice Cream
This unique ice cream uses cottage cheese for a creamy base, but don’t worry, you won’t taste it! It’s a protein-packed way to enjoy a sweet peanut butter treat that’s easy to make.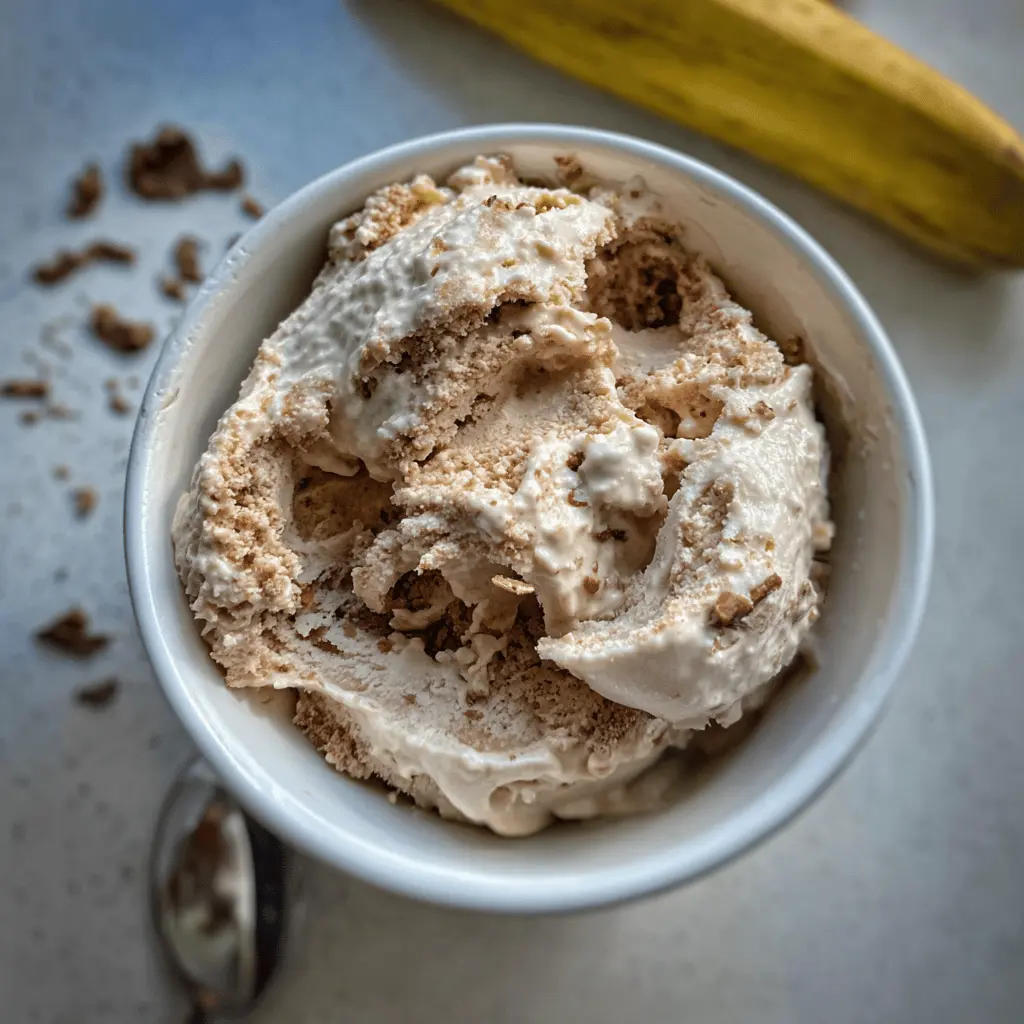
Key Ingredients & Tips for Cottage Cheese Ice Cream
- Smooth Cottage Cheese: Blend the cottage cheese very well to get a perfectly smooth, creamy texture without any lumps.
- Good Peanut Butter: Use your favorite creamy peanut butter for the best flavor. Natural varieties work well for a less sweet option.
What You Need for Peanut Butter Ice Cream
- 1 cup cottage cheese
- 1/2 cup creamy peanut butter
- 2-4 tablespoons sweetener (honey or maple syrup), adjust to taste
- 1-2 tablespoons milk or cream (optional, for blending)
⏱️ Time: 10 mins prep + 4+ hrs freeze🍽️ Yields: 4 servings
How to Make It
Step 1: Blend the Ingredients
Combine the cottage cheese, peanut butter, sweetener, and optional milk in a blender or food processor. Blend until the mixture is completely smooth and creamy, with no cottage cheese curds visible. You might need to scrape down the sides a few times.
Step 2: Freeze Until Firm
Pour the smooth mixture into a freezer-safe container. Cover it tightly and place it in the freezer for at least 4 hours, or until it reaches your desired ice cream consistency. Scoop and enjoy!
📝 Final Note
Store any leftover cottage cheese ice cream in an airtight container to keep it fresh and prevent freezer burn.
Easy Creamy Greek Yogurt Ice Cream Recipe
Enjoy a lighter, tangy ice cream with this Greek yogurt recipe. It’s surprisingly rich and simple to whip up, perfect for a refreshing dessert. You’ll love its creamy texture.
Key Ingredients & Tips for Greek Yogurt Ice Cream
- Full-Fat Greek Yogurt: Use full-fat Greek yogurt for the creamiest results and a richer flavor.
- Natural Sweeteners: Honey or maple syrup work wonderfully to sweeten the yogurt naturally. Adjust the amount to your personal preference.
What You Need for Creamy Yogurt Ice Cream
- 2 cups plain full-fat Greek yogurt
- 1/4 to 1/2 cup honey or maple syrup
- 1 teaspoon vanilla extract
- Optional: 1/2 cup fresh berries or fruit, finely chopped
⏱️ Time: 10 mins prep + 3+ hrs freeze🍽️ Yields: 4-5 servings
How to Make It
Step 1: Mix Ingredients
In a large bowl, mix together the Greek yogurt, honey or maple syrup, and vanilla extract. Stir well until all ingredients are fully combined and the mixture is smooth. If using, gently fold in the fresh berries or fruit.
Step 2: Freeze the Mixture
Pour the yogurt mixture into a freezer-safe dish or loaf pan. Cover the dish tightly with plastic wrap or a lid. Place it in the freezer for at least 3 hours, or until it is firm enough to scoop.
📝 Final Note
Let your Greek yogurt ice cream sit out at room temperature for 5-10 minutes before scooping, which will make it easier to serve.
Easy Homemade Birthday Cake Ice Cream Recipe
Celebrate any day with this fun birthday cake ice cream! It’s packed with sprinkles and that classic cake batter flavor everyone loves. This recipe is super simple and always a hit with kids and adults.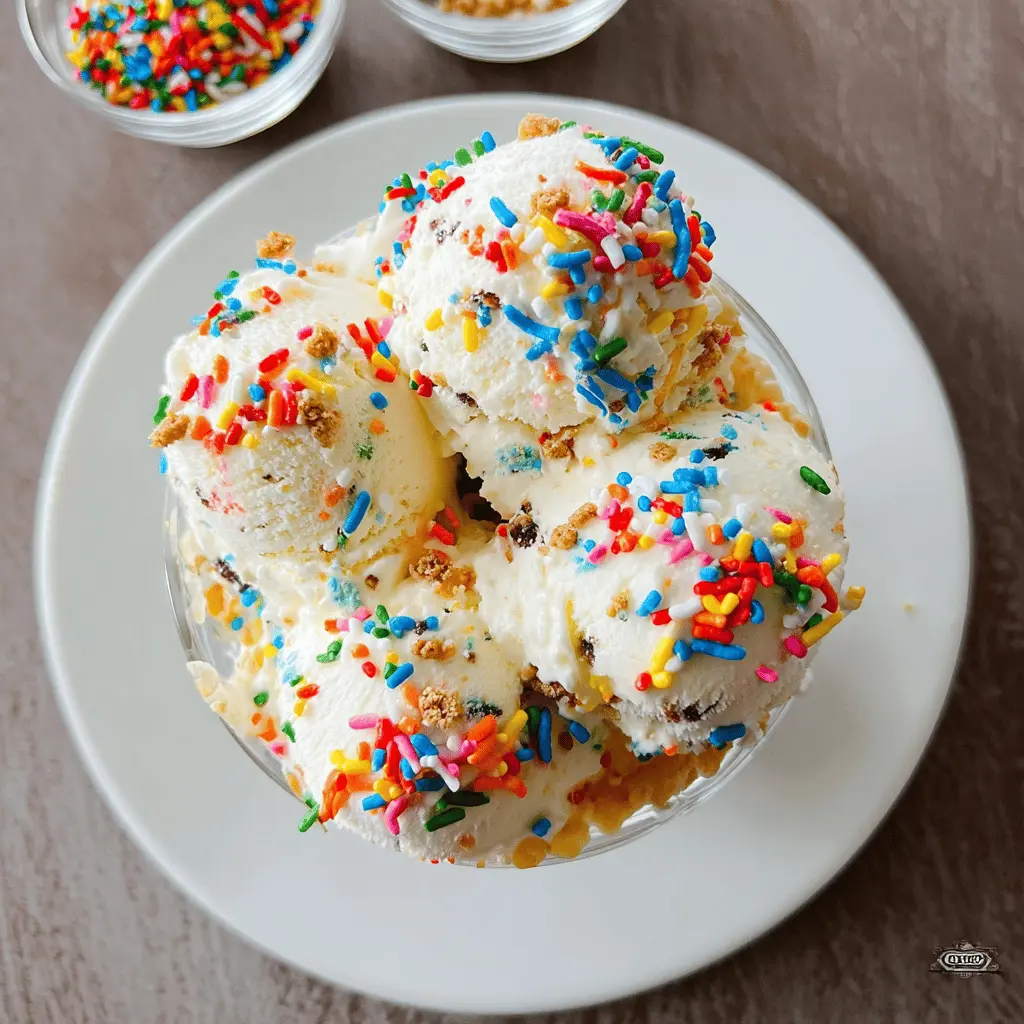
Key Ingredients & Tips for Birthday Cake Ice Cream
- Dry Cake Mix: A small amount of dry yellow or white cake mix gives this ice cream its authentic birthday cake flavor.
- Colorful Sprinkles: Use good quality rainbow sprinkles. Add some when you mix the ice cream and a few more when serving.
What You Need for Homemade Birthday Cake Ice Cream
- 2 cups heavy cream, very cold
- 1 (14-ounce) can sweetened condensed milk, cold
- 1 teaspoon vanilla extract
- 1/2 cup dry yellow or white cake mix
- 1/2 cup rainbow sprinkles, plus more for garnish
⏱️ Time: 15 mins prep + 6+ hrs freeze🍽️ Yields: 6-8 servings
How to Make It
Step 1: Whip the Cream
In a large, cold bowl, use an electric mixer to whip the cold heavy cream on high speed until it forms stiff peaks. This means the cream will hold its shape when you lift the beaters.
Step 2: Combine and Freeze
Gently fold in the cold sweetened condensed milk and vanilla extract into the whipped cream. Then, carefully fold in the dry cake mix and rainbow sprinkles until just combined. Pour the mixture into a freezer-safe container, cover, and freeze for at least 6 hours, or until solid.
📝 Final Note
For a really festive look, sprinkle some extra rainbow sprinkles over each serving just before you dish it out.
Easy Homemade Brown Butter Ice Cream With Candied Pecans
Elevate your homemade ice cream with the nutty, rich flavor of brown butter. Paired with crunchy candied pecans, this ice cream is a truly special treat. It’s easier to make than you think!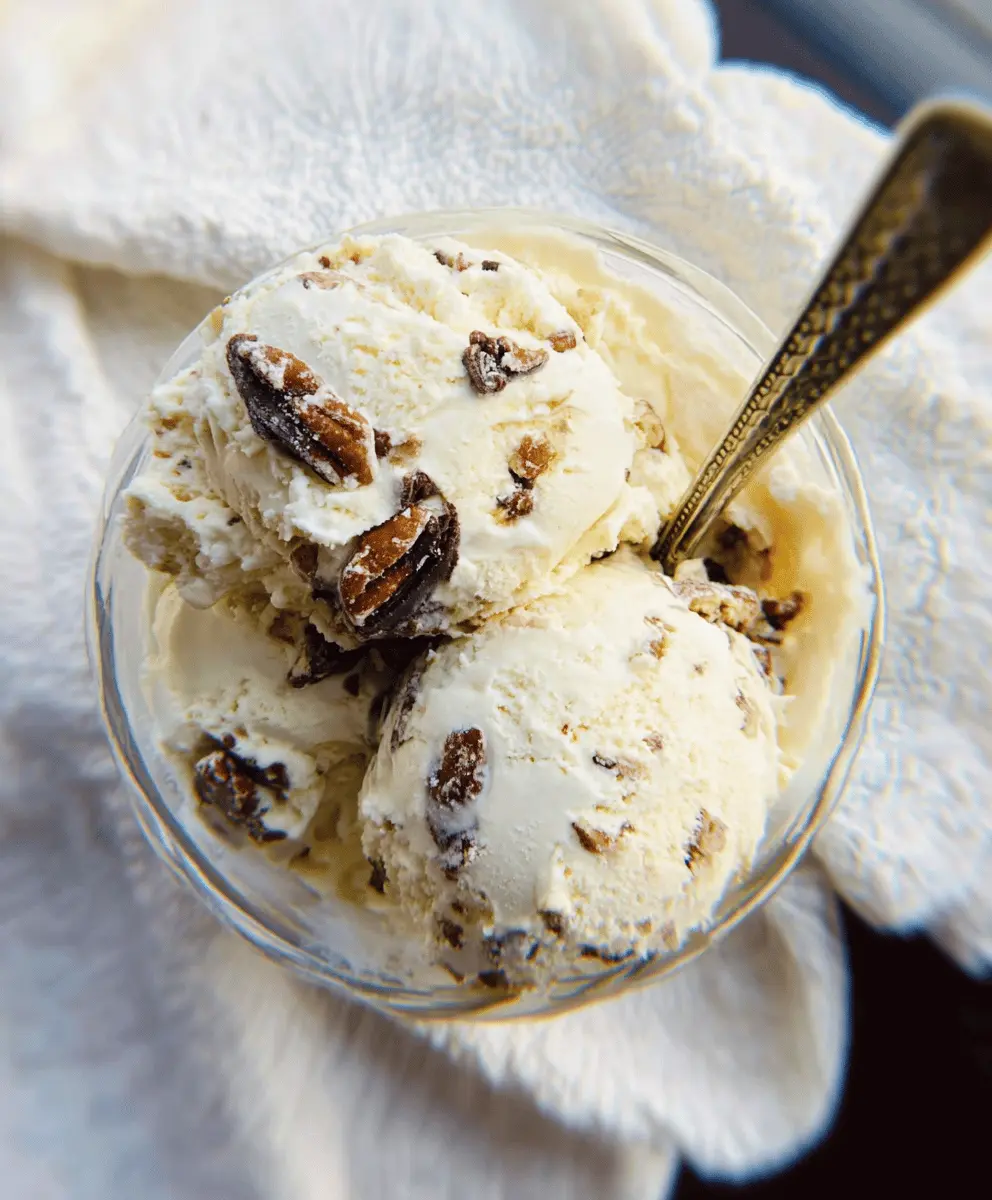
Key Ingredients & Tips for Brown Butter Ice Cream
- Perfect Brown Butter: Cook the butter gently until it turns a golden-brown color and smells nutty. Watch it closely so it doesn’t burn.
- Candied Pecans: Homemade candied pecans add the best crunch and sweetness. You can also use good quality store-bought ones if you’re short on time.
What You Need for Candied Pecan Ice Cream
- 1/2 cup unsalted butter
- 2 cups heavy cream
- 1 cup whole milk
- 3/4 cup granulated sugar
- 4 large egg yolks
- 1 teaspoon vanilla extract
- 1 cup candied pecans, chopped
⏱️ Time: 20 mins prep + 4+ hrs freeze🍽️ Yields: 6 servings
How to Make It
Step 1: Brown Butter & Make Base
Melt butter in a saucepan over medium heat, stirring until it turns golden brown and smells nutty. Let it cool slightly. In another saucepan, heat cream, milk, and sugar until warm. Whisk egg yolks in a separate bowl. Slowly temper the egg yolks by adding a little warm cream mixture, then add tempered yolks back to the saucepan. Cook gently until slightly thickened, then stir in the brown butter and vanilla. Chill completely.
Step 2: Churn and Freeze
Pour the chilled ice cream base into your ice cream maker and churn according to the manufacturer’s instructions until it reaches a soft-serve consistency. During the last few minutes of churning, add the chopped candied pecans. Transfer the ice cream to a freezer-safe container and freeze for at least 4 hours to firm up.
📝 Final Note
If you don’t have an ice cream maker, you can still make this! Freeze the mixture in a shallow pan and stir it every hour or so for the first 3-4 hours to break up ice crystals.
Easy Homemade Espresso Ice Cream Recipe
Coffee lovers, this one is for you! Rich, creamy, and packed with real espresso flavor, this homemade ice cream is surprisingly simple. It’s the perfect cool treat for a warm afternoon or after dinner.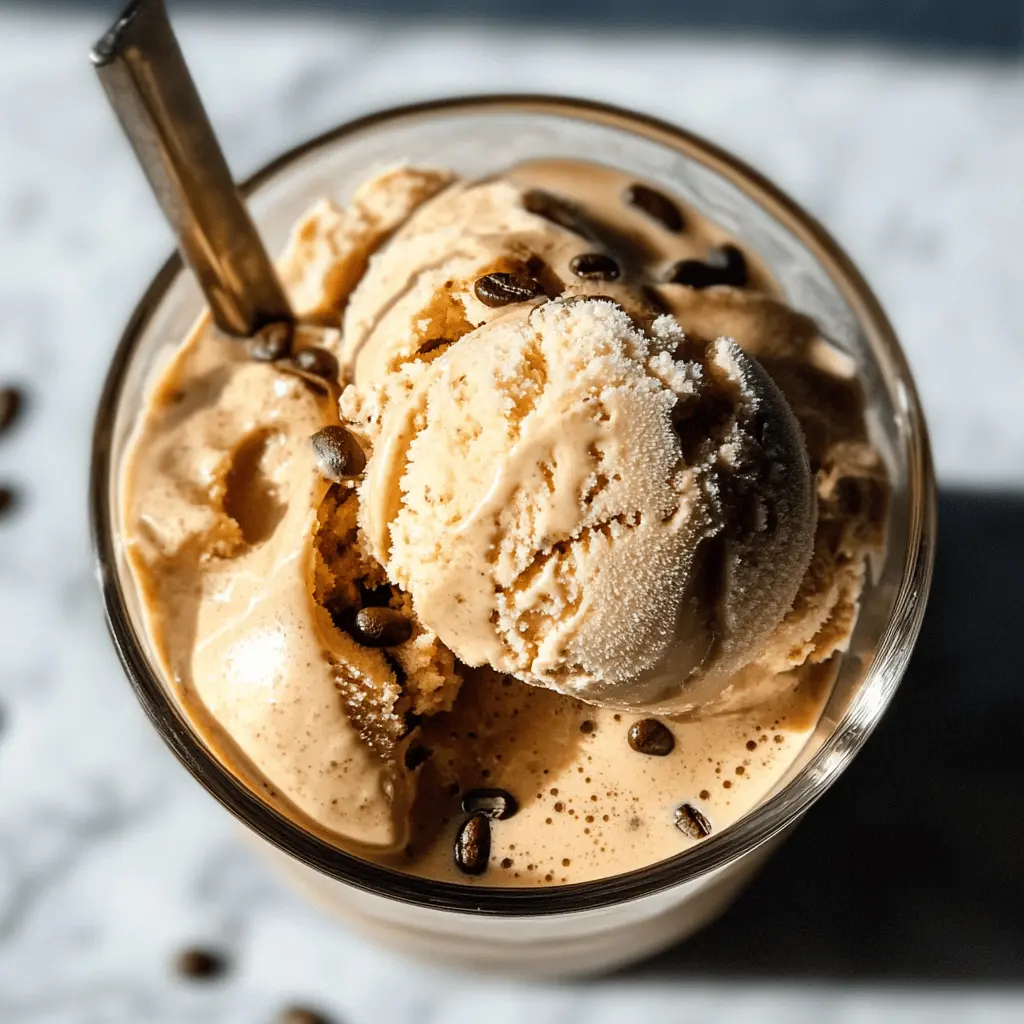
Key Ingredients & Tips for Espresso Ice Cream
- Quality Espresso: Use a very strong shot of fresh espresso or high-quality instant espresso powder for the best, most authentic coffee flavor.
- Chill Thoroughly: Make sure your ice cream base is completely cold before churning. This helps create a smooth and creamy final product.
What You Need for Homemade Espresso Ice Cream
- 2 cups heavy cream
- 1 cup whole milk
- 3/4 cup granulated sugar
- 4 large egg yolks
- 1/4 cup strong espresso or 2 tablespoons espresso powder dissolved in 1/4 cup hot water
- 1 teaspoon vanilla extract
⏱️ Time: 20 mins prep + 4+ hrs freeze🍽️ Yields: 6-7 servings
How to Make It
Step 1: Prepare the Espresso Base
In a saucepan, warm the heavy cream, whole milk, and sugar over medium heat until the sugar dissolves. In a separate bowl, whisk the egg yolks. Slowly pour about half a cup of the warm cream mixture into the egg yolks while whisking constantly. Then, pour the egg yolk mixture back into the saucepan with the remaining cream. Cook over medium-low heat, stirring until it thickens slightly. Remove from heat and stir in the espresso and vanilla extract. Chill the base completely in the refrigerator.
Step 2: Churn and Freeze
Once the espresso ice cream base is thoroughly chilled, pour it into your ice cream maker. Churn according to the manufacturer’s directions until it reaches a soft-serve consistency. Transfer the ice cream to a freezer-safe container, cover it, and freeze for at least 4 hours, or until it is firm.
📝 Final Note
For a fun mocha version, swirl some melted dark chocolate or chocolate chips into the ice cream just before the final freeze.