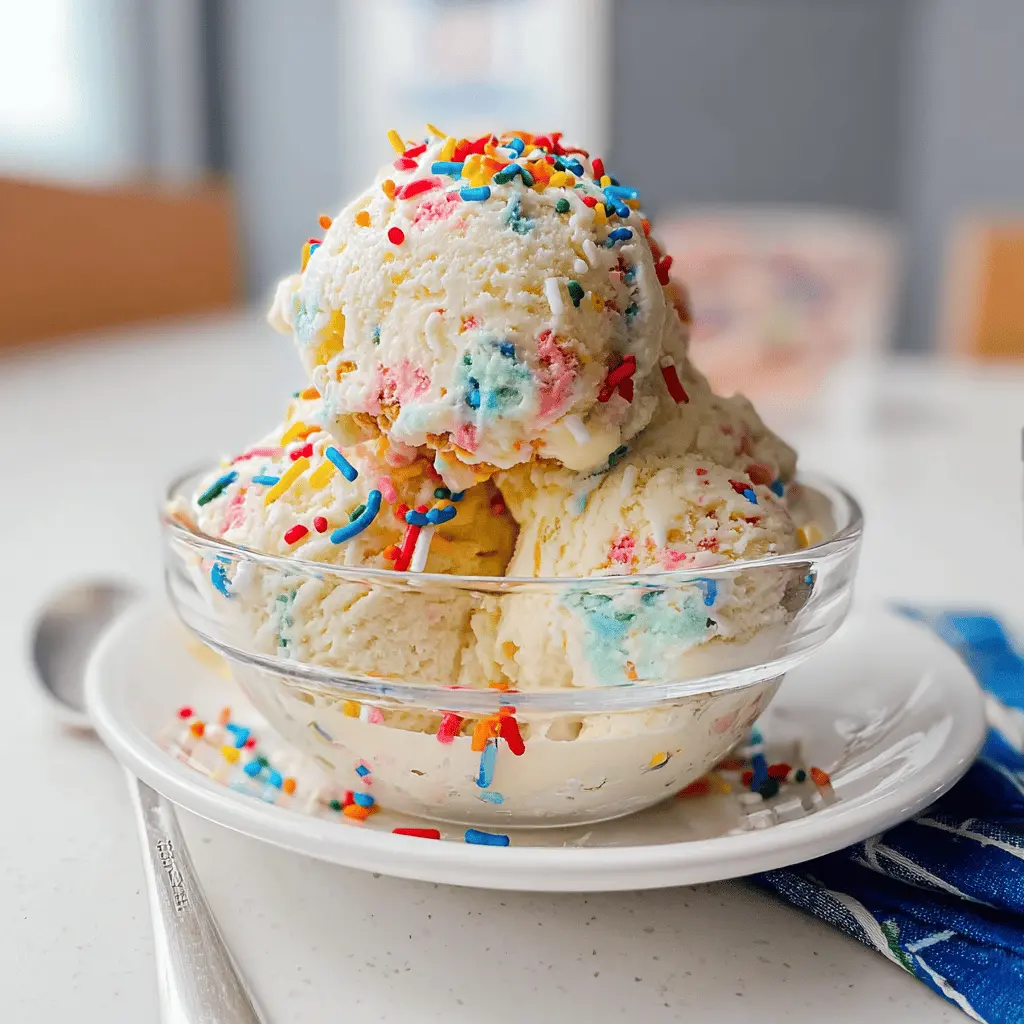
This Easy Homemade Birthday Cake Ice Cream is a fun treat bursting with flavor! It’s creamy, sweet, and full of delightful sprinkles and cake bits. Perfect for celebrating any day!
Trust me, nothing gets you in a party mood like cake ice cream. I love serving it with extra sprinkles on top for that festive touch! 🎉
Making this treat is super easy. Just mix, freeze, and scoop! You can enjoy it anytime, and it always brings a smile to my face. What a sweet way to cool off!
Key Ingredients & Substitutions
Heavy Cream: This ingredient gives the ice cream its creamy texture. If you’re looking for a lighter version, you can substitute with half-and-half, but the ice cream will be less rich.
Whole Milk: Whole milk enhances the creaminess. You can use 2% milk, but note that the final product may not be as creamy and rich.
Granulated Sugar: This sweetens the ice cream perfectly. For a healthier alternative, you can use coconut sugar or a sugar substitute like stevia, but adjust to taste.
Vanilla & Almond Extracts: Both add lovely flavors. You can skip the almond extract if you’re not a fan. Pure extracts give the best flavor, but imitation versions work too in a pinch.
Rainbow Sprinkles: These add color and crunch! You can substitute with chocolate sprinkles or leave them out entirely for a simpler look.
White Cake Crumbs: For that birthday cake vibe, I recommend using store-bought cake for convenience. If you want to skip them, your ice cream will still be delicious.
How Do I Make Sure My Ice Cream is Creamy and Smooth?
The key to creamy ice cream is how you chill and churn the mixture. First, ensure that your ice cream maker bowl is fully frozen before adding the mixture.
- Mix the base until the sugar dissolves completely to avoid graininess.
- Churn according to the manufacturer’s instructions. Don’t skip the churning; this incorporates air, which makes it light and fluffy.
- Freeze the churned mixture in a container with a tight seal to avoid ice crystals forming.
I suggest letting it soften for a few minutes at room temperature before scooping. Enjoy this delightful homemade ice cream!
Easy Homemade Birthday Cake Ice Cream
Ingredients You’ll Need:
- 2 cups heavy cream
- 1 cup whole milk
- 3/4 cup granulated sugar
- 1 tablespoon vanilla extract
- 1 teaspoon almond extract (optional for extra cake flavor)
- 1/2 cup rainbow sprinkles, plus extra for serving
- 1/2 cup white cake crumbs or pieces (optional, for cake texture)
How Much Time Will You Need?
This delightful birthday cake ice cream takes about 15 minutes of prep time and 20-25 minutes of churning in an ice cream maker. After churning, you’ll need to freeze it for at least 4 hours to let it firm up. So, plan on about 4 hours and 45 minutes in total, including chilling time!
Step-by-Step Instructions:
1. Mix the Creamy Base:
Start by grabbing a large mixing bowl. Whisk together the heavy cream, whole milk, granulated sugar, vanilla extract, and almond extract (if you’re using it). Mix until the sugar is fully dissolved—this ensures a smooth and sweet ice cream!
2. Add Fun Sprinkles and Cake Bits:
Once your mixture is well combined, it’s time to add the fun! Gently stir in the rainbow sprinkles and any cake crumbs or pieces. This will give your ice cream that exciting birthday cake flavor and texture.
3. Churn the Ice Cream:
Now, pour your delicious mixture into your ice cream maker. Follow its instructions and churn for about 20-25 minutes, or until it reaches a soft-serve consistency. It’s going to be hard to resist tasting it right now—it smells so good!
4. Freeze for Firmness:
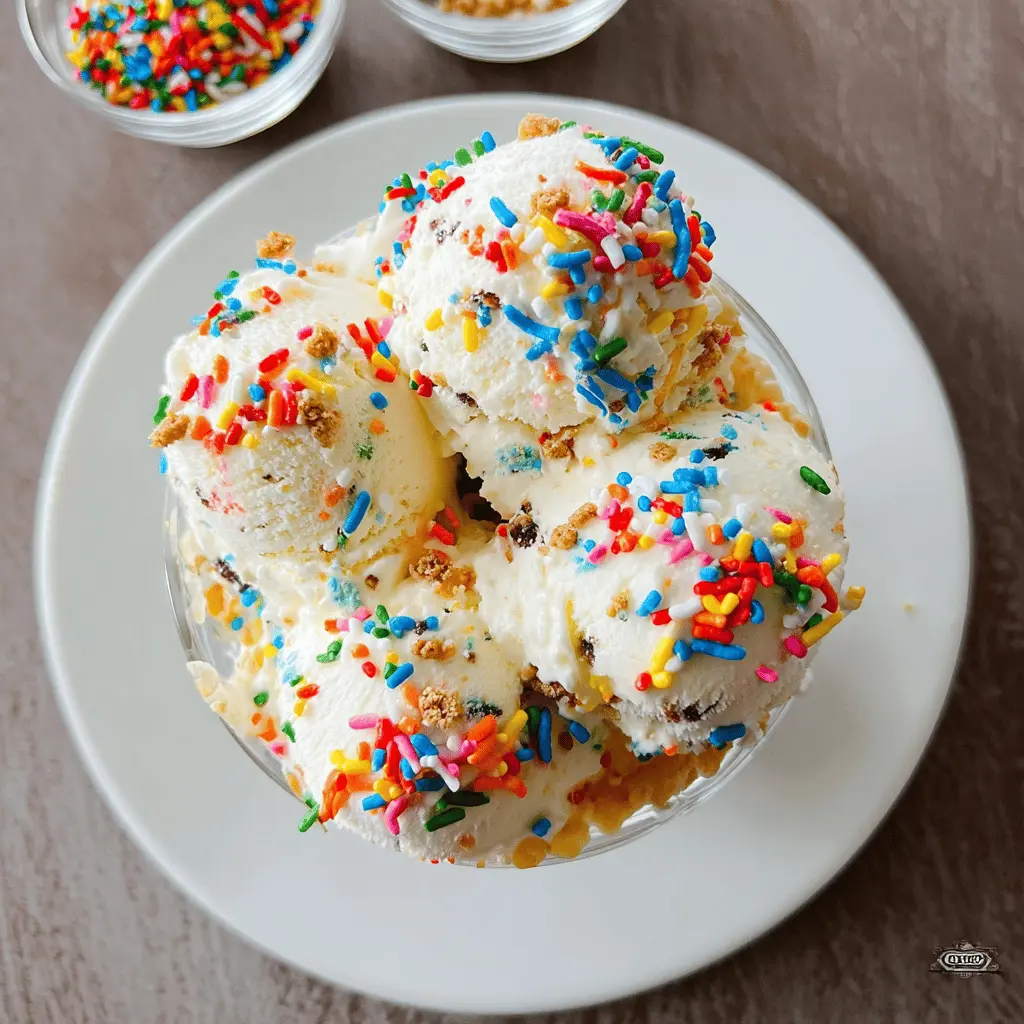
After churning, transfer your ice cream into a clean freezer-safe container. Smooth out the top with a spatula, and don’t forget to sprinkle some more rainbow sprinkles on top for that festive touch! Seal the container with a lid or plastic wrap before placing it in the freezer.
5. Wait for It to Set:
Now comes the hard part—waiting! Freeze the ice cream for at least 4 hours or until it gets firm. This is the ideal time to get creative with toppings for when you’re ready to scoop!
6. Time to Serve and Enjoy:
When you’re ready to enjoy your birthday cake ice cream, scoop out generous servings into bowls or cones. Add a sprinkle of extra rainbow sprinkles on top, and dive into the creamy, funfetti-filled delight. Happy eating!
Can I Use a Different Type of Milk?
Yes, you can substitute whole milk with 2% or even almond milk for a dairy-free option. Just note that the ice cream may not be quite as creamy!
How Do I Store Leftover Ice Cream?
Store any leftover ice cream in an airtight container in the freezer. It will stay fresh for up to 2 weeks, but remember to let it soften a bit at room temperature before scooping for the best texture!
Can I Add Other Mix-Ins?
Absolutely! Feel free to incorporate other fun ingredients like chocolate chips, crushed cookies, or even fruit. Just ensure that they complement the birthday cake flavor!
What If I Don’t Have an Ice Cream Maker?
No worries! You can still make this ice cream. Simply pour the mixture into a shallow dish, freeze it for about 30 minutes, then stir every 30 minutes until fully frozen and creamy. This may take a few hours but will yield delicious results!