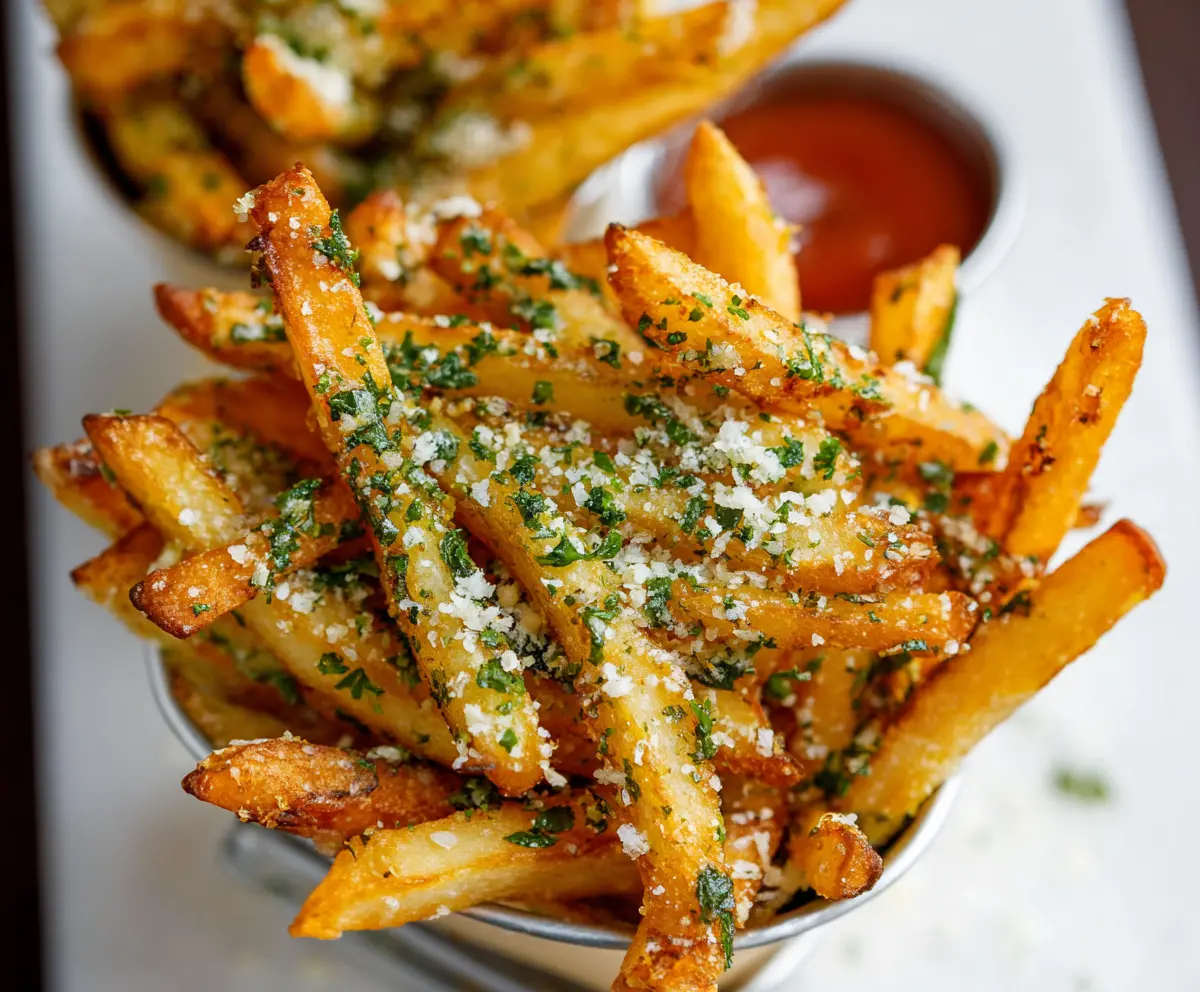
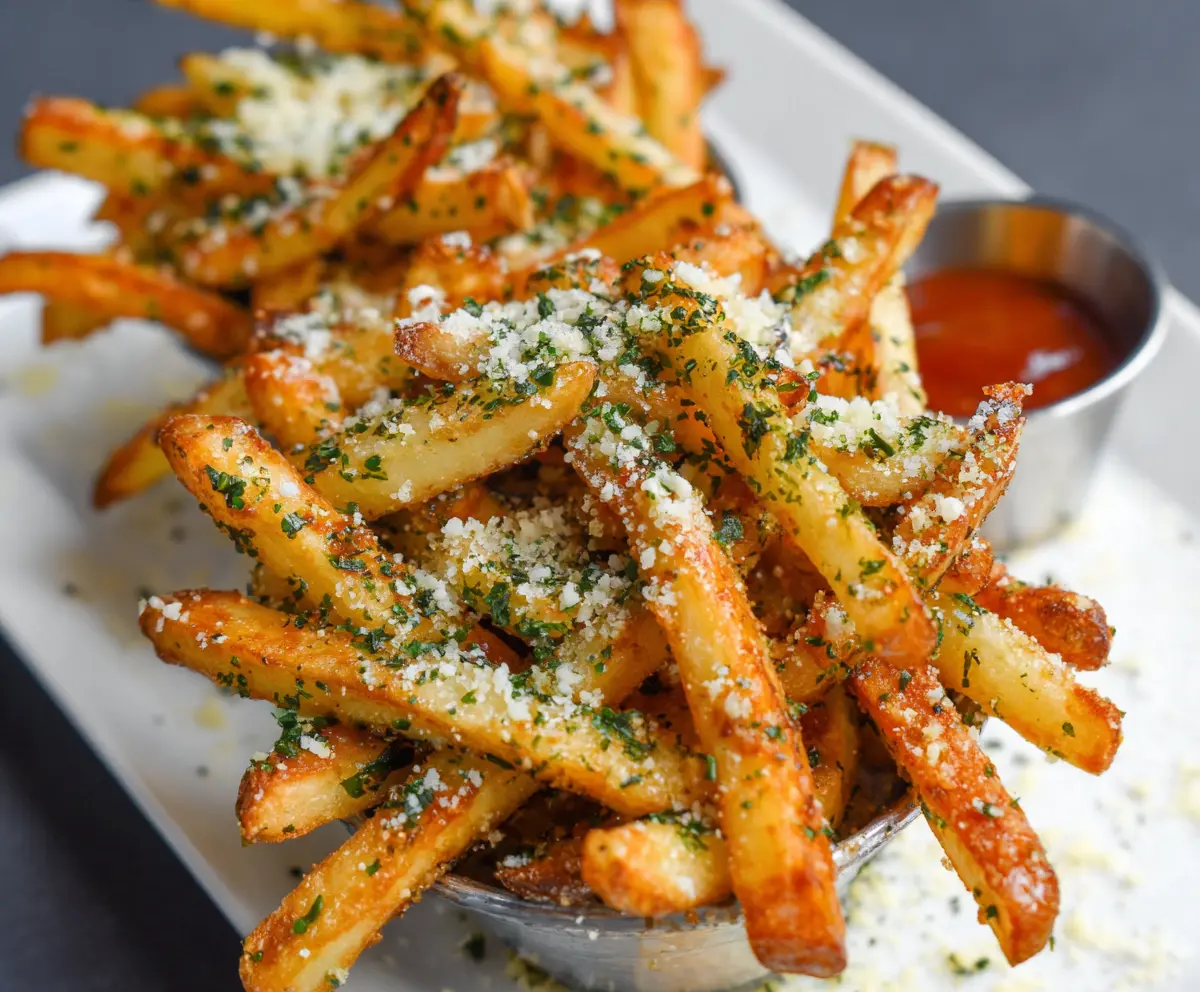
Garlic and Parmesan fries are crispy potato sticks covered in tasty garlic and cheese. They make a perfect snack or side dish that everyone will love!
Honestly, who can resist the smell of garlic and cheese together? I often make these as a treat when I want something extra special. They always disappear fast! 😄
Key Ingredients & Substitutions
Russet Potatoes: These are excellent for fries due to their high starch content, which gives a fluffy interior and a crispy exterior. If you don’t have russets, you can use Yukon gold or Idaho potatoes. They are still great alternatives!
Olive Oil: I usually go for olive oil because of its flavor. You can also use vegetable oil or canola oil if that’s what you have on hand. Just remember, the oil helps achieve that crispy texture.
Garlic: Fresh garlic adds an amazing flavor to the fries. If fresh isn’t available, garlic powder can work in a pinch, but I highly recommend fresh for the best taste.
Parmesan Cheese: Freshly grated Parmesan is key for that salty, cheesy goodness. If you’re in a bind, feel free to substitute with Pecorino Romano or a store-bought grated blend. Just be careful with the salt if using pre-grated cheese.
Fresh Parsley: This adds a nice touch of color and freshness. If you’re out of parsley, dried herbs like oregano or basil can work, though the flavor will be different.
How Can You Get Your Fries Crispy?
Achieving crispy fries is all about preparation and cooking method. Here are some helpful steps:
- Rinse and dry the potatoes thoroughly after cutting them. Water can make them soggy!
- Spread the potatoes out on the baking sheet for even cooking. Crowding them leads to steaming instead of crisping!
- Flipping them halfway during baking ensures they brown evenly. I always set a timer for this step!
- Don’t skip the sautéing of garlic. It prevents burning and enhances the flavor!
With these tips, you’ll have perfectly crispy Garlic and Parmesan fries every time! Enjoy your cooking adventure! 🌟
How to Make Garlic And Parmesan Fries
Ingredients You’ll Need:
For The Fries:
- 4 large russet potatoes
- 3-4 tablespoons olive oil or vegetable oil (for tossing)
- Salt, to taste
- Freshly ground black pepper, to taste
For The Flavoring:
- 3 cloves garlic, minced finely
- 1/2 cup freshly grated Parmesan cheese
- 2 tablespoons fresh parsley, finely chopped
Optional:
- Ketchup or your favorite dipping sauce for serving
How Much Time Will You Need?
This recipe will take about 40 minutes total: approximately 10-15 minutes for prep and about 25-30 minutes for baking. You’ll have delicious, crispy fries ready in no time!
Step-by-Step Instructions:
1. Prepping Your Fries:
Start by preheating your oven to 425°F (220°C). This temperature is perfect for achieving those crispy edges! While the oven heats, line a baking sheet with parchment paper or lightly grease it to prevent sticking.
2. Cutting the Potatoes:
Wash and peel the russet potatoes if you like (the skin adds texture, but it’s up to you!). Cut them into even matchstick fries, about 1/4 to 1/2 inch thick. Consistency is key—this way, they all cook evenly!
3. Rinsing and Drying:
Place the cut fries in a bowl of cold water and rinse them to get rid of excess starch. This step is important for crispy fries! Once rinsed, drain them and pat dry thoroughly with a clean kitchen towel or paper towels.
4. Coating with Oil:
In a large bowl, toss the dried potato sticks with the olive oil, salt, and black pepper until they are evenly coated. This coating helps them crisp up nicely in the oven.
5. Arranging on the Baking Sheet:
Spread the coated potato sticks out on the prepared baking sheet in a single layer. Make sure they aren’t overcrowded; giving them space helps them get crispy rather than steaming.
6. Baking to Perfection:
Pop them into the oven and bake for about 25-30 minutes. Remember to flip them halfway through to ensure they cook evenly and get that golden color!
7. Sautéing the Garlic:
While the fries are baking, heat a small amount of olive oil in a pan on low heat. Add the minced garlic and sauté it gently for 1-2 minutes until it’s fragrant, but be careful not to let it brown. You want it flavorful, not bitter!
8. Tossing with Cheese and Herbs:
Once your fries are out of the oven and golden-brown, transfer them to a large bowl. Immediately toss them with the sautéed garlic (and the oil), freshly grated Parmesan cheese, and chopped parsley. Mix everything nicely, so every fry gets coated!
9. Adjusting Flavor:
Give your fries a taste test! Adjust the salt and pepper if needed for added flavor.
10. Serve and Enjoy:
Serve these delicious Garlic and Parmesan Fries hot with ketchup or your favorite dipping sauce. They make for a fantastic snack or side dish, and I hope you enjoy them!
Can I Use Frozen French Fries Instead?
Yes, you can! If you choose to use frozen fries, just skip the prep steps of cutting and soaking potatoes. Bake them according to the package instructions, then toss in the sautéed garlic and Parmesan cheese for flavor.
How Do I Store Leftover Fries?
To store leftover fries, place them in an airtight container in the refrigerator for up to 3 days. For the best texture, reheat them in the oven at 375°F (190°C) for about 10-15 minutes to crisp them up again!
Can I Make These Fries in an Air Fryer?
Absolutely! To make them in an air fryer, toss your cut potatoes with oil, salt, and pepper, then air fry at 400°F (200°C) for about 15-20 minutes, shaking the basket halfway through. Add the sautéed garlic and Parmesan cheese at the end!
What Other Seasonings Can I Add?
Feel free to experiment with additional seasonings! A pinch of paprika, cayenne pepper for spice, or even garlic powder can enhance the flavor. You can also substitute different cheeses like cheddar or add Italian seasoning for variety!