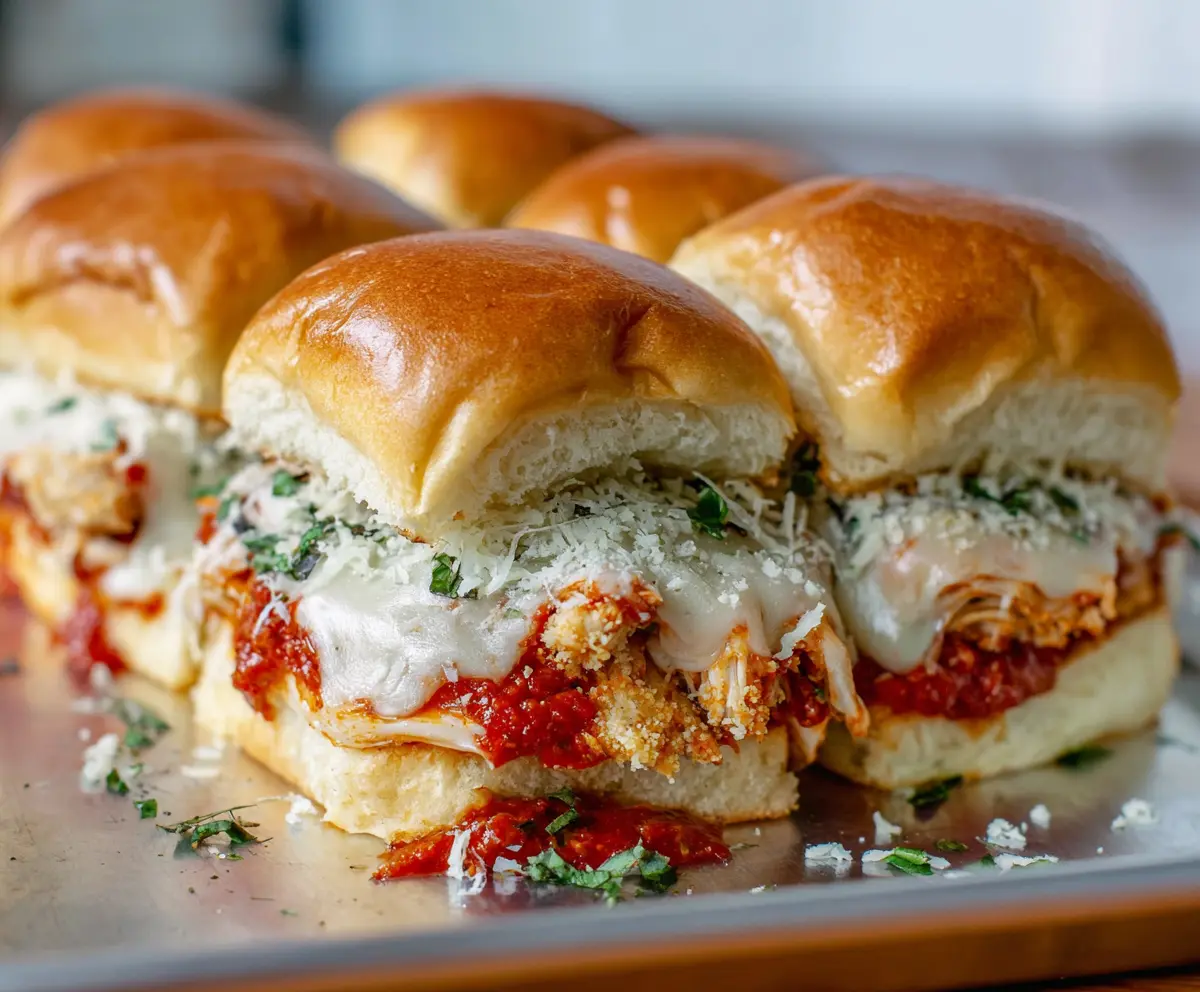
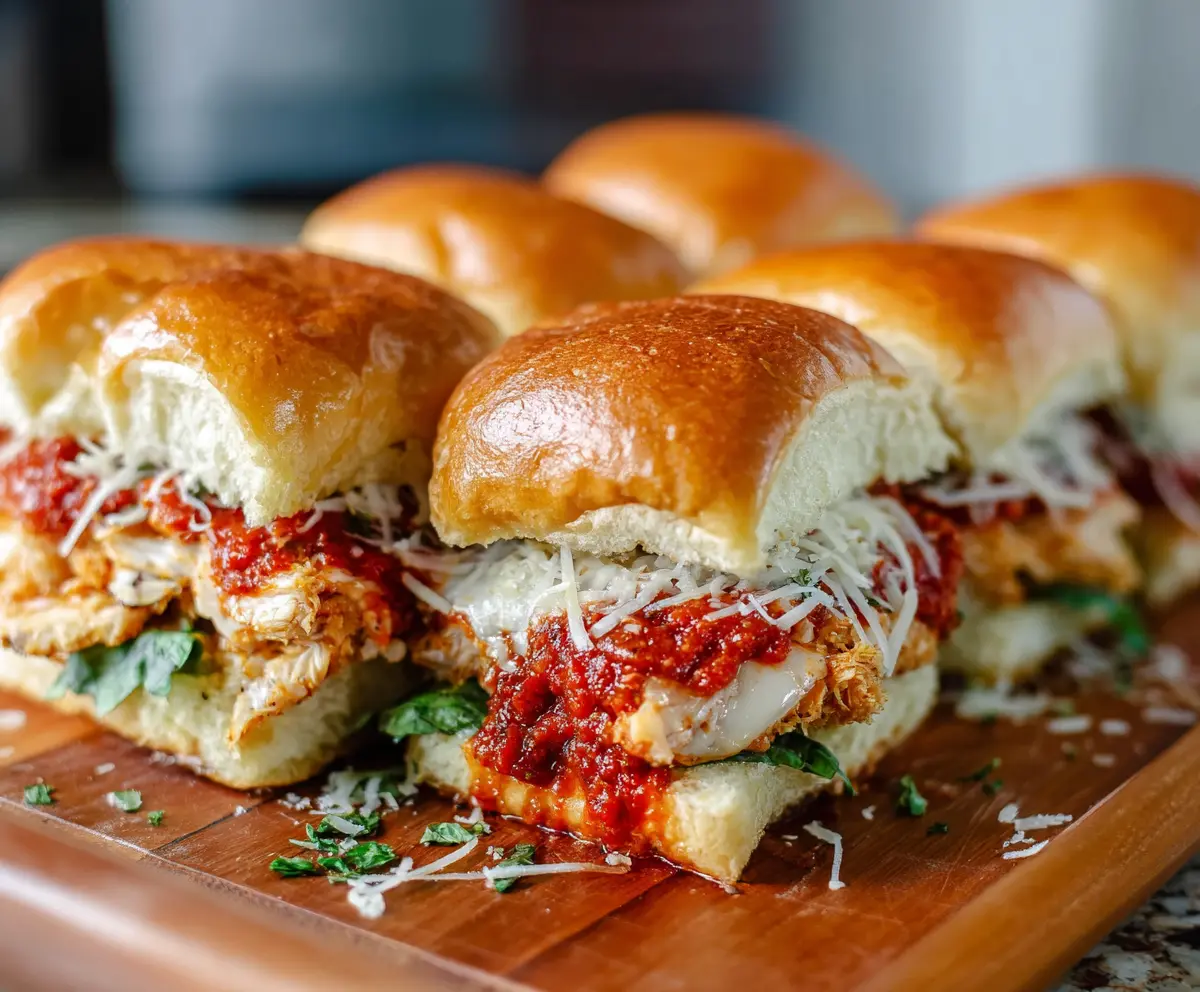
These Garlic Chicken Parmesan Sliders are a tasty treat! With juicy chicken, gooey cheese, and a touch of garlic on soft buns, they’re perfect for any gathering.
Who can resist a warm, cheesy bite? I love making these for game night—you can whip them up quickly and they always disappear fast. Just try not to eat them all yourself! 😄
Key Ingredients & Substitutions
Slider Buns: Soft dinner rolls are perfect for sliders. If you can’t find slider buns, use small baguettes, or any soft bread, just cut them into suitable sizes!
Chicken: Boneless, skinless chicken breasts are a great choice. You could replace them with chicken thighs for a juicier result or even use grilled chicken for a quicker option.
Breadcrumbs: Italian seasoned breadcrumbs give fantastic flavor, but you can use plain breadcrumbs mixed with Italian seasoning if needed. Gluten-free breadcrumbs can work too!
Parmesan Cheese: Grated Parmesan enhances the flavor. If you’re in a pinch, Pecorino Romano or even nutritional yeast can substitute for a dairy-free option.
Marinara Sauce: Any good jarred marinara works, but homemade sauce is great if you’re up for it! For a lighter option, you could use marinara with a bit of added crushed tomatoes.
How Do I Get the Chicken Perfectly Crispy?
Getting a crispy crust on your chicken is key! Start with the right technique: use a combination of egg and seasoned breadcrumbs. Here’s how to ensure they turn out golden brown and delicious:
- First, make sure your chicken pieces are dry—this helps the coating stick.
- Dip the chicken in egg to help the breadcrumbs adhere. Then, coat it generously, pressing the breadcrumbs into the chicken.
- Fry in hot oil, making sure not to overcrowd the pan, which can lower the temperature and make the chicken soggy.
- Cook each side for about 3-4 minutes until golden. Draining on paper towels afterward helps keep them crispy!
Garlic Chicken Parmesan Sliders
Ingredients You’ll Need:
For the Sliders:
- 12 slider buns (soft dinner rolls)
- 2 large chicken breasts (boneless, skinless)
- 1 cup Italian seasoned breadcrumbs
- 1/2 cup grated Parmesan cheese
- 1 teaspoon garlic powder
- 1 teaspoon dried Italian herbs (oregano, basil, thyme blend)
- Salt and pepper to taste
- 2 eggs
- 1 1/2 cups marinara sauce
- 8 oz shredded mozzarella cheese
- 4 tablespoons unsalted butter, melted
- 3 cloves garlic, minced
- 2 tablespoons fresh parsley, chopped (for garnish)
How Much Time Will You Need?
This recipe takes a total of about 35-40 minutes to prepare. You’ll spend about 15-20 minutes prepping the ingredients and cooking the chicken, plus about 20 minutes baking the sliders until they’re deliciously bubbly and golden.
Step-by-Step Instructions:
1. Preheat the Oven:
First, preheat your oven to 375°F (190°C). Get that oven nice and warm while you prepare the sliders.
2. Prepare the Chicken:
Slice each chicken breast horizontally to create thin cutlets, or you can pound them to about 1/2 inch thickness to make flat chicken pieces. Thin pieces cook faster and more evenly!
3. Set Up Your Breading Station:
In a shallow bowl, whisk the eggs together. In another bowl, mix the Italian seasoned breadcrumbs, grated Parmesan cheese, garlic powder, dried Italian herbs, salt, and pepper. This delicious mixture will give your chicken a great flavor!
4. Bread the Chicken:
Take each chicken piece, dip it in the egg wash, then coat it thoroughly in the breadcrumb mixture. Make sure to press the breadcrumbs onto the chicken so they stick well.
5. Fry the Chicken:
In a large skillet (non-stick or with a little oil), heat over medium heat. Cook the breaded chicken cutlets for about 3-4 minutes per side, or until they are golden brown and cooked through. Once done, remove them and place them on paper towels to drain any excess oil.
6. Mix the Garlic Butter:
In a small bowl, combine the melted butter and minced garlic. This will add extra flavor to your sliders!
7. Prepare the Buns:
Slice each slider bun in half horizontally, keeping the bottom halves connected if possible for easier serving.
8. Assemble the Sliders:
Place the bottom halves of the buns on a baking sheet. Brush the cut sides generously with the garlic butter mixture. Spread about 1 tablespoon of marinara sauce on each bun bottom.
9. Add the Chicken:
Top the buns with the cooked chicken cutlets, spoon more marinara sauce over each piece, and sprinkle shredded mozzarella cheese on top. Yum!
10. Cover and Bake:
Place the top halves of the slider buns back on and brush any remaining garlic butter over them. Cover the entire baking sheet loosely with foil to help steam the sliders.
11. Bake Until Perfect:
Place the baking sheet in the oven and bake for about 15 minutes, or until the cheese is melted and the sliders are heated through. Then, carefully remove the foil and bake for another 5 minutes to brown the tops.
12. Finish and Serve:
Once out of the oven, garnish the sliders with fresh chopped parsley and any extra grated Parmesan if you’d like. Serve warm and enjoy your flavorful Garlic Chicken Parmesan Sliders! They are sure to be a hit!
Can I Use Thighs Instead of Breasts?
Absolutely! Chicken thighs are a great substitution if you prefer darker meat. They tend to be juicier and can add even more flavor to your sliders.
How Do I Store Leftover Sliders?
Store any leftover sliders in an airtight container in the fridge for up to 3 days. You can reheat them in the microwave or in an oven at 350°F (175°C) until warmed through.
Can I Make the Chicken Ahead of Time?
Yes, you can bread and fry the chicken in advance. Just store it in the fridge, then assemble and bake the sliders when you’re ready to serve. This can save time during busy events!
What Can I Serve with Garlic Chicken Parmesan Sliders?
These sliders are delicious on their own, but consider serving them with a side of crispy fries, a fresh salad, or a plate of roasted vegetables for a complete meal.