Get ready for some spooky fun with these Halloween Chocolate Chip Cookies! They’re soft, chewy, and packed with gooey chocolate chips, making them a treat everyone will love.
I always add a sprinkle of orange and black sprinkles on top to make them extra themed. Perfect for a Halloween party or just a tasty snack while watching a scary movie! 🎃
Key Ingredients & Substitutions
Butter: Unsalted butter is best for controlling salt levels. If you’re dairy-free, use vegan butter as a substitute—it works great and keeps the cookies rich.
Sugars: The blend of brown and granulated sugars gives cookies a chewy texture and nice sweetness. If you prefer, use coconut sugar for a lighter version or reduce the sugars slightly if you want a less sweet cookie.
Eggs: Eggs help bind the ingredients together and add moisture. For a vegan option, use flaxseed meal mixed with water (1 tablespoon flaxseed + 2.5 tablespoons water = 1 egg).
Chocolate Chips: Semi-sweet gives a perfect balance of sweetness. If you’re looking for something different, try dark chocolate or white chocolate chips. For a nut-free option, make sure to check labels on chocolate brands.
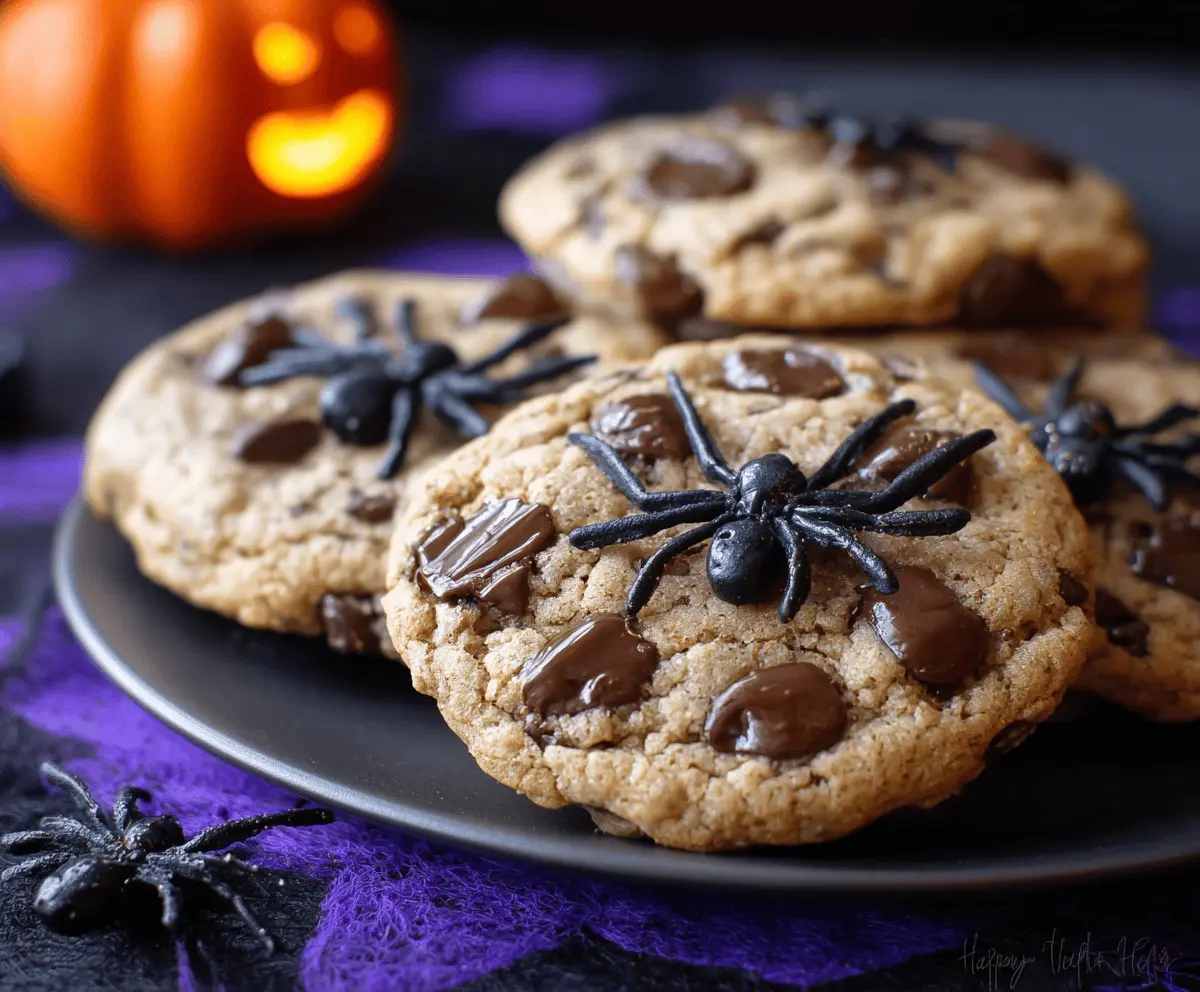
Decorations: I love using edible black spider decorations for a fun look! You can also use Halloween-themed sprinkles or edible glitter for a festive touch.
How Do I Achieve the Perfect Cookie Texture?
The secret to perfectly soft and chewy cookies lies in your mixing and baking technique. Here’s how:
- Don’t overmix the dough once you’ve added the flour; mix just until combined. Overmixing can lead to tough cookies.
- Chill the dough for about 30 minutes before baking. This helps the cookies spread less and gives a thicker, chewy texture.
- Keep an eye on your baking time. The cookies will continue to cook slightly on the baking sheet after removing them from the oven. Aim for a golden edge and a slightly soft center.
Following these tips will help you get those yummy, chewy cookies every time! Enjoy your baking adventure this Halloween!

How to Make Halloween Chocolate Chip Cookies
Ingredients You’ll Need:
- 1 cup (2 sticks) unsalted butter, softened
- 3/4 cup packed brown sugar
- 1/2 cup granulated sugar
- 2 large eggs
- 2 teaspoons vanilla extract
- 2 1/4 cups all-purpose flour
- 1 teaspoon baking soda
- 1/2 teaspoon salt
- 2 cups semi-sweet chocolate chips
- Plastic or edible black spider decorations for garnish (or small plastic spiders safe for food display)
How Much Time Will You Need?
This delightful cookie recipe takes about 15 minutes for preparation and 10-12 minutes for baking. Allow an additional 2-3 minutes of cooling time on the baking sheet. Total time: around 30-35 minutes for a delicious batch of spooky cookies!
Step-by-Step Instructions:
1. Preheat the Oven:
Start by preheating your oven to 350°F (175°C). Line a baking sheet with parchment paper or a silicone baking mat to prevent sticking.
2. Cream the Butter and Sugars:
In a large bowl, mix together softened butter, brown sugar, and granulated sugar. Use a hand mixer or a sturdy spoon to cream them together until the mixture is light and fluffy. This helps to incorporate air, making your cookies tender.
3. Add the Eggs and Vanilla:
Beat in the eggs one at a time, ensuring each egg is fully incorporated before adding the next. Then stir in the vanilla extract for some added flavor.
4. Mix the Dry Ingredients:
In a separate bowl, whisk together the flour, baking soda, and salt. This step helps to evenly distribute the leavening agent (baking soda) throughout the flour.
5. Combine the Mixtures:
Gradually add the dry ingredients to the wet ingredients. Stir just until everything is combined; overmixing can make the cookies tough.
6. Fold in the Chocolate Chips:
Gently fold in the semi-sweet chocolate chips, distributing them throughout the dough. This will give you deliciously gooey bites in every cookie!
7. Scoop the Dough:
Drop tablespoon-sized scoops of cookie dough onto the prepared baking sheet. Make sure to space them about 2 inches apart to allow for spreading while baking.
8. Press on Extra Chocolate:
For that extra chocolatey look, slightly press a chocolate chip or two into the top of each cookie before baking.
9. Bake the Cookies:
Place the baking sheet in the preheated oven and bake for 10-12 minutes, or until the edges are golden brown and the centers look set but slightly soft.
10. Cool the Cookies:
After baking, remove the cookies from the oven and let them cool on the baking sheet for 2-3 minutes. This helps them firm up a bit, making them easier to transfer.
11. Add Spooky Decorations:
While the cookies are still warm, take your decorative black spiders and gently place one on top of each cookie for a fun Halloween touch!
12. Final Cooling:
Transfer the cookies to a wire rack to cool completely, and they’re ready to be served!
Enjoy these delicious Halloween-themed chocolate chip cookies as a fun and festive treat!
Can I Use Different Types of Chocolate Chips?
Absolutely! You can use dark chocolate, milk chocolate, or even white chocolate chips to suit your taste. For a fun twist, mix in peanut butter chips or toffee bits for added flavor!
Can I Make the Dough Ahead of Time?
Yes! You can prepare the cookie dough and refrigerate it for up to 3 days. Just be sure to cover it tightly with plastic wrap. When ready to bake, scoop the dough onto the baking sheet straight from the fridge—it may need an extra minute or two in the oven.
How Do I Store Leftovers?
Store any leftover cookies in an airtight container at room temperature for up to a week. If you want them to last longer, you can freeze the cookies in a freezer-safe container for up to 3 months. Just thaw them at room temperature before enjoying!
Can I Substitute the Butter in This Recipe?
Yes! You can use margarine or vegan butter if you’re looking for a dairy-free option. Keep in mind that the texture may vary slightly, but they will still turn out delicious!