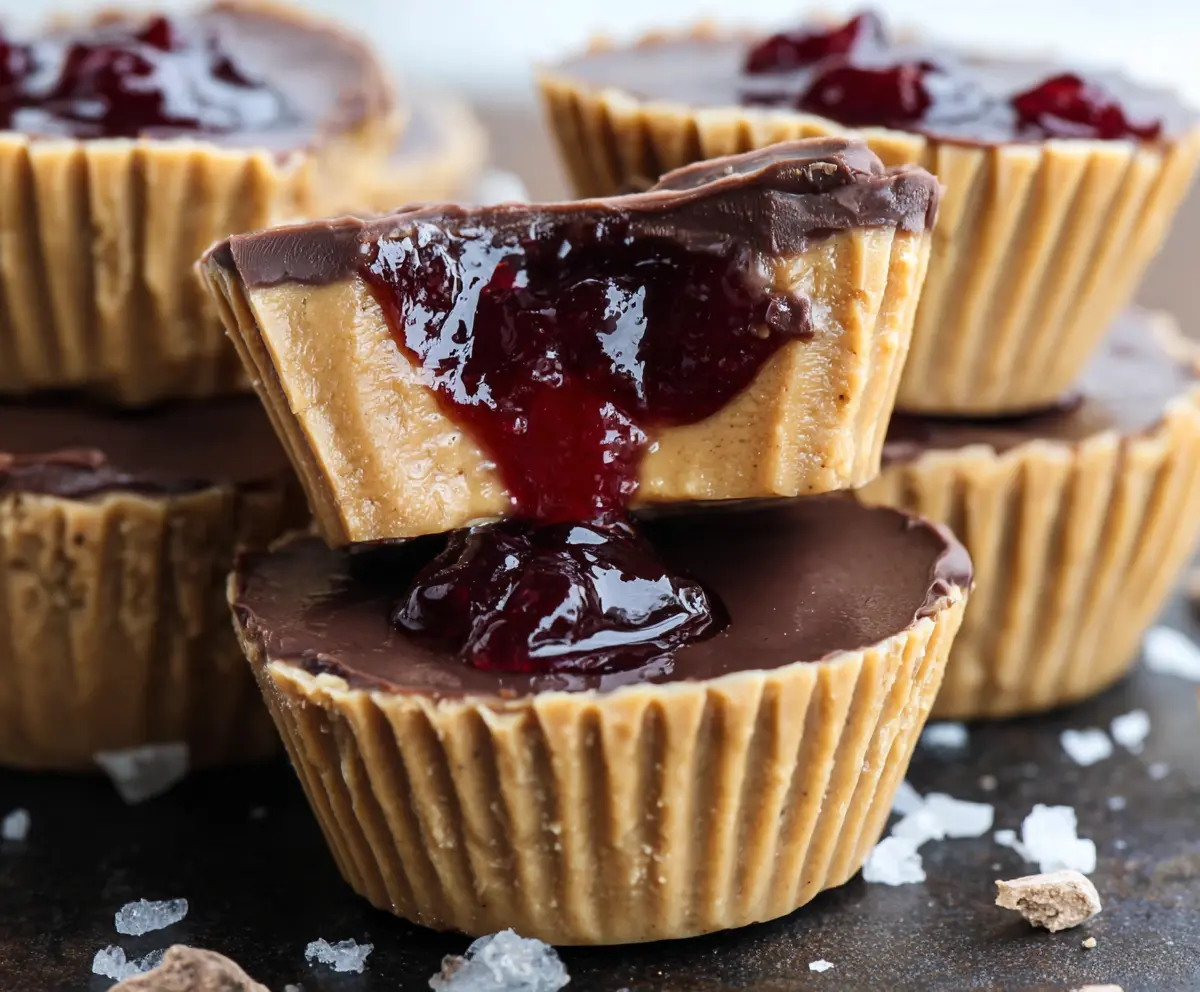
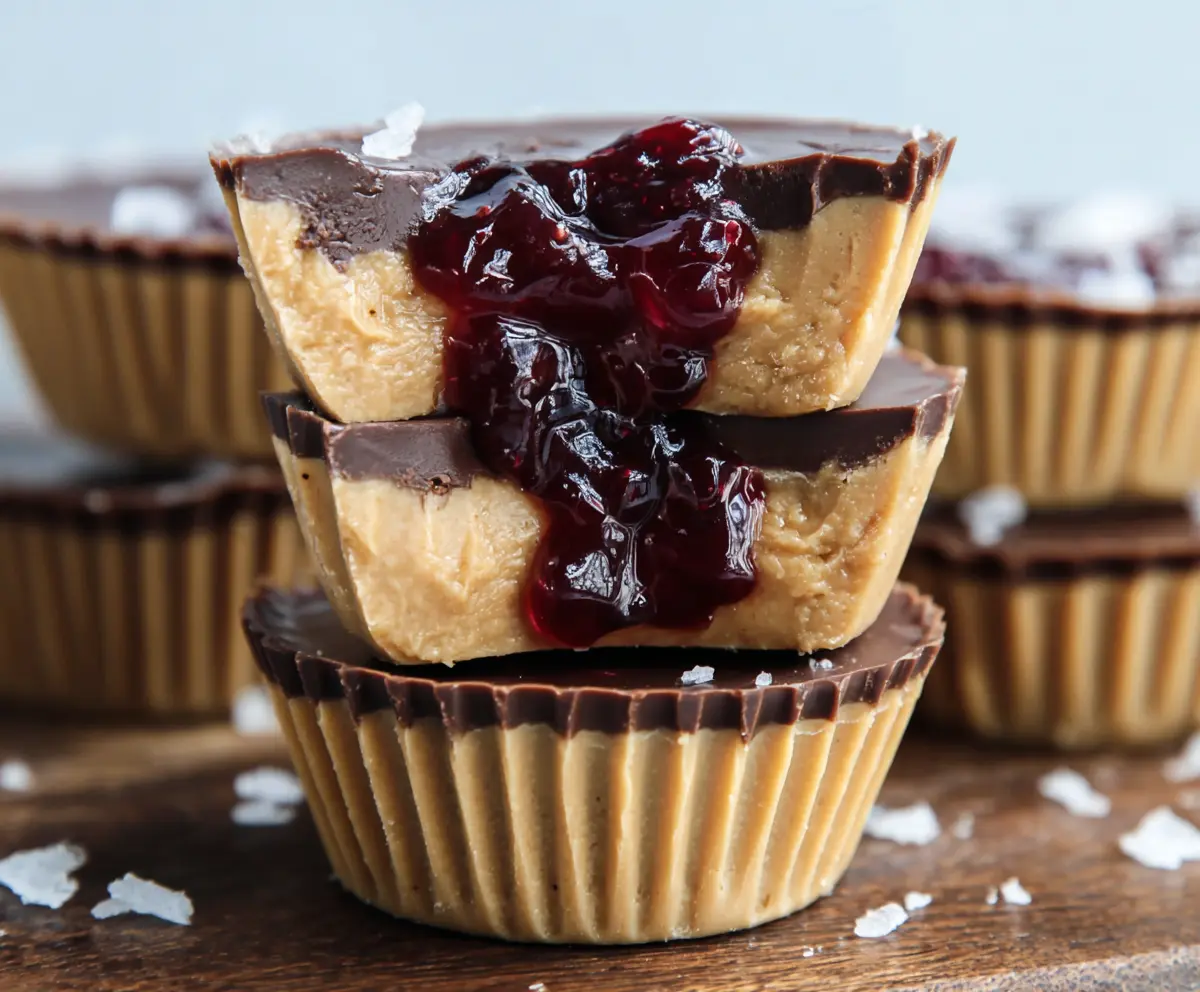
These Healthy Peanut Butter and Jelly Cups are a yummy twist on a classic treat! With creamy peanut butter and sweet fruit spread, they’re both fun and nutritious.
Who knew healthy could taste this good? I love grabbing one of these as a quick snack, and they make perfect lunchbox treats. Just watch how fast they disappear! 😊
Key Ingredients & Substitutions
Peanut Butter: Use natural creamy peanut butter without added sugar or salt for the best flavor. If you’re allergic to peanuts, almond or cashew butter works great too!
Maple Syrup or Honey: I love using maple syrup for its rich flavor, but honey is an excellent alternative. If vegan, stick with maple syrup or agave nectar.
Coconut Oil: This helps bind everything and gives a slight coconut flavor. Try using unsalted butter if you don’t have coconut oil on hand, but it will change the texture slightly.
Fruit Jelly: Sugar-free or low-sugar jams keep these cups healthier. You can swap in any flavor you like! I personally enjoy raspberry or blackberry for a twist.
Dark Chocolate Chips: Choose dairy-free chips if needed. You can use milk chocolate chips too, but they tend to be sweeter. I like using a dark chocolate with at least 70% cocoa for balance!
How Do You Get the Peanut Butter Layer Just Right?
The peanut butter layer is where it all starts! You want a thick, creamy base that holds its shape around the jelly. To achieve that:
- Mix your peanut butter with melted coconut oil until smooth. This helps it set better.
- Spoon the mixture evenly into your muffin liners. The back of a spoon works wonders for spreading!
- Chill in the freezer first; this helps firm it up, so your jelly doesn’t sink.
By taking the time to prepare each layer carefully, you’ll end up with beautiful, tasty cups that have the perfect texture! Enjoy your healthy treats!
How to Make Healthy Peanut Butter And Jelly Cups
Ingredients You’ll Need:
Base Layer:
- 1 cup natural creamy peanut butter (no added sugar or salt)
- 1/4 cup pure maple syrup or honey
- 1/4 cup coconut oil, melted
- 1 teaspoon vanilla extract
- 1/4 teaspoon salt (optional)
Jelly Layer:
- 1/2 cup sugar-free or low-sugar fruit jelly or jam (such as strawberry or raspberry)
Chocolate Topping:
- 1/2 cup dark chocolate chips (vegan/dairy-free if preferred)
- 1 teaspoon coconut oil (for chocolate topping)
- Flaky sea salt for garnish (optional)
How Much Time Will You Need?
This recipe takes about 15 minutes of active prep time, plus about 1 hour to chill in the freezer to set everything properly. It’s mostly hands-off time, letting the freezer do the work!
Step-by-Step Instructions:
1. Prepare the Muffin Tin:
Start by lining a muffin tin with silicone or paper liners. This will make it easier to remove the cups later and keep everything tidy.
2. Make the Peanut Butter Mixture:
In a medium bowl, combine your peanut butter, maple syrup (or honey), melted coconut oil, vanilla extract, and optional salt. Mix everything together until it’s smooth and creamy—this is going to be a delicious base!
3. Create the Base Layer:
Spoon about 1 tablespoon of the peanut butter mixture into each muffin cup. Use the back of a spoon to spread it evenly and press it down slightly to form a solid base.
4. Add the Jelly Layer:
Now, take about 1 teaspoon of your chosen fruit jelly and add it to the center of each peanut butter base. Gently press the jelly into the peanut butter, but be careful not to mix them together!
5. Freeze the Layers:
Pop the muffin tin into the freezer and let it chill for about 15-20 minutes. This helps the peanut butter and jelly layer firm up, so it holds its shape later.
6. Melt the Chocolate:
While the cups are chilling, melt your dark chocolate chips with 1 teaspoon of coconut oil in a microwave-safe bowl. Heat in 30-second intervals, stirring in between each until smooth and fully melted.
7. Cover with Chocolate:
Take the muffin tin out of the freezer and carefully spoon the melted chocolate over each cup, covering the jelly layer completely.
8. Garnish:
If you want, sprinkle a tiny pinch of flaky sea salt over the chocolate topping for a delicious contrast!
9. Set in the Freezer:
Return the cups to the freezer and let them set for at least 30 minutes until they’re firm and ready to enjoy.
10. Enjoy Your Treat:
Once set, carefully remove the cups from the liners. Store your peanut butter and jelly cups in an airtight container in the fridge or freezer. Enjoy these tasty, guilt-free snacks whenever you need a pick-me-up!
Can I Use Different Nut Butters?
Absolutely! Feel free to substitute peanut butter with almond or cashew butter if you prefer. Just ensure it’s creamy and unsweetened for the best results.
How Long Can I Store These Cups?
You can store the peanut butter and jelly cups in an airtight container in the fridge for up to a week or in the freezer for up to a month. Just let them thaw slightly before enjoying!
Can I Use a Different Sweetener?
Yes! You can use agave nectar or any other liquid sweetener in place of maple syrup or honey for a different flavor profile. Just keep the measured amount similar for the right consistency.
What Should I Do If the Chocolate Is Too Thick?
If your melted chocolate is too thick, you can add a little more coconut oil, about 1/2 teaspoon at a time, until you reach your desired consistency. This helps it spread easily over the cups!