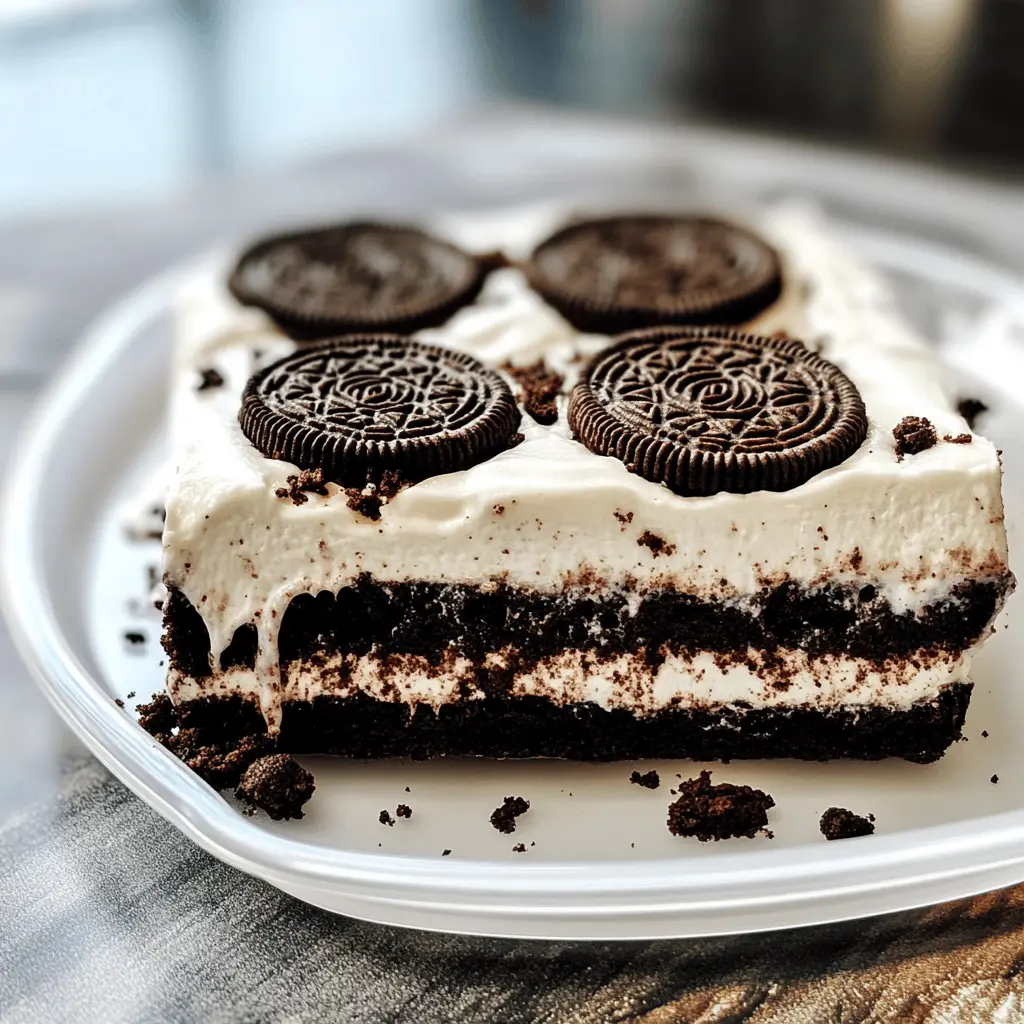
This Heavenly Oreo Dessert is a dream for chocolate lovers! With layers of creamy cheesecake, whipped topping, and crunchy Oreo crumbs, it’s a delightful treat.
Whenever I make this, I can’t resist sneaking bites! It’s perfect for parties or just a cozy evening at home with a spoon in hand! 🍰
Key Ingredients & Substitutions
Oreo Cookies: These are the star of the dessert, providing a delicious chocolatey base. If you want a different flavor, try using other chocolate sandwich cookies or even gluten-free alternatives.
Cream Cheese: Use full-fat cream cheese for the best flavor and texture. You can substitute with whipped cream cheese for a lighter option or a dairy-free cream cheese if you’re keeping it vegan.
Whipped Topping: Cool Whip is a classic, but you could use whipped cream instead. If you prefer a dairy-free option, look for coconut whipped cream or other non-dairy alternatives.
Instant Chocolate Pudding Mix: This is key for that creamy layer. If you have dietary restrictions or want a different flavor, vanilla pudding mix works too, just adjust it according to your taste.
How Can You Make the Perfect Oreo Crust?
The crust is crucial for a great base. Make sure to crush the Oreos finely; this helps in binding them with butter. Here’s how:
- For a smoother crush, use a food processor. If you’re using a bag, ensure you squeeze out air before sealing.
- Mix the crushed Oreos with melted butter until all crumbs are coated—this creates that tasty moisture.
- Press the mixture firmly into the baking dish. This will help it hold together when serving.
- Don’t skip baking it! This step sets the crust nicely. Allow it to cool completely before adding layers above.
How to Make Heavenly Oreo Dessert
Ingredients You’ll Need:
For The Crust:
- 1 package (14.3 oz) Oreo cookies
- 1/2 cup unsalted butter, melted
For The Cream Cheese Layer:
- 1 (8 oz) package cream cheese, softened
- 1/2 cup powdered sugar
- 1 (12 oz) tub whipped topping (like Cool Whip), divided
For The Pudding Layer:
- 1 package (3.9 oz) instant chocolate pudding mix
- 2 cups cold milk
For Garnish:
- 1/4 cup crushed Oreo cookies
How Much Time Will You Need?
You’ll need about 20 minutes for preparation and 10 minutes for baking the crust. Then, let it chill in the refrigerator for at least 4 hours, or overnight if you want the best texture. So, in total, plan for around 4 hours and 30 minutes including chilling time.
Step-by-Step Instructions:
1. Prepare the Crust:
First, preheat your oven to 350°F (175°C). Now, it’s time to crush those Oreo cookies! You can do this in a food processor for a quick job, or if you don’t have one, put the cookies in a zip-top bag and use a rolling pin to smash them until they are finely ground. In a bowl, mix the crushed cookies with the melted butter until everything is well combined.
2. Press the Crust:
Take your Oreo mixture and press it evenly into the bottom of a 9×13 inch baking dish to create a nice, solid layer. Then pop it in the preheated oven and bake for 10 minutes. Once baked, let it cool completely while you prepare the next layers.
3. Make the Cream Cheese Layer:
In a medium bowl, beat the softened cream cheese and powdered sugar together until the mixture is smooth. Gently fold in half of the whipped topping until it’s well combined. Spread this delicious cream cheese mixture evenly over the cooled Oreo crust.
4. Prepare the Pudding Layer:
In another bowl, whisk together the instant chocolate pudding mix and cold milk. Keep whisking for about 2 minutes until the mixture thickens up nicely. Once ready, spread the pudding evenly over the cream cheese layer.
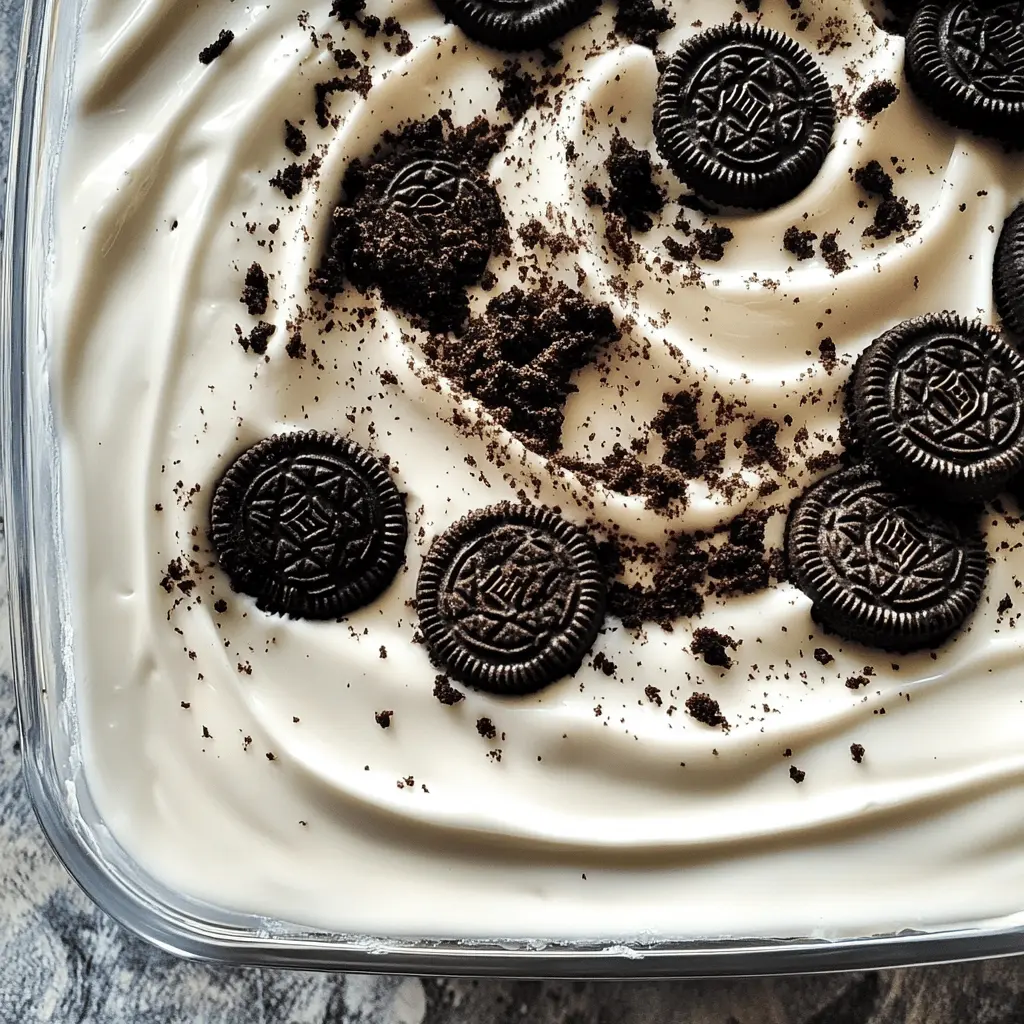
5. Top with Whipped Topping:
Now, take the remaining whipped topping and spread it over the chocolate pudding layer. This adds a fluffy and creamy topping that is sure to be a hit!
6. Chill the Dessert:
Cover the dessert and place it in the refrigerator. Let it chill for at least 4 hours or overnight to allow all those delicious layers to set together nicely. This step is important, so be patient!
7. Garnish and Serve:
Once it’s set, take the dessert out, and sprinkle the crushed Oreo cookies on top for that perfect finishing touch. Cut the dessert into squares, serve, and enjoy your Heavenly Oreo Dessert!
Can I Use a Different Type of Cookie for the Crust?
Absolutely! While Oreos give a classic flavor, you can use any chocolate sandwich cookie or even vanilla cookies for a different twist. Just make sure to adjust the amount of butter if you use cookies with a different texture!
How Can I Make This Dessert Gluten-Free?
To make a gluten-free version, simply use gluten-free chocolate sandwich cookies for the crust. Both the pudding mix and whipped topping should also be gluten-free (double-check labels), and you’re all set!
Can I Make This Dessert in Advance?
Yes, this dessert can be made up to 2 days ahead of time! Just be sure to keep it covered in the refrigerator until you’re ready to serve. It may actually taste even better after chilling overnight!
How Long Can I Store Leftovers?
Leftovers can be stored in an airtight container in the fridge for up to 3 days. If you notice any excess moisture on top, gently dab it with a paper towel to keep the crust fresh!