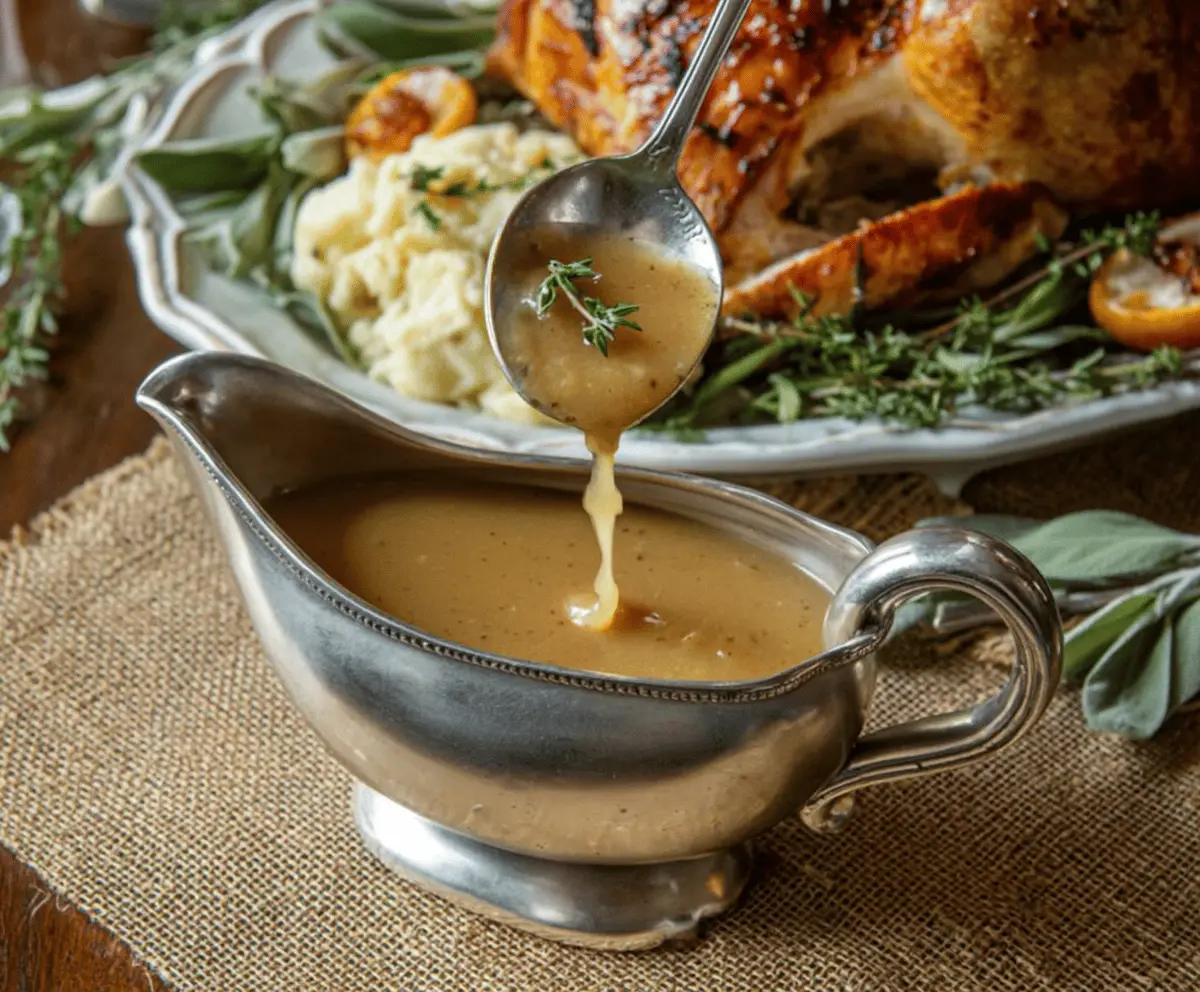
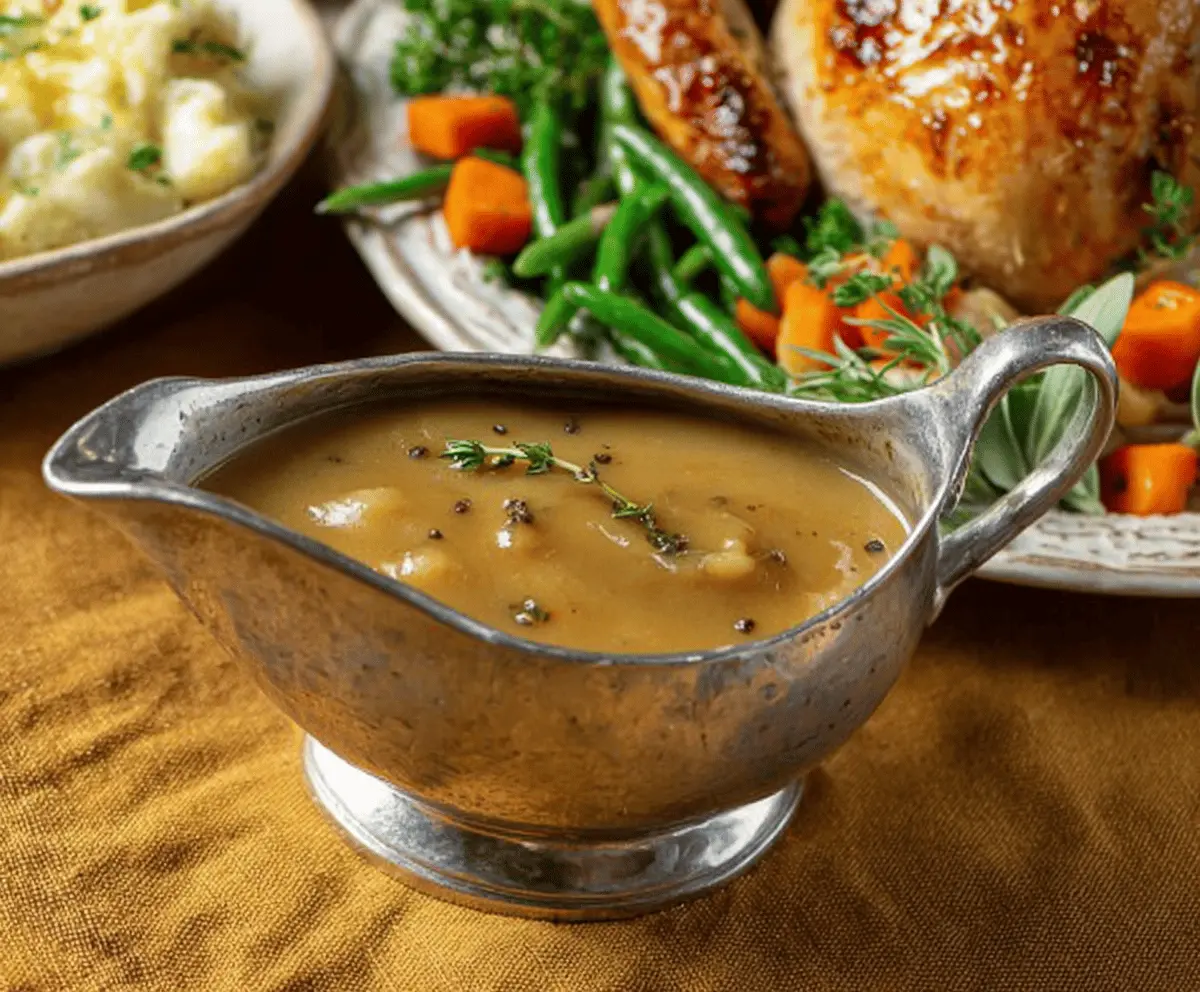
This homestyle turkey gravy is rich and smooth, perfect for drizzling over your favorite dishes. Made from turkey drippings, it’s full of flavor and so comforting!
Key Ingredients & Substitutions
Turkey Drippings: These are the star of your gravy! They provide that rich flavor. If you don’t have enough, you can use chicken drippings or butter for extra moisture. I often mix both for a more robust taste!
All-Purpose Flour: This thickens the gravy. If you need a gluten-free option, cornstarch is a great substitute—just mix it with a little water before adding to prevent clumps.
Turkey Broth: Homemade is the best for flavor, but store-bought works fine too. Low-sodium broth is great if you’re watching your salt intake. You can even use vegetable broth for a lighter flavor.
Poultry Seasoning: If you don’t have this, dried thyme or sage can work well too. I love adding a pinch more of these herbs for that extra layer of flavor!
How Do I Make Sure My Gravy is Lump-Free?
The key to smooth gravy is making a good roux and adding broth gradually. Here’s how:
- Whisk the flour into the heated fat quickly and continuously. This helps prevent lumps.
- When adding the broth, pour it in slowly while whisking. This gradual addition helps blend the ingredients evenly.
- If you find lumps, don’t worry! Just strain the gravy through a fine sieve for a smooth texture.
Keep whisking, and you’ll have a perfect gravy every time! Enjoy your delicious creations!
How to Make Homestyle Turkey Gravy
Ingredients You’ll Need:
- 1/4 cup turkey drippings (fat and juices collected from roasting pan)
- 1/4 cup all-purpose flour
- 3 cups turkey broth or stock (preferably homemade or low sodium)
- 1/2 teaspoon salt (adjust to taste)
- 1/4 teaspoon black pepper
- 1/4 teaspoon poultry seasoning or dried thyme
- Optional: 1 tablespoon butter (for extra richness)
- Fresh thyme sprigs for garnish (optional)
How Much Time Will You Need?
This recipe will take about 15 minutes of cooking time. It’s quick to prepare after roasting your turkey, making it perfect for holiday meals or any time you want to add a touch of comfort to your dining table.
Step-by-Step Instructions:
1. Gather Your Drippings:
Once your turkey is done roasting, pour the drippings from the pan into a fat separator or a measuring cup. Allow the fat to rise to the surface. Carefully skim off about 1/4 cup of the fat into a medium saucepan. If you don’t have enough drippings, you can add butter to reach a total of 1/4 cup of fat.
2. Make the Roux:
Heat the saucepan with the turkey fat over medium heat. Sprinkle the flour into the fat while whisking continuously to create a roux. You want to cook this mixture for about 2-3 minutes until it turns a lovely golden brown and gives off a nutty aroma. Just be careful not to burn the flour!
3. Add the Broth:
Gradually whisk in the turkey broth, starting with about half. Keep stirring constantly to avoid lumps. Once the mixture is smooth, add in the rest of the broth and continue whisking until fully combined.
4. Simmer and Thicken:
Bring the gravy to a gentle simmer while whisking often. It will start to thicken as it heats up. Keep cooking for about 5-7 minutes or until the gravy reaches your preferred thickness. Remember, it will thicken a bit more as it cools.
5. Season Well:
Add the salt, black pepper, and poultry seasoning (or dried thyme). Taste the gravy and adjust the seasoning as needed to make it just right!
6. Strain for Smoothness:
If you want a super smooth gravy, you can strain it through a fine sieve to remove any lumps. Keep the gravy warm on low heat until you’re ready to serve.
7. Finish with a Garnish:
Right before serving, you can garnish your gravy with fresh thyme sprigs to add a lovely aroma and a pop of color.
This homestyle turkey gravy is perfect alongside mashed potatoes, turkey, or any dish that could use a little extra love. Enjoy your delicious, homemade creation!
Can I Use Store-Bought Broth Instead of Homemade?
Absolutely! Store-bought broth is a convenient option and works well in this recipe. Just aim for low-sodium varieties for better control over the saltiness.
What If My Gravy Turns Out Lumpy?
No worries! You can easily strain it through a fine sieve to remove lumps. This will give you a smooth, velvety gravy.
How Should I Store Leftover Gravy?
Store any leftover gravy in an airtight container in the fridge for up to 3 days. To reheat, slowly warm it on the stove, adding a splash of broth or water if it becomes too thick.
Can I Make This Gravy in Advance?
Yes, you can prepare the gravy a day ahead and reheat it just before serving. This can save you time on the big day!