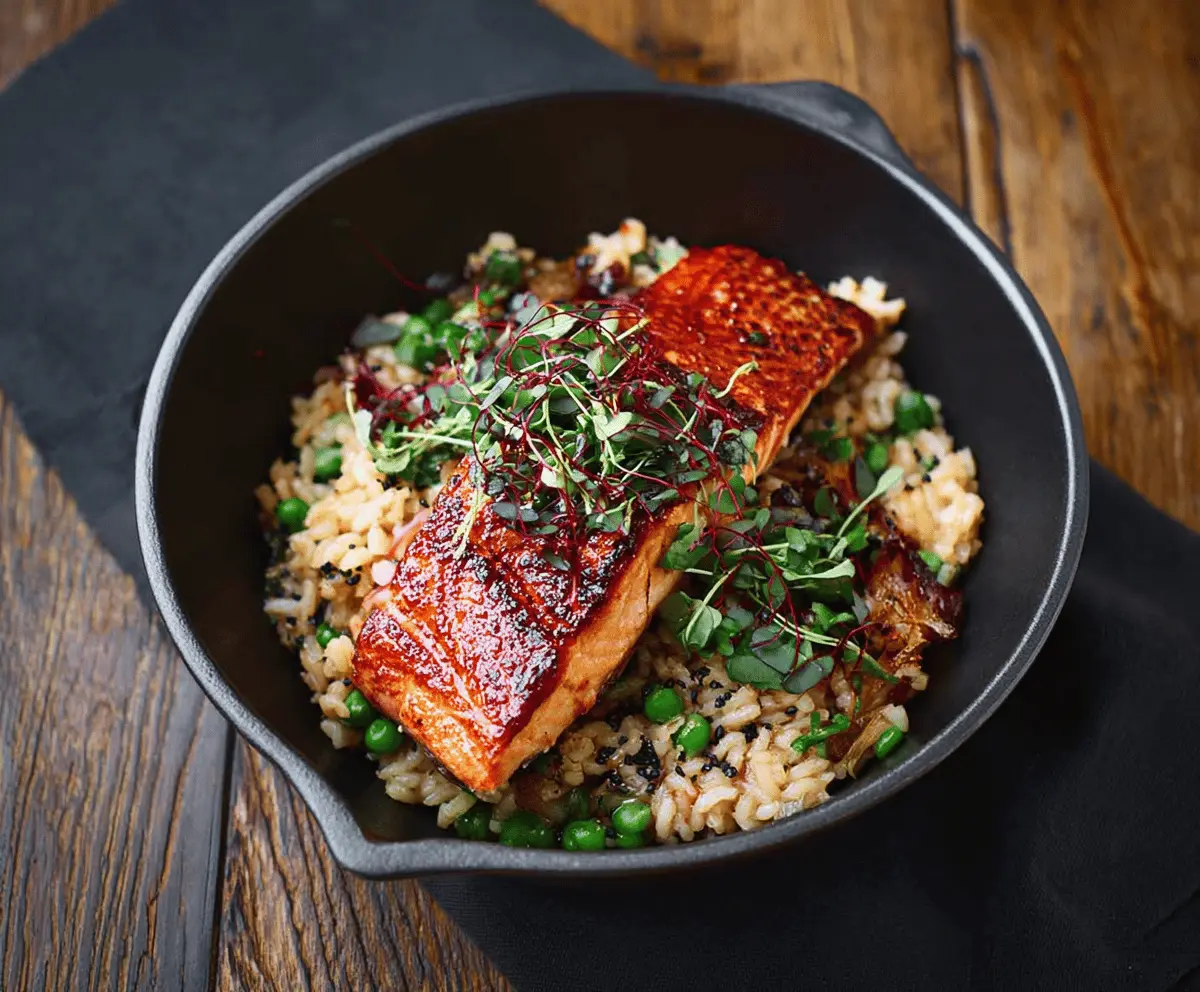
This creamy Japanese-style risotto is both rich and comforting. Made with rice cooked to perfection and packed with flavor, it pairs beautifully with deliciously seared salmon on top!
The best part? The risotto is super easy to whip up, and watching the salmon cook to a crispy finish is so satisfying. I like to add a sprinkle of green onions for a fresh touch. Yum!
Key Ingredients & Substitutions
Japanese Short-Grain Rice: This rice is essential for achieving that creamy texture. If you can’t find it, Arborio rice works as a good alternative, though it may be slightly less sticky.
Dashi Stock: Dashi adds a lovely umami flavor. You can substitute it with low sodium chicken or vegetable broth, but keep in mind it may change the taste slightly.
Green Peas: Fresh peas provide a nice crunch, but frozen peas are perfectly fine and save time. For a twist, try adding spinach or even edamame!
Mirin: This sweet rice wine enhances flavor. If you need a substitute, mix one tablespoon of sugar with one tablespoon of water as a quick fix.
Sake: While optional, sake can enhance flavor. If you prefer not to use it, just leave it out or replace it with a little more dashi.
How Do I Get the Salmon Crispy on the Outside?
To achieve a crispy skin on your salmon, it’s all about the cooking technique. Start by ensuring the fillet is dry; moisture will prevent it from browning. Here’s how to do it:
- Season the salmon with salt and pepper for flavor.
- Heat your skillet until it’s hot, then add oil and ensure it’s shimmering before adding the fish.
- Place the salmon skin-side down and do not move it for 3-4 minutes. This helps the skin get crispy.
- Flip the salmon gently and cook for another 2-3 minutes or until it’s cooked through.
This technique will give you a great textural contrast between the crispy exterior and moist interior of the salmon!
How to Make Japanese Style Risotto With Seared Salmon
Ingredients You’ll Need:
For the Risotto:
- 1 cup Japanese short-grain rice
- 3 cups dashi stock (or low sodium chicken/vegetable broth)
- 1/2 cup green peas (fresh or frozen)
- 1 small onion, finely chopped
- 2 tbsp soy sauce
- 1 tbsp mirin (sweet rice wine)
- 1 tbsp sake (optional)
- 1 tbsp butter
- Salt and pepper, to taste
For the Salmon:
- 1 salmon fillet (about 6 oz), skin removed and patted dry
- 2 tbsp vegetable oil (divided)
For Garnish:
- Microgreens or thinly sliced green onions
- Optional: toasted sesame seeds or nori flakes
How Much Time Will You Need?
This recipe takes about 10 minutes of prep time and around 30 minutes of cooking time. You’ll spend about 40 minutes total, but the end result is a delightful dish that’s well worth the time!
Step-by-Step Instructions:
1. Start the Risotto:
Heat 1 tablespoon of vegetable oil in a medium saucepan over medium heat. Add the finely chopped onion and sauté until it’s translucent and fragrant, which will take about 3-4 minutes. This step builds the foundational flavor of your risotto.
2. Toast the Rice:
Next, add the Japanese short-grain rice to the pot. Stir it around for 1-2 minutes, allowing it to become slightly toasted and coated with the oil. This adds a lovely nutty flavor to your risotto.
3. Add the Dashi Stock:
Now, gradually add the warm dashi stock, one ladle at a time. Take your time and stir gently, letting each ladle of liquid absorb before adding more. This process encourages the rice to release its starches, creating a creamy texture. Continue this for about 25-30 minutes, until the rice is tender.
4. Mix in Flavorings:
Halfway through cooking the rice, stir in the soy sauce, mirin, sake (if you’re using it), and the green peas. Taste and adjust the seasoning with salt and pepper. This stage brings all the delicious flavors together!
5. Finish with Butter:
When the risotto is creamy and just cooked through, stir in the butter for an extra touch of richness. Keep the risotto warm on low heat while you prepare the salmon.
6. Sear the Salmon:
In a separate non-stick skillet, heat the remaining 1 tablespoon of vegetable oil over medium-high heat. Season the salmon fillet with salt and pepper to enhance its flavor.
7. Cook the Salmon:
Place the salmon in the skillet skin-side down, or the side you want crispy. Sear it without moving for about 3-4 minutes, until it’s a deep golden-brown. Then, carefully flip and cook for an additional 2-3 minutes, or until it’s cooked through and still moist inside.
8. Assemble the Dish:
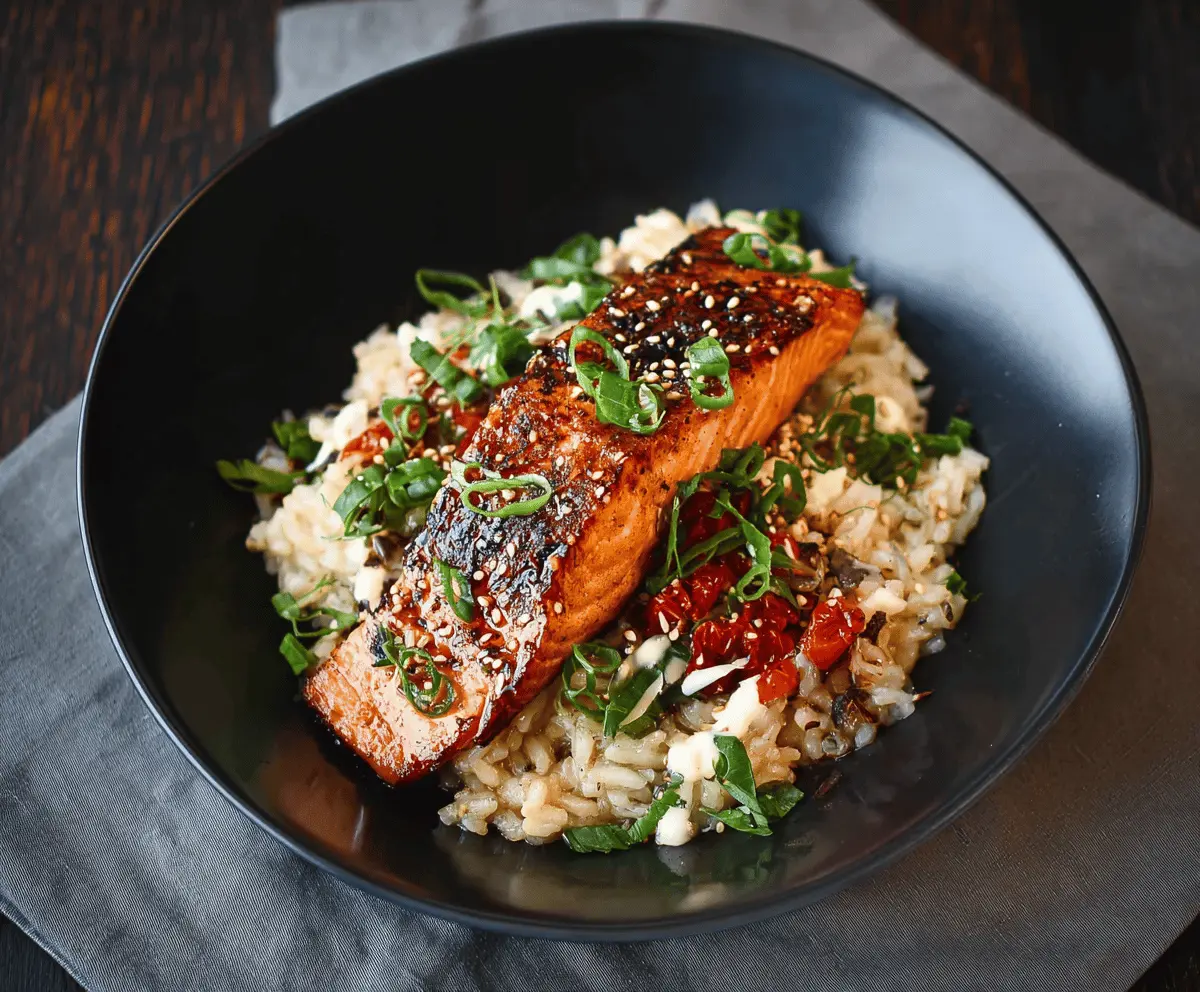
To serve, spoon the creamy Japanese-style risotto into a shallow bowl or a cast-iron skillet and top it with the beautifully seared salmon fillet.
9. Add Garnishes:
Garnish with microgreens or thinly sliced green onions for a fresh touch. If you’d like, sprinkle some toasted sesame seeds or nori flakes for extra flavor and presentation.
10. Enjoy!
Serve immediately while warm, and savor the delightful blend of flavors in every bite!
Enjoy your cooking adventure with this creamy and delicious Japanese-style risotto paired with perfectly seared salmon!
Can I Use Other Types of Rice for This Recipe?
Yes, while Japanese short-grain rice is preferred for its creaminess, Arborio rice can be a good substitute. Just keep in mind it may need slight adjustments in cooking time and liquid ratios.
How Do I Store Leftover Risotto?
Store any leftover risotto in an airtight container in the fridge for up to 3 days. Reheat in a saucepan over low heat, adding a splash of water or stock to regain creaminess.
Can I Make This Risotto Vegetarian?
Absolutely! Simply substitute the dashi stock with vegetable broth and skip the salmon. You can add sautéed mushrooms or other veggies for extra flavor and texture!
What’s the Best Way to Ensure the Salmon Stays Moist?
Make sure to sear the salmon on medium-high heat without moving it for the first few minutes. This helps create a nice crust while sealing in the moisture. Don’t overcook it; salmon is best when it’s still slightly pink in the center!