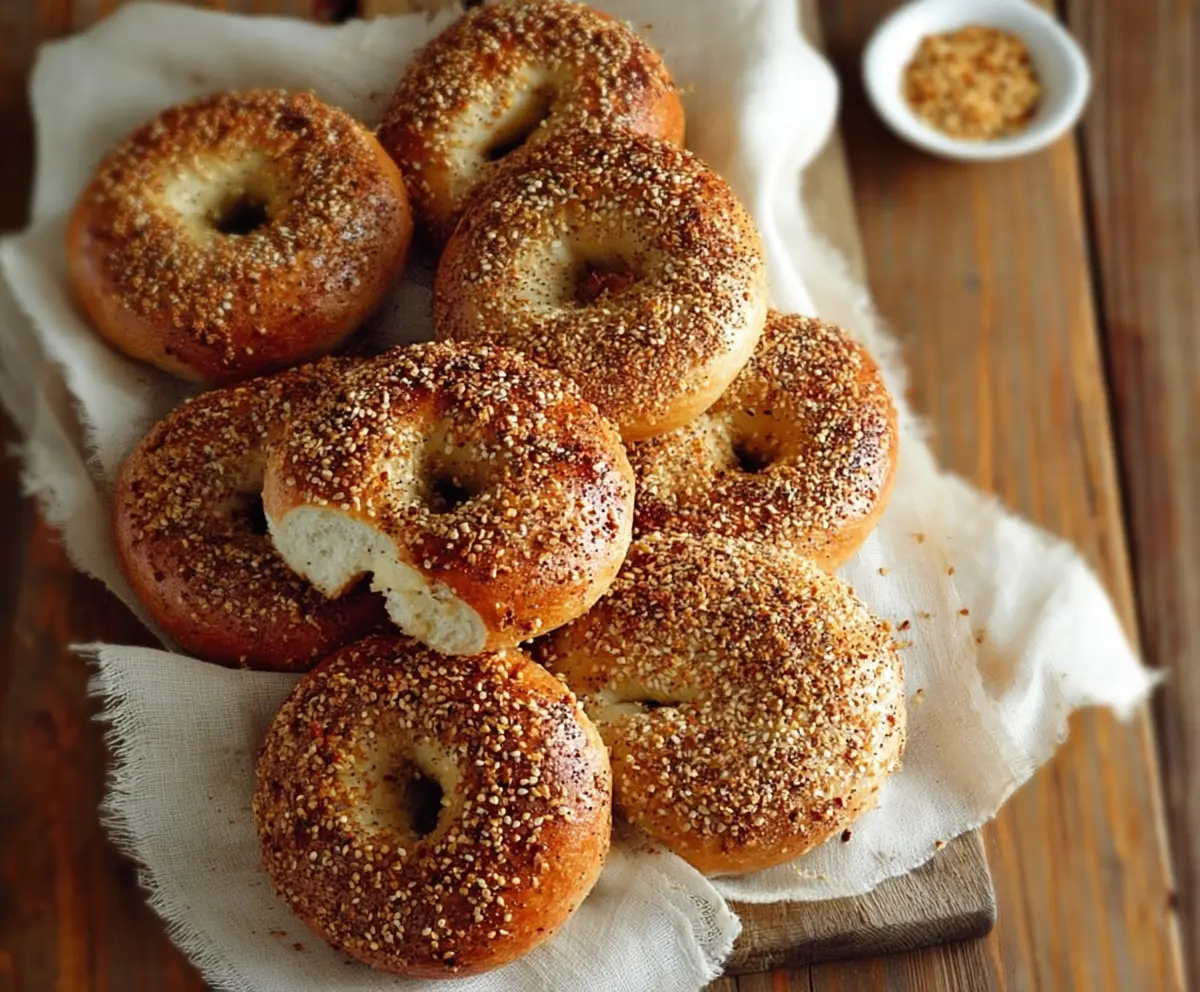
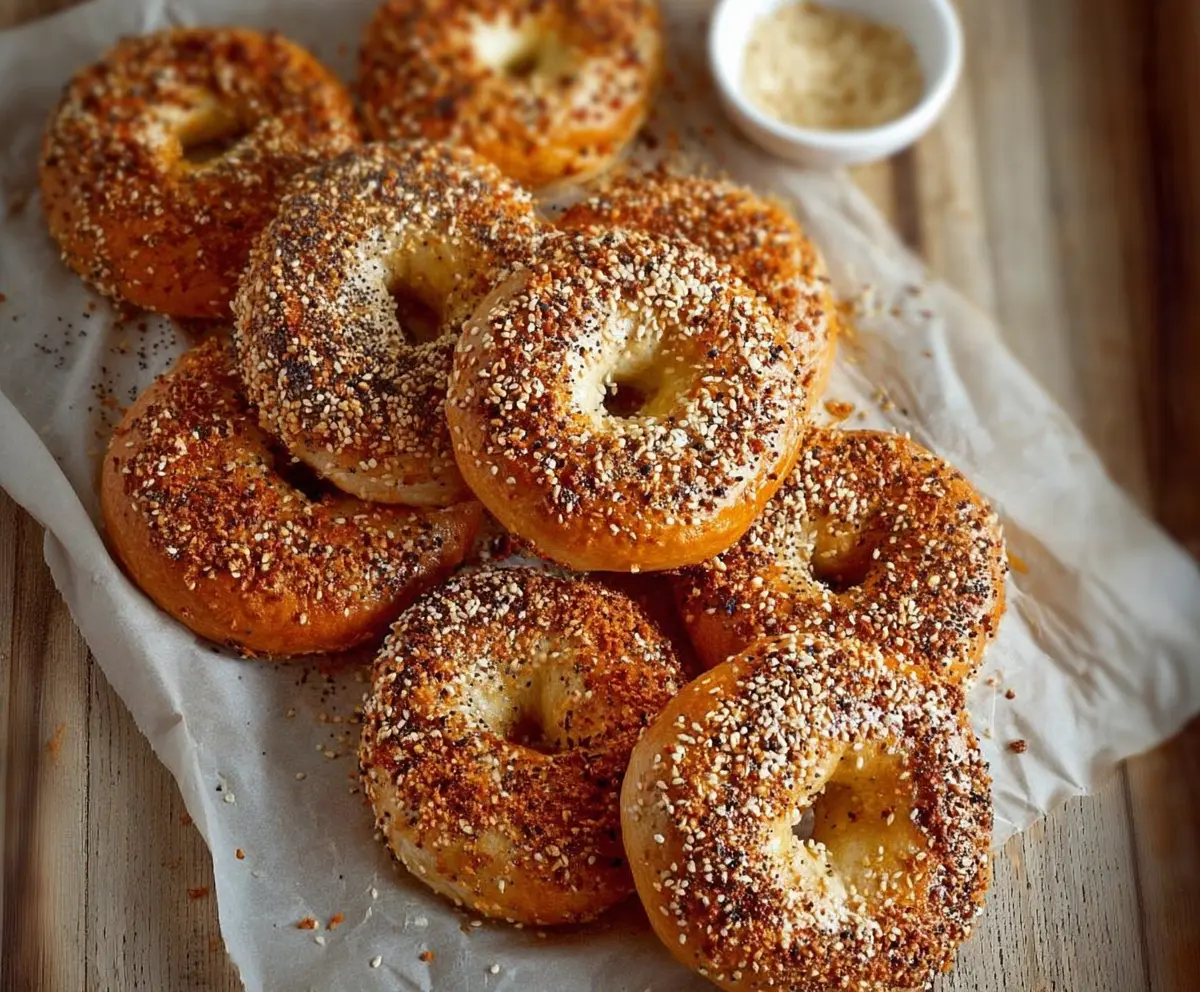
Montreal Style Bagels are small, sweet, and very special! They’re boiled in honey water before baking, which makes them slightly crunchy on the outside and soft on the inside.
These bagels are perfect for breakfast or a snack, and they pair wonderfully with cream cheese! I love to top mine with extra seeds—because who doesn’t love a little crunch? 😄
Key Ingredients & Substitutions
Bread Flour: Bread flour offers higher protein content for chewy bagels. If you don’t have it, all-purpose flour will work, but your bagels might be a bit less chewy.
Honey: This adds a lovely sweetness to the dough and the boiling water. If you’re out, you can use maple syrup or agave nectar as a substitute; both will work just fine.
Instant Yeast: Instant yeast is great because you can mix it right in without proofing. If you only have active dry yeast, just dissolve it in the warm water first for about 5 minutes, then add it to your mixture.
Sesame and Poppy Seeds: These add crunch and flavor. If you’re not a fan or have allergies, feel free to skip them or use other toppings like everything bagel seasoning or even pumpkin seeds.
Dried Minced Onion or Garlic: Optional, but these can elevate the flavor! You can replace them with fresh chopped onion or garlic if you prefer. Just adjust the amount according to your taste.
How Do You Knead Dough Perfectly?
Kneading dough is vital for developing gluten, which gives the bagels their structure and chewiness. Here’s how to do it right:
- Transfer your dough to a floured surface, making sure to flour your hands too to prevent sticking.
- Push the dough down and away from you with the heels of your hands.
- Fold it back over and give it a quarter turn. Repeat this process for about 10 minutes.
- Keep adding flour if it gets too sticky. Your goal is smooth and elastic dough.
If you prefer less hands-on work, using a stand mixer with a dough hook for about 8 minutes also works well! Just make sure not to over-knead, or your bagels might be tough.
How to Make Montreal Style Bagels
Ingredients You’ll Need:
For the Dough:
- 4 cups bread flour
- 1 tbsp sugar
- 1 tbsp honey
- 2 tsp instant yeast
- 1 1/4 cups warm water (around 110°F/43°C)
- 1 1/2 tsp salt
- 1 tbsp vegetable oil or melted butter (for the dough)
For Boiling:
- 2 tbsp honey (for boiling water)
For Topping:
- 1/4 cup sesame seeds
- 1/4 cup poppy seeds (optional)
- 2 tbsp dried minced onion or garlic (optional)
- 1 tbsp coarse salt or everything bagel seasoning (optional for sprinkling)
How Much Time Will You Need?
This recipe takes about 15-20 minutes for prep, 1-1.5 hours for dough rising, and an additional 25-30 minutes for boiling and baking. In total, you should plan for about 2-2.5 hours to make these delightful Montreal style bagels!
Step-by-Step Instructions:
1. Prepare the Dough:
In a large bowl, mix the bread flour, sugar, and salt together. In another small bowl, dissolve the yeast in warm water and let it sit for about 5 minutes or until it gets foamy. This shows the yeast is alive and ready to work! Now, combine the yeast mixture, vegetable oil (or melted butter), and honey with the flour mixture. Stir until a rough dough forms.
2. Knead the Dough:
Transfer the dough onto a floured surface and knead it for about 10 minutes until it’s smooth and elastic. If you prefer the easier route, you can use a stand mixer with a dough hook and knead it for about 8 minutes.
3. Let It Rise:
Place the dough in a lightly oiled bowl and cover it with a clean cloth or plastic wrap. Let it rise in a warm place until it doubles in size, which will take about 1 to 1.5 hours.
4. Shape the Bagels:
Once the dough has risen, punch it down and divide it into 8 equal pieces. Roll each piece into a ball, then poke a hole through the center with your finger and gently stretch it to make a ring about 3-4 inches in diameter.
5. Rest the Bagels:
Place the shaped bagels on a floured baking sheet, cover them, and let them rest for 20-30 minutes.
6. Prepare for Boiling:
Preheat your oven to 425°F (220°C). In a large pot, bring water to a boil and add the 2 tablespoons of honey. This step adds sweetness to the bagels and helps them brown nicely.
7. Boil the Bagels:
Carefully boil the bagels in batches for 1-2 minutes on each side. Use a slotted spoon to carefully remove them, and then place them back on the baking sheet.
8. Add Toppings:
In a shallow plate, mix together the sesame seeds, poppy seeds, dried minced onion, and garlic. While the bagels are still wet from boiling, dip or sprinkle them generously with your seed mixture.
9. Bake the Bagels:
Place the bagels in the oven and bake for 20-25 minutes or until they are golden brown and cooked through. Turn them halfway through baking to ensure even color.
10. Cool and Enjoy:
Once done, remove the bagels from the oven and let them cool on a wire rack. Enjoy your delicious, chewy, slightly sweet, and seed-crusted Montreal style bagels!
Happy bagel-making! Enjoy every bite!
Can I Use All-Purpose Flour Instead of Bread Flour?
While bread flour is best for achieving that chewy texture, you can use all-purpose flour in a pinch. The bagels may not be as chewy but will still turn out delicious.
What If I Don’t Have Instant Yeast?
If you only have active dry yeast, just dissolve it in the warm water and let it sit for about 5 minutes before adding it to your mixture. This helps activate it and ensures your dough rises properly.
Can I Make These Bagels Ahead of Time?
Absolutely! You can prepare the dough, shape the bagels, and then refrigerate them overnight before boiling and baking. Just remember to let them come to room temperature for about 30 minutes before boiling.
How Should I Store Leftover Bagels?
Store any leftover bagels in an airtight container at room temperature for up to 2 days. For longer storage, you can freeze them in a zip-top bag for up to 3 months. Just toast or warm them up when you’re ready to enjoy!