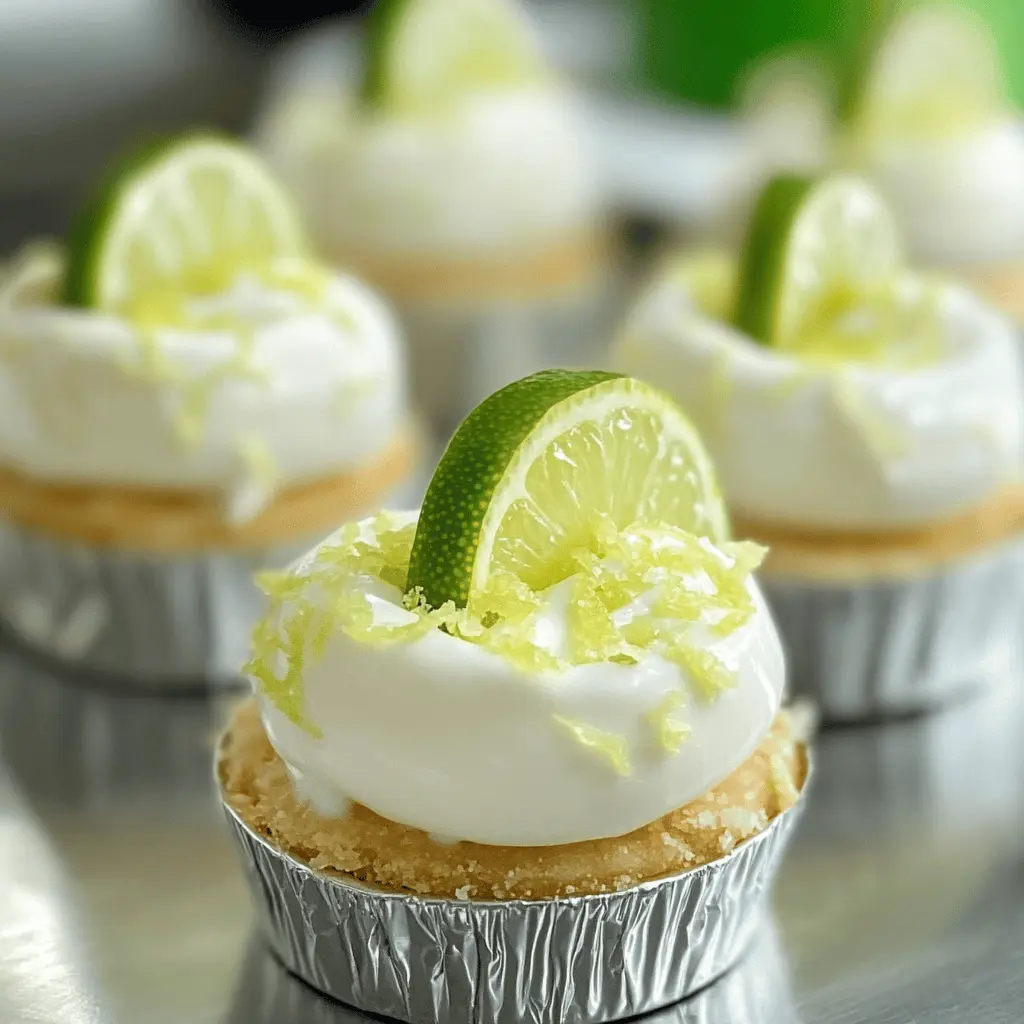
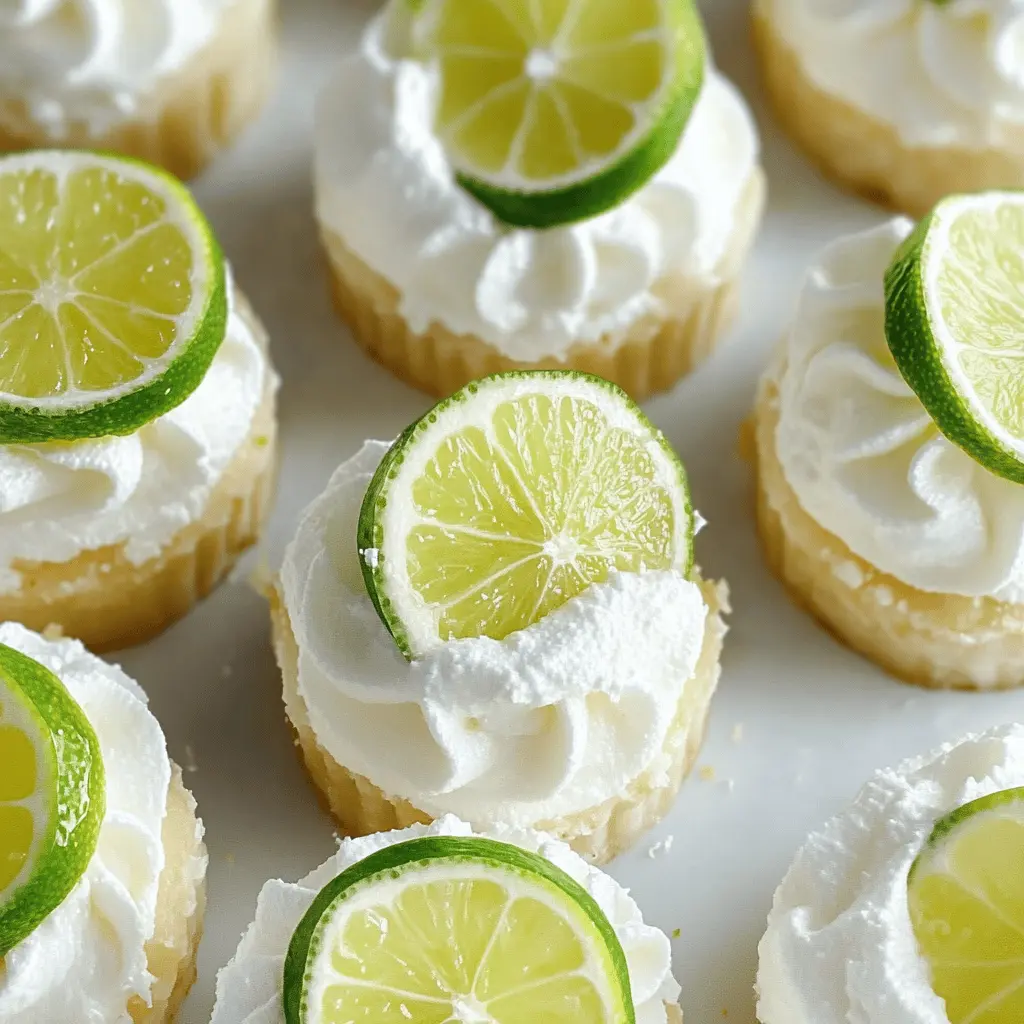
These no-bake mini key lime pies are a perfect treat for warm days! With a zesty lime filling and a crunchy graham cracker crust, they are both refreshing and fun.
Honestly, these little pies are like sunshine in a bite! 🌞 I love whipping them up quickly – no oven needed, just mix, chill, and enjoy. They always disappear fast at gatherings!
Key Ingredients & Substitutions
Graham cracker crumbs: This is the base of your crust. If you can’t find graham crackers, using crushed digestive biscuits or even vanilla wafers works well too. I find the flavor slightly different but still delicious!
Cream cheese: The cream cheese gives richness. If you’re looking for a lighter option, try using Greek yogurt or vegan cream cheese for a dairy-free version. Just remember, it will alter the final flavor slightly, but it can be just as tasty!
Sweetened condensed milk: This ingredient sweetens your filling. If you want to cut back on sugar, you can use evaporated milk with a bit of sugar or a non-dairy sweetened condensed milk alternative. It’s great to keep it flexible!
Key lime juice: Freshly squeezed is ideal, but regular lime juice can do in a pinch. Bottled lime juice is also fine, though fresh gives a brighter taste. If you can’t find key limes, use Persian limes for similar results.
How Do I Make Sure My Mini Pies Are Perfectly Set?
To ensure your mini key lime pies set properly, chilling is key. Here are some steps you can follow:
- After combining all filling ingredients, pour it evenly over the crusts.
- Cover them with plastic wrap to prevent any odor absorption from the fridge.
- Chill for at least 4 hours—longer if you can! Overnight is perfect for a firmer texture.
This chilling time allows the filling to firm up nicely, making those mini pies easier to slice and serve. I like to garnish right before serving to keep the whipped cream fresh and fluffy! Enjoy your delicious creation!
How to Make No-Bake Mini Key Lime Pies
Ingredients You’ll Need:
For the Crust:
- 1 cup graham cracker crumbs
- 1/4 cup sugar
- 1/2 cup unsalted butter, melted
For the Filling:
- 8 oz cream cheese, softened
- 1 cup sweetened condensed milk
- 1/2 cup freshly squeezed key lime juice (or regular lime juice)
- 1 tsp lime zest
For the Toppings:
- Whipped cream (for garnish)
- Lime slices (for garnish)
How Much Time Will You Need?
This delightful recipe takes about 20 minutes of prep time. After that, you’ll need to chill the mini pies in the fridge for at least 4 hours to let them set. Total time: around 4 hours and 20 minutes, but most of that is just waiting!
Step-by-Step Instructions:
1. Make the Crust:
In a mixing bowl, combine the graham cracker crumbs, sugar, and melted butter. Stir everything together until the mixture is well combined and resembles wet sand. This will be your delicious crust!
2. Press the Crust:
Take the crumb mixture and press it firmly into the bottom of mini pie dishes or muffin tins. Make sure it’s packed tightly. Once done, pop these crusts into the refrigerator to set while you prepare the filling.
3. Prepare the Filling:
In a separate bowl, beat the softened cream cheese using an electric mixer until it’s smooth and creamy. You want this to be fluffy and delicious.
4. Add Sweetened Condensed Milk:
Gradually add the sweetened condensed milk to the cream cheese. Keep mixing until everything is nicely combined and smooth. This will give the filling that sweet, creamy texture we love!
5. Flavor it Up:
Now, mix in the key lime juice and lime zest. Just stir until all the ingredients are fully incorporated. This is what gives your pies that refreshing key lime flavor!
6. Fill the Crusts:
Pour the yummy filling over the prepared crusts, smoothing the top with a spatula to make it nice and even. Look how pretty they are already!
7. Chill:
Cover your mini pies with plastic wrap and place them in the refrigerator. Let them chill for at least 4 hours, or until they’re fully set. Patience is key here; it’ll be worth the wait!
8. Garnish and Serve:
Once they’re set, remove your mini pies from the fridge. Top each one with a dollop of whipped cream and add a small slice of lime for garnish. Now they’re ready to enjoy! Dig in!
Can I Use Different Types of Crust?
Absolutely! If you prefer, you can use crushed Oreo cookies or vanilla wafers instead of graham cracker crumbs. Just follow the same ratio—1 cup of crumbs—and mix with the same amount of butter and sugar for a delicious twist!
Can I Substitute the Key Lime Juice?
Yes, if key limes are not available, regular lime juice works just fine! For an extra zesty flavor, you can also add a bit more lime zest, just keep in mind that the taste might be a little different from the traditional recipe.
How Long Can I Store Leftover Mini Key Lime Pies?
These mini pies can be stored in the fridge for up to 3 days. Make sure to keep them covered with plastic wrap or in an airtight container to keep them fresh. They may lose their firmness slightly over time.
Can I Freeze Mini Key Lime Pies?
Yes, you can freeze these mini pies! Just make sure to wrap them individually in plastic wrap and then place them in a freezer-safe container. They can be frozen for up to a month. Thaw in the refrigerator before serving, and add the whipped cream topping just before serving for the best texture.