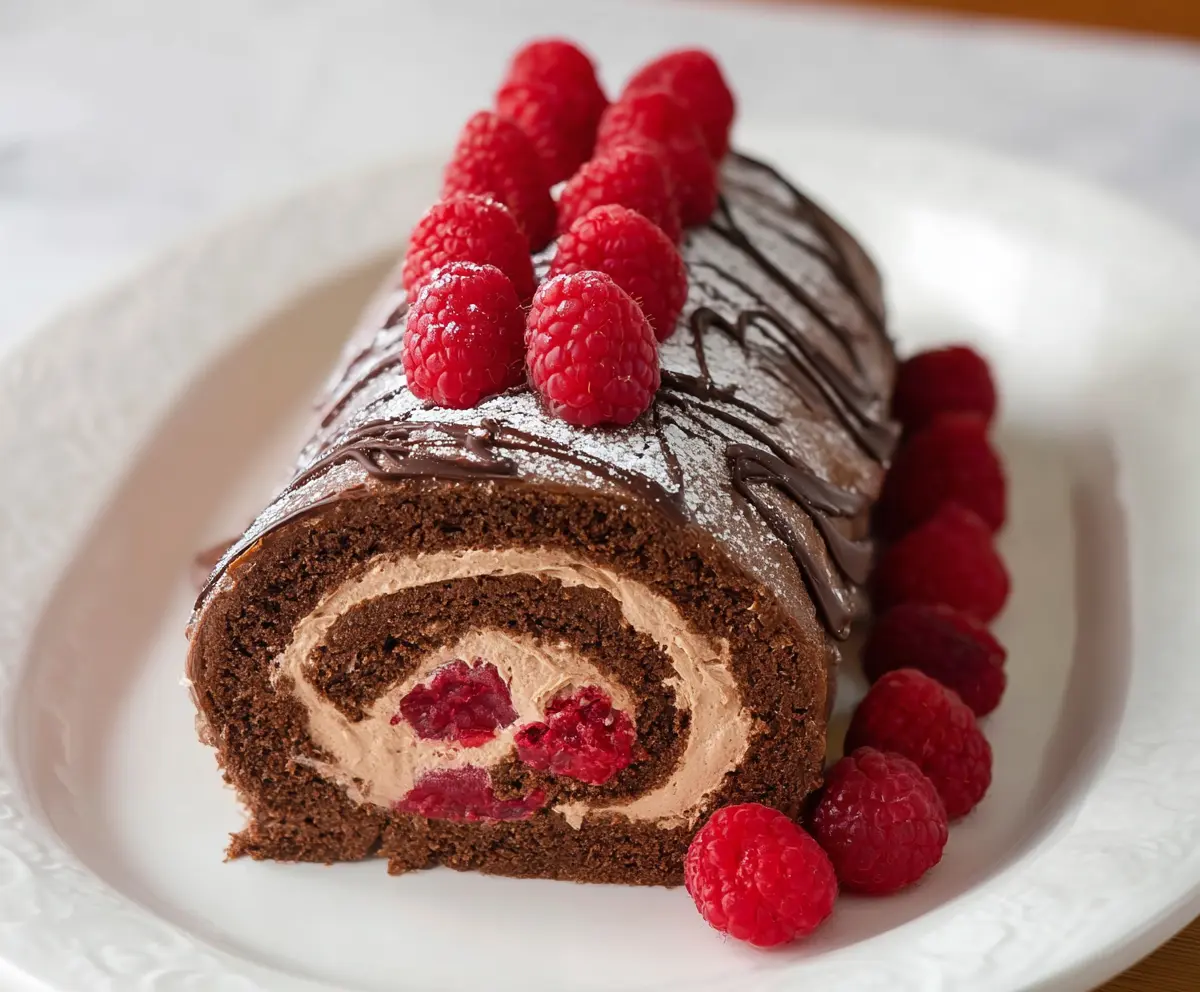
This Raspberry Chocolate Swiss Roll is a delicious treat! It features soft chocolate cake rolled around sweet raspberry filling, making it a perfect dessert for any occasion.
Honestly, it’s like a chocolate hug with a fruity surprise inside! I love serving it with some whipped cream on top—it’s so good, you’ll want to share… or maybe not! 😄
Key Ingredients & Substitutions
Eggs: Large eggs are key for giving structure to the sponge cake. In a pinch, you can replace each egg with 1/4 cup unsweetened applesauce for a vegan option.
Cocoa Powder: Unsweetened cocoa powder is essential for that rich chocolate flavor. If you’re out, try using Dutch-processed cocoa, which adds a milder taste.
Heavy Cream: For the chocolate cream filling, heavy cream helps it whip up beautifully. You can use coconut cream for a dairy-free version, but it might have a different taste.
Fresh Raspberries: These are the star of the show! If they’re not in season, you can substitute with thawed frozen raspberries or even strawberries if you prefer.
How Do You Roll the Cake Without Breaking It?
Rolling the cake while it’s warm is key to preventing cracks. Here’s how to do it perfectly:
- First, dust a clean kitchen towel with powdered sugar to stop the cake from sticking.
- Once it’s inverted onto the towel, peel off the parchment slowly to avoid tearing.
- Start rolling from the shortest edge. Keep the roll tight but not too forced.
- Let it cool completely rolled up. This will help it hold its shape when you unroll it later.
This technique takes practice, but soon you’ll be rolling cakes like a pro!

Raspberry Chocolate Swiss Roll
Ingredients:
For the Chocolate Sponge:
- 4 large eggs
- 3/4 cup (150g) granulated sugar
- 1/4 cup (25g) unsweetened cocoa powder
- 3/4 cup (95g) all-purpose flour
- 1/2 tsp baking powder
- 1/4 tsp salt
- 1 tsp vanilla extract
For the Chocolate Cream Filling:
- 1 cup (240ml) heavy cream, chilled
- 2 tbsp powdered sugar
- 2 tbsp unsweetened cocoa powder
- 1 tsp vanilla extract
For Assembly:
- Fresh raspberries: about 1 cup, plus extra for garnish
For Decoration:
- Melted chocolate, for drizzling
- Powdered sugar, for dusting
Time Estimate:
This delectable Raspberry Chocolate Swiss Roll will take about 30 minutes to prepare, plus an hour in the fridge to chill and set. So, in a little over an hour, you’ll have a stunning dessert ready to impress your family and friends!
Instructions:
1. Prepare the Chocolate Sponge Cake:
First, preheat your oven to 350°F (175°C). Then, take a 10×15 inch jelly roll pan and line it with parchment paper, making sure to grease it lightly to prevent sticking. In a large mixing bowl, whisk together the eggs and granulated sugar using an electric mixer on high speed. You’re aiming for a mixture that’s thick, pale, and has tripled in volume, which should take about 5-7 minutes. In another bowl, sift together the flour, cocoa powder, baking powder, and salt. Gently fold these dry ingredients into your egg mixture in batches, being careful not to deflate that lovely air you’ve just incorporated. Lastly, stir in the vanilla extract, then pour the batter into your prepared pan and smooth the top. Bake for 12-15 minutes, or until the cake springs back when lightly touched.
2. Roll the Cake:
While the cake is still warm, place a clean kitchen towel on a flat surface and dust it lightly with powdered sugar. Now, carefully invert the cake onto the towel, peeling off the parchment paper. Starting from one of the short edges, roll the cake together with the towel into a log shape. Let it cool completely while it remains rolled up; this will help it hold its shape later.
3. Make the Chocolate Cream Filling:
In a separate chilled bowl, whip the heavy cream, powdered sugar, cocoa powder, and vanilla extract until stiff peaks form. This will create a luscious and creamy filling to complement your chocolate sponge!
4. Assemble the Swiss Roll:
Once your cake has cooled, carefully unroll it. Spread the chocolate cream evenly over the surface of the cake, leaving a small border around the edges. Scatter fresh raspberries over the cream, ensuring even distribution. Gently roll the cake back up without the towel, sealing the edge at the end. Transfer your beautifully rolled cake to a serving plate.
5. Decorate the Swiss Roll:
To give your cake a lovely finish, drizzle melted chocolate in a decorative pattern on top. Lightly dust it with powdered sugar for a classic touch. For the final flourish, arrange additional fresh raspberries on top and alongside the cake.
6. Chill Before Serving:
Refrigerate the Swiss roll for at least 1 hour to allow it to set properly. When you’re ready to serve, slice the roll and enjoy the magical combination of rich chocolate sponge, creamy chocolate filling, and vibrant fresh raspberries! Happy indulging!
Can I Use a Different Type of Fruit?
Absolutely! While fresh raspberries add a delightful tang, you can substitute them with strawberries, blueberries, or even sliced peaches. Just keep in mind that the flavor profile will change based on the fruit you choose!
How Do I Store Leftovers?
Leftovers can be stored in an airtight container in the fridge for up to 3 days. Just be sure to handle it gently to maintain its shape. If the filling softens, give it a quick whip before serving again.
Can I Make This Swiss Roll Gluten-Free?
Yes! Simply substitute the all-purpose flour with a gluten-free flour blend. Make sure you choose a blend that is designed for baking to get the best texture in your cake.
What Should I Do If My Cake Cracks While Rolling?
Don’t worry if that happens! You can simply fill the cracks with the chocolate cream filling and decorate it with extra raspberries to hide imperfections. A little creativity can turn a mishap into a beautiful dessert!