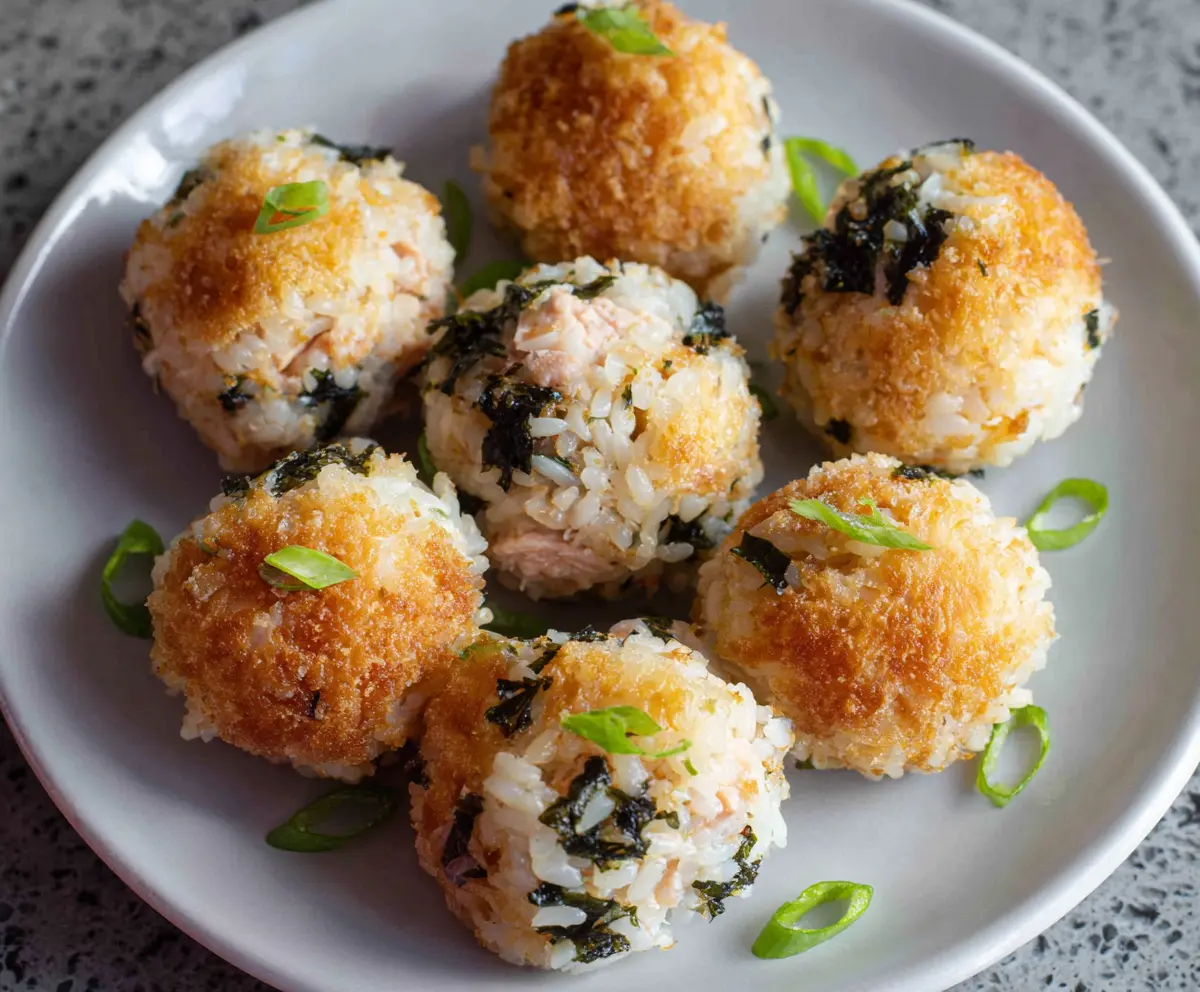
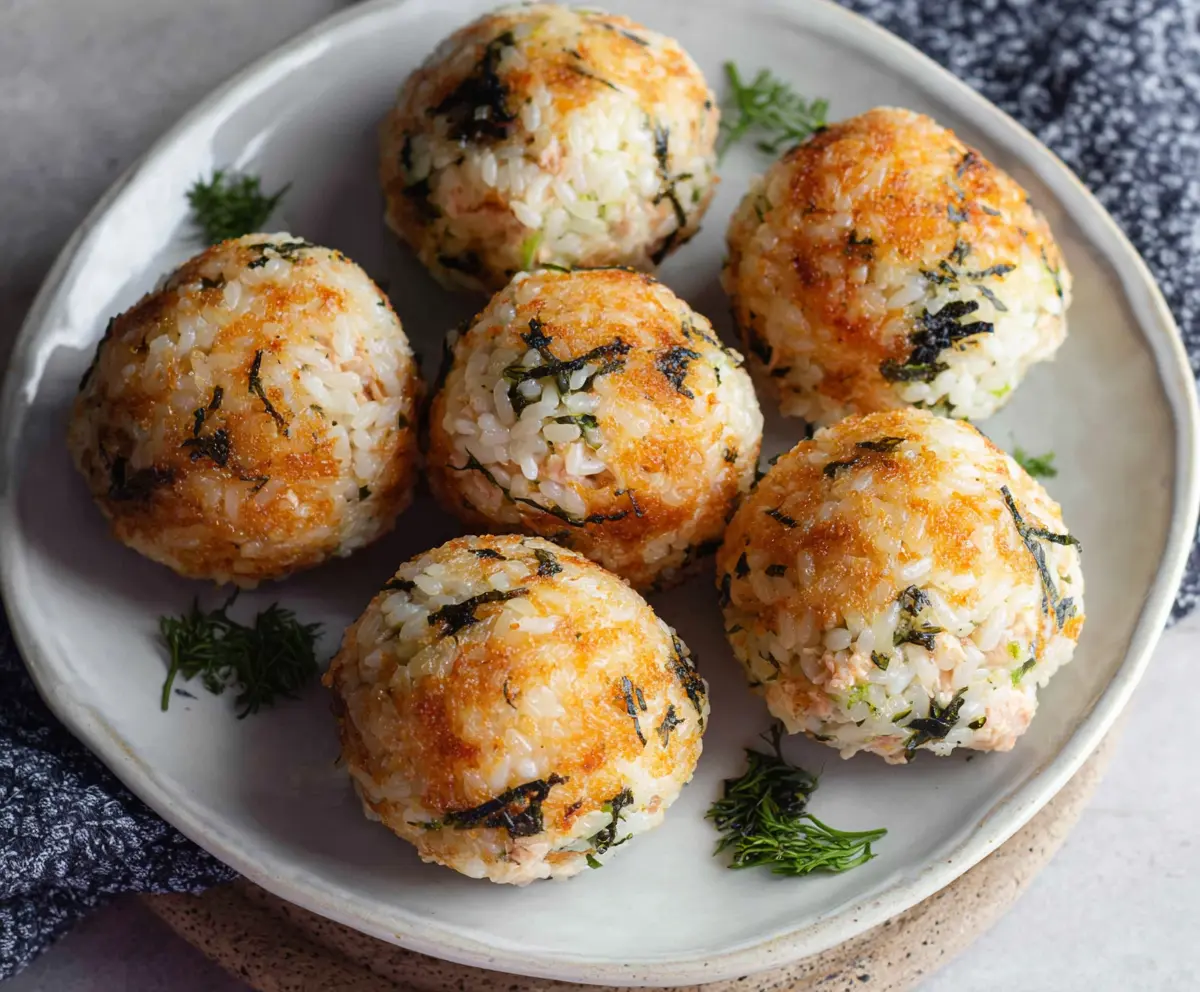
Tuna rice balls are a fun and tasty snack! These little bites are made with fluffy rice, tasty tuna, and a hint of seasoning, all rolled into perfect little balls.
They’re easy to make and perfect for lunchboxes or quick snacks. I love popping them in the fridge for a quick bite later—just don’t be surprised if they disappear fast! 😂
Key Ingredients & Substitutions
Japanese Short-Grain Rice: This rice is sticky and helps hold the tuna rice balls together. If you don’t have it, you can use regular short-grain rice or even medium-grain rice, but the texture may vary.
Tuna: Canned tuna is a great choice here. You can use tuna packed in water for a lighter option or in oil for added richness. If you’re looking for a vegetarian option, chickpeas can be mashed and mixed instead!
Nori: Nori adds a nice umami flavor. If you can’t find it, try using toasted seaweed snacks or even crushed up crackers for an alternative texture.
Mayonnaise: Japanese mayo is thicker and a bit sweeter, but regular mayo works too. Try adding a bit of mustard or Greek yogurt for a different taste!
Panko Breadcrumbs: These give a wonderful crunchy texture. If you don’t have panko, regular breadcrumbs can be used, though they might not be as crispy.
How Do I Shape and Fry the Rice Balls?
Shaping the rice balls just right is key! Make sure your hands are wet to avoid sticking. Scoop about 2 tablespoons of the rice mixture and mold it gently into a ball. Press firmly but not too hard, so the rice stays fluffy.
- For frying, use medium heat to get a nice golden color without burning the outside.
- Don’t crowd the pan—give each ball space to cook evenly.
- Topping with panko before frying adds that extra crunch!
Let them cook for 2-3 minutes on each side, turning carefully with a spatula for even browning. Place them on paper towels after frying to soak up any extra oil. This keeps them crispy!
How to Make Delicious Tuna Rice Balls
Ingredients You’ll Need:
- 2 cups cooked Japanese short-grain rice (sushi rice)
- 1 can (5 oz) tuna in water or oil, drained and flaked
- 2 sheets nori (seaweed), finely chopped or shredded
- 2 tablespoons Japanese mayonnaise (or regular mayo)
- 1 tablespoon soy sauce
- 1 teaspoon toasted sesame oil
- 1/4 teaspoon salt (adjust to taste)
- 1/4 cup panko breadcrumbs
- 1 tablespoon vegetable oil (for frying)
- 1-2 green onions, thinly sliced (for garnish)
How Much Time Will You Need?
This recipe will take about 30 minutes from start to finish. You’ll spend around 10 minutes preparing the ingredients and shaping the rice balls, with an additional 10-15 minutes for frying them to golden perfection. It’s a quick and satisfying snack or appetizer to enjoy!
Step-by-Step Instructions:
1. Mix the Ingredients:
In a large bowl, combine the cooked rice, flaked tuna, chopped nori, mayonnaise, soy sauce, toasted sesame oil, and salt. Gently mix everything together until well combined. The mayo will help the mixture hold together well, making shaping the rice balls easier.
2. Shape the Rice Balls:
To shape the rice balls, wet your hands with a little water to prevent sticking. Scoop about 2 tablespoons of the mixture and press it into a compact ball shape. Repeat this step until you have used up all the rice mixture. You should end up with about 10-12 rice balls.
3. Coat with Panko:
Take the shaped rice balls and lightly roll them in panko breadcrumbs. This step adds a delicious, crispy texture to the outside when cooked.
4. Fry the Rice Balls:
In a non-stick skillet, heat the vegetable oil over medium heat. Once the oil is hot, carefully add the rice balls to the skillet. Cook them for about 2-3 minutes per side, turning occasionally, until they are golden brown and crispy all around. Keep an eye on them, so they don’t burn!
5. Drain and Garnish:
After frying, remove the rice balls from the skillet and place them on paper towels to drain any excess oil. This will help keep them crispy. Finally, garnish with sliced green onions before serving.
6. Serve and Enjoy!
These warm and crispy tuna rice balls are ready to be enjoyed! They can be served as a fun snack, an appetizer for gatherings, or even as part of a meal. They’re packed with delicious flavors and are sure to be a hit!
Can I Use Brown Rice Instead of Sushi Rice?
Yes, you can use brown rice, but keep in mind that it has a different texture and takes longer to cook. Sushi rice is sticky, which helps the balls hold together, while brown rice may not bind as well, so you might need to adjust the cooking method or add a little extra mayonnaise to help with binding.
What Can I Substitute for Tuna?
If you’re looking for alternatives to tuna, you can use canned chicken or chickpeas. For a vegetarian option, try mashing cooked chickpeas with some seasoning and mayonnaise. Just ensure you adjust the flavorings to suit your preferred taste.
Can I Make These Rice Balls in Advance?
Absolutely! You can prepare the rice balls ahead of time and refrigerate them for up to a day. Just make sure to cover them tightly to prevent them from drying out. When ready to eat, you can fry them straight from the fridge, though they may need an extra minute of cooking time.
How Should I Store Leftover Rice Balls?
Store any leftovers in an airtight container in the fridge for up to 3 days. To reheat, you can use a skillet to fry them again for that crispy texture, or microwave them, but be aware that the outer layer may not remain crispy. Enjoy them cold, too, as they’re great at room temperature!