Three vivid layers make these non-alcoholic layered drinks the kind of party glass people stop and look at before they take a sip. The grenadine settles into a deep red base, the lemonade stays bright in the middle, and the blue raspberry layer floats on top long enough to give you that clean, striped look that makes the whole thing feel special. They’re playful without being fussy, and they come together fast enough that you can make a batch of four without breaking a sweat.
The trick is all in density and pace. Cold ingredients help the layers stay put, and pouring each one slowly over the back of a spoon keeps the liquid from punching through the layer below it. Tall clear glasses matter here because the whole point is the color separation; a crowded or opaque glass hides the effect. I also like using ice almost to the top, since the ice gives the liquid something to slide over instead of crashing straight down.
Below, I’ve included the details that keep the layers sharp, plus a few practical variations if you want to swap the top layer, adjust the sweetness, or prep the glasses for a crowd.
The layers stayed separate for the whole party, and the spoon trick made the lemonade and blue raspberry sit perfectly instead of mixing into a mess.
Like these jewel-toned non-alcoholic layered drinks? Save them to Pinterest for the next party when you want a showy mocktail with three clean, colorful layers.
The One Thing That Keeps the Layers from Bleeding Together
Most layered drinks fail for one of two reasons: the liquids aren’t cold enough, or they’re poured too fast. Warm liquid moves more aggressively and blends before it has time to settle, which is why chilling the lemonade and blue raspberry drink is worth the extra minute. Grenadine is naturally heavier and will drop to the bottom on its own, but the middle and top layers need a gentler hand if you want those distinct stripes to hold.
The spoon matters because it slows the stream and spreads the liquid out before it hits the layer below. Hold it close to the surface of the ice, not high up in the glass, so the drink has less distance to fall. If the layers blur a little at the edges, that’s normal; what you’re avoiding is a full mix from top to bottom.
- Cold ingredients — They keep the layers distinct longer. Room-temperature lemonade will work in a pinch, but it won’t stay as clean.
- Ice almost to the top — The ice acts like a landing pad and helps slow the pour. A glass that’s only half full gives the liquid too much room to rush downward.
- Clear tall glasses — The visual effect is the whole point here, and short glasses hide the color bands.
- Slow pouring — This is the difference between a stacked drink and a muddy one. Rush it and the colors will blend before the glass is full.
What Each Layer Is Actually Doing in the Glass
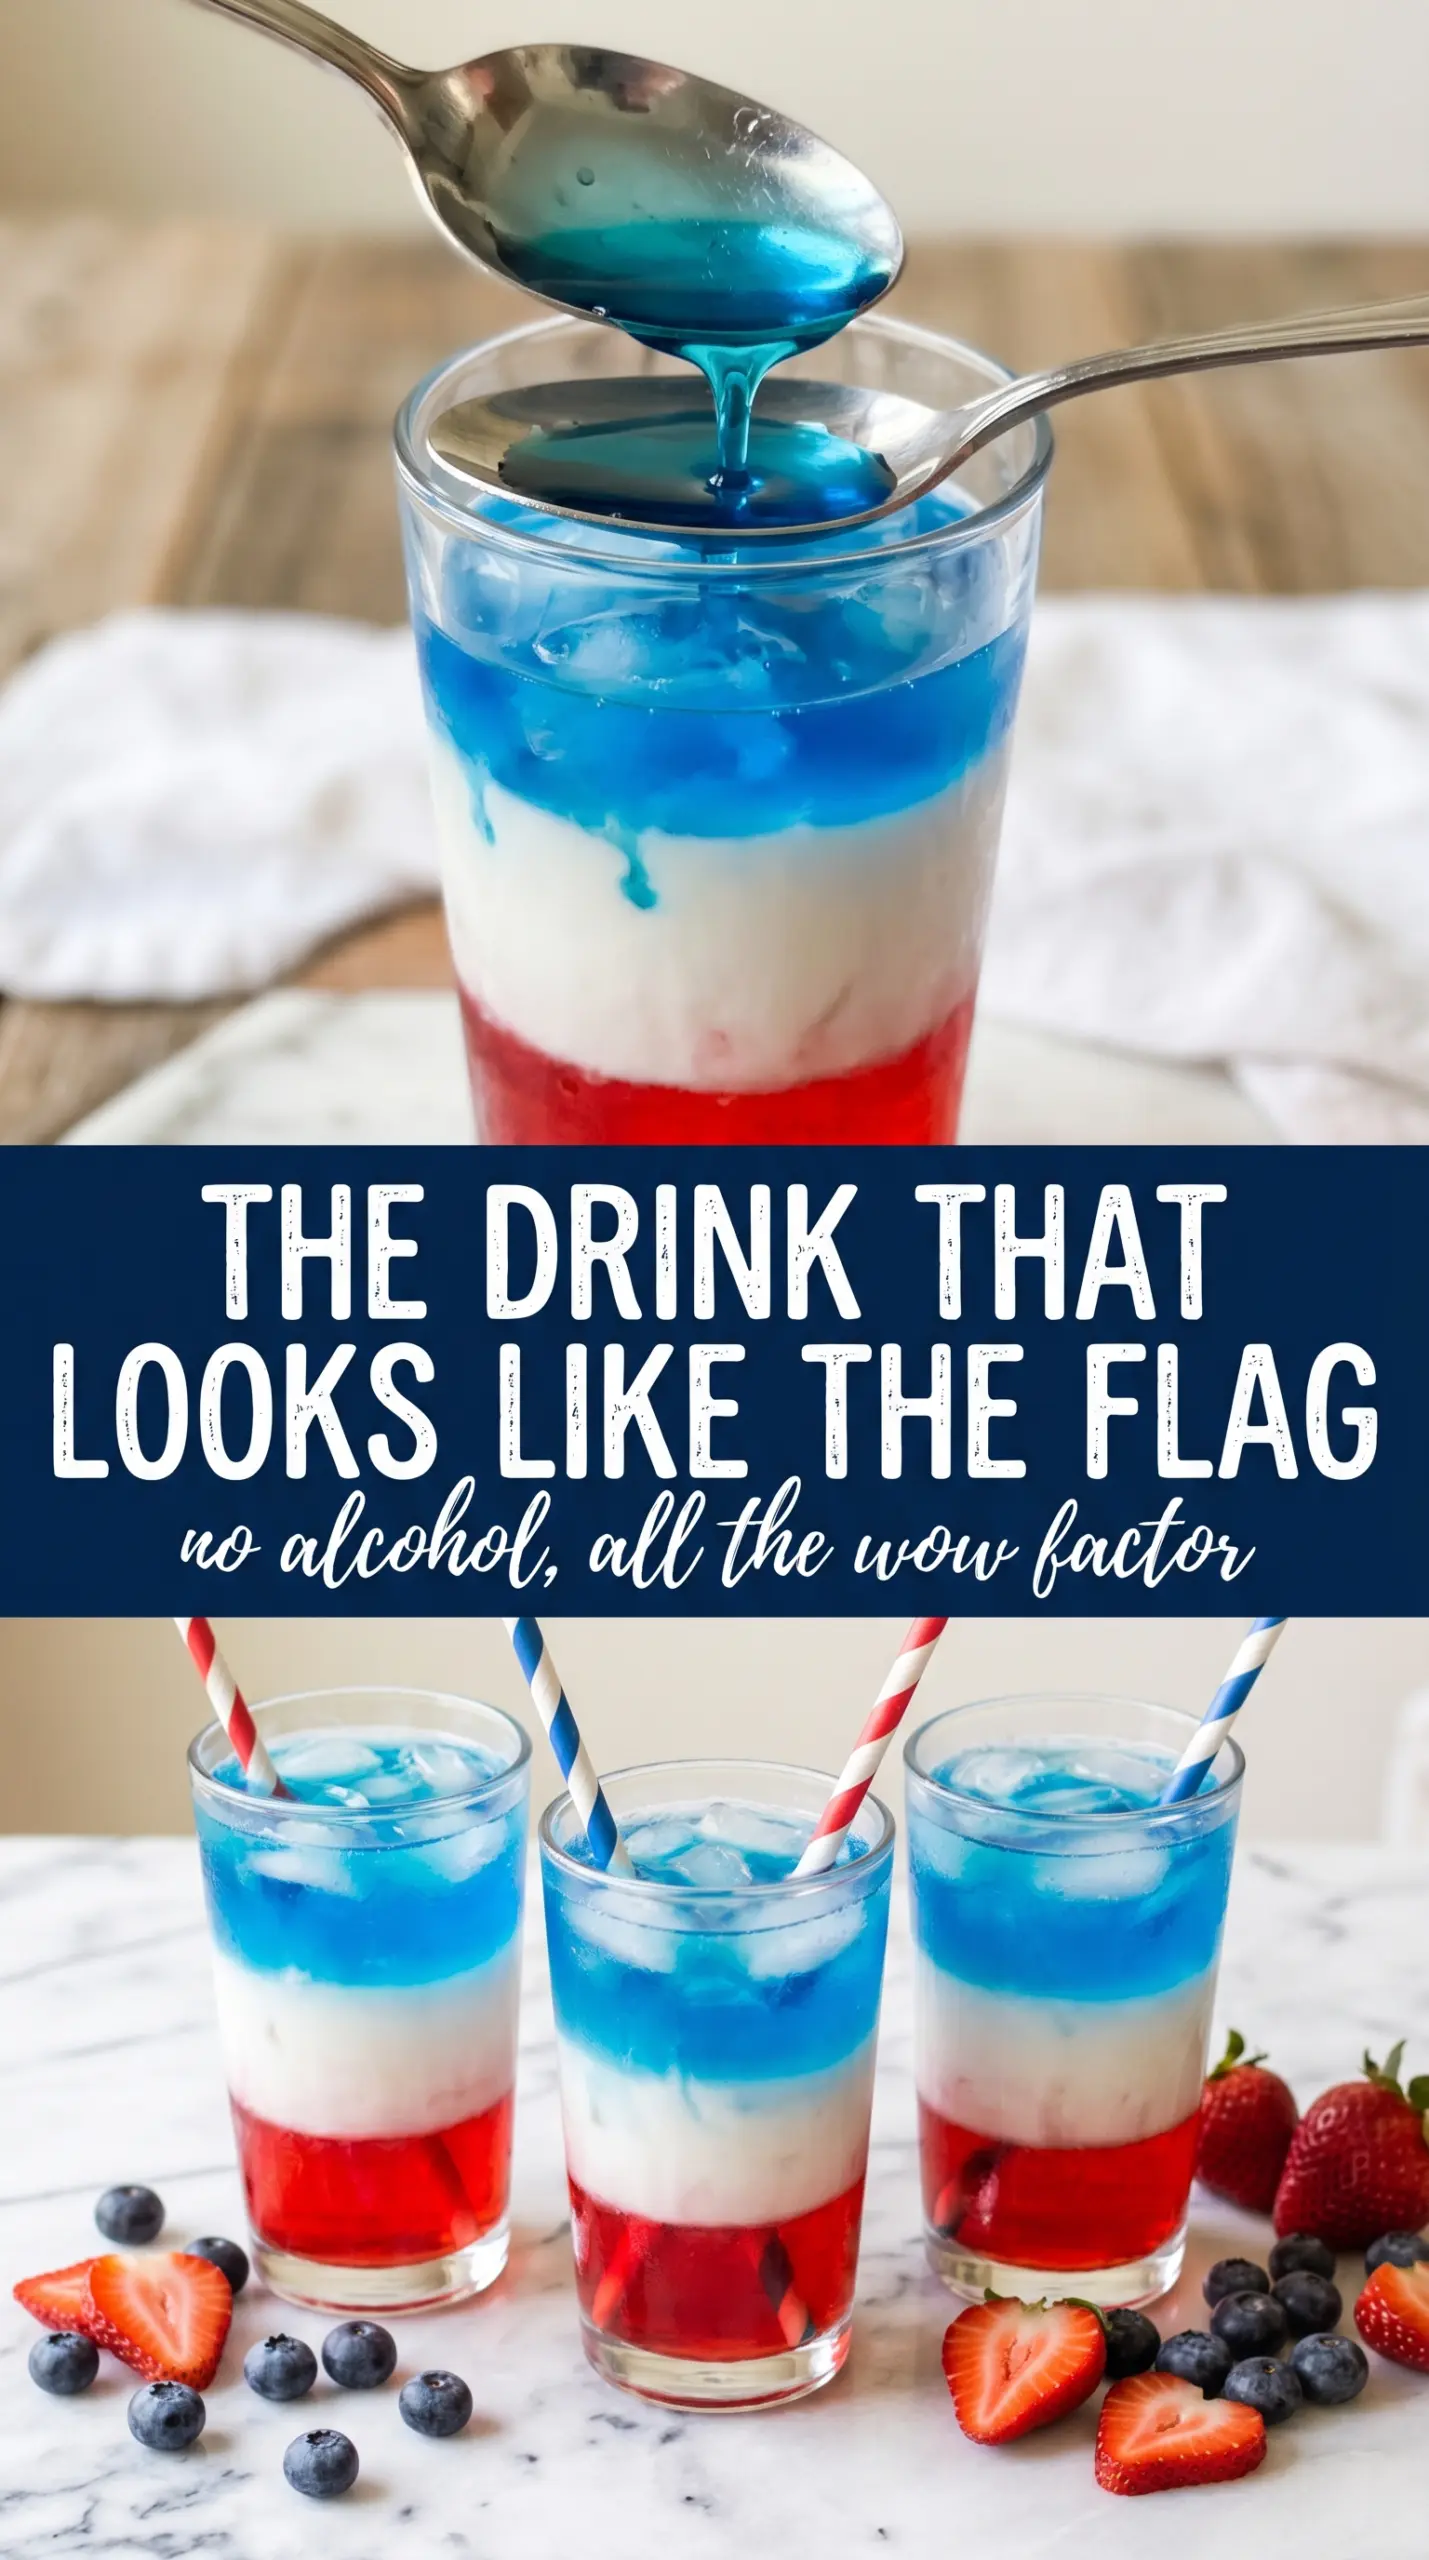
- Grenadine — This is your heaviest layer, so it belongs on the bottom. Use the real syrup here; a thin cherry-flavored substitute won’t give you the same deep red base or the same visual weight.
- Lemonade — This brings the bright middle layer and keeps the drink tasting fresh instead of candy-sweet. Bottled lemonade is fine as long as it’s well chilled and not overly pulpy.
- Blue raspberry sports drink or blue raspberry lemonade — This top layer adds the bold color contrast. Sports drink gives a cleaner, less acidic finish, while blue raspberry lemonade adds more tang and sweetness.
- Ice cubes — The ice helps separate the pours and slows everything down. Crushed ice won’t work as well because the liquid slips through it too quickly.
- Maraschino cherries and striped straws — The garnish doesn’t affect the layering, but it finishes the drink in a way that matches the playful look of the colors.
Pouring Each Layer Without Losing the Color Bands
Start with the Grenadine Base
Fill the glass nearly to the top with ice, then pour the grenadine straight over the ice. It will sink quickly and settle at the bottom without much help, which is exactly what you want. If it sticks to the side of the glass, tilt the glass slightly and let it run down the ice instead of splashing into the center.
Float the Lemonade in the Middle
Set a spoon just above the ice and pour the chilled lemonade slowly over the back of it. The spoon spreads the liquid out so it lands gently on the grenadine instead of drilling through it. If the middle layer starts to blur, stop pouring for a second and let the glass settle before continuing.
Finish with the Blue Raspberry Top
Use the same spoon method for the blue raspberry drink and pour at a slow, steady pace. This layer is usually the easiest to mess up because once the glass is almost full, people tend to speed up. Don’t; a rushed top pour is what knocks the middle layer loose and turns the drink purple at the edges.
Serve the Drink Before the Ice Starts to Drift
Add the cherry and straw right away, then serve immediately without stirring. The layers hold best in the first few minutes, before the ice shifts and starts to disturb the liquid bands. If you need to carry these to a table, move the glasses carefully and keep them level.
How to Adapt These Layered Mocktails for Different Crowds
Make It Less Sweet
Use plain lemonade or lemon seltzer in the middle layer and choose a less sugary blue drink if you can find one. You’ll lose a little of the candy-shop sweetness, but the drink will taste crisper and more refreshing.
Make It Dairy-Free and Gluten-Free Without Thinking About It
This recipe already fits both of those needs as written, which makes it an easy party option for mixed groups. Just check the labels on the grenadine and blue raspberry drink if you’re serving someone with strict dietary concerns, since brand ingredients can vary.
Swap the Blue Layer for a Different Color Theme
If you want a different look, replace the blue raspberry drink with another chilled beverage that has a strong color and a similar sweetness level. The drink will still layer best if you keep the coldest, heaviest syrup at the bottom and pour the lighter liquids slowly over the spoon.
Build a Crowd Batch for a Party Table
You can pre-chill all three liquids and line up the glasses with ice ahead of time, then assemble right before serving. Don’t batch the layers in one pitcher, because the whole point is the stacked look and the colors will blend the second they sit together too long.
Storage and Serving Timing
- Refrigerator: The components can be chilled separately for up to 24 hours, but the layered drink itself should be made right before serving.
- Freezer: Don’t freeze the finished drink. The texture and layering collapse once it thaws, and the ice will dilute the colors unevenly.
- Serving: Assemble the glasses at the last minute and serve immediately. If they sit too long, the ice shifts and the layers begin to blur.
Questions I Get Asked About This Recipe
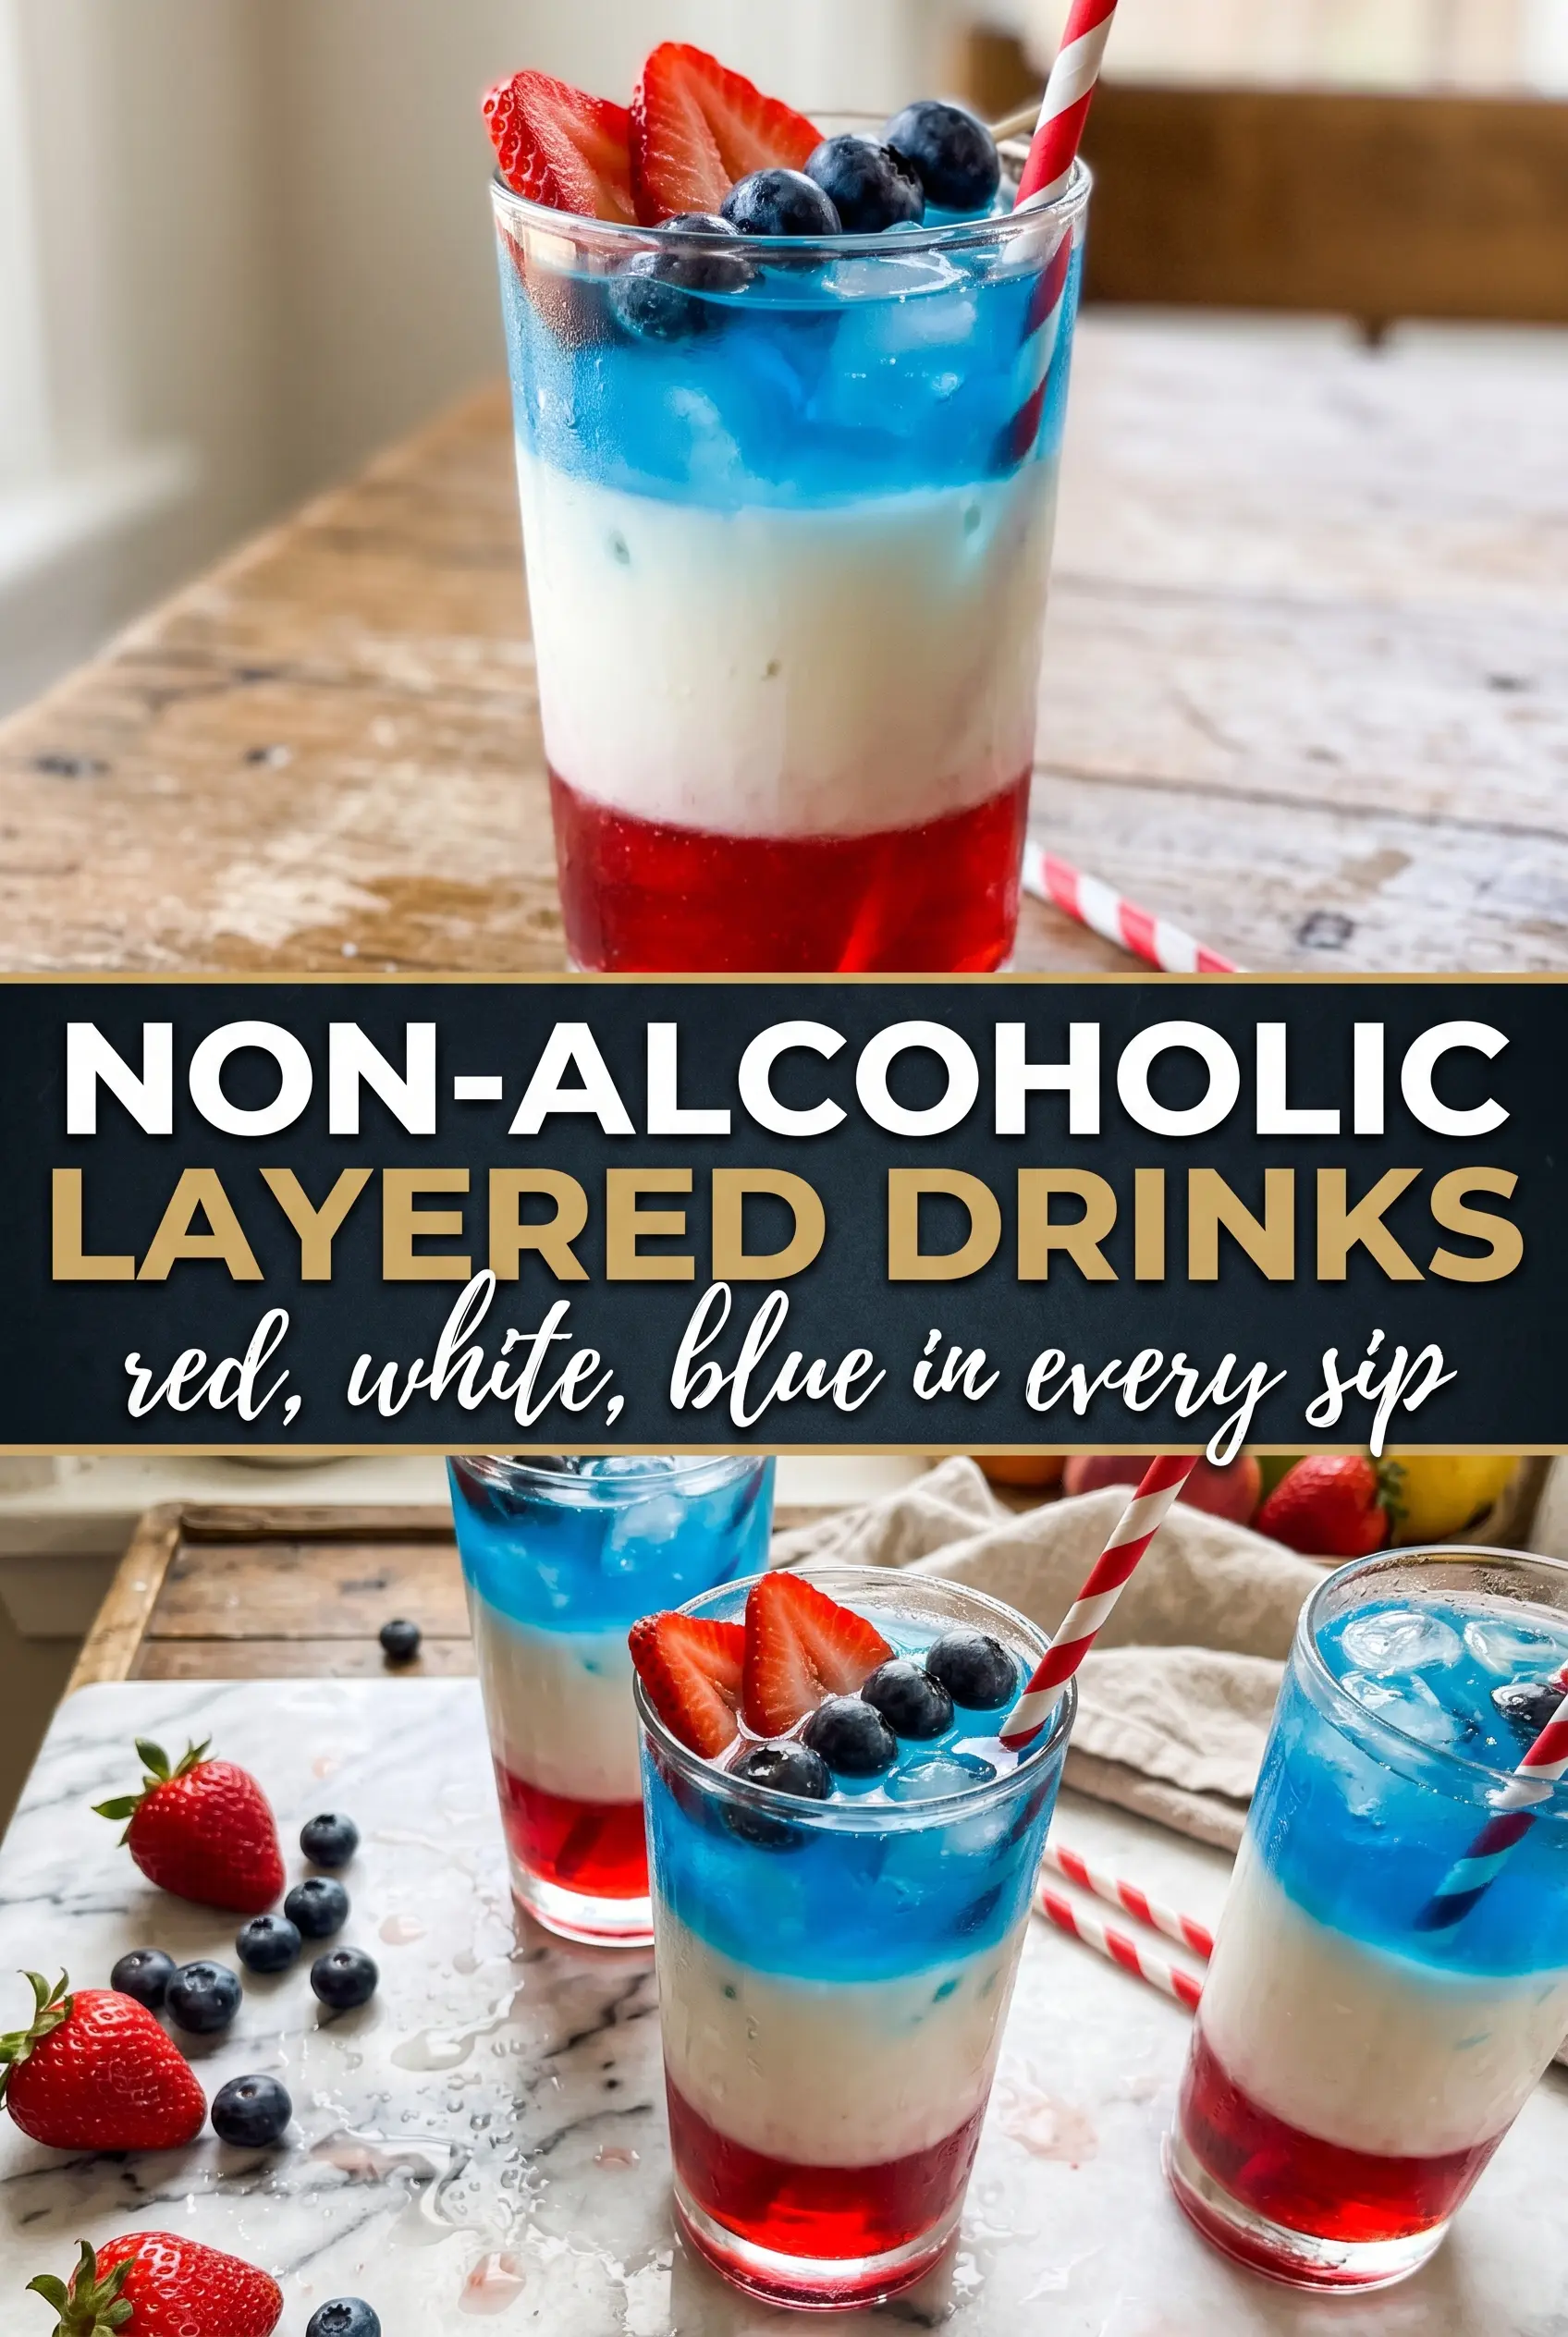
Non-Alcoholic Layered Drinks
Ingredients
Method
- Fill a tall clear glass with ice cubes almost to the top.
- Pour 1/4 cup grenadine syrup slowly over the ice so it sinks to the bottom as the first layer.
- Hold a spoon back just above the ice and gently pour the 1/2 cup chilled lemonade over it to form a clean middle layer.
- Using the same spoon method, pour the 1/4 cup chilled blue raspberry sports drink over the spoon to float it as the top layer.
- Garnish with a maraschino cherry and a striped straw and serve immediately without stirring.