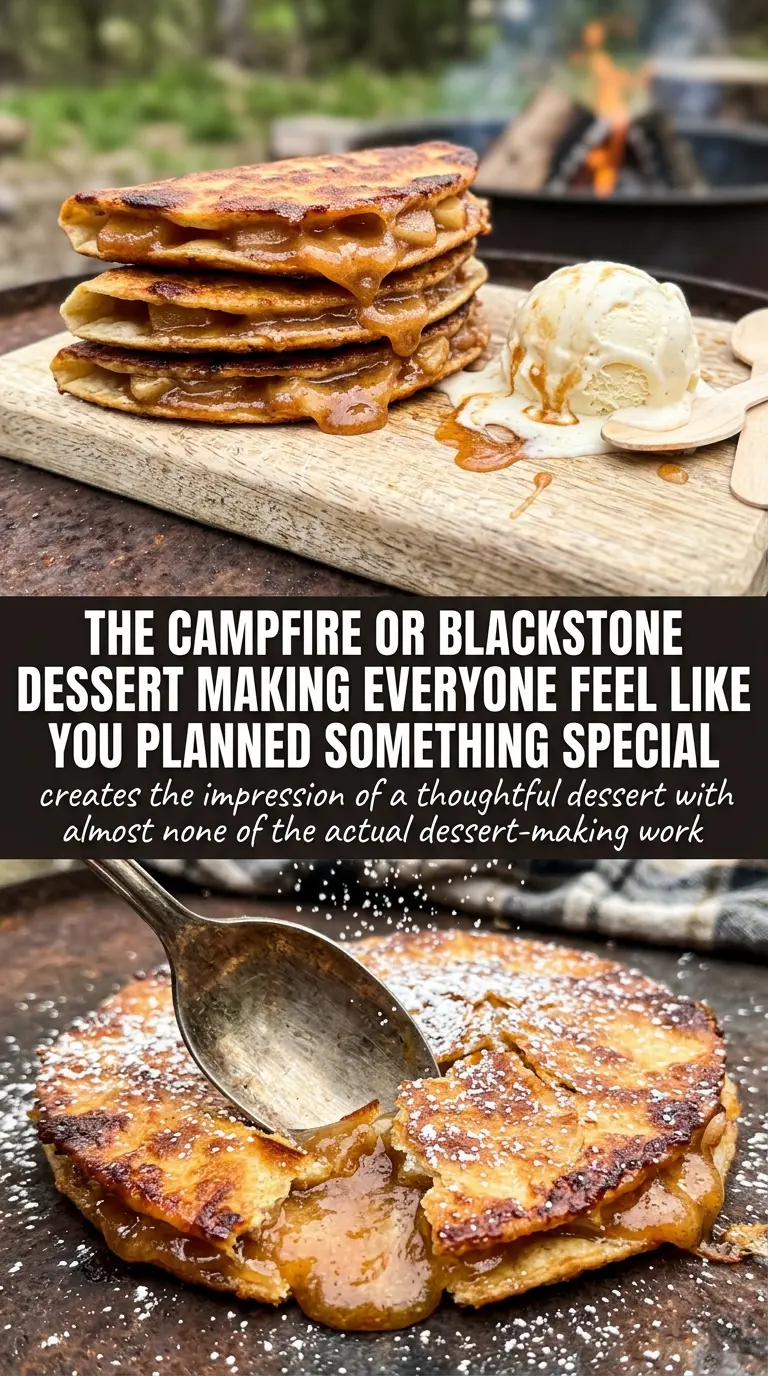
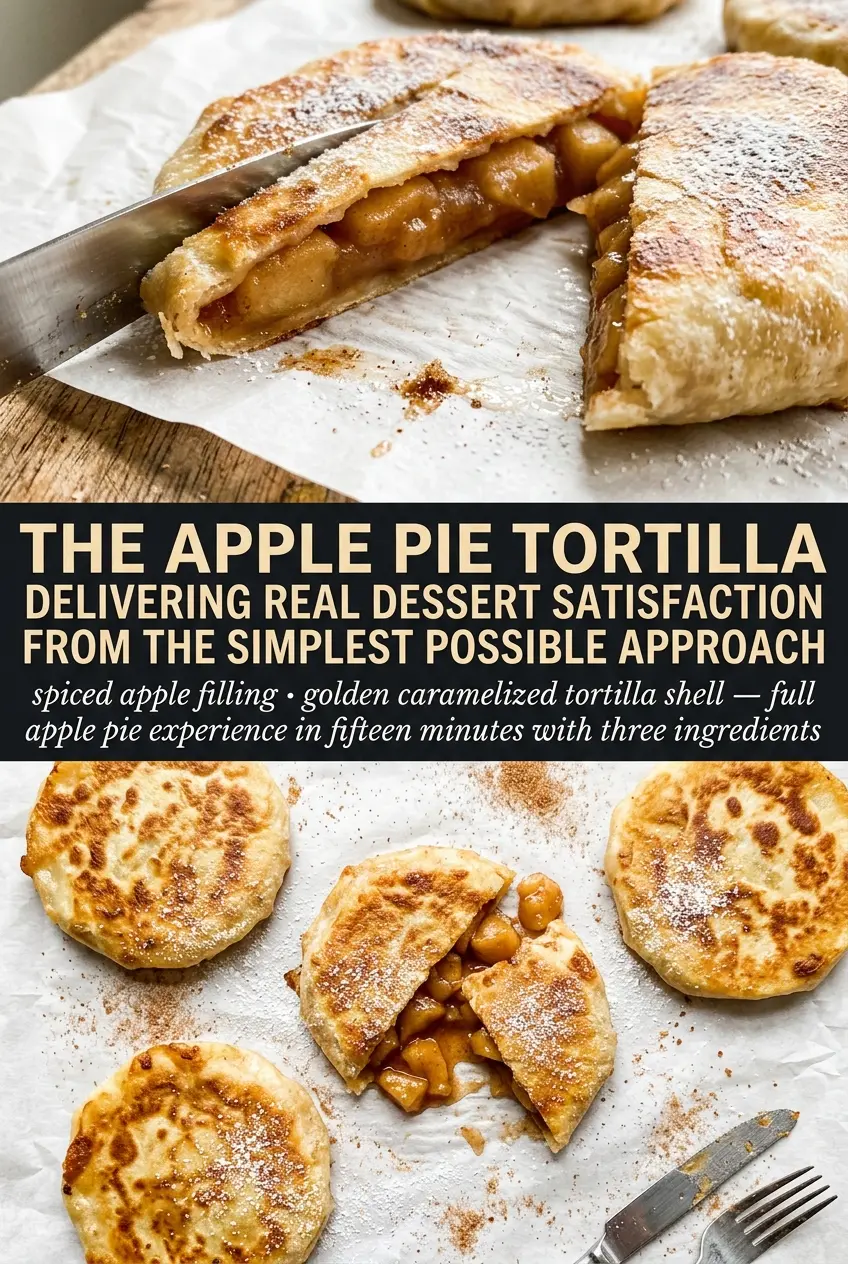
Golden, crisp tortillas wrapped around warm cinnamon apples hit that perfect dessert balance: crunchy on the outside, soft and jammy in the middle, and finished with enough cinnamon sugar to taste like a shortcut apple pie worth repeating. The best part is the contrast. You get the comfort of baked apples without waiting on pie dough, and the skillet does the work of turning an ordinary tortilla into something that crackles when you bite into it.
What makes this version work is the filling. The apples cook just long enough to soften without disappearing, then a quick cornstarch slurry turns the juices glossy instead of watery. That matters because a loose filling will leak into the tortilla and keep it from crisping properly. Rolling them tightly and frying right away keeps the seams sealed and the shell light, not greasy.
Below, I’ll walk through the one part that makes the biggest difference: getting the apples thick enough before they go into the tortilla. I’ve also included a few swaps and storage notes, because this dessert is easy to tweak once you know the basic method.
The apples thickened up perfectly and stayed inside the tortilla instead of running everywhere. I fried them for just a few minutes per side and the cinnamon sugar coating turned crisp before we even got the ice cream out.
Crispy Apple Pie Tortillas are the kind of dessert that disappears fast once the cinnamon sugar hits the hot shell.
The Filling Needs to Be Thick Before It Touches the Tortilla
The biggest mistake with apple pie tortillas is treating the filling like it can stay loose. It can’t. Tortillas crisp fast, but they also pick up moisture fast, and a watery apple mixture will steam the shell from the inside before it has a chance to brown. Cooking the apples first lets you build flavor and drive off excess liquid, and the cornstarch finishes the job by giving the juices body.
You want the apples tender but not collapsed, with a glossy coating that clings to the spoon. If the filling looks soupy in the skillet, it will leak during rolling and the oil will splatter more than it should. Pull it off the heat as soon as the mixture turns thick and jammy; it firms up a little more as it cools.
What the Ingredients Are Doing in These Apple Pie Tortillas
- Apples — Use a firm baking apple if you can, like Granny Smith, Honeycrisp, or a blend. Soft apples turn mushy before the filling thickens, and that makes the tortillas harder to seal cleanly.
- Brown sugar — This gives the filling a deeper caramel note than white sugar and helps the apples release their juices early. Light or dark brown sugar both work, though dark brown sugar adds a little more molasses flavor.
- Butter — Butter carries the cinnamon and nutmeg through the apples and gives the filling a rounder, richer taste. Don’t swap in oil here unless you have to; oil won’t give the same dessert-like finish.
- Cornstarch — This is the key to keeping the filling from running out of the tortillas. Mix it with water first so it disperses smoothly, then stir it into the hot apples and cook just until the filling turns glossy and thick.
- Flour tortillas — Small soft flour tortillas fry up into a crisp shell that’s easy to roll and seal. Corn tortillas won’t give the same pliable, pie-like result here.
- Cinnamon sugar — Coat the tortillas while they’re still hot so the sugar sticks and forms that crackly, bakery-style finish. If the tortillas cool too much, the coating lands in patches instead of clinging evenly.
Rolling, Frying, and Coating Without Losing the Crunch
Cook the Apples Until They Turn Jammy
Melt the butter first, then add the apples, brown sugar, cinnamon, and nutmeg. Cook them over medium heat until the apples soften and the pan smells like spiced pie filling, usually 5 to 7 minutes. If the apples are still crunchy, they’ll stay that way inside the tortilla, so taste one before you thicken the mixture. Stir in the cornstarch slurry and cook just until the juices turn glossy and cling to the fruit.
Roll Tight So the Filling Stays Put
Spoon 2 to 3 tablespoons of filling into each tortilla and keep it centered. Roll them snugly and secure the seam with toothpicks so they don’t unravel in the oil. If you overfill them, the ends split and the filling leaks out before the shell crisps. Let the filling cool for a minute or two if it feels too hot to handle; that makes rolling easier and cleaner.
Fry Fast, Then Coat Immediately
Heat the oil over medium heat until a small corner of tortilla sizzles right away, then fry the rolls 2 to 3 minutes per side until evenly golden. If the oil is too hot, the outside browns before the tortilla has time to crisp through; too cool, and they soak up grease. As soon as they come out, roll them in cinnamon sugar while the surface is still hot enough to grab the coating.
Serve While the Shell Is Still Snappy
These are at their best the moment they’re cooked. The shell stays crisp longer if you drain them briefly on a rack or paper towel before coating, then serve with cold vanilla ice cream so the contrast is immediate. A dusting of powdered sugar looks nice too, but it’s the hot-and-cold bite that makes the whole dessert work.
Three Ways to Adapt Apple Pie Tortillas Without Losing the Point
Dairy-Free Version
Swap the butter for a plant-based butter that melts cleanly and tastes neutral. You’ll lose a little of the classic pie richness, but the filling still thickens the same way and the finished tortillas stay crisp if you fry them promptly.
Oven-Baked Instead of Fried
Brush the rolled tortillas with melted butter or oil and bake them at 400°F until browned and crisp, flipping once. They’ll be a little less shattery than fried tortillas, but you skip the oil and still get a good crunch.
Extra-Spiced Filling
Add a pinch of cloves or cardamom if you want the filling to lean warmer and more aromatic. Go light, because those spices can take over fast and push the apples out of balance.
Storage and Reheating
- Refrigerator: Store leftovers in an airtight container for up to 3 days. The coating softens a bit, but the filling stays good.
- Freezer: Freeze after frying, before coating, if you want the best texture. Reheat from frozen in a hot oven or air fryer, then toss with cinnamon sugar right after warming.
- Reheating: Use a 375°F oven or air fryer until the shells crisp back up. The mistake people make is microwaving them, which turns the tortilla chewy and makes the sugar coating wet.
Questions I Get Asked About This Recipe
Apple Pie Tortillas
Ingredients
Equipment
Method
- Melt butter in a skillet and add diced apples, brown sugar, cinnamon, and nutmeg. Cook for 5-7 minutes, stirring, until the apples are tender and glossy.
- Mix cornstarch with water and add it to the skillet. Cook until the filling thickens and clings to the apples, forming a jammy texture.
- Place 2-3 tablespoons of apple filling in the center of each flour tortilla and roll tightly, securing with toothpicks.
- Heat oil in a skillet over medium heat and fry tortillas for 2-3 minutes per side until golden and crispy. Turn once so both sides crisp evenly.
- Remove tortillas and immediately roll in cinnamon sugar while still hot. Coat thoroughly so the sugar sticks as the tortillas cool.
- Serve the apple pie tortillas warm with vanilla ice cream. Add ice cream right before eating for the best contrast of hot filling and cold scoop.