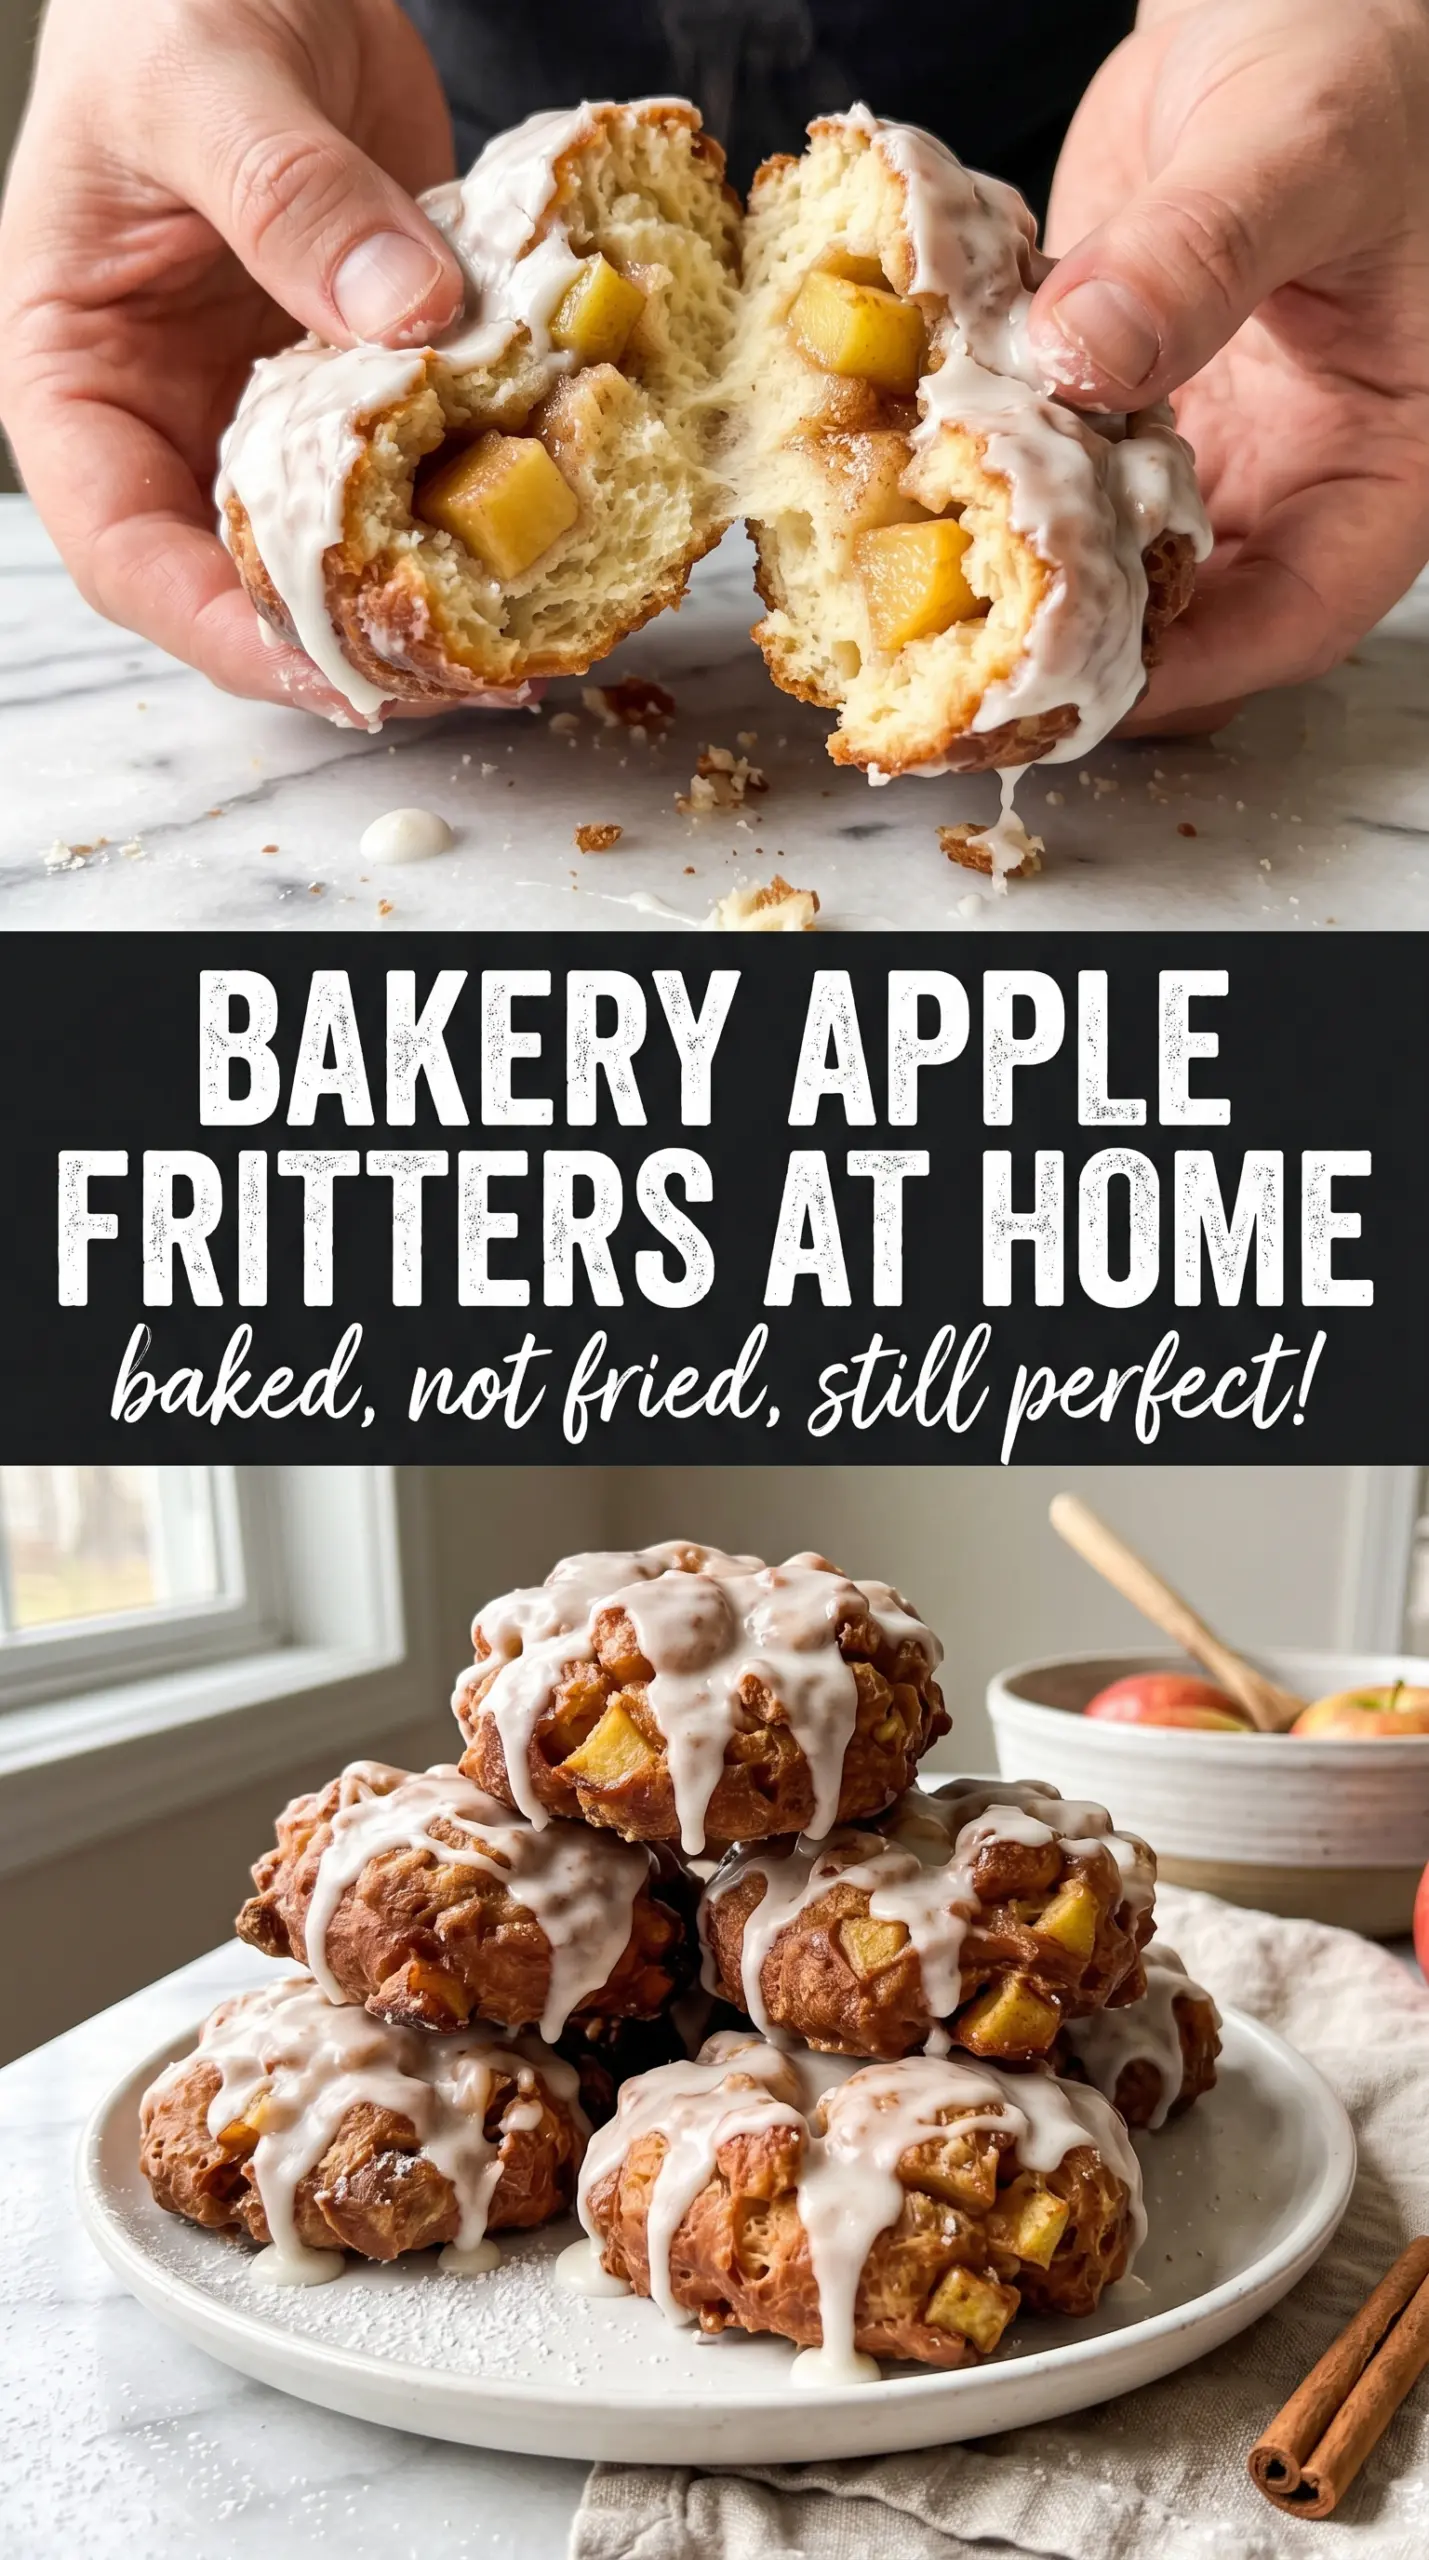
Golden baked apple fritters hit the sweet spot between tender breakfast pastry and warm apple donut. The edges bake up crisp and bronzed, the centers stay soft with little pockets of cinnamon-scented apple, and the glaze sets into that thin, crackly finish that makes the first bite the best bite.
What makes this version work is the balance: enough flour to hold the fritters together, but not so much that they turn bready, plus diced apples instead of grated fruit so you get actual chunks in every bite. The batter is mixed just until combined, which keeps the crumb light, and the apples go in at the end so they don’t break down before they hit the oven.
Below, I’ve included the small details that matter most here — how to keep the fritters from spreading too much, why the glaze should go on while they’re still warm, and a couple of easy swaps if you need to work with what’s in your kitchen.
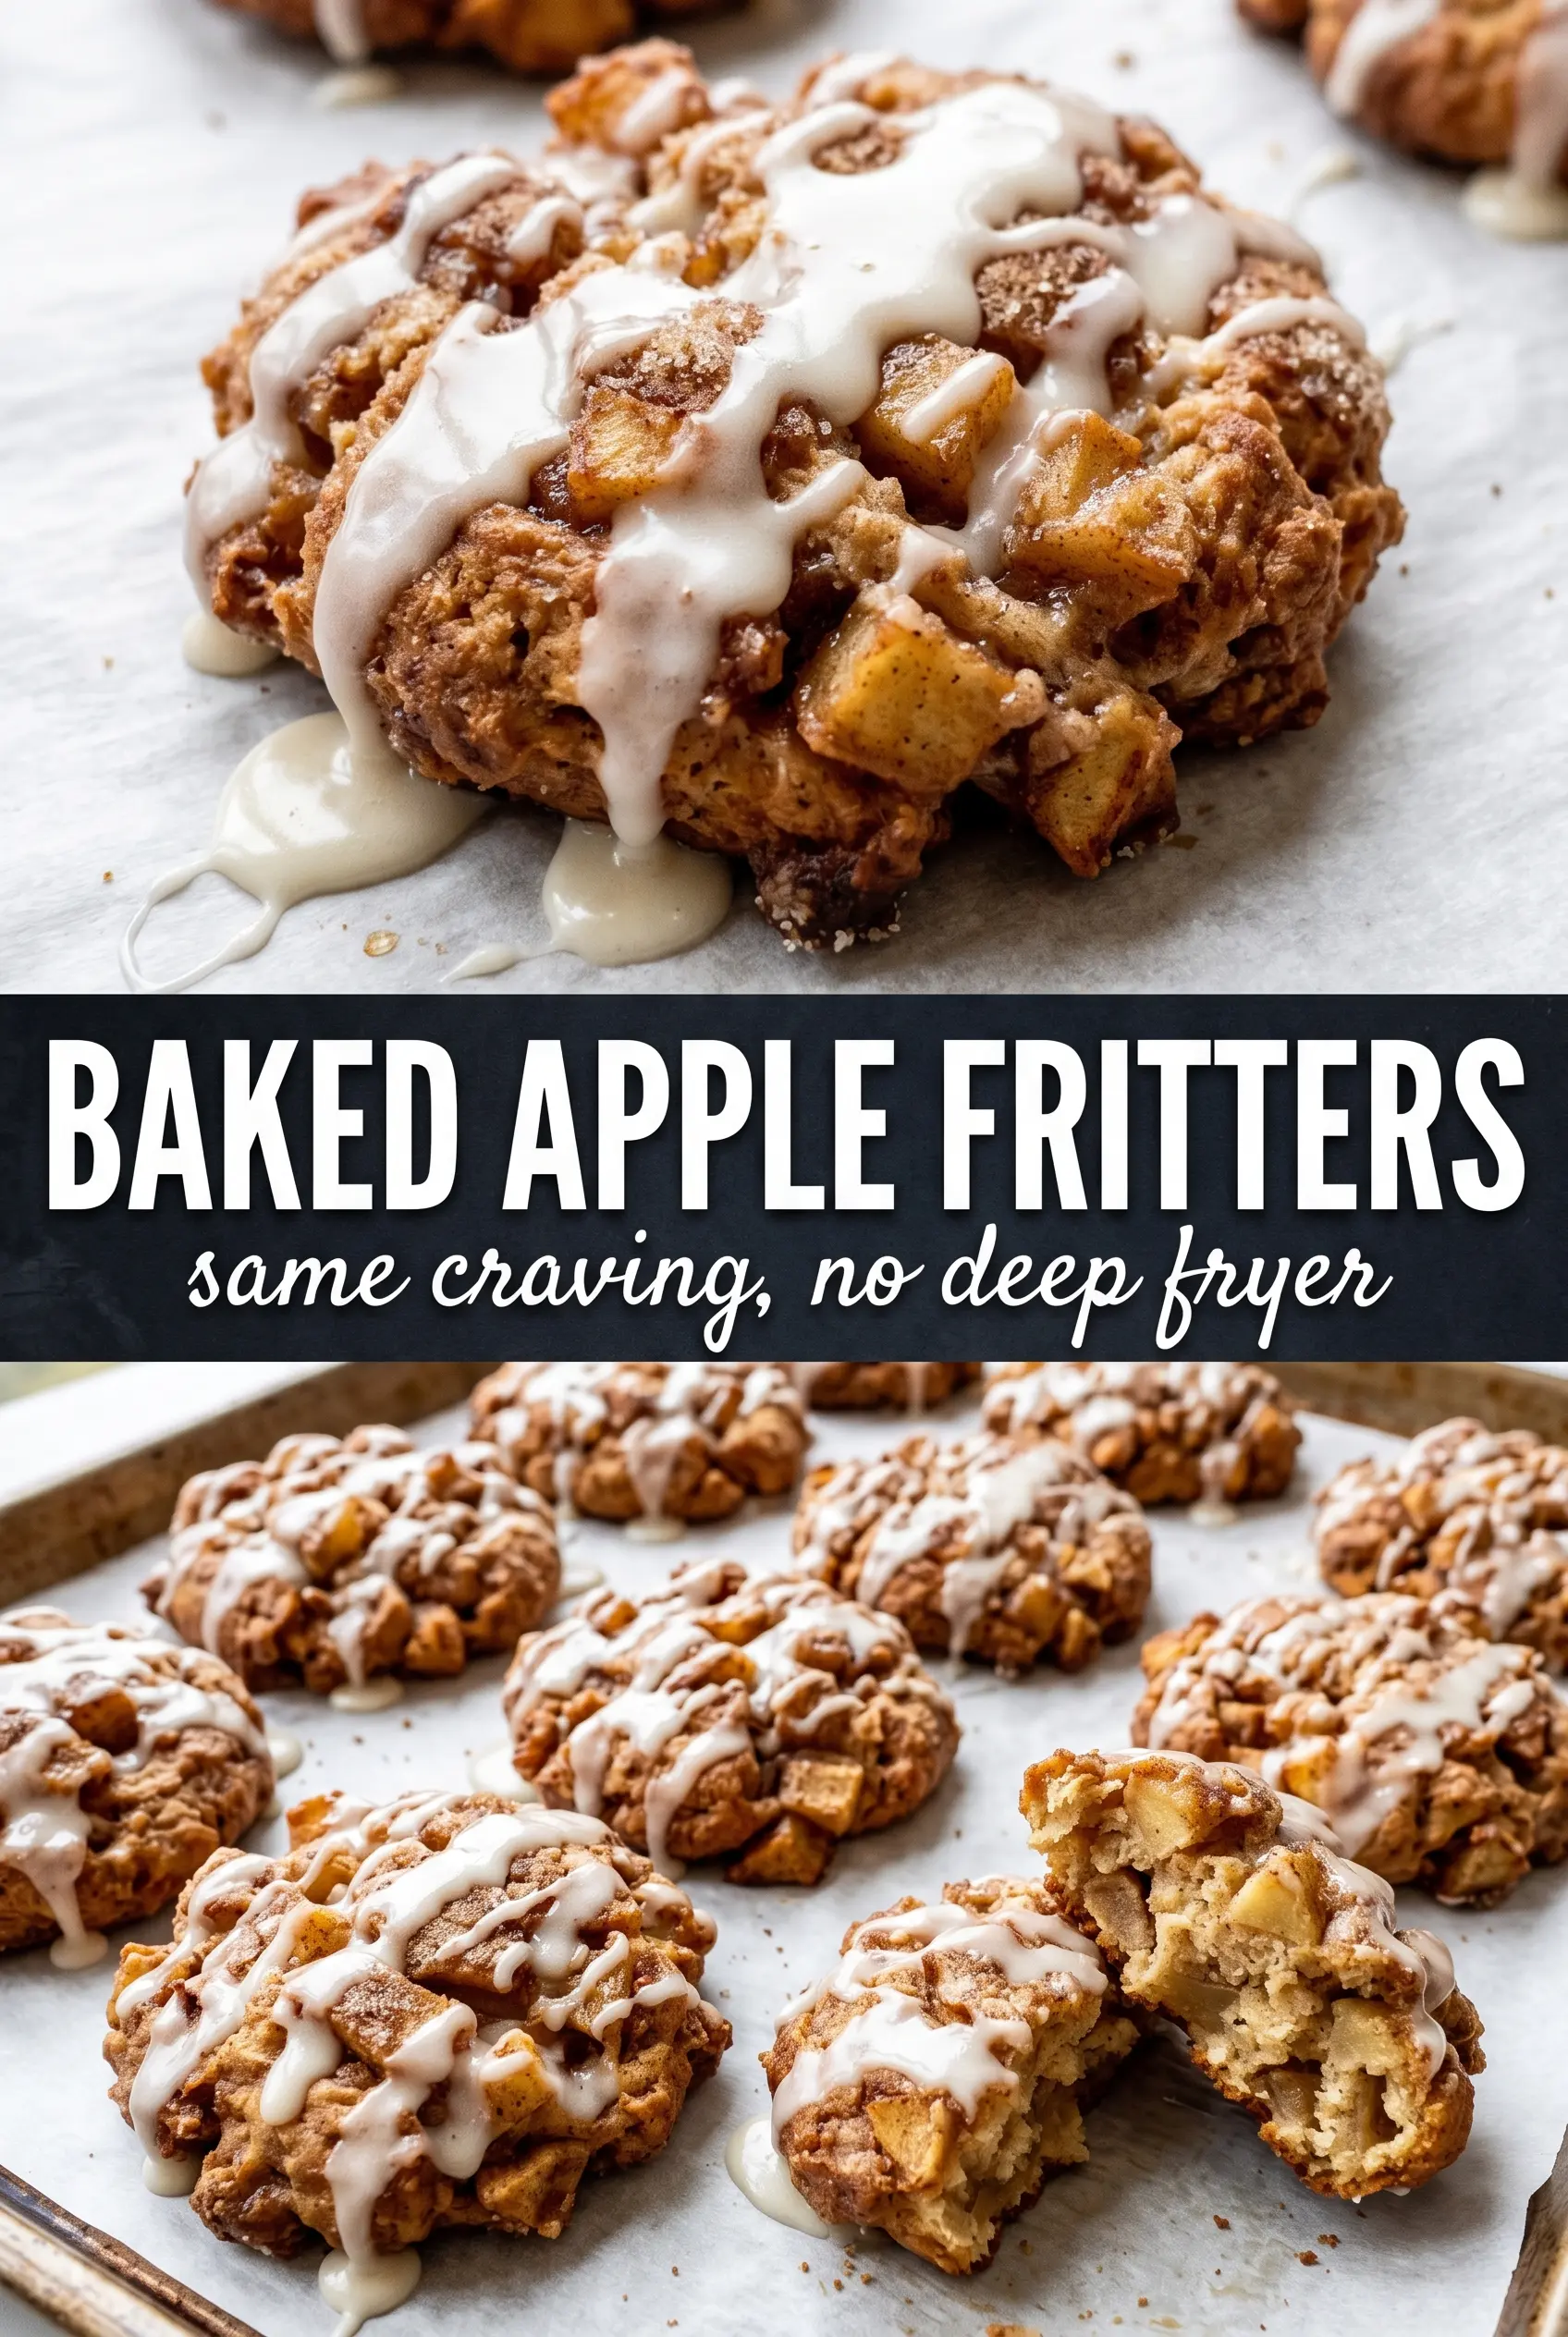
The fritters baked up with crisp edges and stayed fluffy inside, and the glaze set just enough that they didn’t turn soggy after sitting for a few minutes.
Baked Apple Fritters with crisp edges, warm cinnamon apples, and that glossy vanilla glaze
The Reason These Fritters Stay Light Instead of Turning Dense
The biggest mistake with baked fritters is treating them like muffin batter and stirring until everything looks perfectly smooth. That develops the flour and gives you a heavier crumb than you want. Here, the batter should look a little rough, and that’s a good sign. As soon as the wet ingredients disappear into the dry, stop mixing and fold in the apples gently.
The other thing that matters is moisture from the apples. Dice them into small but distinct pieces so they soften in the oven without melting into the batter. If your apples are especially juicy, toss them in a spoonful of flour before folding them in. That helps prevent wet spots and keeps the fritters from baking up gummy in the center.
What Each Ingredient Is Actually Doing in the Batter
- All-purpose flour — This gives the fritters structure without making them heavy. Bread flour would make them chewier and less tender, while cake flour would be too delicate for the apple chunks.
- Baking powder — This is what lifts the batter in the oven and gives the fritters their puffy, donut-like texture. Old baking powder is the fastest way to end up with flat fritters, so check that yours still has some life.
- Whole milk and eggs — These build richness and keep the interior soft. Whole milk matters here because lower-fat milk can make the batter taste thin, and the eggs help the fritters set without drying out.
- Butter — Melted butter adds that bakery-style flavor and a little tenderness. You can swap in neutral oil in a pinch, but you’ll lose the warm, rounded taste that makes these feel like apple fritters instead of plain baked dough.
- Apples — Use a firm apple that holds its shape, like Honeycrisp, Granny Smith, or Pink Lady. Soft apples turn mushy and disappear into the batter, which takes away the best part of the texture.
- Powdered sugar glaze — The glaze is thin enough to spoon over the tops and set into a light shell. Milk makes it creamy, while apple cider gives it a sharper apple note if you want the glaze to taste a little more like fall without leaning on extra spice.
Getting the Batter, Scoop, and Glaze in the Right Order
Mix the Dry Ingredients First
Whisk the flour, baking powder, sugar, cinnamon, nutmeg, and salt together before anything else. That spreads the leavening and spice evenly through the batter, so you don’t end up with one fritter that tastes heavily cinnamon-spiced and another that tastes plain. If the baking powder is clumped, you’ll get uneven rise and little bitter pockets.
Bring the Wet Ingredients in Gently
Beat the eggs, milk, vanilla, and melted butter together, then pour that into the dry ingredients and stir just until you no longer see dry flour. A few streaks are better than overmixing. The batter will look thick, almost scoopable, and that’s exactly what you want for fritters that hold their shape on the pan.
Fold in the Apples Last
Once the batter is mostly combined, fold in the diced apples. Don’t beat them in or the batter starts tightening up and the fruit breaks apart. The goal is even distribution, not a perfectly smooth mixture, and those apple chunks need to stay intact for the baked centers to taste like fritters instead of spice cake.
Bake Until the Edges Set and the Tops Turn Deep Gold
Drop heaping quarter-cup portions onto parchment-lined baking sheets and flatten them slightly so they bake evenly instead of doming too much. They’re done when the tops are golden and the edges look set, usually around 15 to 18 minutes. If they look pale, give them another minute or two; underbaked fritters stay cakey and don’t get that crisp exterior.
Glaze While They’re Warm
Whisk the glaze until completely smooth, then spoon it over the fritters while they’re still warm from the oven. Warm fritters help the glaze cling and settle into that thin, glossy finish instead of sliding off. If you wait until they’re cool, the glaze sits on top like frosting and never quite gives you that classic bakery look.
How to Adapt These for Different Apples, Diets, and Serving Needs
Use Granny Smith for a sharper, less sweet fritter
Granny Smith apples bring a firmer texture and a tart edge that cuts through the glaze. The fritters taste a little brighter and less dessert-like, which works well if you want them closer to a breakfast pastry than a sweet snack.
Make them dairy-free without losing structure
Swap the milk for an unsweetened dairy-free milk and use melted coconut oil or neutral oil in place of the butter. The fritters will still bake up well, but the flavor gets a little less rich, so the vanilla in the glaze matters more.
Glaze with apple cider for a stronger apple finish
Use apple cider instead of milk in the glaze if you want a more pronounced apple note. It adds a little brightness and depth, especially if your apples are sweet rather than tart.
Storage and Reheating
- Refrigerator: Store in an airtight container for up to 3 days. The glaze softens a little, and the outside loses some crispness.
- Freezer: Freeze the unglazed fritters for up to 2 months. Wrap them well and add fresh glaze after reheating for the best texture.
- Reheating: Warm in a 325°F oven for 8 to 10 minutes or until heated through. The mistake to avoid is microwaving them too long, which turns the crumb rubbery and makes the glaze melt away.
Questions I Get Asked About These Baked Apple Fritters
Baked Apple Fritters
Ingredients
Equipment
Method
- Preheat oven to 400°F and line a sheet pan with parchment paper.
- Whisk all-purpose flour, baking powder, sugar, cinnamon, nutmeg, and salt together until evenly combined.
- In another bowl, beat eggs, whole milk, vanilla extract, and melted butter, then stir into dry ingredients just until combined.
- Fold in diced peeled apple until the batter is speckled with apple chunks.
- Drop heaping 1/4-cup scoops onto the sheet pan and flatten slightly so they bake evenly.
- Bake at 400°F for 15–18 minutes until golden and visibly set.
- Whisk powdered sugar, milk or apple cider, vanilla, and a pinch of cinnamon until smooth.
- Spoon glaze over warm fritters and let set for 5 minutes until the drizzle looks glossy and thick.