Banana oatmeal bars bake up chewy in the middle, lightly crisp on top, and sturdy enough to grab with one hand on the way out the door. They taste like something in between baked oatmeal and a soft granola bar, which is exactly why they disappear fast around here.
The trick is getting the banana mixture smooth before the oats go in. If the bananas stay lumpy, the bars bake unevenly and the center can turn gummy. A little almond butter or peanut butter gives the bars enough richness to hold together without needing eggs or flour, and honey or maple syrup keeps the sweetness gentle instead of candy-like.
Below you’ll find the small details that matter here: how firmly to pack the pan, when the center is actually done, and how to slice the bars cleanly so they don’t crumble.
The bars held together beautifully after chilling, and the edges got that light crispness while the middle stayed chewy. I used chocolate chips and my kids kept asking for another slice.
Save these banana oatmeal bars for an easy breakfast bar with a chewy center, crisp edges, and no refined sugar.
The Part That Keeps Banana Bars from Turning Dense and Gummy
Banana bars go wrong when the batter is mixed like quick bread or spooned into the pan loosely. This version works because the bananas are mashed completely smooth and the oats are folded in only after the wet ingredients are fully combined. That keeps the texture even and stops dry pockets of oats from hiding in the middle.
The other big difference is the pan press. These bars need to be packed firmly and evenly so they bake into slices, not a crumbly oat slab. If the top looks rough and loose before baking, it will finish rough and loose after baking. A flat spatula or the bottom of a measuring cup helps here.
What the Bananas, Oats, and Nut Butter Are Each Doing
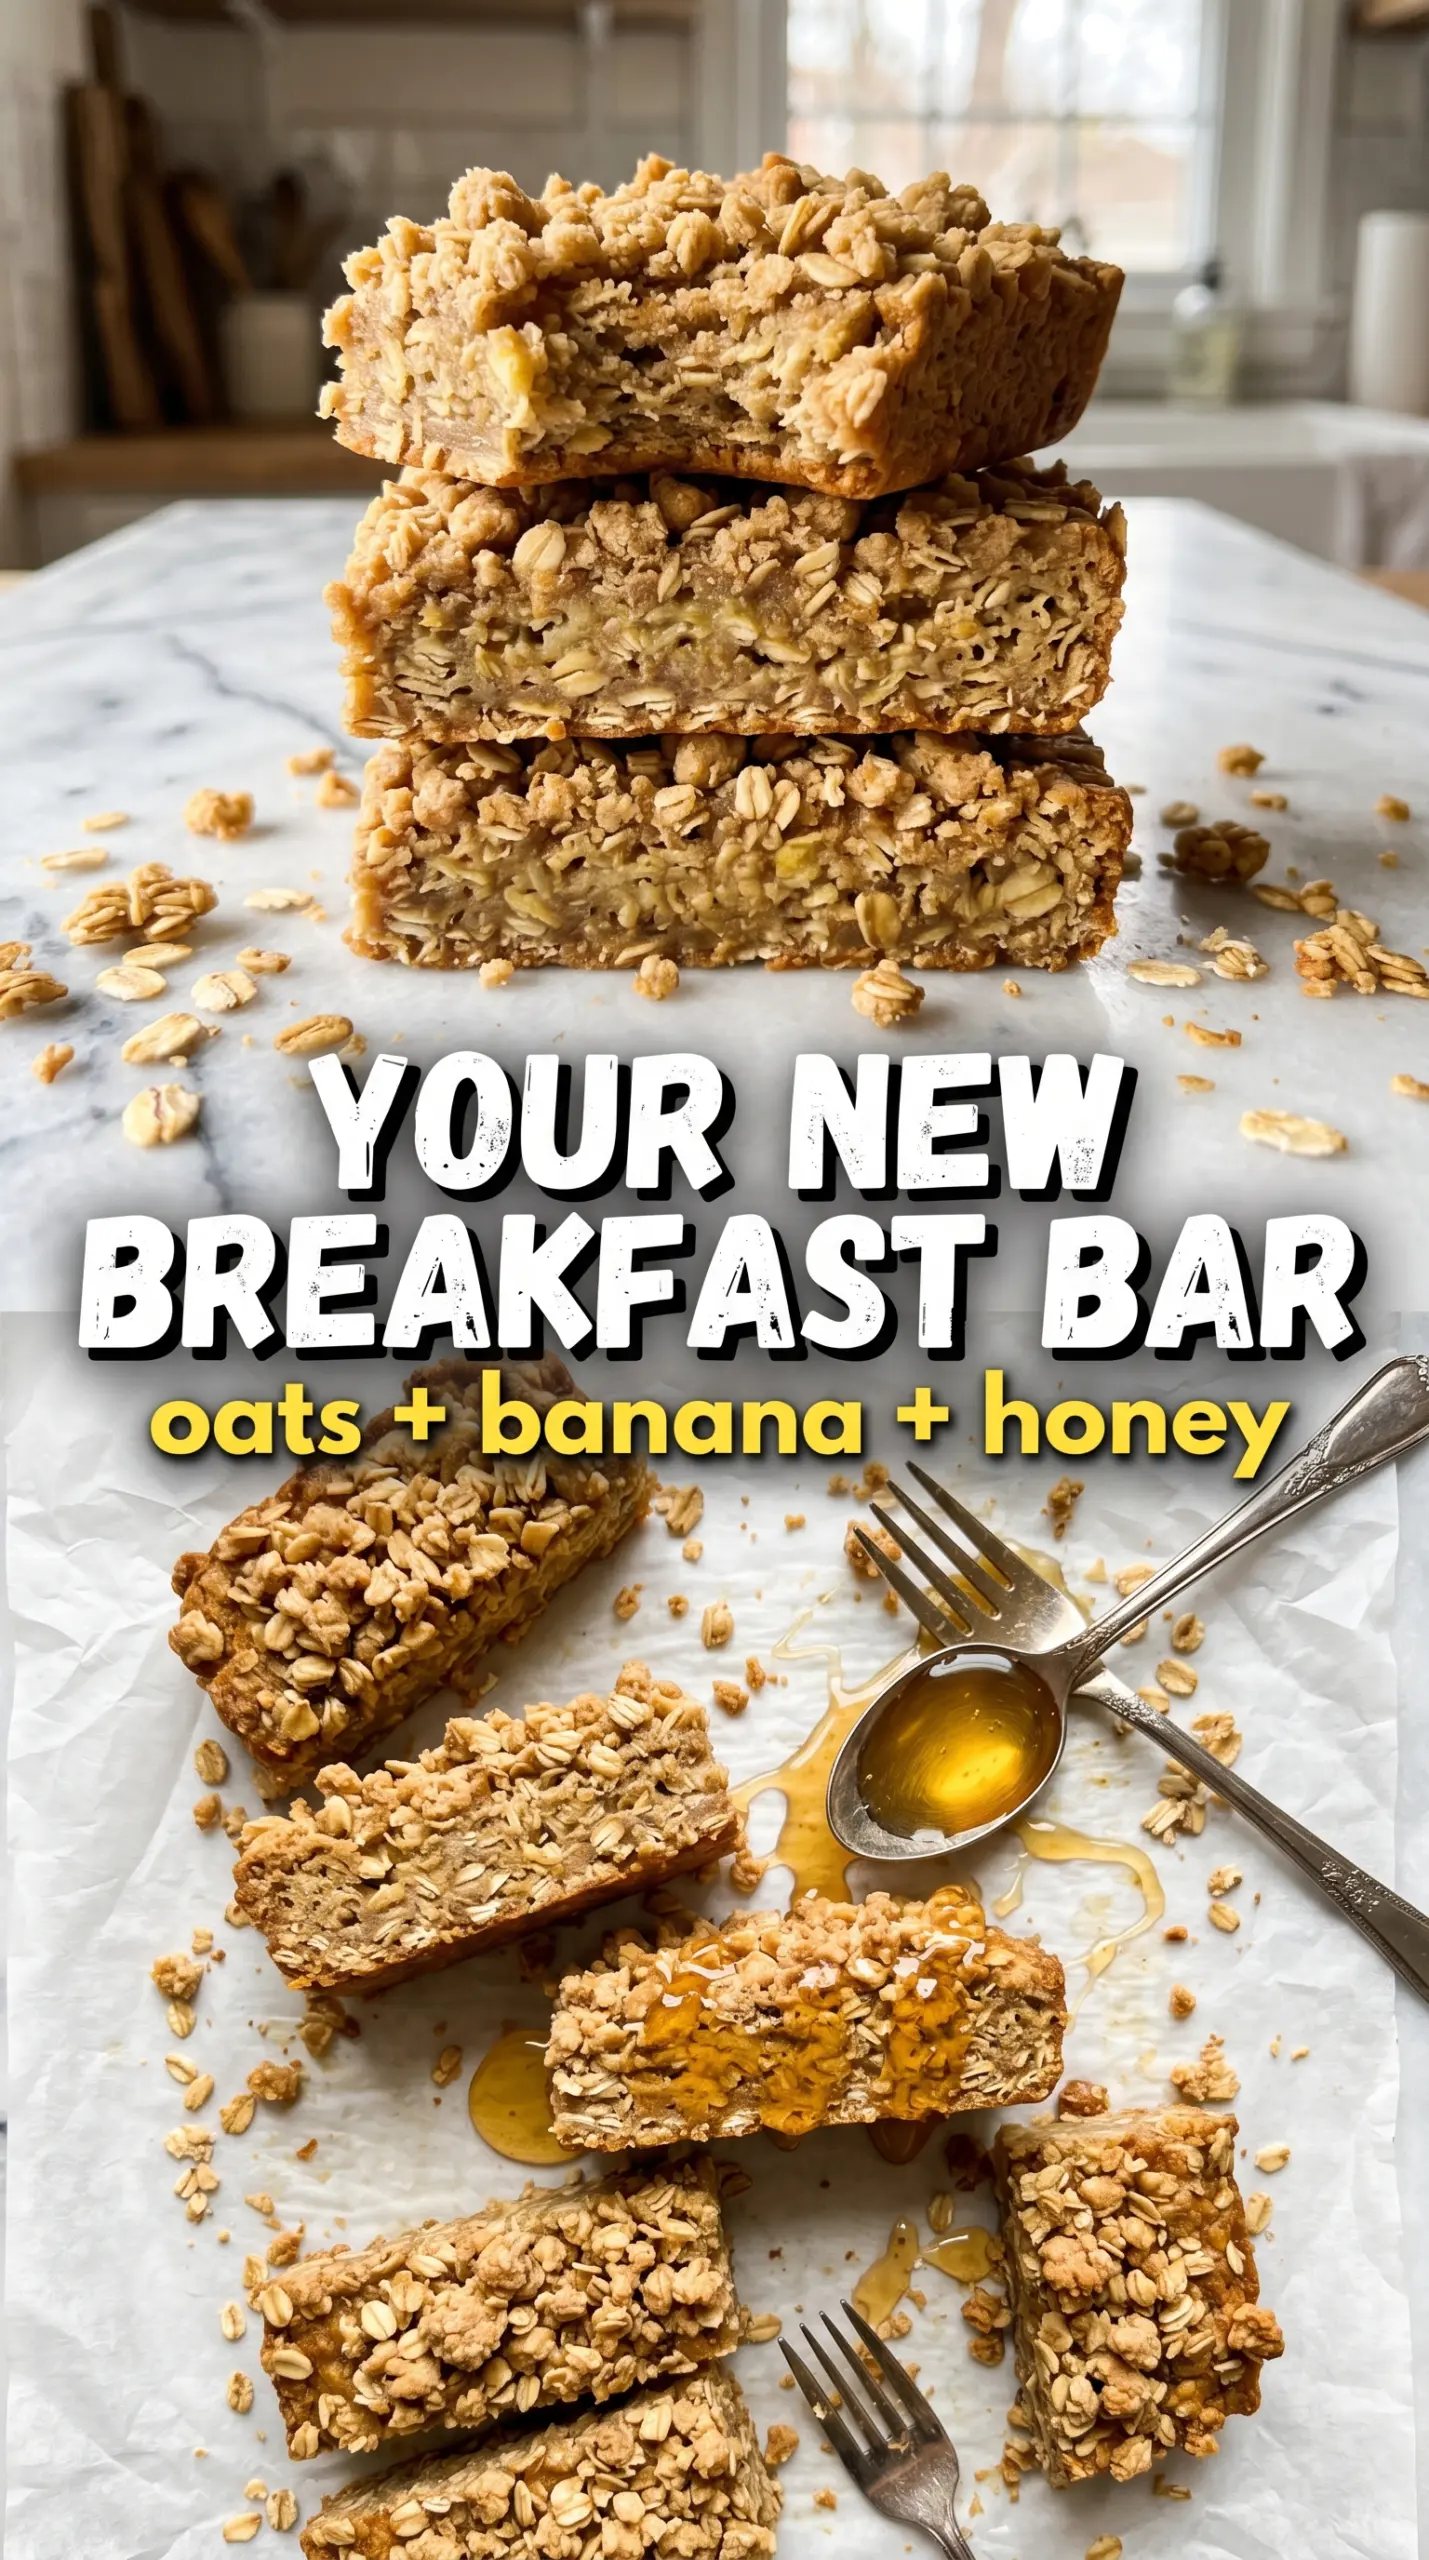
- Bananas — They provide sweetness, moisture, and the soft set that gives these bars their chewy center. Use ripe bananas with plenty of brown spots; underripe bananas won’t mash smoothly or bring enough flavor.
- Rolled oats — Old-fashioned rolled oats give the bars structure and that dense, toasty bite. Quick oats will work in a pinch, but the bars come out softer and less textured.
- Almond butter or peanut butter — This is the glue that helps the bars hold together without eggs or flour. Natural nut butter works fine, but stir it well first if the oil has separated, or the batter can turn greasy in spots.
- Honey or maple syrup — You only need a little. It rounds out the bananas and helps the tops brown, but the bars don’t depend on it for structure.
- Chocolate chips, cranberries, or raisins — These are the payoff bites. Chocolate chips give the most kid-friendly version, while dried fruit leans a little more breakfast-bar and travels better in a lunchbox.
Press, Bake, Cool: The Three Moves That Matter Here
Mix the Wet Base Until It Looks Uniform
Start by mashing the bananas until there are no big pieces left. Stir in the nut butter, honey or maple syrup, vanilla, cinnamon, and salt until the mixture looks glossy and even. If the nut butter stays streaky, the bars can bake with uneven pockets that taste oily in one bite and bland in the next.
Fold in the Oats Without Overworking Them
Add the oats and mix just until everything is coated. The batter should look thick and scoopable, not runny, and every oat should look lightly moistened. Fold in the chocolate chips, cranberries, or raisins at the very end so they don’t get smashed and streak the batter.
Pack the Pan Like You Mean It
Scrape the mixture into the lined 8×8 pan and press it down hard and evenly. Pay attention to the corners and edges; loose corners bake up dry and crumbly before the center sets. Bake until the edges are golden and the middle looks set, not wet. If the top browns before the center is firm, the pan was probably too shallowly packed or the bars were baked too hot.
Cool Completely Before You Slice
Let the bars cool all the way in the pan, then refrigerate them for the cleanest cuts. Warm bars are fragile and will fall apart under a knife. Once chilled, slice straight down with a sharp knife and wipe the blade between cuts if the chocolate chips smear.
How to Change These Bars Without Losing the Chewy Center
Chocolate chip breakfast bars
Use all chocolate chips and skip the dried fruit. The bars taste closer to a dessert-like snack, and the melted chips help make the center feel richer. If you want the chips to stay more distinct, let the mixture sit for 5 minutes before baking so the oats absorb a little moisture first.
Dairy-free, gluten-free version
These bars are already dairy-free if your chocolate chips are dairy-free, and they stay gluten-free as long as you use certified gluten-free oats. That certification matters if you’re serving someone with celiac disease, since regular oats are often cross-contaminated during processing.
No nut butter version
Use sunflower seed butter in place of almond butter or peanut butter. The flavor turns a little earthier, and the bars may darken slightly from the seeds, but the texture stays dependable. Just stir the seed butter well first so the oil and solids are fully combined.
Storage and Reheating
- Refrigerator: Store in an airtight container for up to 5 days. The bars firm up as they chill, which makes them even better for grab-and-go breakfasts.
- Freezer: Freeze sliced bars in a single layer until solid, then move them to a freezer bag for up to 2 months. Separate layers with parchment so they don’t stick together.
- Reheating: Eat them cold, or warm one bar in the microwave for 10 to 15 seconds. Don’t overheat them or the center turns soft and the chocolate chips melt into the crumb.
Answers to the Questions Worth Asking
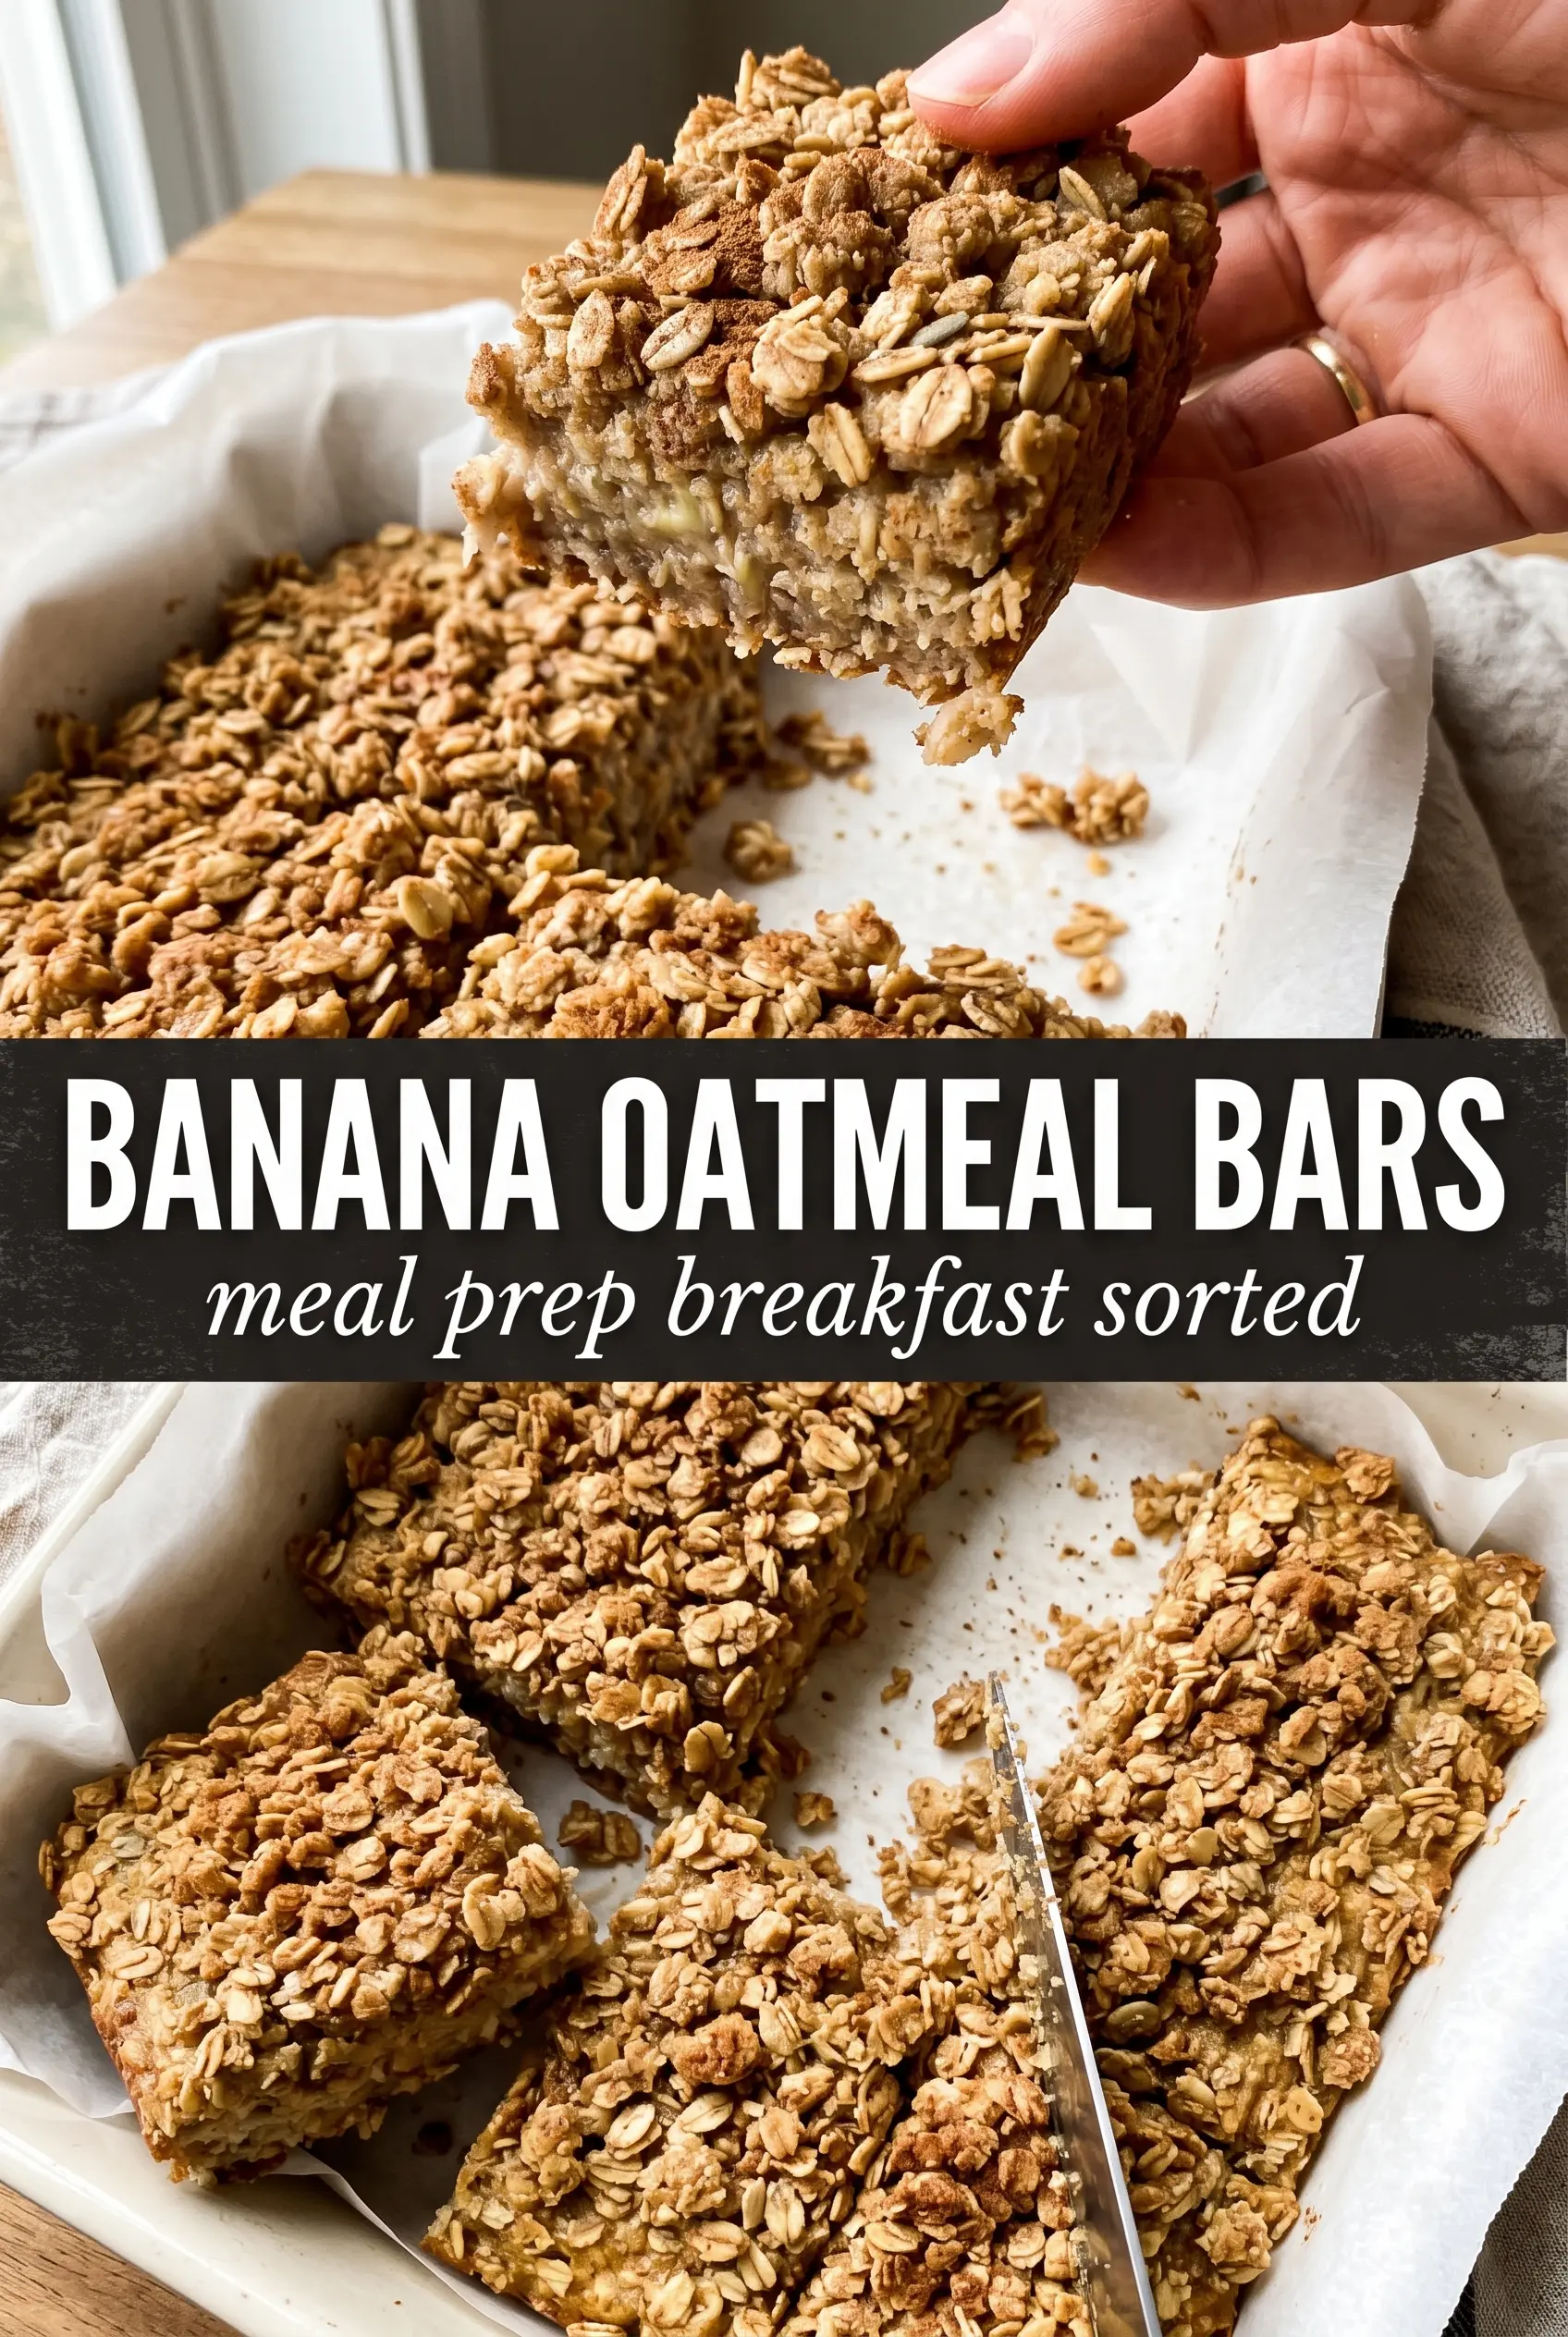
Banana Oatmeal Bars
Ingredients
Equipment
Method
- Preheat oven to 350°F and line an 8x8 pan with parchment paper, leaving overhang for easy lifting.
- Mash ripe bananas until completely smooth.
- Stir in almond butter, honey or maple syrup, vanilla extract, cinnamon, and salt until the mixture looks glossy and uniform.
- Fold in rolled oats until fully combined.
- Fold in chocolate chips, dried cranberries, or raisins until evenly distributed.
- Press the mixture firmly and evenly into the prepared pan so the bars hold together.
- Bake for 22–25 minutes, until golden at the edges and set in the center.
- Cool completely before slicing into bars for the cleanest rectangles.
- Refrigerate for cleaner cuts before serving or storing.