Banana oatmeal bars bake up soft, chewy, and sturdy enough to grab on the way out the door, with golden edges and a center that stays tender instead of turning dry and crumbly. They taste like a cross between baked oatmeal and a snack bar, which is exactly why they disappear fast from the counter and the lunch box.
The trick is using bananas that are fully ripe and mashing them until smooth so they blend evenly into the oats. Honey or maple syrup adds just enough sweetness, while peanut butter or almond butter gives the bars enough body to slice cleanly once they cool. If you skip the cooling time, the bars will seem too soft at first and then fall apart when you cut them.
Below, I’ve included the small details that matter most, from choosing add-ins that don’t throw off the texture to the best way to store them for the next few days. These are the little things that turn a simple batch of oats and bananas into a recipe you’ll keep making.
The bars set up beautifully once they cooled, and the chocolate chips stayed tucked in instead of sinking. I used maple syrup and almond butter, and they sliced cleanly after about an hour.
Save these banana oatmeal bars for a quick breakfast bar that bakes up chewy, sliceable, and naturally sweet.
The Part That Keeps Banana Oatmeal Bars from Turning Mushy
The biggest mistake with banana oatmeal bars is using bananas that are ripe but still firm enough to need a lot of mashing. You want them soft, spotty, and almost jammy, because they need to disappear into the oats instead of leaving little wet pockets in the bars. If the banana mixture isn’t smooth, the bars bake unevenly and the middle can stay loose while the edges overbake.
The other thing that matters here is balance. Banana brings moisture, oats bring structure, and nut butter gives the bars enough fat to hold together after baking. That’s why this recipe works without flour or eggs, but it also means the mixture should look thick and spreadable, not pourable. If it seems loose in the bowl, it probably needs a few more spoonfuls of oats, especially if your bananas were large.
What Each Ingredient Is Doing in These Bars
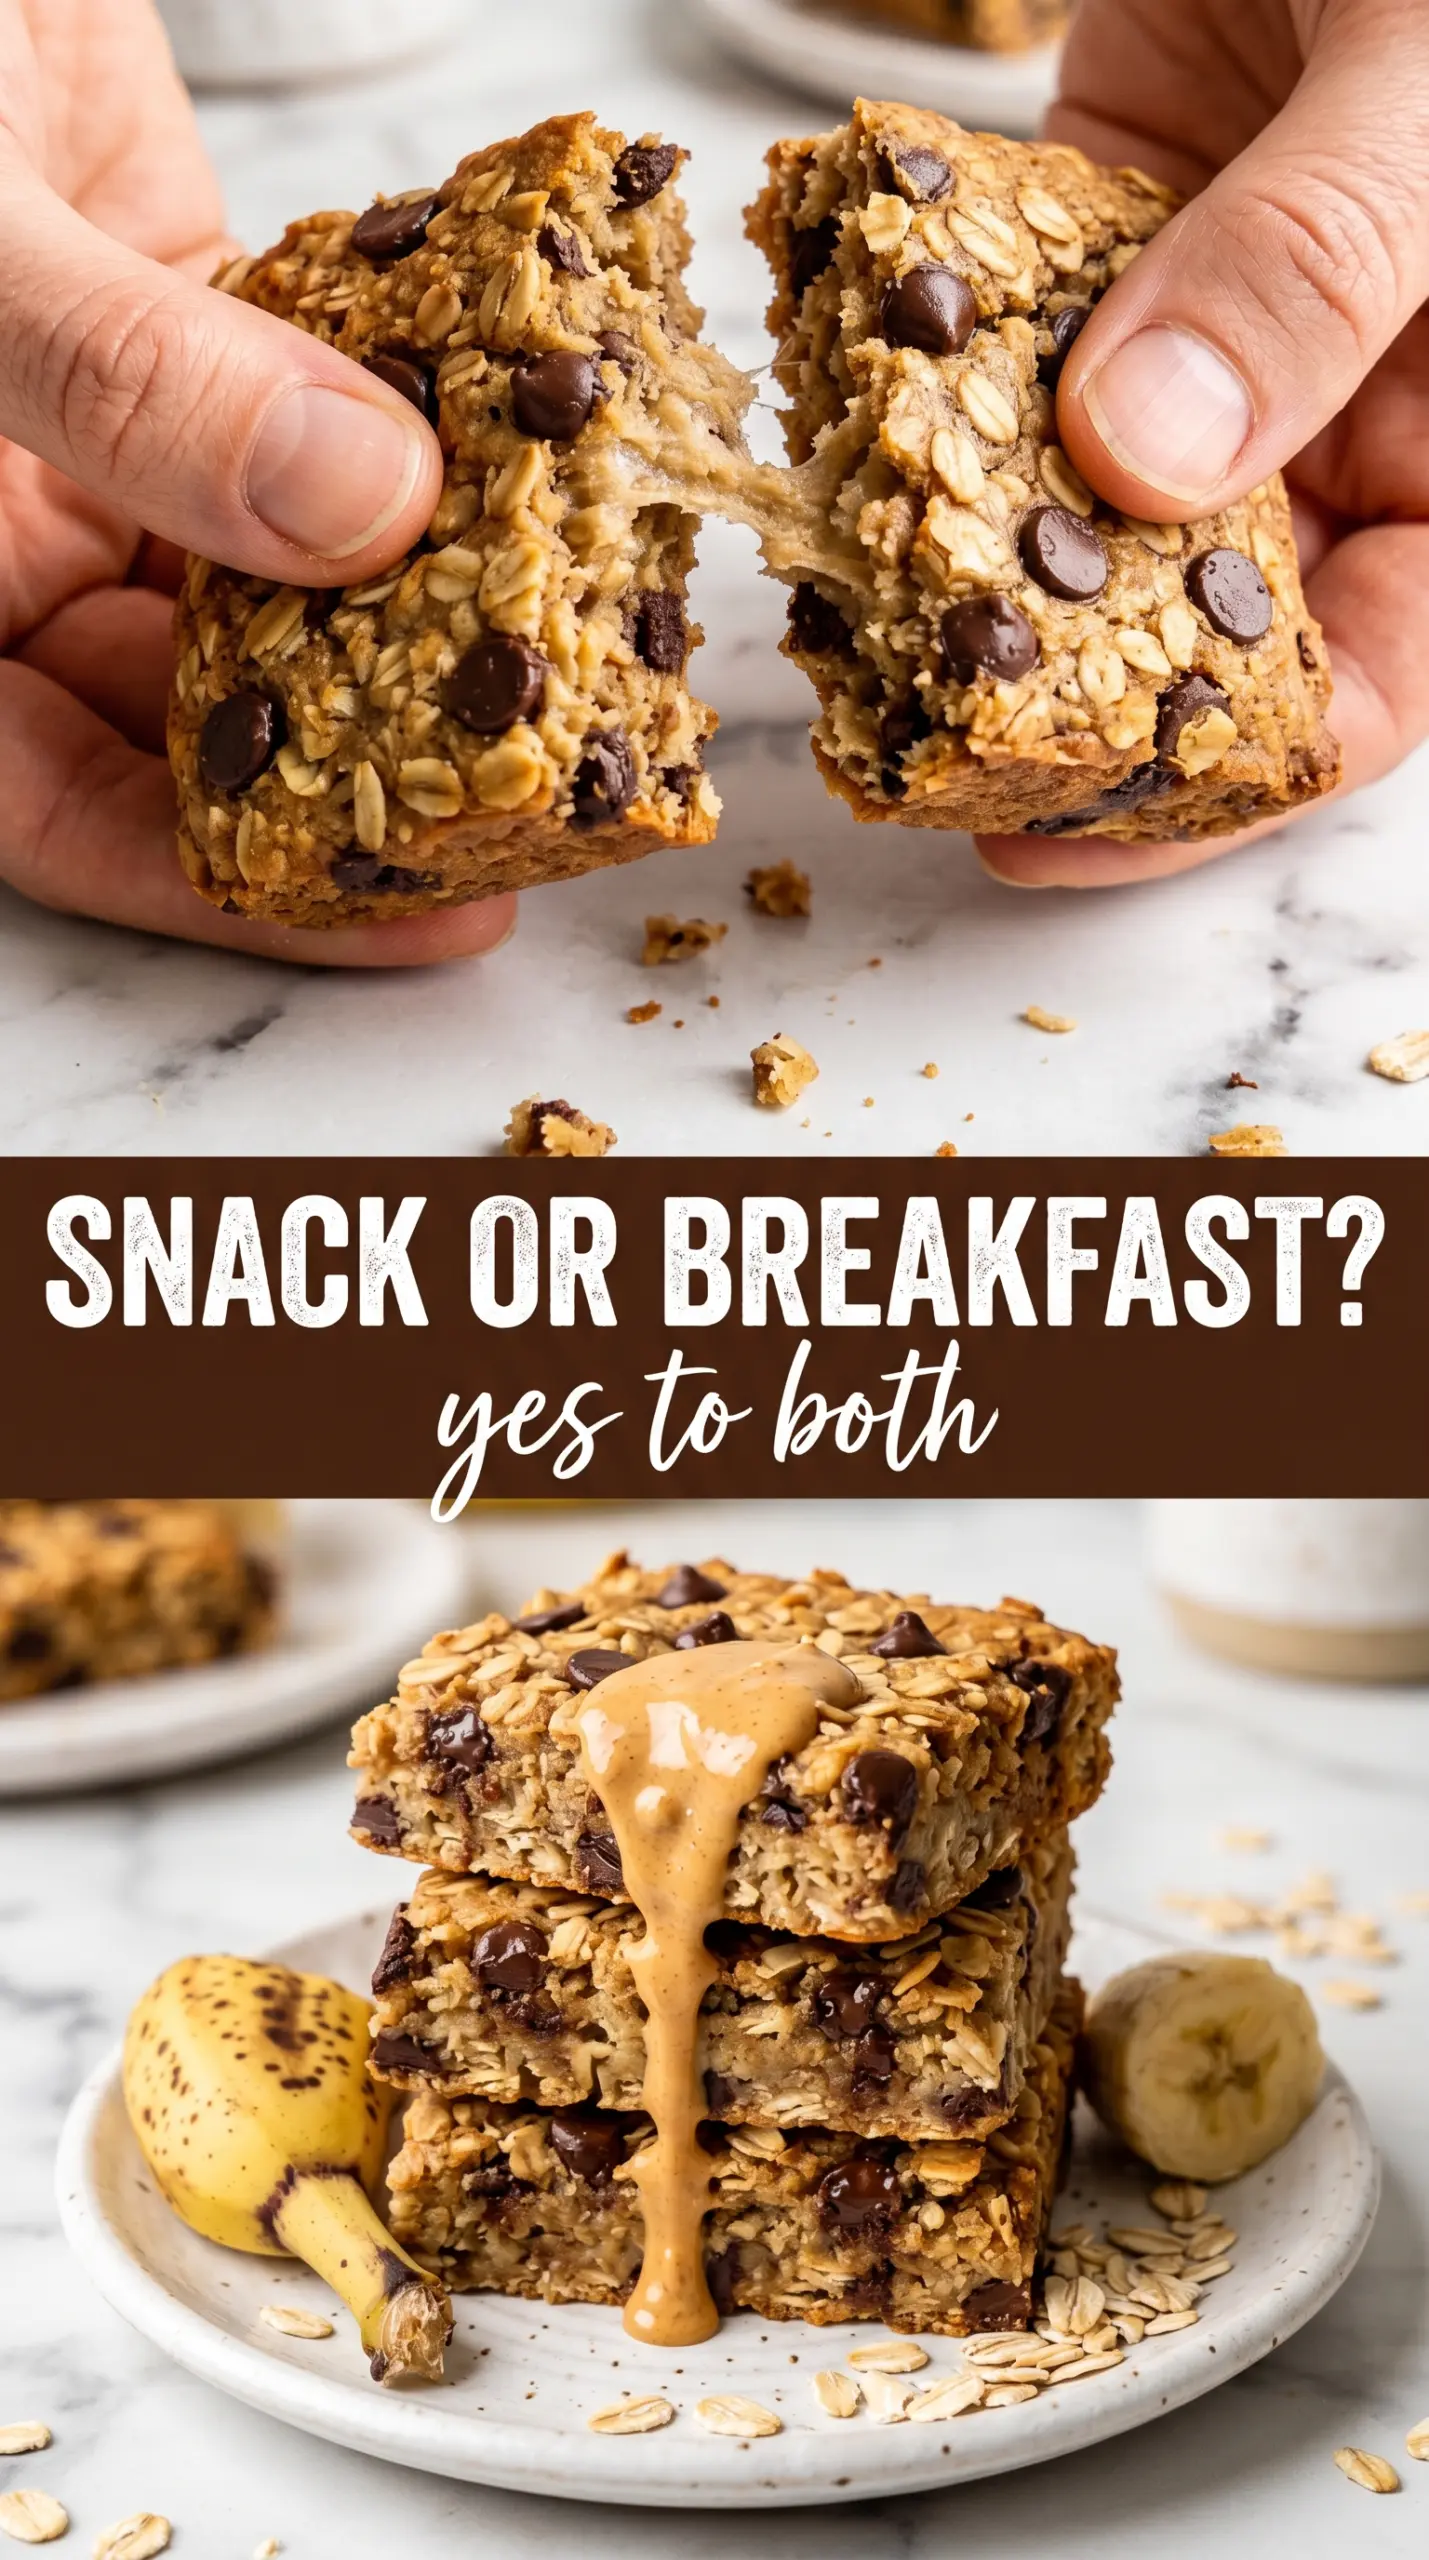
- Ripe bananas — These are the main source of moisture and sweetness, so the riper they are, the better the bars hold together and taste. Brown-speckled bananas work best because they mash smoothly and give the bars that soft, baked-oatmeal texture.
- Rolled oats — Old-fashioned rolled oats give the bars their chew and structure. Quick oats will work in a pinch, but the bars will be softer and a little less defined when sliced.
- Honey or maple syrup — This adds a little extra sweetness and helps the bars brown. Honey gives a slightly firmer set, while maple syrup keeps the flavor a touch milder and works well if you want a more neutral finish.
- Peanut butter or almond butter — This is what makes the bars feel substantial enough to cut into squares. Use natural nut butter with a stir-thick consistency if you can, because overly runny nut butter can make the mixture slack.
- Chocolate chips, raisins, or chopped nuts — These are optional, but they add texture and break up the soft, chewy base. Chocolate chips are the most kid-friendly choice, while nuts add a little bite and raisins lean more breakfast-bar than dessert.
Press, Bake, and Wait for the Set
Getting the Banana Base Smooth
Mash the bananas until there are no big lumps left. A few tiny bits are fine, but chunks of banana bake into soft spots that weaken the bars. Once the oats and nut butter go in, stir until every oat is coated and the mixture looks thick and sticky. If it still looks wet and glossy like batter, it needs more oats before it goes into the pan.
Pressing the Mixture Evenly
Scrape the mixture into a parchment-lined pan and press it in firmly with the back of a spoon or your fingertips. The layer should be even from corner to corner so the edges don’t dry out before the center sets. If you pack it loosely, the bars can crumble when you cut them, even if they look baked through.
Baking to the Right Set
Bake until the edges are golden and the center feels set when you gently tap the pan. Don’t wait for the top to look dry all the way across, because these bars finish setting as they cool. Pulling them early by a minute or two is better than leaving them in too long, since overbaking turns the texture from chewy to dry fast.
Cooling Before the First Cut
Let the bars cool completely in the pan before lifting them out and slicing. This is the part people rush, and it’s usually why the first batch falls apart. Once cool, the oats tighten up, the nut butter firms, and the bars cut into neat squares instead of sticky scoops.
How to Adapt These Banana Oatmeal Bars Without Losing the Texture
Dairy-Free and Naturally Egg-Free
These bars already fit a dairy-free and egg-free pattern as written, as long as your chocolate chips are dairy-free. That makes the recipe especially useful for meal prep, since you don’t need any special swaps to get a good set and a soft middle.
Gluten-Free with the Right Oats
Use certified gluten-free rolled oats if you need these bars to stay gluten-free. Regular oats often work texture-wise, but they can be cross-contaminated during processing, and that matters if you’re baking for someone sensitive.
Nut Butter Swaps That Still Hold Together
Peanut butter gives the most structure, while almond butter makes the flavor a little lighter. Sunflower seed butter works too if you need a nut-free version, but it can taste stronger and may turn the bars a little softer, so let them cool fully before slicing.
Storage and Reheating
- Refrigerator: Store in an airtight container for up to 5 days. The bars stay chewy, though they firm up a little more once chilled.
- Freezer: They freeze well for up to 2 months. Wrap individual bars and thaw them in the fridge or at room temperature for the best texture.
- Reheating: Warm a bar in the microwave for 10 to 15 seconds if you want the chocolate chips soft again. Don’t overheat them, or the oats will dry out and the center will lose that tender chew.
Questions I Get Asked About This Recipe
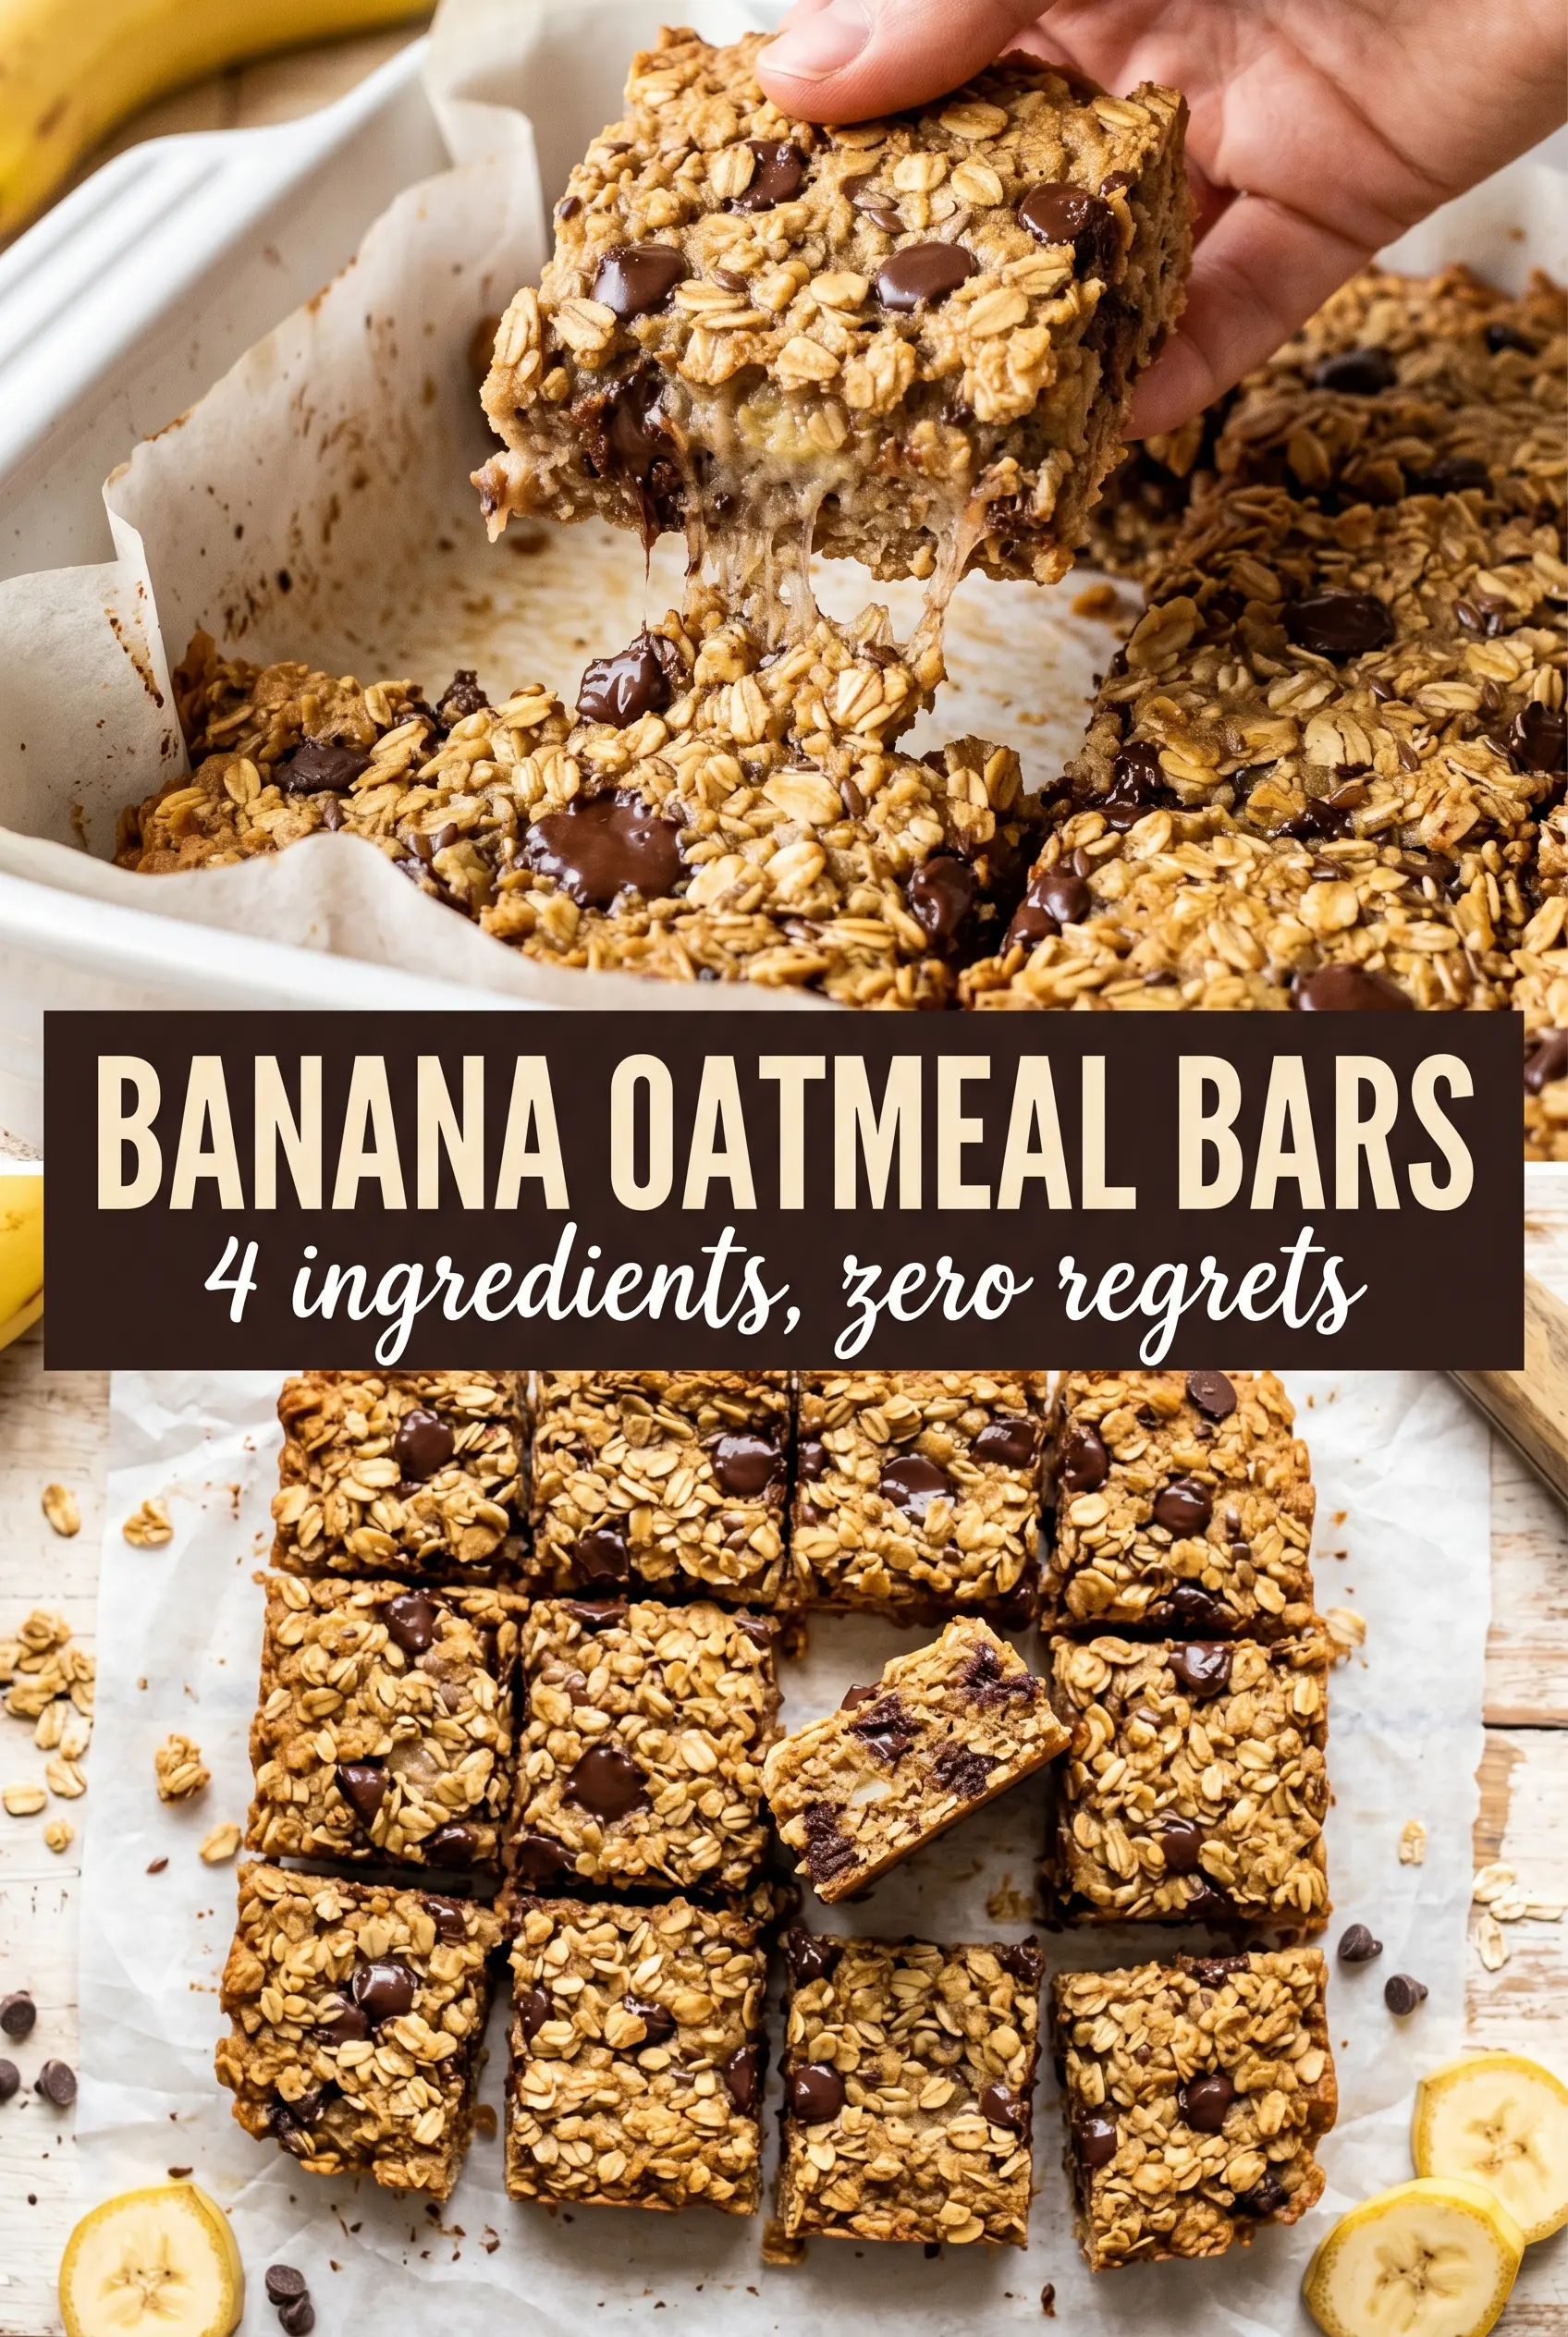
Banana Oatmeal Bars
Ingredients
Equipment
Method
- Preheat your oven to 350°F and line an 8x8 or 9x13 pan with parchment paper for easy lifting.
- Mash ripe bananas until completely smooth in a large bowl so the bars bake evenly.
- Add rolled oats, honey, peanut butter, vanilla extract, cinnamon, and salt, then mix until fully combined and cohesive.
- Fold in chocolate chips or add-ins if using so they’re evenly distributed through the bars.
- Press the mixture evenly into the pan and smooth the top for a uniform bake.
- Bake for 22–25 minutes at 350°F until edges are golden and the center is set; the surface should look slightly firm and not wet.
- Cool completely before cutting into bars so the center holds a soft, chewy texture.