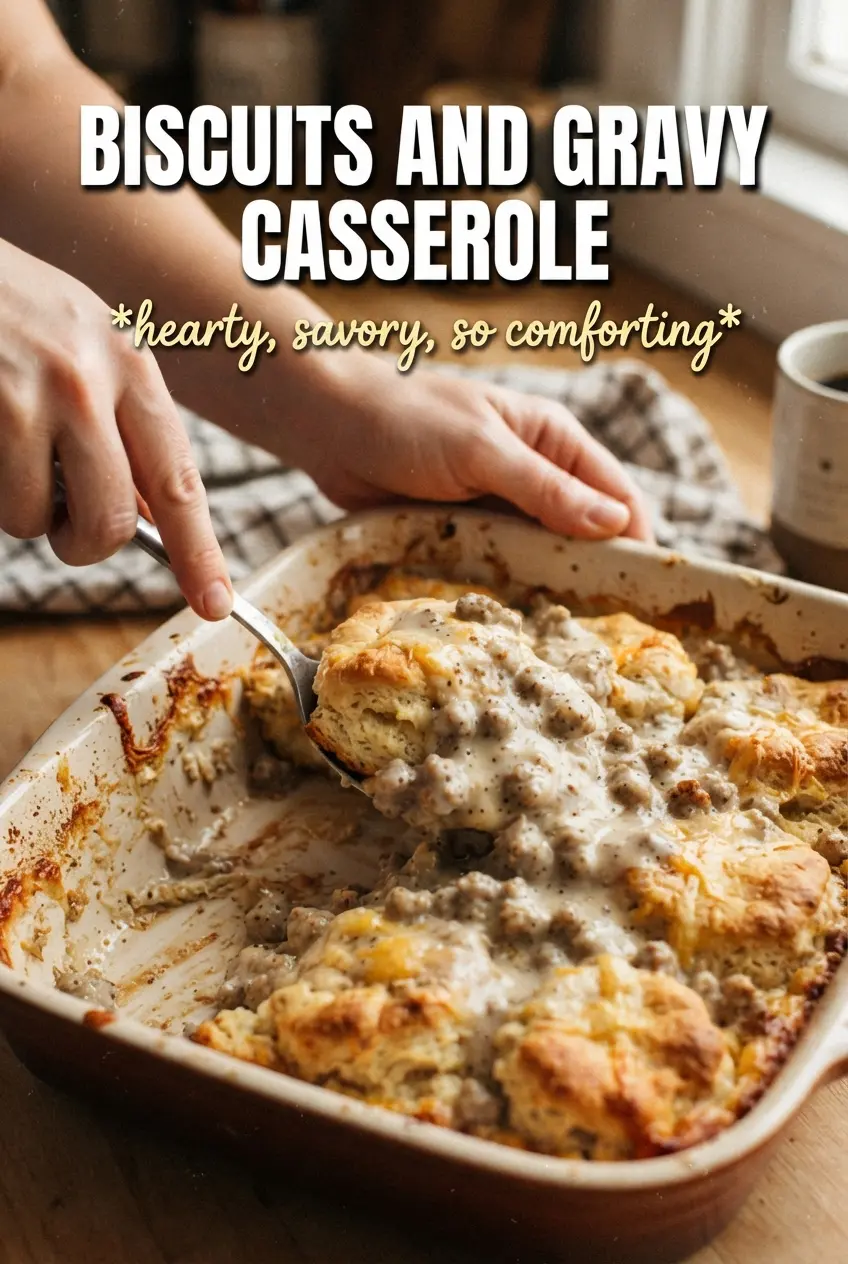
Biscuits and gravy casserole hits that sweet spot between weekend comfort food and the kind of breakfast that actually feeds a crowd without keeping you chained to the stove. You get a thick, peppery sausage gravy underneath golden biscuit tops, and every scoop gives you both at once instead of making people build their own plates. The biscuits bake right on top of the gravy, so the bottom edges soak up just enough to stay tender while the tops turn crisp and burnished.
The trick is to cook the gravy a little thicker than you would for a skillet version. It needs enough body to support the biscuits without turning soupy in the oven, but not so much that it tightens up into paste before baking. I also like leaving a small amount of sausage fat in the pan after draining; that little bit carries the flour and gives the gravy a fuller, meatier finish.
Below, you’ll find the exact cues I use to know when the gravy is ready, plus a couple of smart ways to change this up if you’re working with homemade biscuits or want to make it ahead.
The gravy thickened up perfectly and the biscuits stayed fluffy on top instead of getting soggy. I baked it for the full 35 minutes and the whole pan disappeared before I could get seconds.
Save this biscuits and gravy casserole for a make-ahead Southern breakfast with fluffy biscuit tops and thick sausage gravy underneath.
The Reason the Gravy Stays Thick Under the Biscuits
This casserole only works when the gravy is cooked to the right point before it ever sees the oven. If it stays thin on the stovetop, the biscuits sink and the whole pan turns loose and wet. If it gets too tight, it bakes up heavy and pasty instead of creamy. You’re looking for a gravy that coats the back of a spoon and moves slowly when you drag a spatula through the pan.
The other detail that matters is how you handle the biscuit dough. Quartering the biscuits gives you more edges, which means more browned surface and better coverage across the pan. Whole biscuits can bake unevenly and leave pockets of raw dough underneath, especially in the center where the heat lags a little behind the edges.
What the Sausage, Milk, and Seasoning Are Actually Doing Here
- Breakfast sausage — This is the backbone of the dish. The seasoned fat is what flavors the gravy, so choose a sausage you actually like eating on its own. If yours runs lean, leave the full two tablespoons of drippings in the pan; that extra fat helps the flour cook evenly.
- Whole milk — Whole milk gives the gravy enough richness to hold up through baking without splitting. Two percent will work in a pinch, but the sauce won’t taste as round and it can look a little thinner. I wouldn’t use skim here.
- Black pepper — This is not background seasoning. Biscuits and gravy should have a clear peppery bite, and the generous amount keeps the filling from tasting flat after baking. If you want a little less heat, cut the cayenne before you cut the pepper.
- Refrigerated biscuits — These are the easiest way to get a reliable top that bakes through. Homemade biscuits work too, but keep them on the smaller side and watch the browning closely, since thicker dough needs more time than the gravy underneath.
- Cheddar — Optional, but it adds a salty top note and a little extra color in the final minutes. Add it near the end so it melts without turning greasy or separating.
Building the Pan So the Biscuits Bake, Not Boil
Brown the sausage and keep the drippings
Cook the sausage over medium heat until there are no pink spots left and the bits at the bottom of the pan have started to caramelize. Drain off the excess grease, but leave about two tablespoons in the skillet. That fat is what keeps the flour from tasting raw and gives the gravy a fuller base.
Cook the gravy until it clings
Whisk the flour into the hot drippings and let it cook for a full minute before adding the milk. That short step keeps the gravy from tasting pasty. Pour the milk in gradually, whisking as you go, and keep stirring until the mixture thickens enough to leave a trail for a second or two when you drag the spoon through it. If it still looks loose in the pan, it will stay loose in the oven.
Layer the biscuits over the gravy
Pour the finished gravy into the prepared baking dish, then cut the biscuits into quarters and scatter them across the top. Don’t press them down into the sauce. They need air and exposure to brown. The oven heat will set the bottoms while the tops turn golden, and the gravy bubbles up around the edges without swallowing them.
Finish with the last bake
Bake until the biscuits are deeply golden and the gravy is bubbling at the sides, then add cheddar if you’re using it and return the pan just long enough to melt it. If the tops brown too fast before the center is done, lay a loose sheet of foil over the dish for the last stretch. The casserole is ready when the biscuit pieces feel set and the center no longer looks wet and doughy.
How to Adapt This for Different Kitchens and Different Crowds
Make-ahead breakfast casserole
You can assemble the gravy in the baking dish and keep the biscuit pieces separate, then top and bake just before serving. If you add the biscuits too early, they start absorbing liquid and lose that fluffy, baked-on-top texture. This is the best route if you want the casserole ready for the oven with minimal morning work.
Dairy-free version
Use an unsweetened dairy-free milk with some body, like oat milk, and avoid anything too thin or flavored. The gravy won’t be quite as rich, but it will still thicken if you cook the flour long enough and keep the heat moderate. Skip the cheddar or use a dairy-free shred only at the end.
Homemade biscuit upgrade
Homemade biscuits make this even better, but they need to be cut into smaller pieces than you might expect. Keep them fairly tall and cold, then bake until the tops are deep golden. The reward is a more tender, layered top that tastes a little closer to diner breakfast than the canned version.
Storage and Reheating
- Refrigerator: Store leftovers covered for up to 3 days. The biscuits will soften a little as they sit, but the flavor holds up well.
- Freezer: This freezes better if you wrap individual portions tightly after cooling. The biscuit texture changes after freezing, but it still reheats well for a quick breakfast.
- Reheating: Warm in a 325°F oven, covered loosely with foil, until hot in the center. The biggest mistake is microwaving it on high for too long, which makes the biscuits rubbery while the gravy gets unevenly hot.
Questions I Get Asked About This Recipe
Biscuits And Gravy Casserole
Ingredients
Equipment
Method
- Preheat the oven to 375°F and grease a 9x13 baking dish.
- Brown the breakfast sausage, then drain excess fat but leave 2 tablespoons in the pan.
- Whisk the all-purpose flour into the sausage drippings and cook for 1 minute.
- Gradually add the whole milk, then simmer until thick and creamy.
- Season the gravy with black pepper, garlic powder, onion powder, cayenne, and salt to taste.
- Pour the thick sausage gravy into the prepared 9x13 baking dish.
- Cut the refrigerated biscuits into quarters and arrange them over the gravy.
- Bake for 30-35 minutes until the biscuit topping is golden.
- Scatter the shredded cheddar over the top and bake 5 more minutes.
- Crack the eggs evenly over the hot casserole before the final bake, then return to the oven for the last 5 minutes until set.