Brown butter sage dinner rolls bake up with soft, pull-apart centers and bronzed tops that taste richer than a standard dinner roll ever could. The melted butter in the dough gives them a tender crumb, while the browned butter adds a nutty depth that carries all the way through each bite. Then the sage glaze comes in at the end and turns the whole pan into something you’ll want to set in the middle of the table and tear apart while it’s still warm.
What makes this version work is timing. The butter for the dough gets browned first, then cooled just enough so it doesn’t kill the yeast. The second dose of butter is browned separately for the glaze, where the sage leaves can crisp without burning. That contrast matters: soft rolls, glossy butter, and crunchy herb leaves give you more than one texture in every bite.
Below, I’ll walk you through the little details that keep the dough airy and the glaze fragrant instead of bitter. If you’ve ever had rolls that baked up dense or butter that tasted flat, this method fixes both.
The rolls turned out unbelievably soft, and the sage brown butter soaked into the tops without making them greasy. I brushed on a little extra right before serving and my husband kept reaching for another one.
Save these brown butter sage dinner rolls for the kind of meal that needs a soft, pull-apart side with a nutty finish and crispy sage on top.
The Trick to Keeping the Dough Soft After Browning the Butter
Browned butter gives these rolls their signature flavor, but it has to be handled with care. If it’s still hot when it goes into the yeast mixture, it can slow the rise or knock the yeast back before the dough has a chance to develop. Let it cool until it’s warm, not sizzling, so the milk stays comfortable to the touch and the dough can rise with no trouble.
The other place people run into trouble is adding too much flour too early. The dough should end up smooth and slightly tacky, not dry and stiff. A softer dough gives you that fluffy, pull-apart texture after baking, while a heavy hand with flour turns the rolls bready and tight.
What the Brown Butter, Sage, and Garlic Are Each Doing

- Unsalted butter — This is doing double duty: first in the dough for tenderness, then again in the glaze for the finish. Use unsalted butter so you control the seasoning, and watch it closely while browning because the line between nutty and burnt comes fast.
- Fresh sage leaves — Fresh sage crisps beautifully in the hot butter and gives the rolls that woodsy, savory top note. Dried sage won’t give you the same texture or aroma here, so fresh is worth it.
- Instant yeast — Instant yeast moves quickly and mixes directly into the warm milk without blooming separately. If all you have is active dry yeast, dissolve it in the milk with the sugar and give it a few extra minutes before moving on.
- Whole milk — The fat in whole milk helps the dough bake up soft and rich. Lower-fat milk will work in a pinch, but the crumb won’t be quite as tender.
- All-purpose flour — This gives enough structure to hold the rolls together while still staying soft. Add the last cup gradually; the exact amount can shift a little depending on how much moisture is in your flour and how humid your kitchen is.
How to Turn One Dough Into a Pan of Pull-Apart Rolls
Starting the Dough Without Overheating It
Mix the warm milk, yeast, sugar, browned butter, and eggs until the liquid looks smooth and the butter is fully dispersed. The milk should feel warm, not hot, or the yeast won’t wake up the way it should. Once the flour and salt go in, knead until the dough turns satiny and elastic, about 8 minutes by hand or mixer. If the dough sticks badly, add flour in small pinches instead of dumping in a lot at once.
Letting the First Rise Do the Heavy Lifting
Cover the dough and let it rise until it doubles, about 1 hour. You’re looking for a puffed, soft dough that springs back slowly when touched. If it still feels dense after the hour, give it a little more time instead of forcing the next step, because under-risen dough makes tight rolls.
Shaping and Proofing for Even Baking
Divide the dough into 12 even pieces and shape each into a smooth ball, then set them snugly in a greased 9×13 dish. Close spacing helps them rise upward instead of spreading out, which is what gives you that classic pull-apart look. After the second rise, the rolls should look noticeably larger and touch each other at the sides. Bake them only once they look airy and puffy, not before.
Finishing With Brown Butter Sage Glaze
Bake until the rolls are deeply golden on top, then start the glaze right away so the butter is ready while the rolls are hot. Brown the remaining butter, add the sage leaves, and let them crisp in the pan for a few seconds before stirring in the garlic and flaky salt. Brush the glaze over every roll while they’re still warm so it sinks into the tops, then press a sage leaf onto each one before serving.
How to Adapt These Rolls for Different Tables
Dairy-Free Version
Use a plant-based butter that browns well and an unsweetened non-dairy milk with some body, like oat milk. The rolls will still be soft, but the browned butter flavor will be a little less nutty and more toasty. Keep the heat moderate so the dairy-free butter doesn’t scorch before the sage crisps.
Use Active Dry Yeast Instead of Instant
Stir the active dry yeast into the warm milk and sugar, then wait 5 to 10 minutes until it looks foamy before adding the butter and eggs. The texture ends up the same, but the rise may take a little longer. Don’t skip the proofing step or you’ll lose the lift this dough needs.
Make Them Ahead for a Dinner Party
Shape the rolls and place them in the dish, then cover and refrigerate overnight after the first rise. The next day, let them sit at room temperature until puffy before baking. Cold dough bakes more slowly, so don’t rush them into the oven or the centers will lag behind the tops.
Storage and Reheating
- Refrigerator: Keep in an airtight container for up to 3 days. The tops soften a bit, but the rolls stay tender.
- Freezer: Freeze baked rolls for up to 2 months, wrapped well and sealed in a freezer bag. Thaw at room temperature before reheating.
- Reheating: Warm in a 300°F oven, covered loosely with foil, until hot through. The biggest mistake is microwaving too long, which makes the rolls rubbery and steals that soft pull-apart texture.
Answers to the Questions Worth Asking
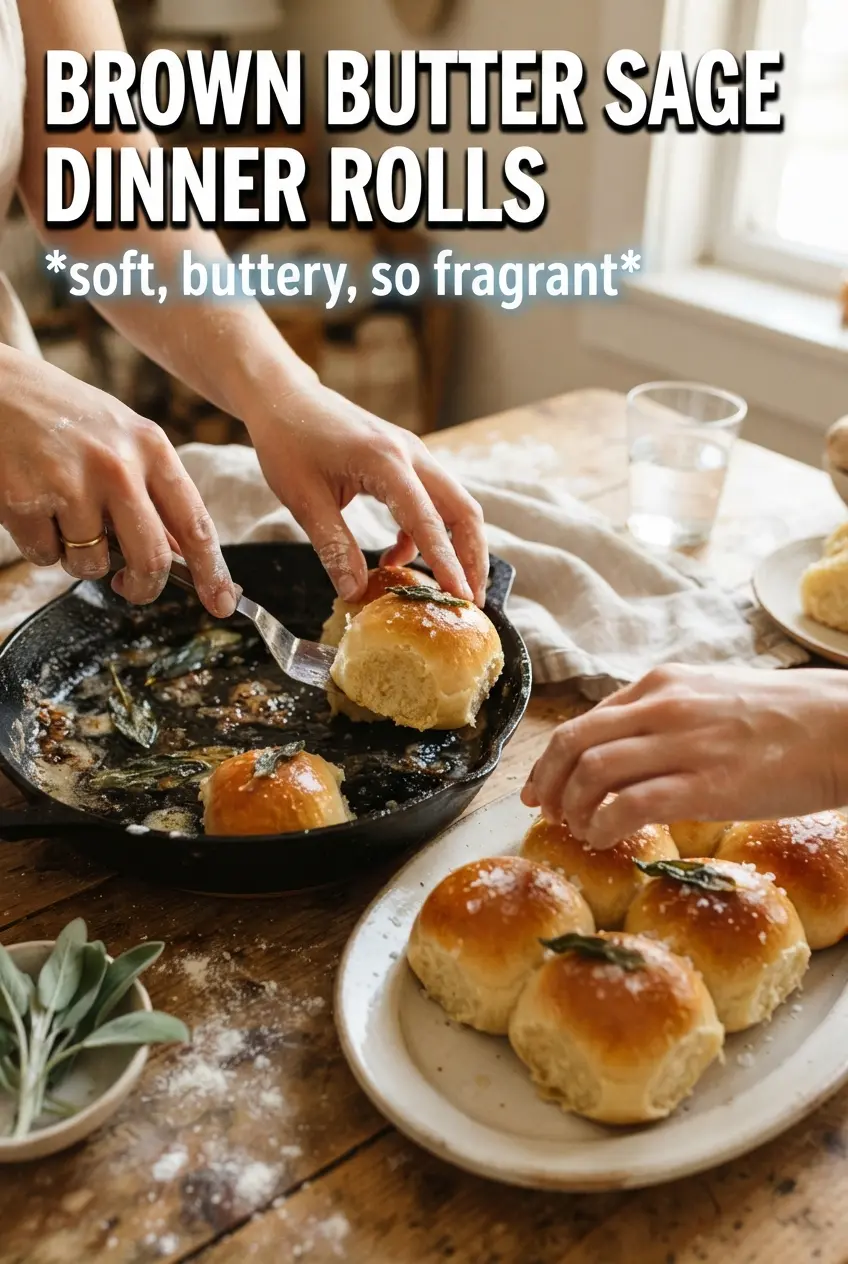
Brown Butter Sage Dinner Rolls
Ingredients
Equipment
Method
- Brown 1/2 cup butter in a skillet, then cool slightly so it’s warm rather than hot.
- In a mixing bowl, combine warm whole milk, sugar, browned butter, and eggs to form the liquid base.
- Sprinkle in instant yeast and let stand until it looks foamy.
- Add all-purpose flour and salt, then knead until smooth, about 8 minutes.
- Cover and rise for 1 hour, until noticeably puffed.
- Divide the dough into 12 balls and place in a greased 9x13 dish.
- Cover and let rise 30-40 minutes until the rolls are soft and puffy.
- While the rolls rise, preheat the oven to 375F.
- Bake the rolls at 375F for 18-22 minutes, until golden-brown on top.
- In a skillet, brown the remaining butter, then add minced garlic and cook briefly just to bloom.
- Fry fresh sage leaves in the browned butter until crispy, then transfer to a paper-lined surface to crisp.
- Stir flaky sea salt into the sage brown butter.
- Brush the baked rolls generously with sage brown butter, then press the fried sage leaves onto each roll while warm.