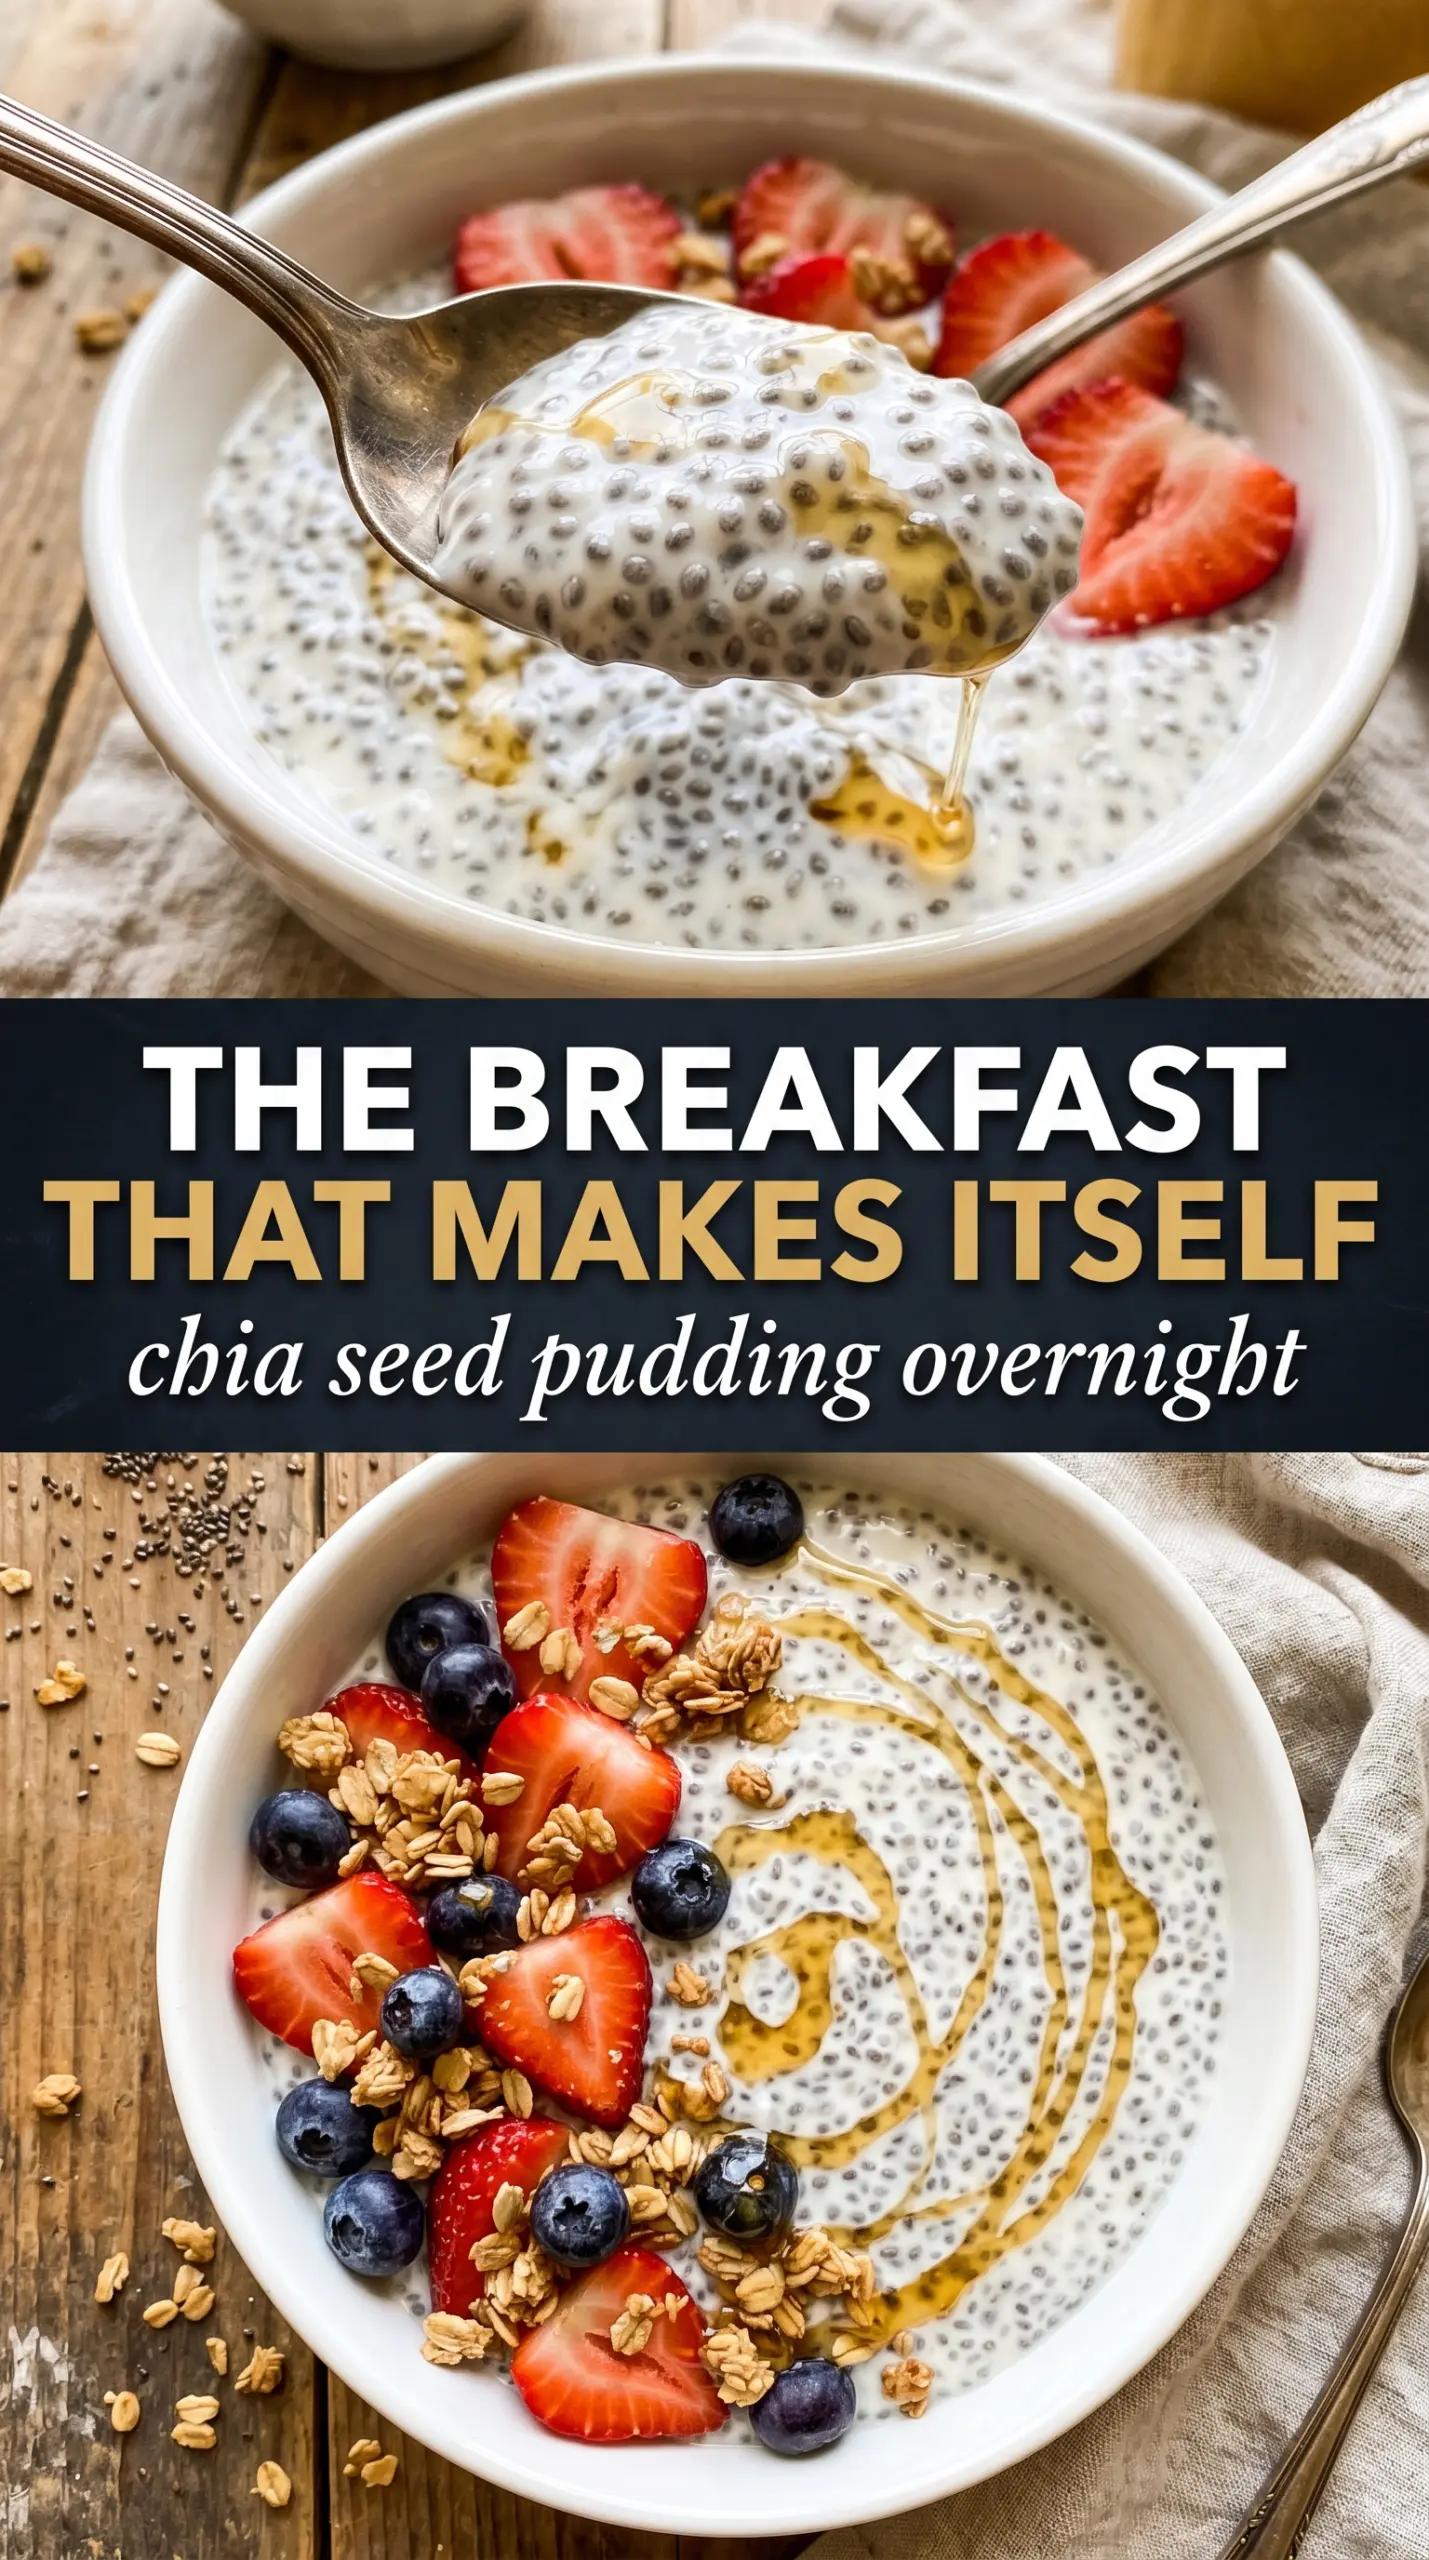
Chia seed pudding turns thick, creamy, and spoonable with almost no effort, and that texture is exactly why it earns a steady spot in my breakfast rotation. The tiny seeds swell in the milk and set into a cool, tapioca-like pudding that tastes mild on its own and takes on whatever you pair with it. With fruit and granola on top, it feels like breakfast in a jar without any actual cooking.
The part that makes this version work is the two-stage whisking. Chia seeds clump fast if they sit untouched in liquid, so that first stir breaks them up, and the second stir after a few minutes catches the seeds that have started sinking. I also keep the sweetener and vanilla modest here, because coconut milk already brings a soft richness and too much sugar can make the pudding taste flat instead of clean and creamy.
Below, I’ve included the little details that matter most: how to keep the texture smooth, which milk gives the best body, and what to do if your pudding ends up thinner than you wanted.
The texture came out thick and creamy after an overnight chill, and the second whisk kept it from turning into a clumpy mess. I topped mine with mango and granola and it tasted like something from a cafe.
Save this vanilla chia seed pudding for a creamy make-ahead breakfast with fresh fruit and crunchy granola.
The Reason Chia Pudding Needs a Second Whisk
Chia pudding fails in one very specific way: the seeds sink, stick together, and set in hard little pockets before the liquid can fully surround them. That’s why this recipe asks for a quick whisk, a short rest, then another whisk. The first mix gets everything evenly distributed. The second one catches the seeds after they’ve started hydrating and before they turn into clumps.
The rest time matters too. Four hours is the minimum for a spoonable texture, but overnight gives you the cleanest, thickest set. If it still looks loose after chilling, it usually means the ratio was off or the seeds needed one more stir before refrigeration. Don’t chase it with a mountain of extra chia at the end; that creates a grainy pudding instead of a smooth one.
What Each Ingredient Is Actually Doing in This Bowl
- Chia seeds — These are the structure here. They absorb liquid and swell into the pudding, so fresh seeds matter more than brand names or fancy add-ins. Older chia can still work, but if the seeds smell stale or dusty, the set won’t be as pleasant.
- Coconut milk or plant-based milk — This determines the body. Coconut milk gives the richest, thickest result, while almond or oat milk makes it lighter. Oat milk is the easiest swap if you want a creamier result without using coconut.
- Maple syrup or honey — This rounds out the vanilla and softens the earthiness of the chia. Use honey if you like a warmer, more floral sweetness; maple keeps it dairy-free and reads a little cleaner against fruit. Either one is fine, but leave the pudding only lightly sweetened if you want the toppings to stand out.
- Vanilla extract — This is what makes the base taste like breakfast instead of plain soaked seeds. Use real vanilla if you have it. The flavor is subtle, so cheap vanilla is fine here, but imitation extract can taste sharp if you overdo it.
- Fresh fruit and granola — These are more than garnish. The fruit gives moisture and brightness, and the granola brings the crunch that chia pudding can’t provide on its own. Add the granola just before serving so it stays crisp.
Building the Pudding So It Sets Smoothly
Mixing the Base
Start with a bowl or jar that gives you room to whisk without spilling. Combine the chia seeds, milk, sweetener, vanilla, and salt until the seeds look evenly suspended instead of settled in a gray layer at the bottom. If you see clumps right away, break them up now; they get harder to fix after the pudding begins to thicken.
The Five-Minute Check
Let the mixture stand for about 5 minutes, then whisk again. This is the moment that saves you from gritty pockets and uneven gelling. The seeds near the edges usually start to thicken first, so scrape the sides and bottom as you whisk. If you skip this pause, the pudding usually sets with one smooth layer and one layer full of seed clumps.
Chilling Until Thick
Cover the bowl or jar and refrigerate for at least 4 hours, or overnight if you want the best texture. It should look thick, glossy, and spoonable, with no visible liquid pooling at the top. If it still seems a little loose after chilling, give it one stir and wait another 20 to 30 minutes before deciding it needs more time.
Serving It Without Flattening the Texture
Stir the pudding before serving so the set evens out. If it feels too thick, loosen it with a splash of milk and stir gently until it reaches the texture you like. Spoon it into glasses or bowls, then add fruit, granola, and a drizzle of honey right before eating so the toppings stay fresh and the granola keeps its crunch.
How to Change the Bowl Without Ruining the Set
Dairy-Free and Already There
This recipe is naturally dairy-free as written if you use coconut milk or another plant-based milk. Coconut milk gives the thickest, most luxurious texture, while oat milk makes a softer pudding that still holds its shape. If you choose a thinner milk, expect a lighter set and give it the full overnight chill.
Lower-Sugar Version
You can cut the sweetener down to 1 to 2 teaspoons, especially if you’re topping the pudding with very ripe fruit. The texture stays the same, but the flavor reads less dessert-like and more breakfast-forward. If you reduce the sweetener too far, the vanilla and chia flavor becomes more noticeable, so keep the fruit generous.
Thicker, More Spoonable Pudding
For a firmer set, add 1 extra tablespoon of chia seeds and let it chill overnight. This gives you a pudding that holds up well in jars for meal prep and layers cleanly with fruit. Don’t overdo the extra chia, or the mixture turns pasty instead of creamy.
Storage and Reheating
- Refrigerator: Store in a covered container for up to 4 days. The pudding thickens a little more each day, so you may want to stir in a splash of milk before serving.
- Freezer: I don’t recommend freezing chia pudding. The texture turns icy and a little broken once thawed, and it loses the smooth spoonable finish that makes it good in the first place.
- Reheating: This isn’t a reheated dish. Serve it cold, and if it feels too stiff after chilling, loosen it with milk instead of warming it, which can make the texture oddly loose and watery.
Answers to the Questions Worth Asking
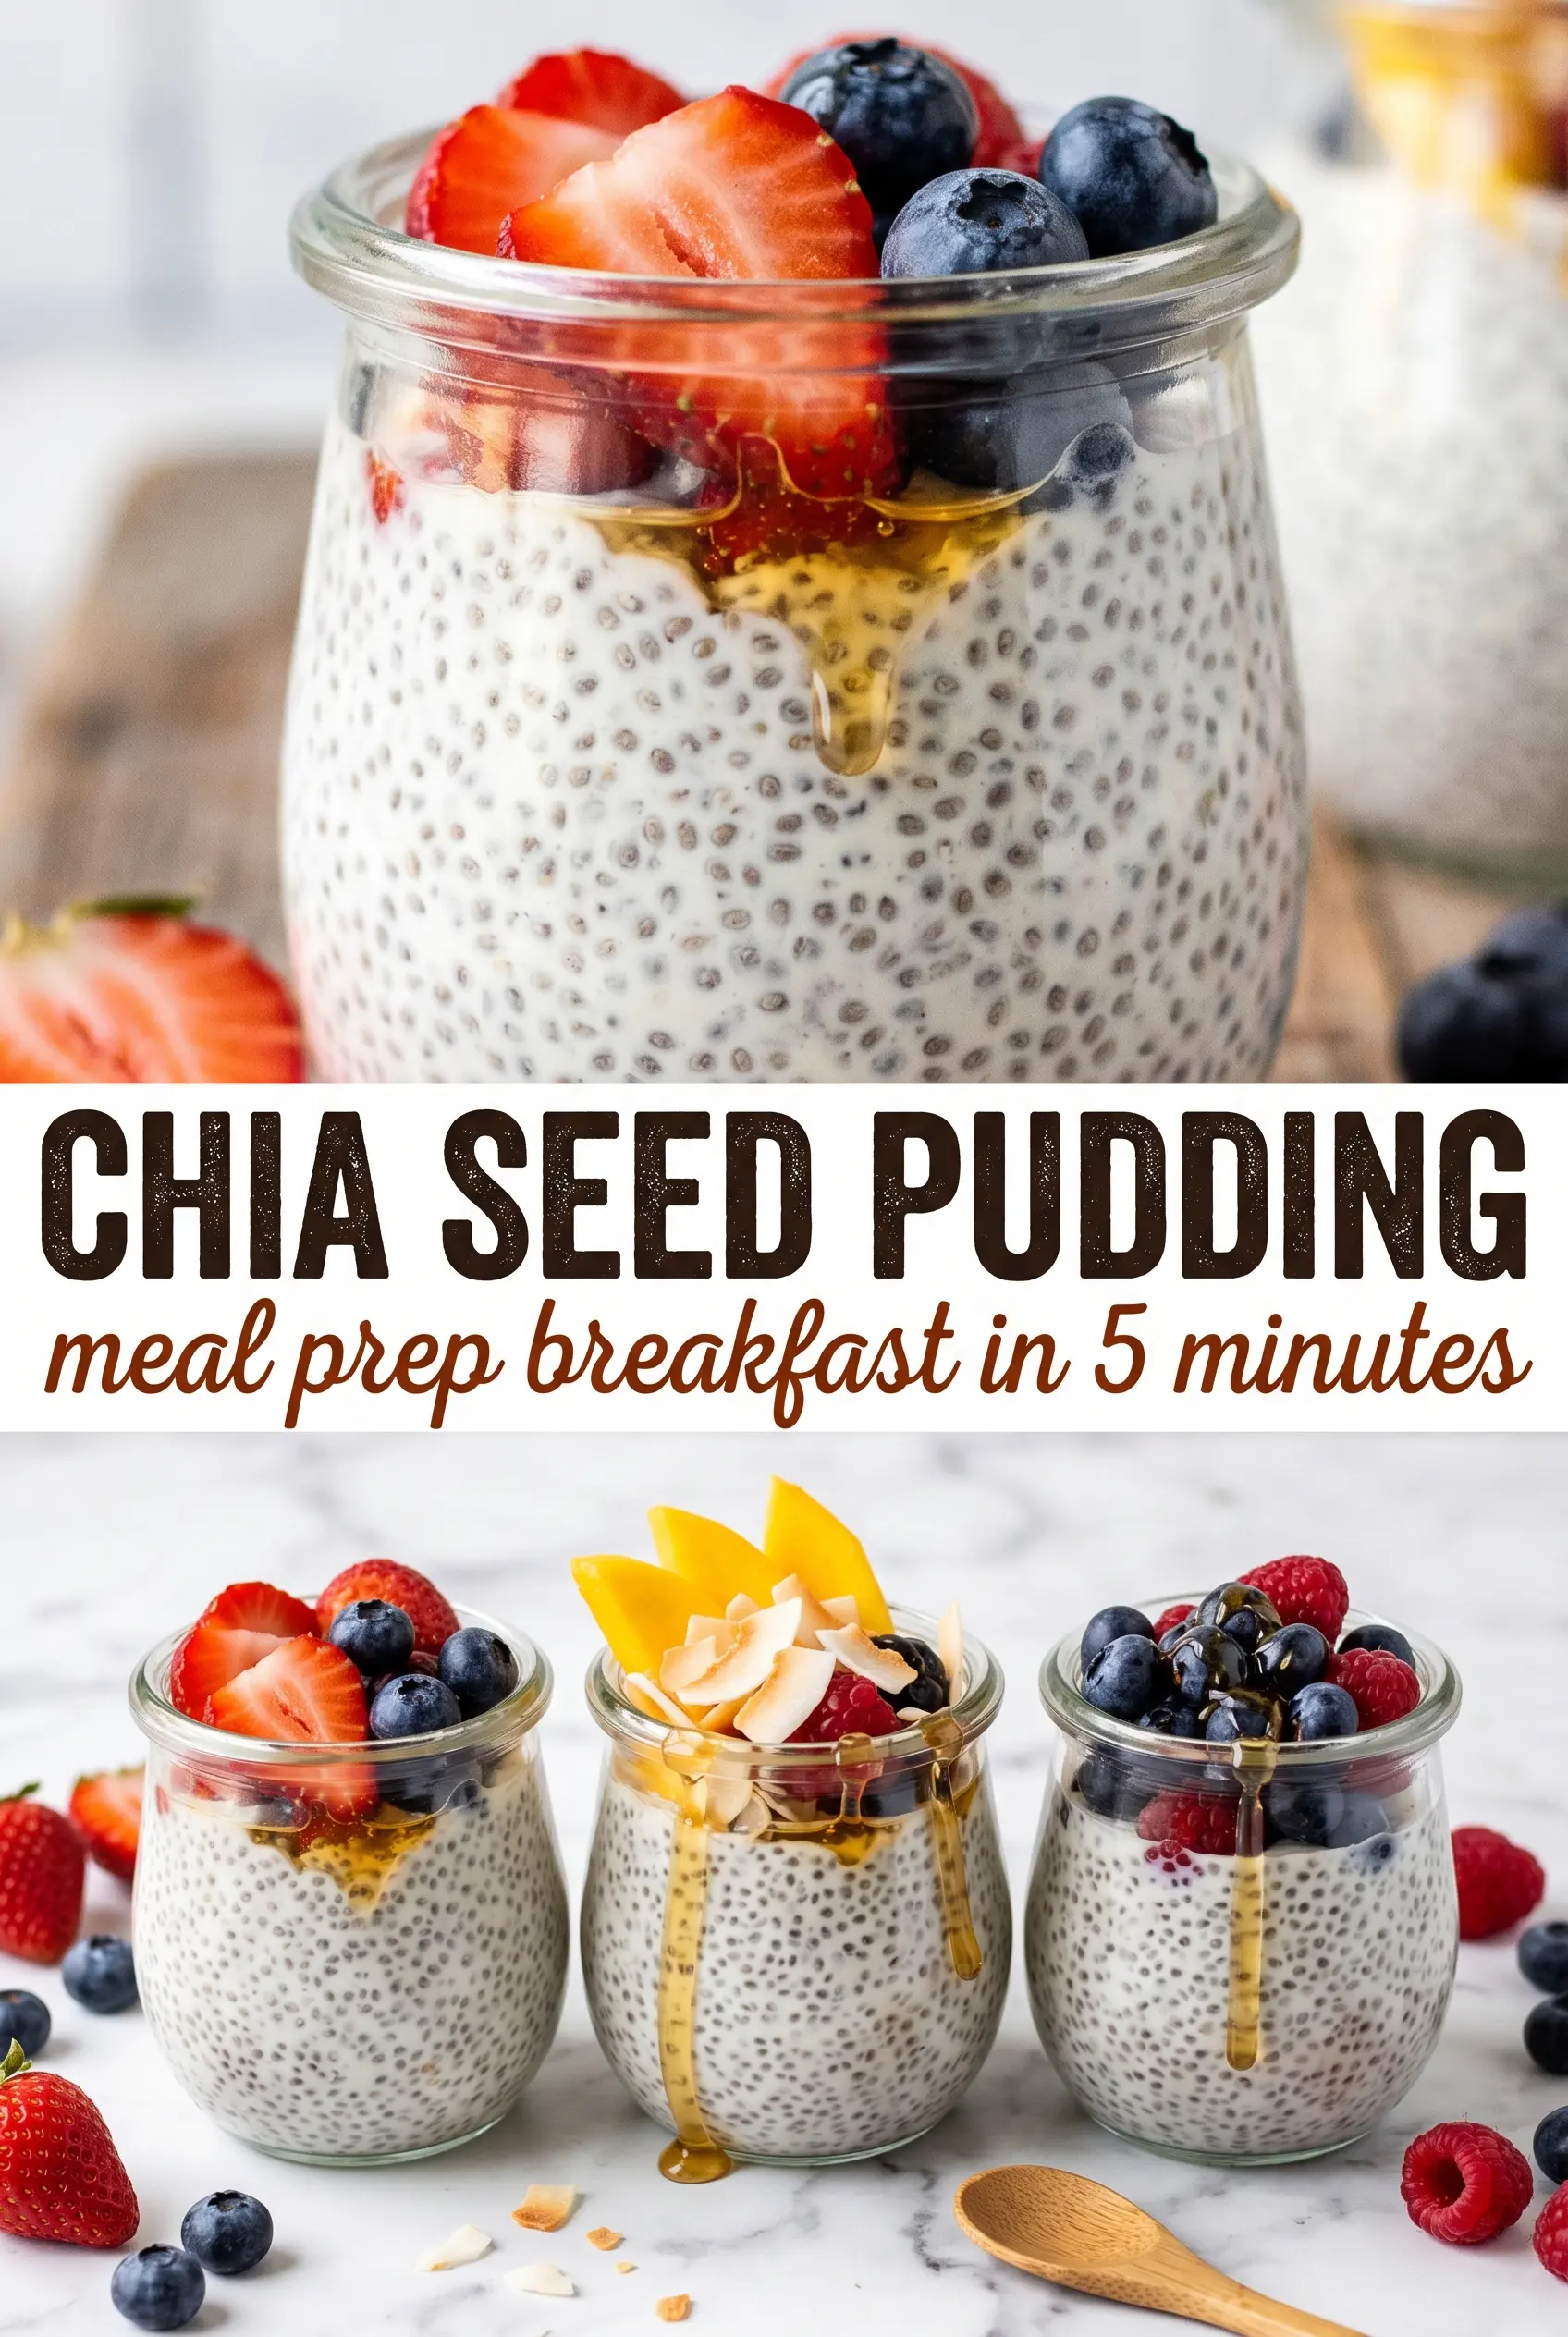
Chia Seed Pudding
Ingredients
Equipment
Method
- In a bowl or jar, whisk chia seeds, coconut milk or any plant-based milk, maple syrup or honey, vanilla extract, and salt until fully combined and no dry chia remains.
- Let the mixture sit for 5 minutes, then whisk again to prevent clumping so the chia disperses evenly.
- Cover and refrigerate for at least 4 hours or overnight until thick and pudding-like, with visible chia beads through the glass.
- Stir before serving and thin with a splash of milk if desired for your preferred consistency.
- Spoon into serving glasses or bowls, then top with fresh mango, strawberries, or blueberries, granola, and an extra honey drizzle.