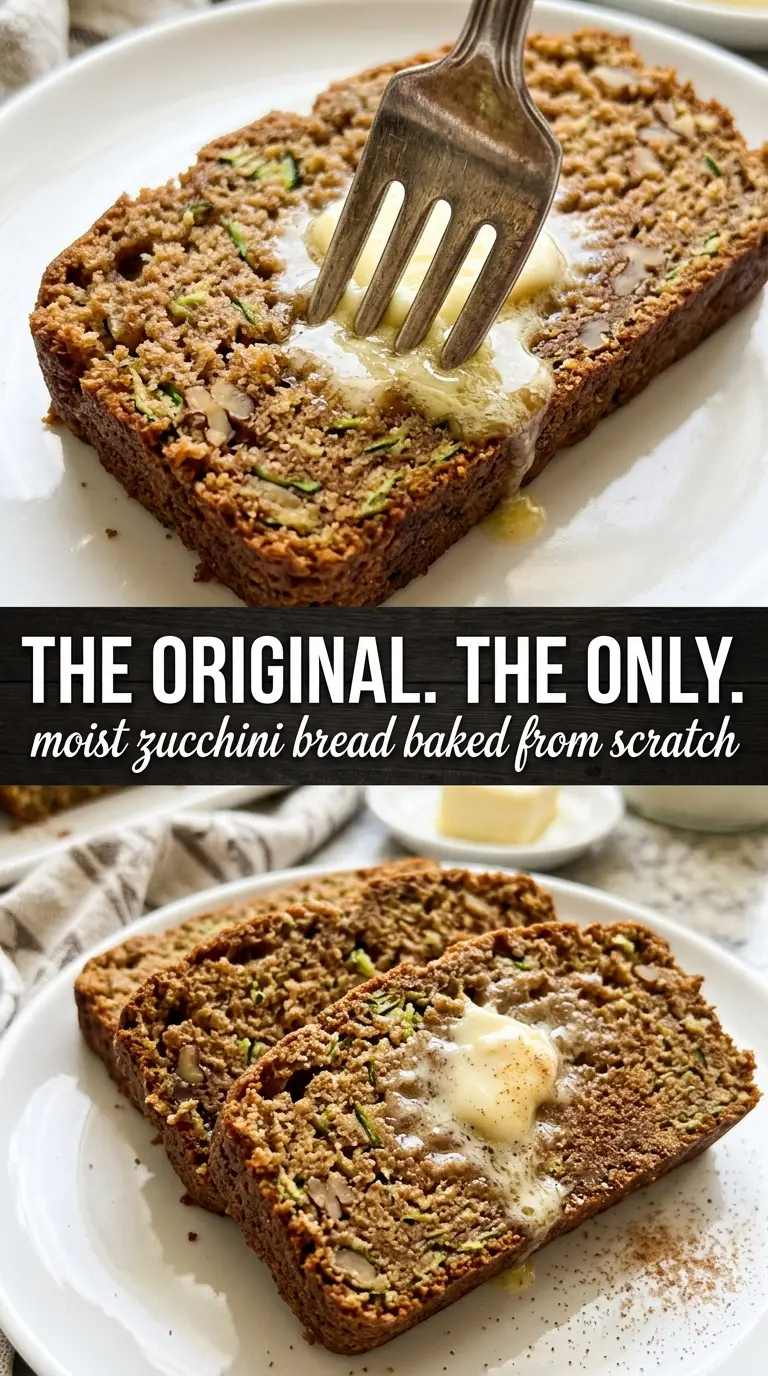
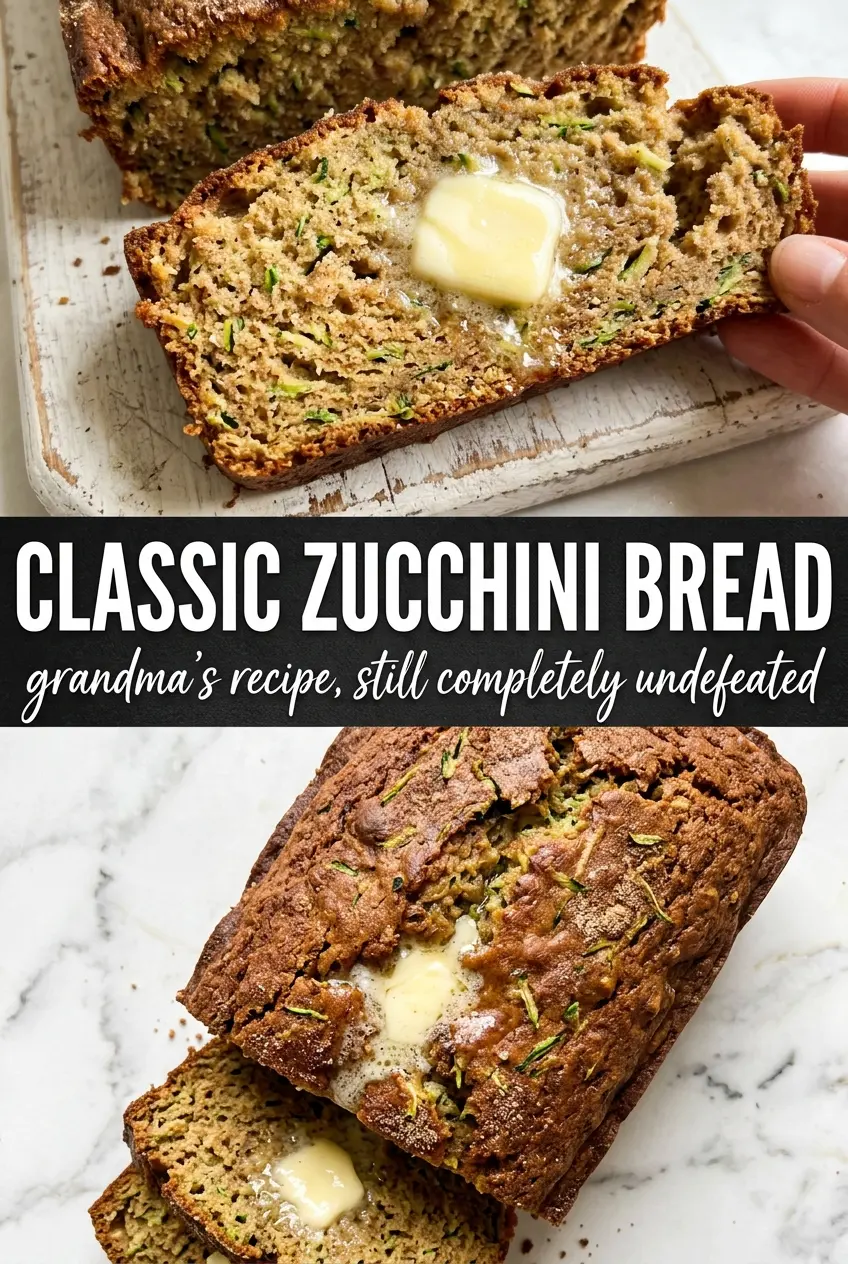
Classic zucchini bread earns its place because it stays tender for days and slices cleanly without crumbling apart. The crumb is soft and moist, the top bakes up cracked and golden, and the cinnamon does enough work to make the zucchini taste like a quiet supporting actor instead of the main event.
The trick is not squeezing the zucchini dry. That moisture disappears into the batter and helps the loaf stay plush instead of bready. Oil does the same job on the fat side, keeping the texture supple even after the loaf cools. A heavy hand with the flour or a long stir is what turns quick bread dense, so the batter should look a little rough when it goes into the pan.
Below you’ll find the small details that matter most here: how to keep the loaf from sinking in the center, when nuts help, and what to do if your zucchini is especially watery.
I was worried it would turn out wet in the middle, but the loaf baked up with a perfect crackly top and a super tender crumb. I used walnuts and the cinnamon came through beautifully without overpowering the zucchini.
Save this classic zucchini bread for the day you want a moist, cinnamon-spiced loaf with that crackly golden top.
The Part That Keeps Zucchini Bread Moist Instead of Heavy
The most common mistake with zucchini bread is treating the zucchini like a vegetable side dish and squeezing out every bit of moisture. That extra liquid is part of the batter’s structure here. It helps the loaf bake into a soft, fine crumb instead of a dry slice that feels like it needs butter just to survive.
The second thing that matters is restraint once the wet and dry mixtures come together. Stir until the flour disappears, then stop. Overmixing wakes up the gluten in the flour and gives you a tougher loaf with a tunnel running through the center. You want a batter that looks thick, a little shaggy, and evenly dotted with green zucchini.
- Grated zucchini — Use the fine side of the grater for a softer crumb and better moisture distribution. Don’t squeeze it dry.
- Vegetable oil — Oil keeps this loaf tender longer than butter would. Melted butter can work, but the loaf sets up a little firmer and loses some of that plush texture.
- Eggs — They provide lift and help the bread set in the center. Room-temperature eggs blend in faster and reduce the chance of a streaky batter.
- Cinnamon and nutmeg — They don’t cover the zucchini; they give the loaf its warm bakery-style aroma. Freshly ground nutmeg makes a noticeable difference if you have it.
What Each Bowl Is Doing Before the Batter Hits the Pan
- All-purpose flour — This gives the loaf enough structure to hold the zucchini without collapsing. Measure it lightly; packed flour makes the bread dense.
- Baking soda and baking powder — The baking soda reacts with the moisture and sugar for lift, while the baking powder gives the loaf a little extra insurance in the center. Don’t swap one for the other in equal amounts.
- Granulated sugar — It sweetens the bread, but it also helps trap moisture, which is why the crumb stays soft for days.
- Walnuts or pecans — Optional, but they add crunch that breaks up the softness in a good way. Toast them first if you want a deeper nutty flavor.
Mixing the Loaf So It Rises Evenly and Slices Cleanly
Whisk the Dry Ingredients Thoroughly
Start by whisking the flour, leaveners, salt, cinnamon, and nutmeg until the mixture looks uniform. That step keeps the baking soda from clumping, which matters because an uneven pocket of leavener can leave one bite bitter and another flat. A quick whisk also helps the spices distribute before they hit the wet ingredients.
Build the Wet Base Before Adding Flour
Beat the sugar, oil, eggs, and vanilla until the mixture looks glossy and slightly thickened, then stir in the zucchini. The sugar won’t fully dissolve, and that’s fine; it starts drawing moisture from the zucchini and helps the loaf stay tender. If the batter looks broken at this stage, keep going until the eggs are fully blended before you add the flour.
Fold Just Until the Flour Disappears
Add the wet mixture to the dry ingredients and fold with a spatula, stopping as soon as no dry flour streaks remain. The batter should be heavy and scoopable, not pourable like cake batter. If you stir until it looks perfectly smooth, the loaf will bake up tighter and can form a dense ridge down the middle instead of a soft crumb.
Bake Until the Center Sets
Divide the batter between the pans and bake at 350°F until the tops are deeply golden and a toothpick comes out clean or with a few moist crumbs. If the top browns too fast before the center is done, tent loosely with foil for the last 10 to 15 minutes. The loaf needs that full bake time to set the moist center, so don’t pull it when the middle still looks wet under the crack.
Make It Nut-Free Without Losing Texture
Leave out the walnuts or pecans and the loaf still bakes up tender and balanced. If you want a little more structure without nuts, add 2 to 3 tablespoons of extra flour so the crumb doesn’t feel loose.
Swap in Whole Wheat for a Heavier, Earthier Loaf
Replace up to 1 cup of the all-purpose flour with whole wheat flour for a deeper flavor and slightly firmer crumb. More than that starts to weigh the bread down, so keep the rest of the flour white if you want the classic soft texture.
Make It Dairy-Free Without Changing the Method
This recipe is already naturally dairy-free as written, which is part of why it works so well for breakfast or snack baking. The oil does the richness that butter usually would, so you don’t lose tenderness by skipping dairy altogether.
Storage and Reheating
- Refrigerator: Store tightly wrapped for up to 5 days. The crumb stays moist, though the texture firms up a bit after chilling.
- Freezer: Freezes well. Wrap the cooled loaf or individual slices in plastic, then foil, and freeze for up to 3 months.
- Reheating: Thaw at room temperature, then warm slices in a toaster oven or 300°F oven for a few minutes. Microwaving too long makes the crumb gummy, so use short bursts if that’s your only option.
Answers to the Questions Worth Asking
Classic Zucchini Bread
Ingredients
Equipment
Method
- Preheat the oven to 350°F and grease two 9x5 loaf pans (or one large loaf pan).
- Whisk all-purpose flour, baking soda, baking powder, salt, cinnamon, and nutmeg in a large bowl until evenly combined, with a uniform light spice color.
- Beat granulated sugar, vegetable oil, eggs, and vanilla extract in a separate bowl until well combined and glossy.
- Stir in grated zucchini so the batter becomes speckled green-flecked and cohesive.
- Add the wet mixture to the dry mixture and fold until just combined, leaving no dry streaks.
- Fold in walnuts or pecans if using so they’re evenly distributed throughout the batter.
- Divide the batter between the loaf pans and bake for 55–65 minutes at 350°F until a toothpick comes out clean and the top is deeply golden with a cracked crust.
- Cool in the pan for 20 minutes before transferring to a wire rack, letting the loaf set as steam releases.