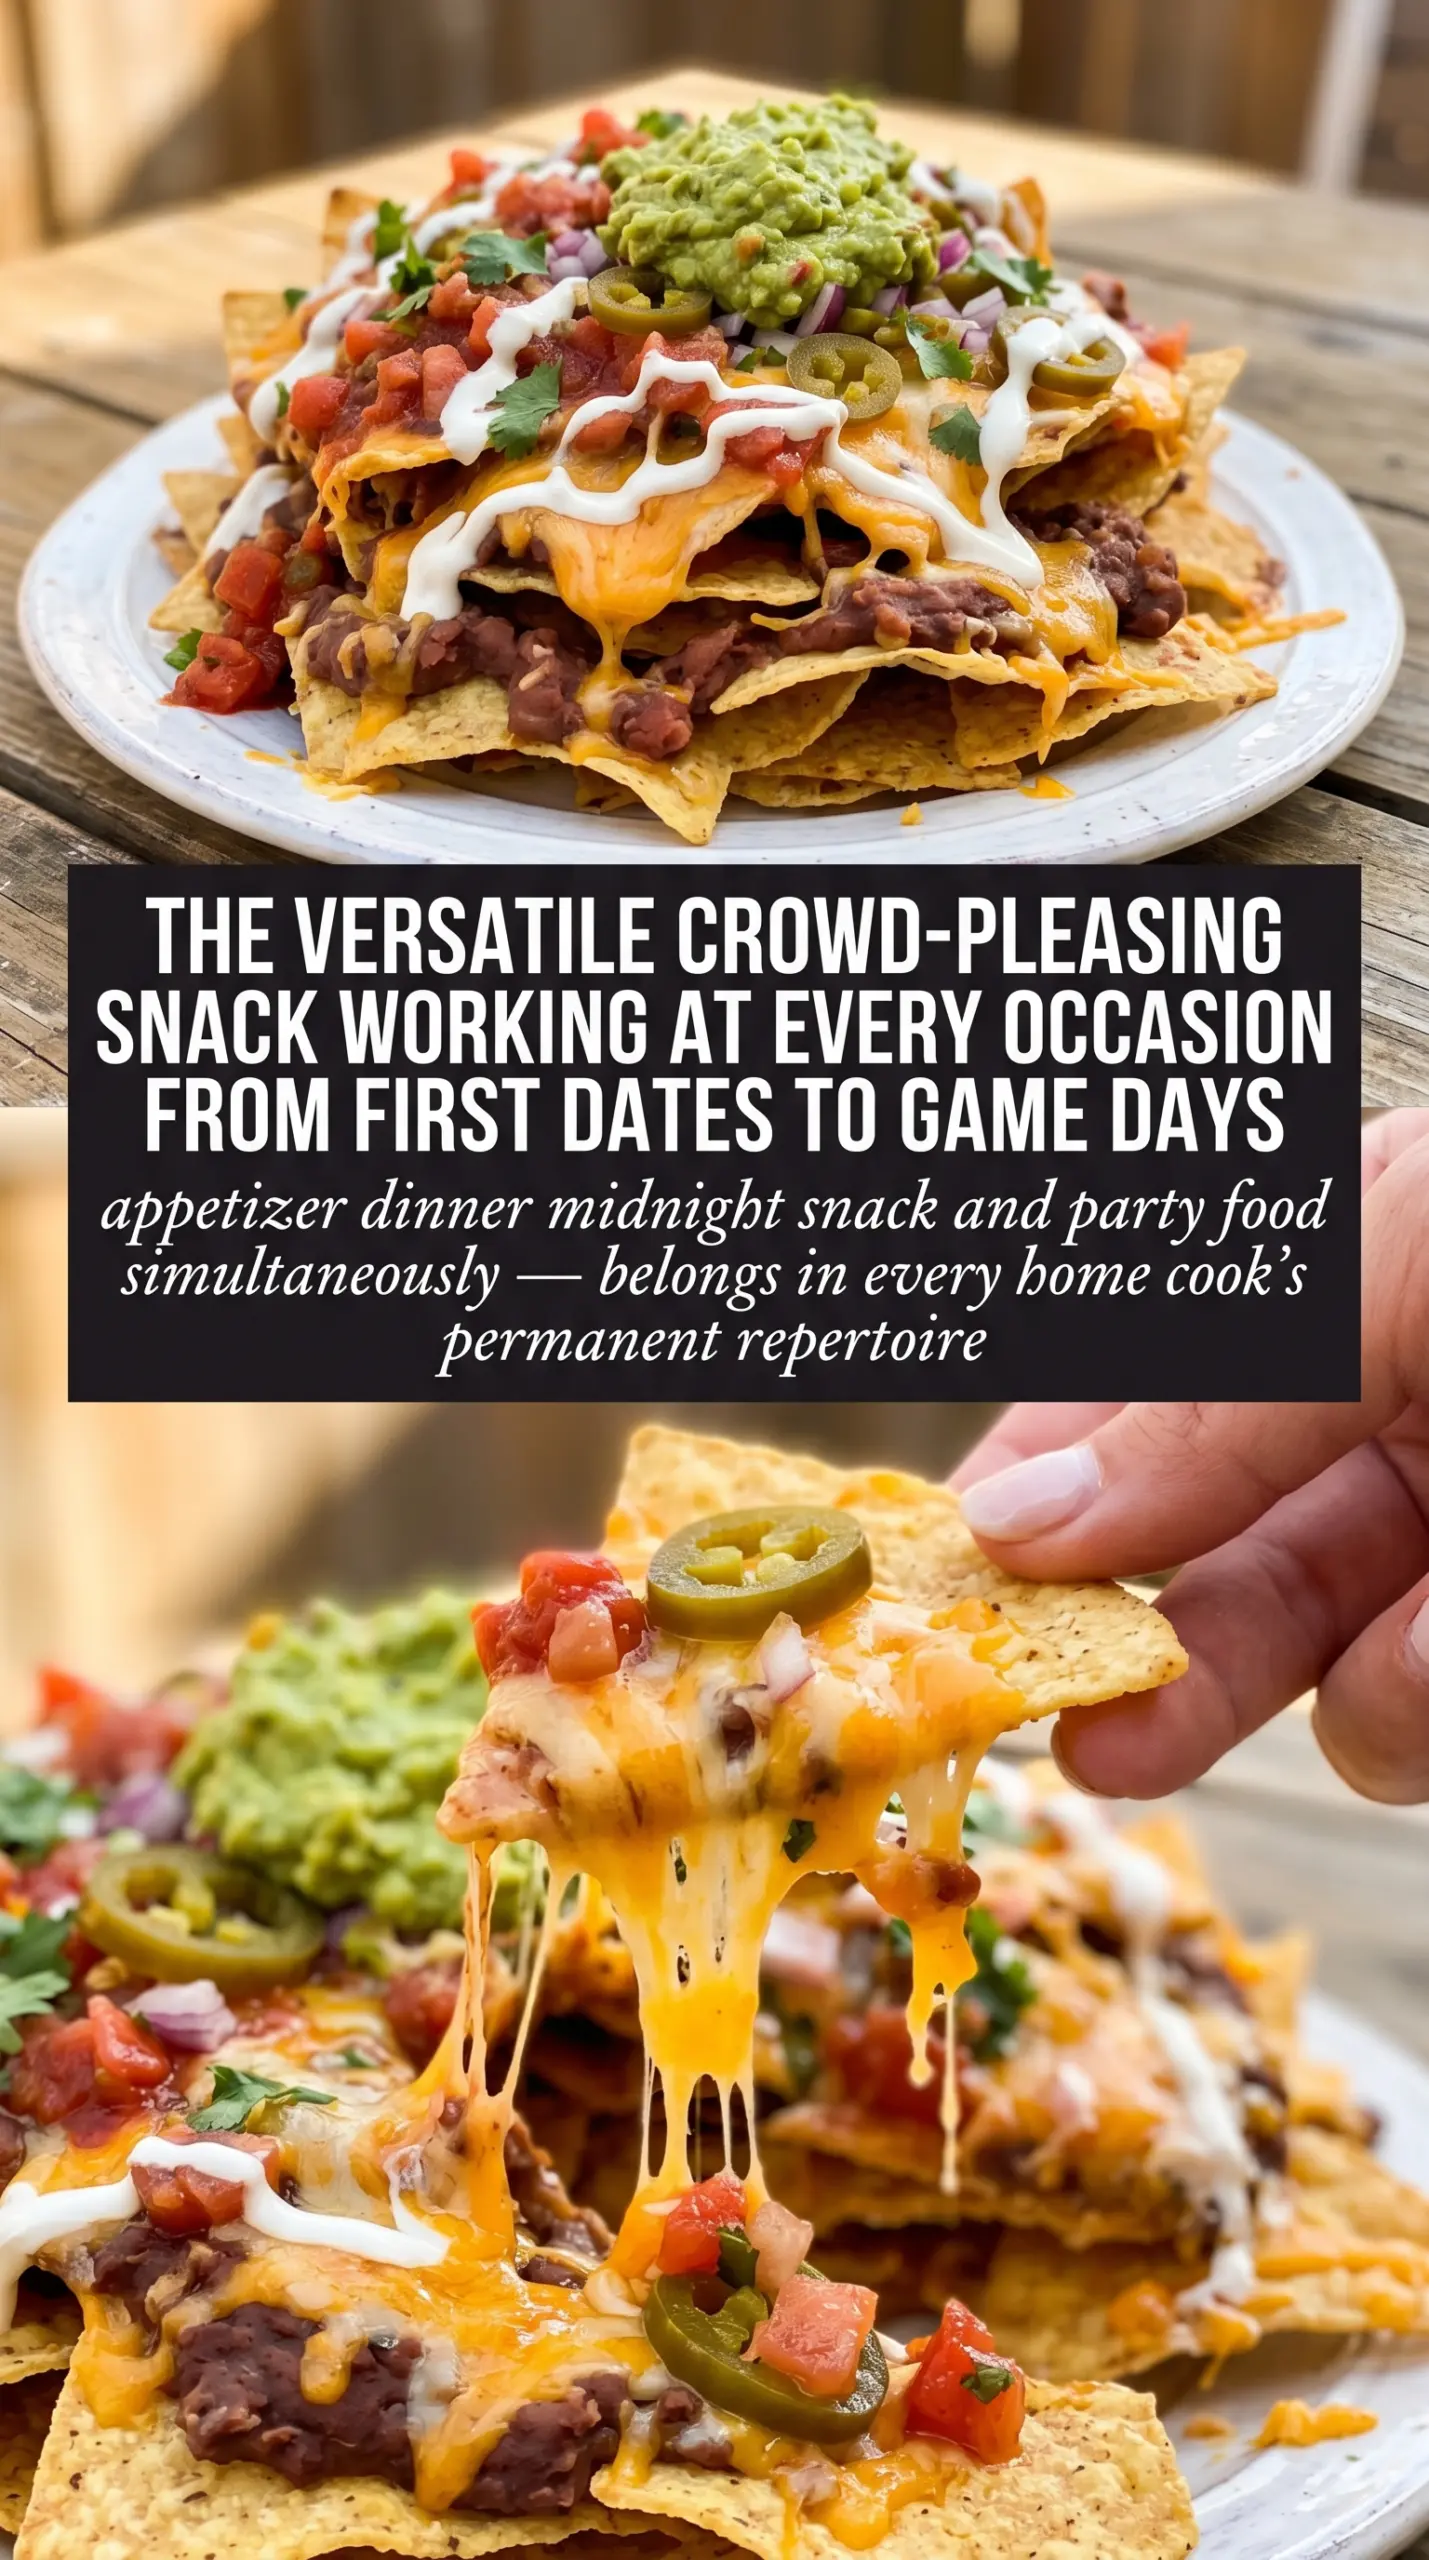
Layered nachos are at their best when the chips stay crisp, the cheese melts into every corner, and the toppings still taste fresh instead of soggy and overheated. The difference between a forgettable tray and a tray people crowd around is usually in the layering. Put the warm, heavy toppings under and between the cheese, not all on top at the end, and you get a better melt with less slide-off.
This version leans on a seasoned beef mixture, black beans, and a generous cheese blend so every bite has a little heft. The broiler does the last bit of work fast, which keeps the chips from getting scorched while the cheese bubbles and settles around the toppings. Fresh tomatoes, cool sour cream, guacamole, and salsa go on after baking so the whole platter keeps that hot-and-cold contrast that makes nachos worth making in the first place.
Below, you’ll find the layering order that keeps the chips from going limp, plus a few smart swaps for making these nachos fit different diets or whatever’s already in your fridge.
The cheese melted into every layer and the chips stayed crisp on the edges even after I added the beef and beans. I broiled it for just 4 minutes and it came out perfect for game night.
Save these layered beef nachos for the next time you need a fast platter with crisp chips, melted cheese, and fresh toppings.
Why These Nachos Don’t Turn Limp Before They Hit the Table
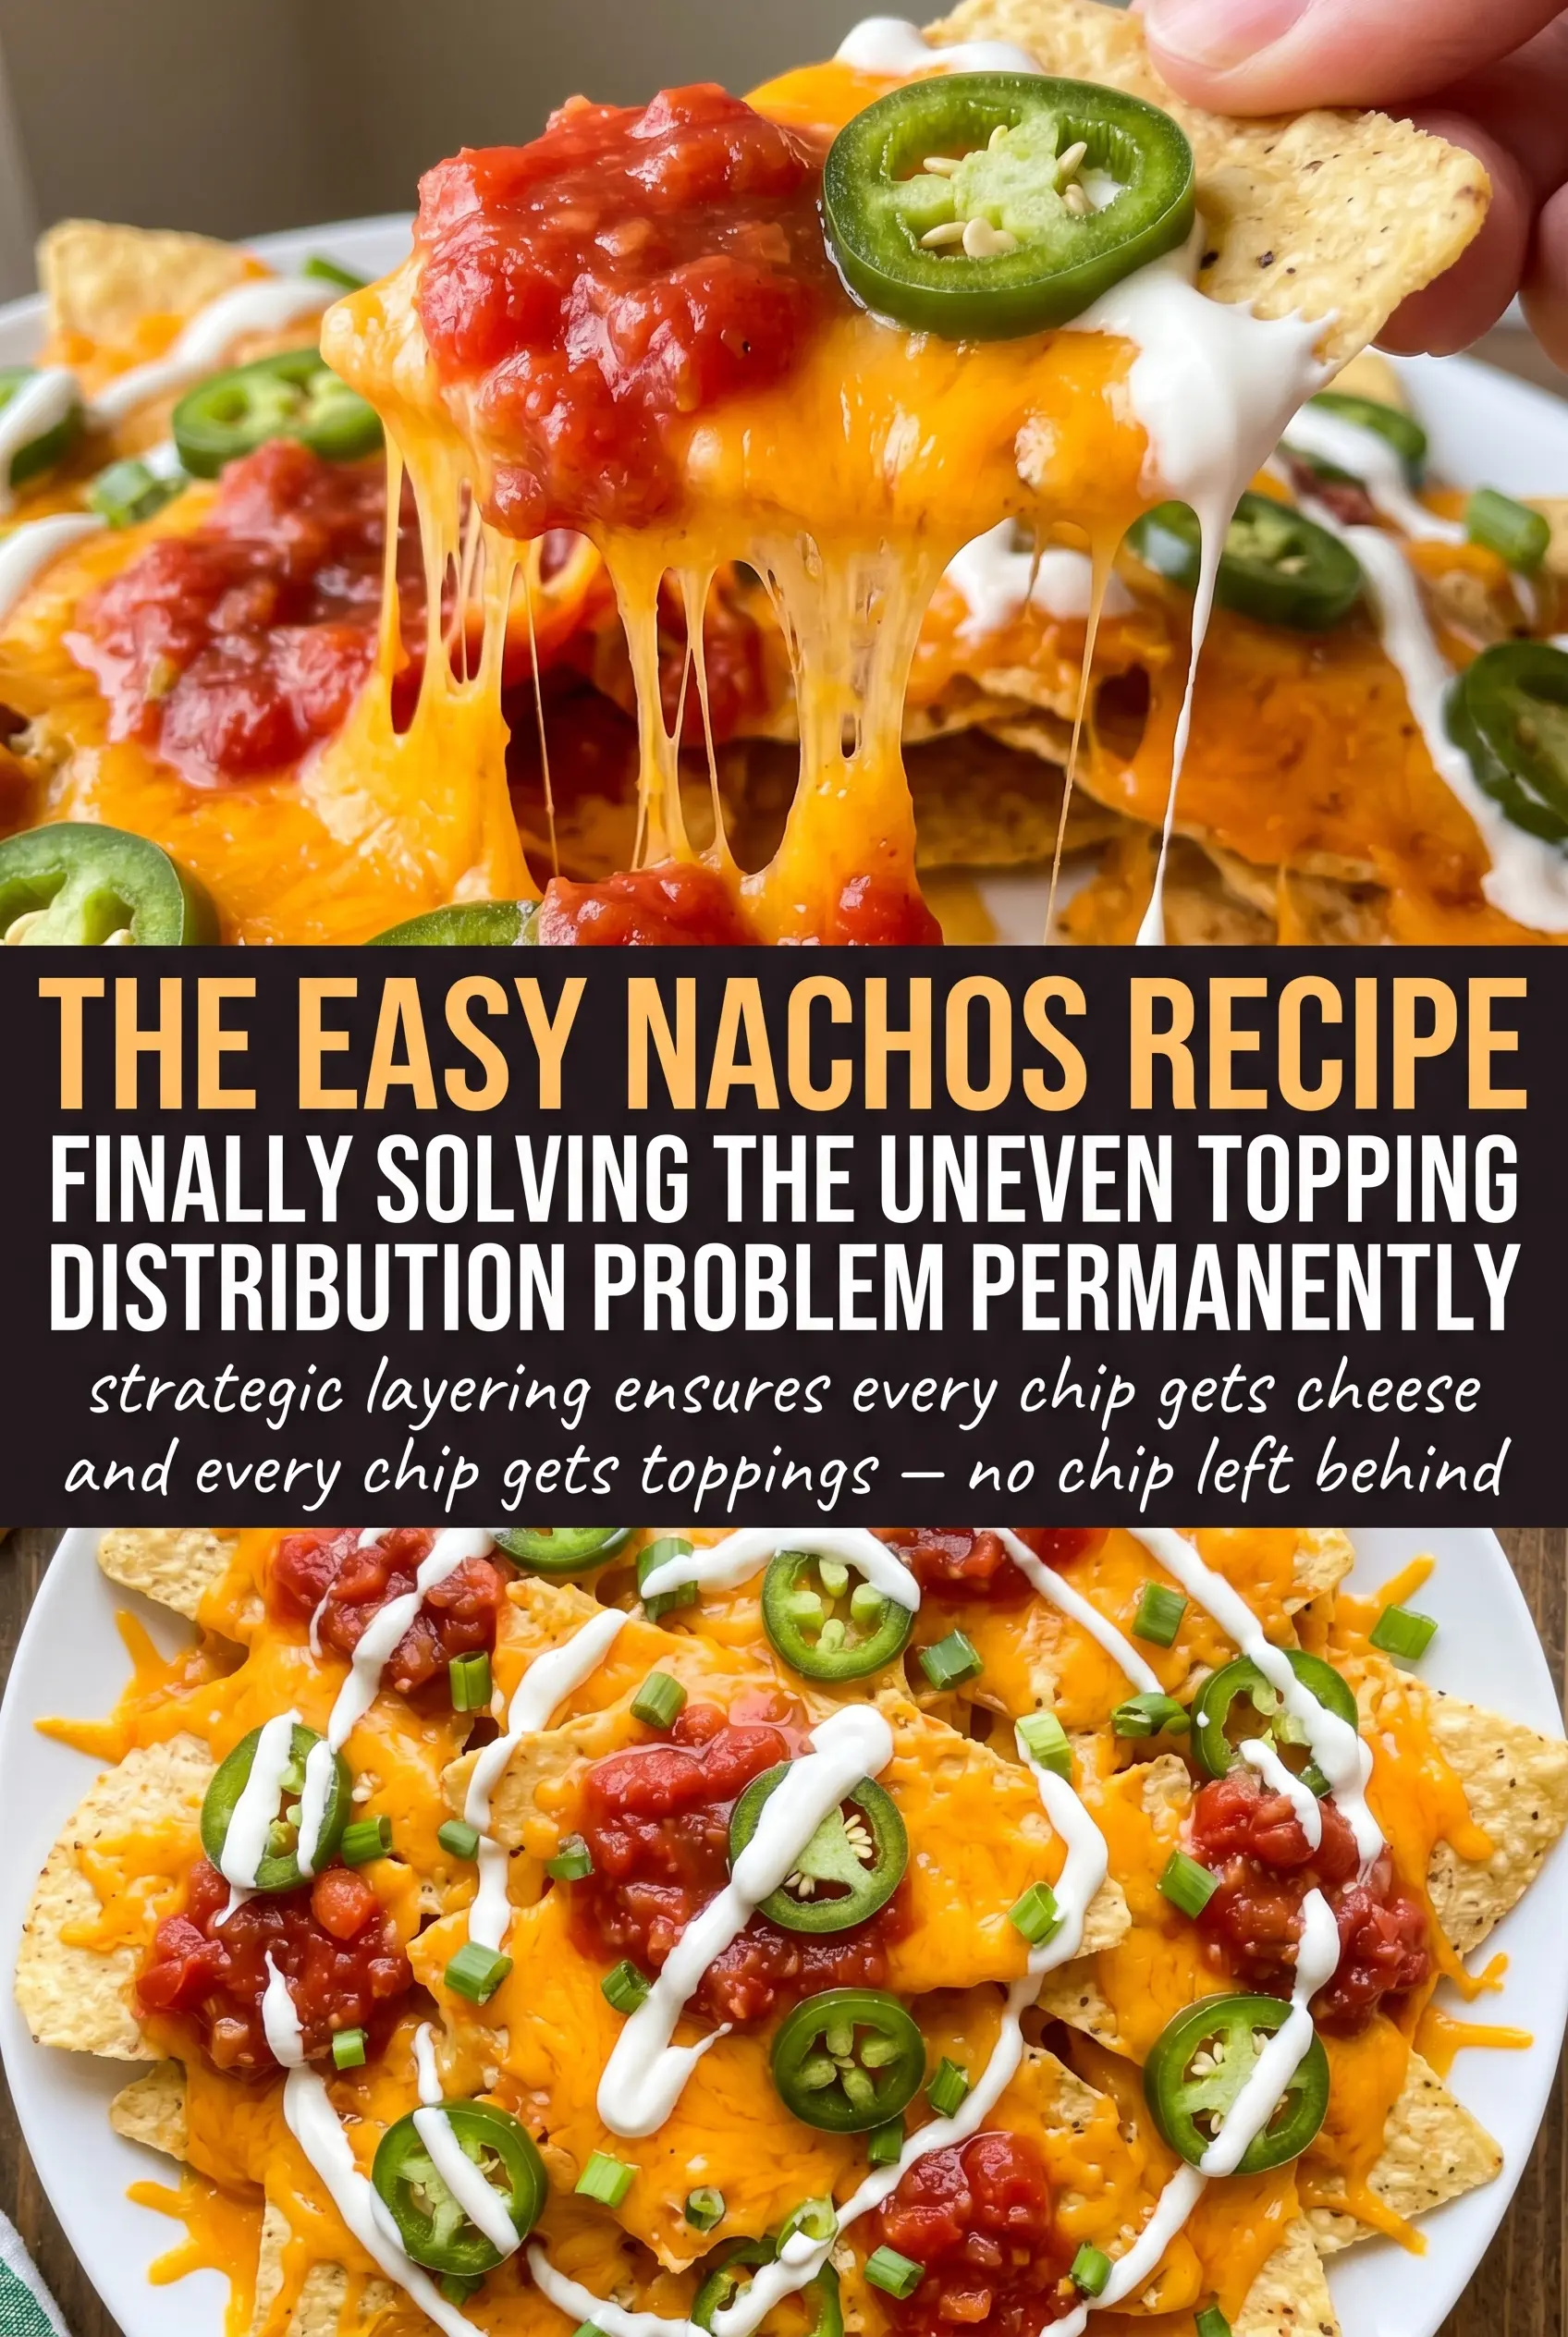
The biggest mistake with nachos is stacking everything into one heavy pile and sending it under the broiler. That sounds efficient, but the chips underneath get steamed before they ever get a chance to crisp up again. Spreading the chips in a single even layer gives the cheese a place to melt without trapping too much moisture.
Layering half the cheese first also matters. It acts like glue for the beef and beans, which keeps the toppings from rolling off the chips the second you lift a chip. If you only put cheese on top, the toppings slide around and the chips underneath stay bare.
- Even chip coverage keeps hot spots from burning while other areas stay dry.
- Half the cheese underneath helps the beef and beans settle into the platter instead of falling off the first bite.
- Broiling briefly melts the cheese fast before the chips can dry out or overbrown.
- Fresh toppings after baking keep the contrast sharp and stop the sour cream and salsa from breaking down under heat.
What Each Topping Is Actually Doing Here
- Tortilla chips need to be sturdy. Thin chips break fast under the weight of the beef and beans, so choose a bag with thick, restaurant-style chips if you can.
- Mexican cheese blend melts more smoothly than cheddar alone because it usually includes cheeses that stretch and soften well under heat. Pre-shredded is fine here, though freshly shredded will melt a little silkier.
- Ground beef brings the savory base. Use a leaner grind if you want less grease pooling on the tray, and drain off excess fat after browning if the skillet looks slick.
- Black beans add body and make the nachos more substantial without needing another pound of meat. Rinse them well so the seasoning stays on the beef, not in the canning liquid.
- Jalapeños, tomatoes, olives, sour cream, guacamole, and salsa all belong on after baking. They add brightness, salt, coolness, and moisture, but they’ll muddy the chips if they go into the oven.
Building the Tray So Every Chip Gets a Little Cheese
Seasoning the Beef First
Brown the ground beef in a skillet until there’s no pink left and the edges start to take on a little color. That extra browning gives the meat more flavor than simply cooking it through. Add the taco seasoning and follow the packet directions so the mixture stays saucy enough to spoon, but not so wet that it runs all over the chips.
Laying Down the Chips and Fillings
Spread the chips in one layer on a large baking sheet or sheet pan. If the chips pile too high, the ones underneath won’t get enough heat and the top ones will get all the toppings. Add half the cheese first, then the beef, beans, and jalapeños, and finish with the rest of the cheese so the toppings are anchored in place.
Broiling Without Burning
Broil for 3 to 5 minutes and watch it the whole time. Cheese can go from melted to scorched in a blink, especially if the pan is close to the heating element. Pull the tray the moment the cheese is bubbly and the edges are just starting to spot gold.
Finishing While the Cheese Is Still Hot
The final toppings need to go on immediately after the pan comes out. That hot cheese softens the salsa and helps the cilantro and lime wake everything up without wilting the fresh toppings into mush. If you wait too long, the cheese sets and the toppings stop clinging to the chips.
Make It Vegetarian Without Losing the Heartiness
Skip the beef and double the black beans, or add seasoned sautéed mushrooms for a deeper, meaty feel. The nachos will be lighter, but the cheese and beans still give enough weight that nothing feels missing.
Keep Them Gluten-Free
Use tortilla chips and taco seasoning that are certified gluten-free, since seasoning packets sometimes hide wheat-based fillers. The structure of the dish doesn’t change at all, so this swap is painless if you check the labels.
Turn Them Into Chicken Nachos
Shredded rotisserie chicken works well here if you want to skip the skillet. Toss it with a spoonful of the seasoning and a splash of water so it stays juicy, then build the tray the same way. The flavor gets a little lighter, but the texture stays just as satisfying.
Storage and Reheating
- Refrigerator: Store leftovers for up to 2 days in an airtight container. The chips will soften, so the texture won’t be the same.
- Freezer: These don’t freeze well once assembled. Freeze the cooked beef separately if you want to get ahead, then build fresh nachos later.
- Reheating: Reheat the beef separately, then make a fresh tray of chips and cheese in the oven or under the broiler. If you try to revive fully assembled leftovers, the chips turn chewy before the cheese warms through.
The Questions That Come Up Right Before the Broiler Goes On
Easy Nachos
Ingredients
Equipment
Method
- Brown ground beef in a skillet, breaking it up until no longer pink. Add taco seasoning and cook according to the package directions.
- Spread tortilla chips on a sheet pan in an even layer, so each chip has a chance to crisp slightly. Sprinkle half the cheese over the chips.
- Add the seasoned beef, black beans, and sliced jalapeños over the chips in an even distribution. Top with the remaining cheese.
- Broil for 3-5 minutes until the cheese is melted and bubbly with browned spots. Watch closely to avoid burning the chips.
- Remove from the oven and immediately top with diced tomatoes, sliced black olives, sour cream, guacamole, and salsa. Keep the toppings visible over the cheese layer.
- Garnish with fresh cilantro and serve with lime wedges on the side. Finish right away so the chips stay crisp.