Fireworks cupcakes earn their place on the dessert table because they look dramatic without asking for advanced decorating skills. The tall vanilla buttercream swirl gives you that bakery-style height, the star sprinkles add the red, white, and blue finish, and the sparkler pick turns each one into a little celebration.
The trick is in the buttercream texture. Beat the butter until it’s pale and fluffy before adding the powdered sugar, then keep going until the frosting lightens enough to hold a clean, tall peak. If it’s too stiff, the swirl fights the piping bag; too loose, and the colors blur instead of staying distinct. Using gel coloring keeps the red and blue bold without thinning the frosting.
Below, you’ll find the simple way to get that three-color swirl, plus a few practical notes on decorating, storage, and the small details that keep the cupcakes looking neat instead of messy.
The frosting held those tall swirls beautifully, and the red and blue colors stayed bright instead of turning pastel. I made them the night before and they still looked great the next day.
Like this tri-color buttercream? Save these Fireworks Cupcakes for a red, white, and blue dessert that looks party-ready with almost no fuss.
The Part That Keeps the Swirl Tall Instead of Sliding Off
The biggest mistake with decorated cupcakes is frosting that looks fine for five minutes and then slumps. That usually means the buttercream was too warm, or it never got beaten long enough to build enough structure. For these cupcakes, you want the frosting light and airy, but still firm enough to pipe a tall peak that holds its shape under sprinkles and a sparkler pick.
Let the cupcakes cool all the way down before you frost them. Even a little heat softens the buttercream on contact and sends the swirl leaning to one side. If your kitchen runs warm, chill the finished frosting for 10 to 15 minutes before piping. That short rest makes the difference between a clean spiral and a collapsed one.
What Each Ingredient Is Doing in These Fireworks Cupcakes
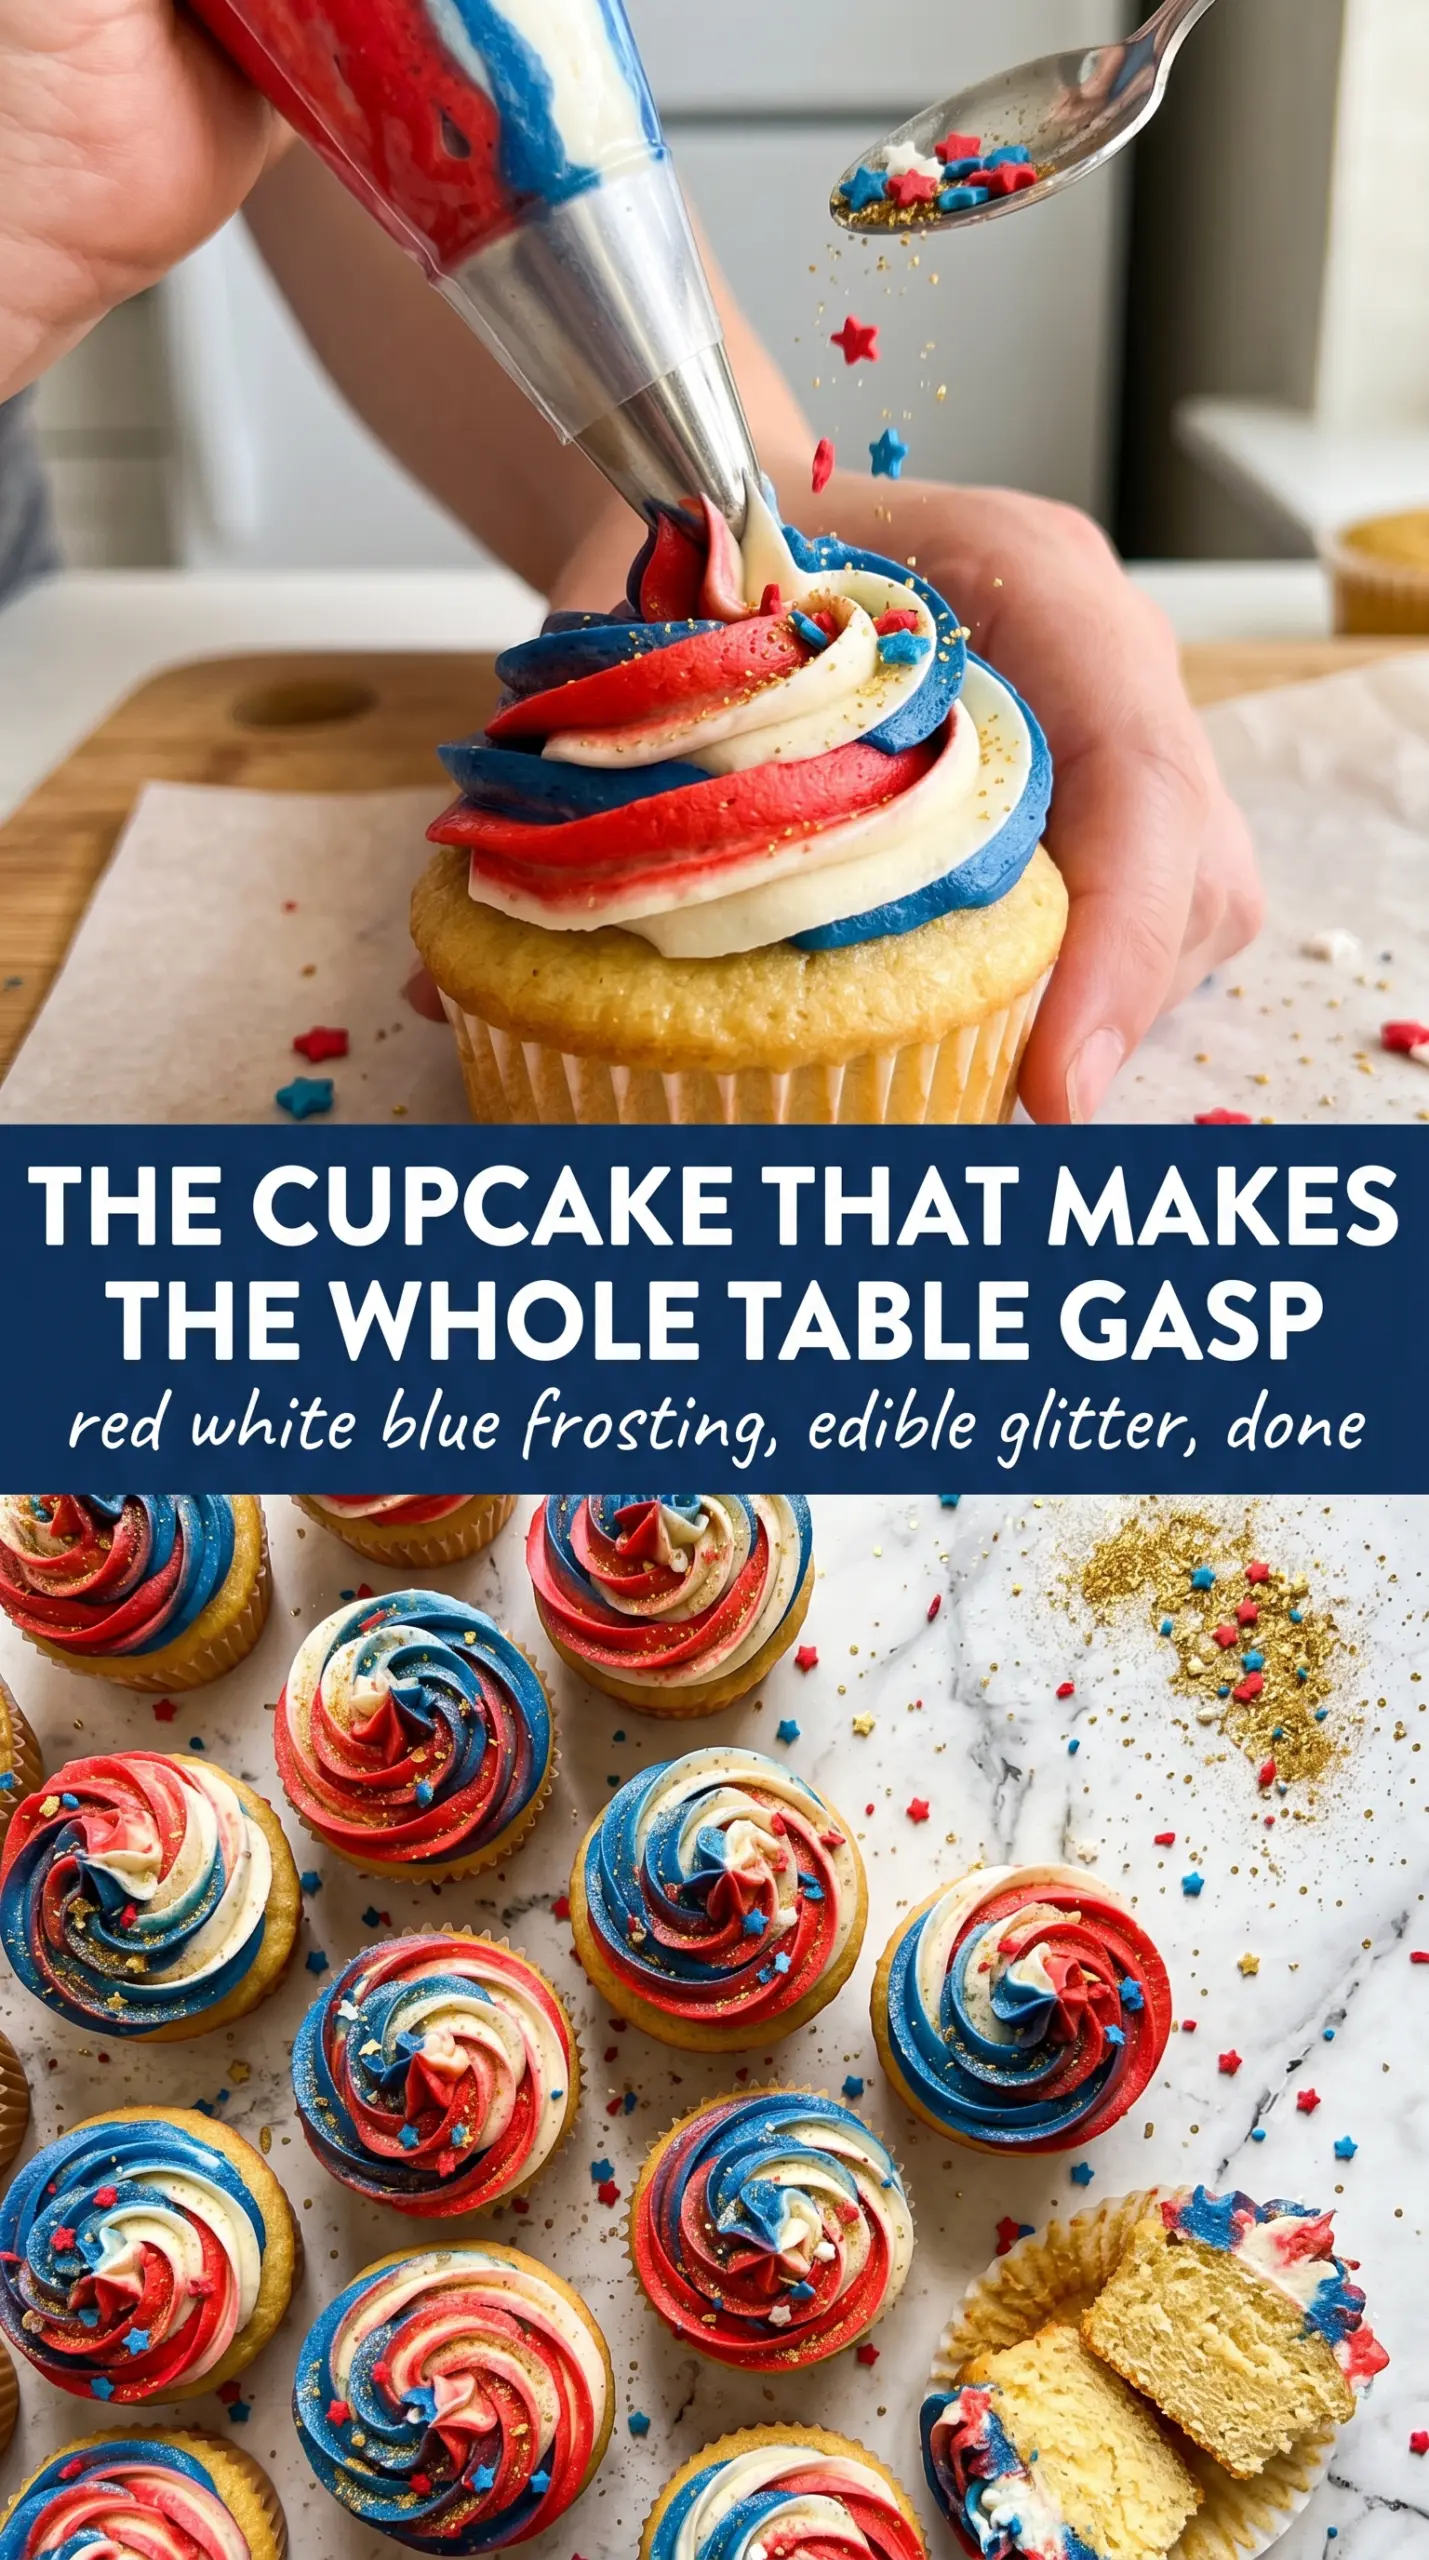
- White or vanilla cake mix — This gives you a dependable cupcake base that stays soft and sturdy enough for a generous frosting swirl. A homemade vanilla cupcake works too, but a box mix is perfectly fine here because the decoration is the star.
- Unsalted butter — Use real butter for the buttercream; it’s what gives you that rich, pipeable texture. Salted butter will work in a pinch, but unsalted gives you more control over the final taste.
- Powdered sugar — This sweetens and thickens the frosting at the same time. Don’t cut it too much or the buttercream won’t hold the tall peak that makes these cupcakes look special.
- Heavy cream — Add it slowly. A tablespoon or two can take frosting from dense to fluffy, and the extra spoonfuls help if the frosting feels stiff after mixing. Milk will work, but it won’t give the same plush texture.
- Gel food coloring — Gel gives you bright red and blue without thinning the frosting. Liquid coloring can make the buttercream loose, which ruins the sharp tri-color swirl.
- Star sprinkles — The star shape keeps the look playful and patriotic. Use them after piping so they stick to the frosting instead of sinking into it.
- Sparkler picks or flag picks — These are the finishing touch, but they should go in only when you’re ready to serve. If they sit too long, they can wilt the frosting around them.
Building the Buttercream So the Colors Stay Distinct
Whipping the Base First
Start with softened butter and beat it until it looks pale and fluffy, not just smooth. That extra whipping adds air, which is what gives the frosting enough lift to make a tall swirl instead of a heavy cap. If the butter still looks dense at this stage, the finished frosting will feel greasy and won’t pipe cleanly.
Adding Sugar and Cream in Layers
Pour in the powdered sugar gradually so it doesn’t turn into a cloud and doesn’t clump. Once the frosting thickens, add the cream a little at a time until it becomes silky and spreadable, then beat it for a full three minutes. That final beating matters because it smooths out the grainy edges and gives you a frosting that looks light on the cupcake instead of pasty.
Creating the Tri-Color Swirl
Divide the frosting into three parts, then color one red and one blue with gel coloring while leaving the third white. Spoon the colors side by side into the piping bag so they sit next to each other instead of getting mixed together in the bowl. If you overfill the bag or stir the colors around too much, you’ll lose the stripe effect and end up with a muddy blend.
Piping the Finish
Pipe onto fully cooled cupcakes with steady pressure and pull up at the end to create a peak. Don’t twist the tip around too much or the swirl will flatten. Add the sprinkles immediately, while the frosting is still soft enough to catch them, then place the sparkler pick in the center just before serving.
How to Change These Cupcakes Without Losing the Look
Gluten-Free Fireworks Cupcakes
Use a gluten-free white or vanilla cake mix and bake it according to the package directions. The decoration stays exactly the same, and the frosting gives you the same tall, festive finish. Just check that your sprinkles and decorations are gluten-free if that matters for your table.
Dairy-Free Buttercream
Swap the butter for a high-quality dairy-free baking stick and use a little dairy-free cream or plant milk to adjust the texture. The frosting won’t taste quite as rich, but it will still pipe well if you beat it long enough to get enough air into it.
Make-Ahead Decorating Plan
Bake the cupcakes a day ahead and store them covered at room temperature once they’re completely cool. You can make the frosting a day ahead too; just bring it back to room temperature and beat it for a minute or two before piping so it becomes fluffy again.
Brighter Party Version
If you want a bigger visual punch, use an extra few drops of red and blue gel coloring and top each cupcake with a second pinch of sprinkles after piping. The result is bolder and more dramatic, but the frosting still needs to stay thick enough to hold its shape.
Storage and Reheating
- Refrigerator: Store frosted cupcakes in an airtight container for up to 3 days. The buttercream will firm up, but the cake may dry out a little if it’s left uncovered.
- Freezer: Freeze the unfrosted cupcakes for up to 2 months. The frosted version can be frozen, but the sprinkles may bleed a little and the decoration won’t look as crisp when thawed.
- Reheating: Let refrigerated cupcakes sit at room temperature for 30 to 45 minutes before serving. Don’t microwave them, or the frosting will melt and lose the tall swirl you worked for.
Questions I Get Asked About This Recipe
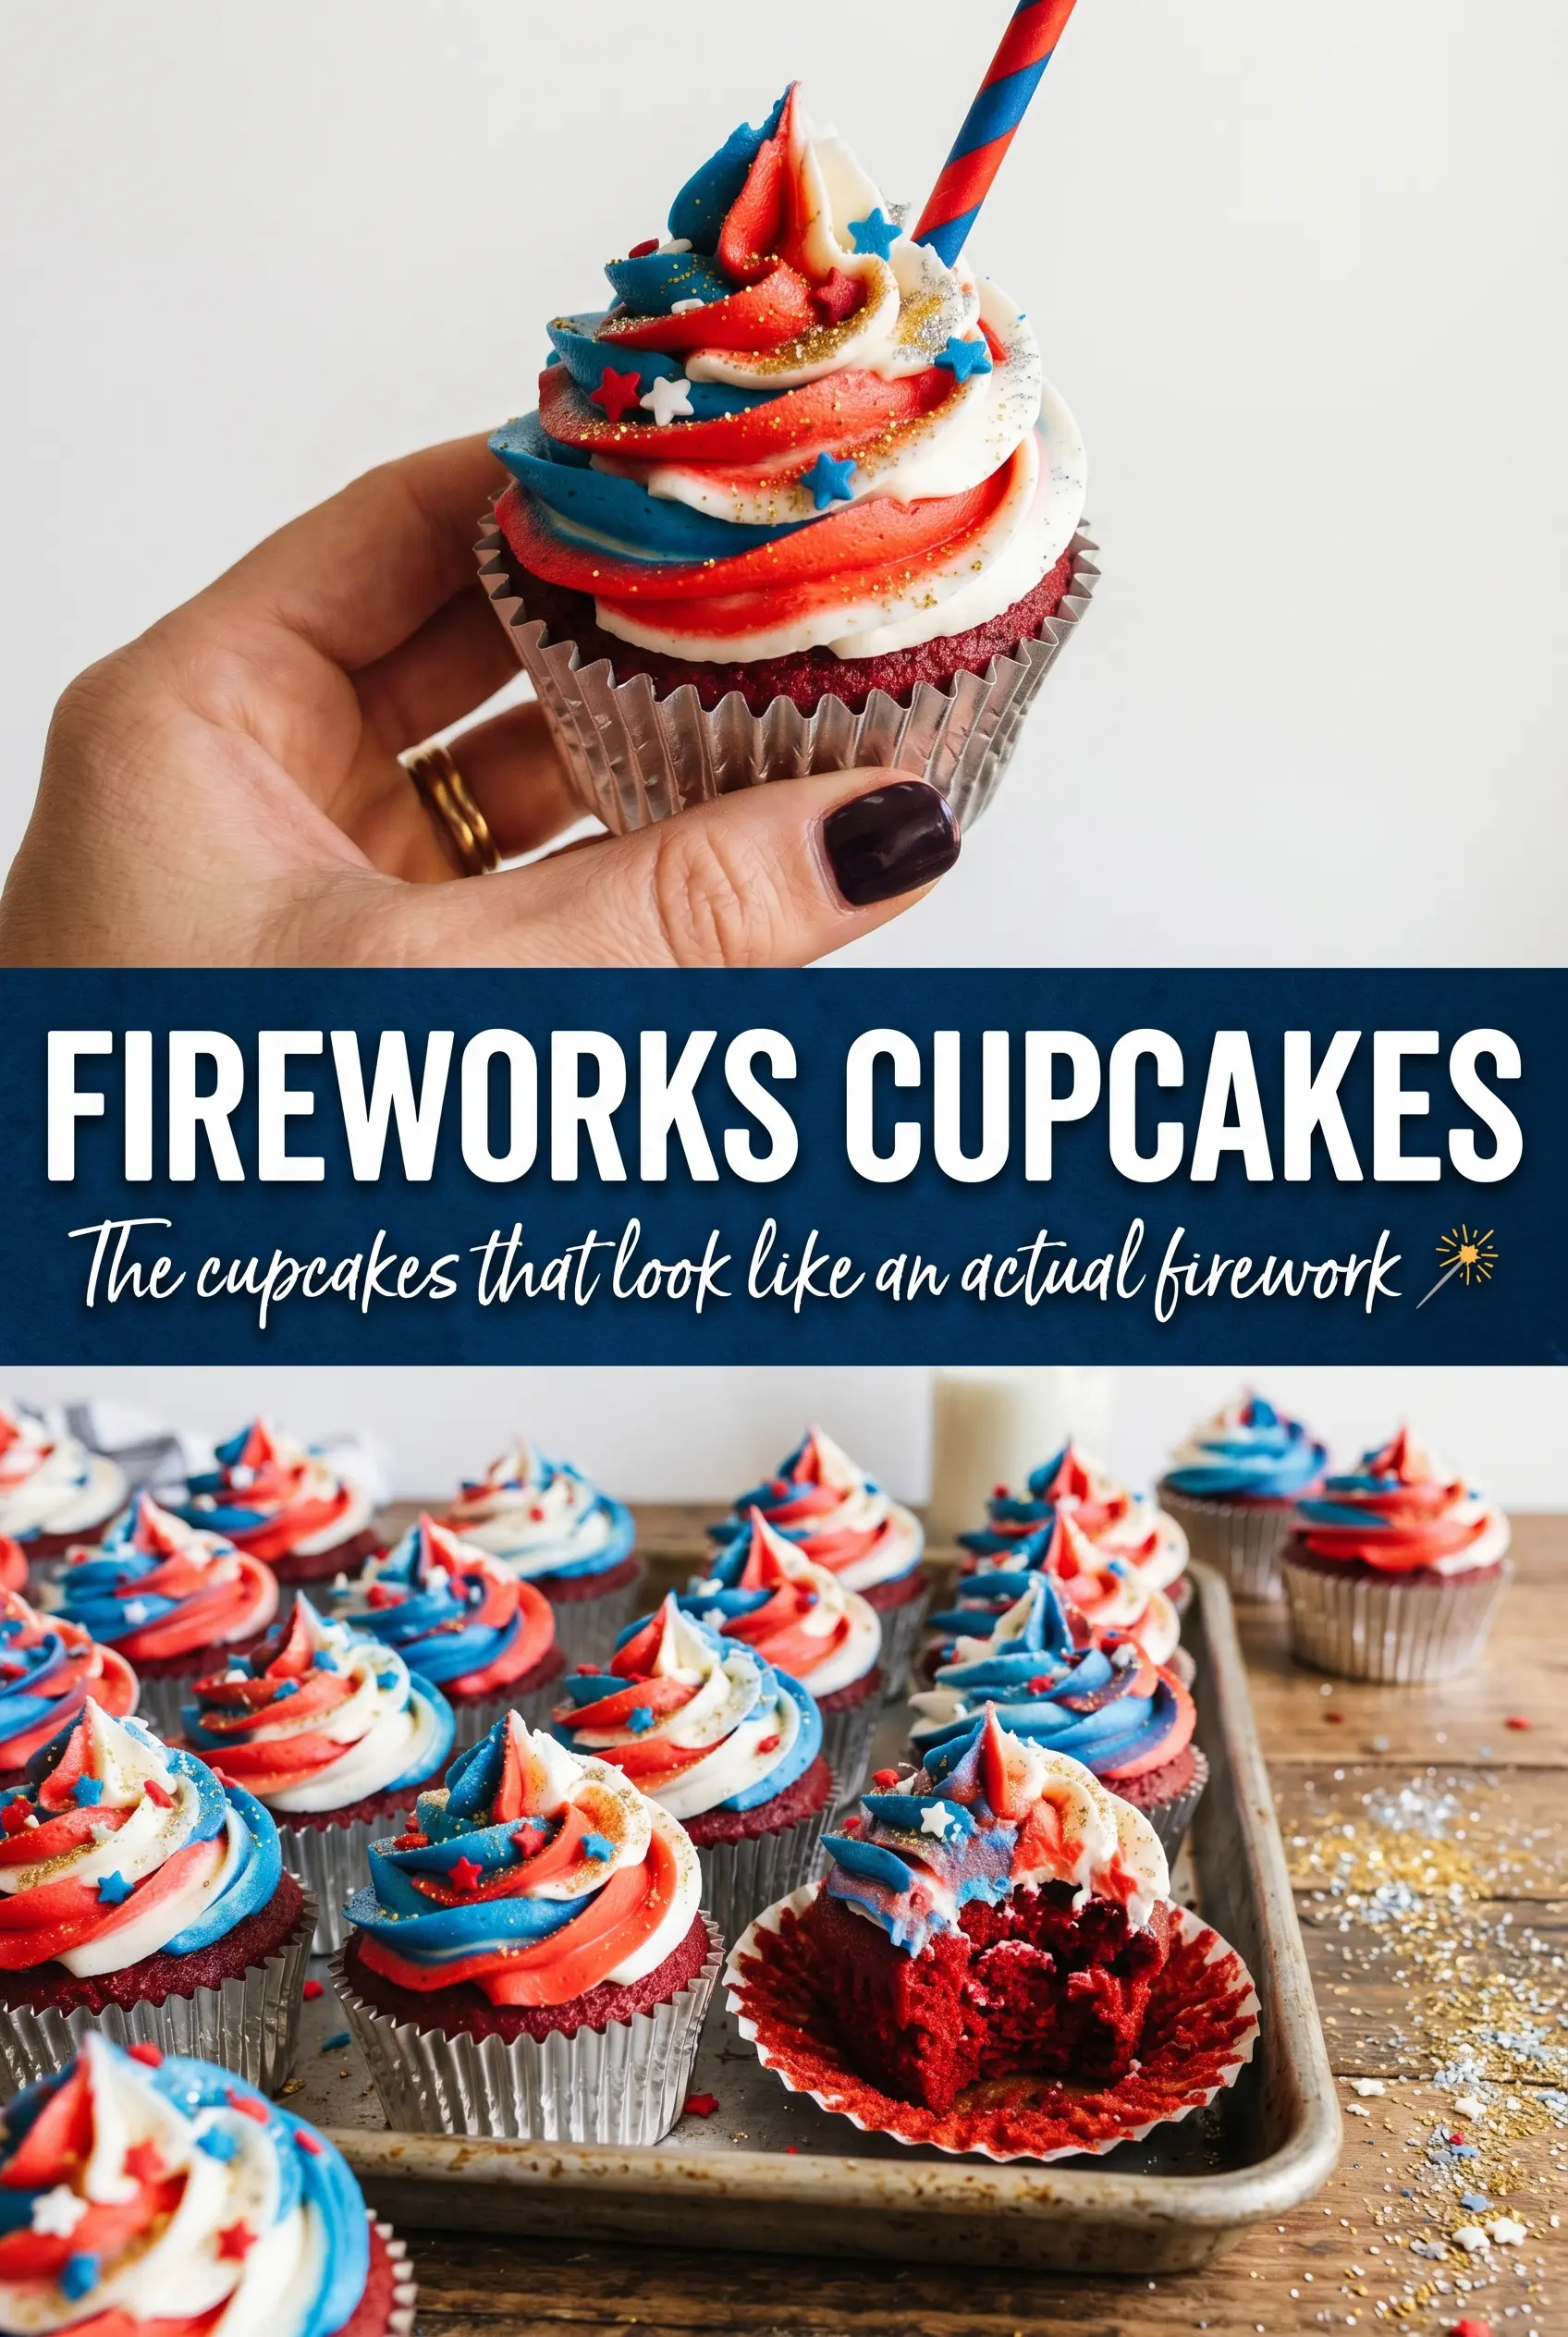
Fireworks Cupcakes
Ingredients
Equipment
Method
- Preheat the oven and bake cupcakes according to package directions in lined muffin tins. Pull them when a toothpick comes out clean, then cool completely on a wire rack for crisp frosting hold.
- Beat softened butter until fluffy in a stand mixer. Gradually add powdered sugar while mixing to keep the buttercream smooth.
- Add vanilla extract and heavy cream, then beat on high for 3 minutes until very light and fluffy. Stop once the frosting looks pale, airy, and thick enough to pipe.
- Divide buttercream into three portions, leaving one white and tinting one red and one blue with gel food coloring. Stir each portion until the color is uniform.
- Load a piping bag fitted with a large star tip with all three colors side by side for a tri-color swirl. Keep the colors packed together so the swirl forms at the tip.
- Pipe a tall swirled peak onto each cooled cupcake. Apply steady pressure to build a dramatic peak that holds its height.
- Shower each cupcake with red, white, and blue star sprinkles over the peak while the frosting is fresh. Aim the sprinkles down the sides so they cascade visually.
- Insert a sparkler pick into the center of each cupcake and serve immediately. Place the picks last to keep them looking upright and fireworks-ready.