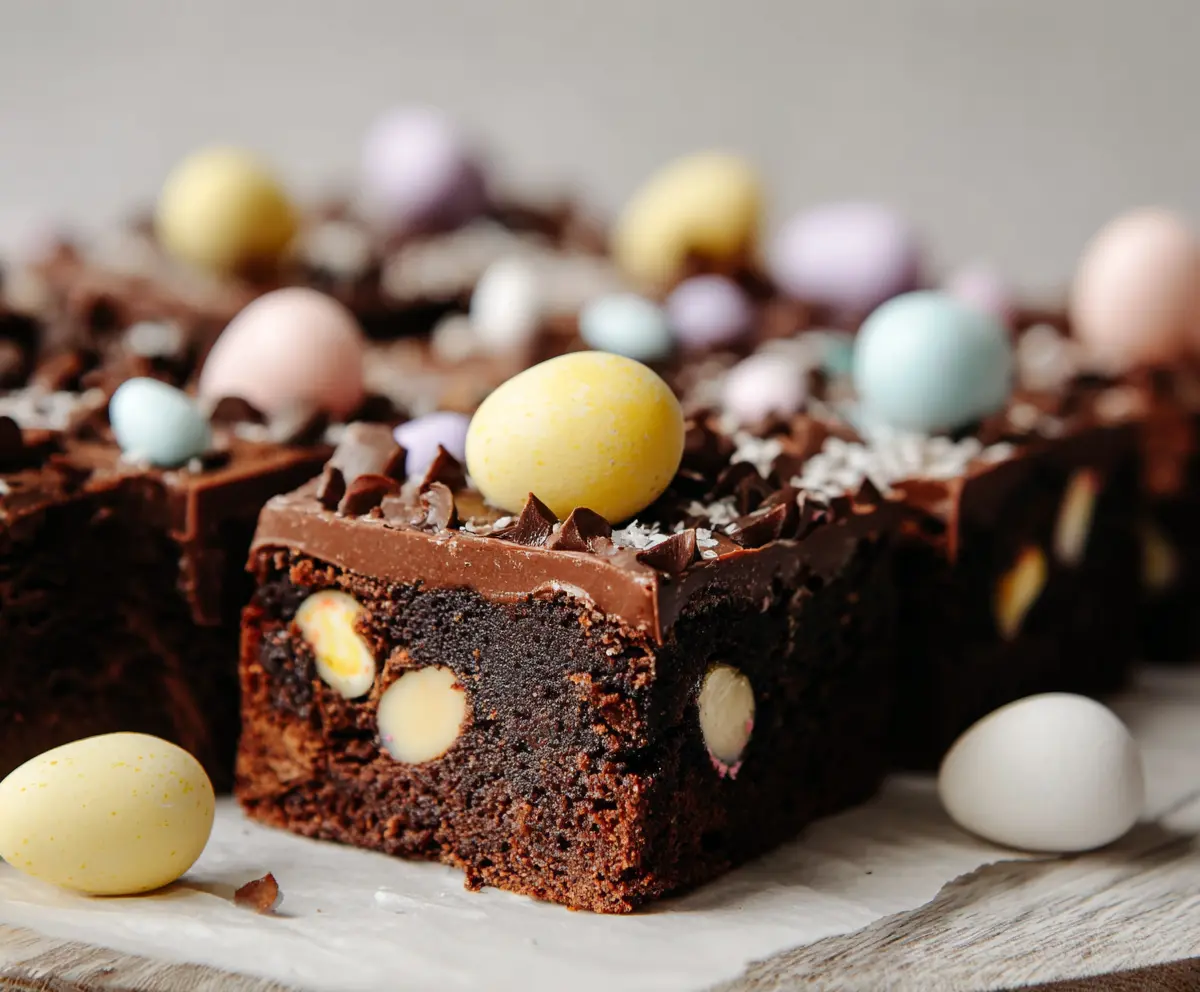
These Frosted Mini Egg Easter Brownies are a fun treat that everyone will love! Rich, chocolatey brownies are topped with a creamy frosting and colorful mini eggs.
They’re perfect for parties or just a sweet surprise at home. I can never have just one—those crunchy eggs make it hard to resist. Who can say no to chocolate and eggs? 🐣
Plus, they’re super easy to whip up! Just bake, frost, and decorate. Grab some friends to help, and you’ll have a blast making these yummy brownies together!
Key Ingredients & Substitutions
Dark Chocolate: This ingredient gives richness to your brownies. I recommend a chocolate with 60-70% cocoa content for a nice balance of sweetness and depth. If you’re out of dark chocolate, semi-sweet chocolate works too.
Unsalted Butter: This keeps the control of salt in your dessert. You can swap it with coconut oil or margarine if you’re looking for a dairy-free option.
Granulated Sugar: Standard white sugar is used here, but brown sugar can create a deeper flavor. If you’re avoiding refined sugar, coconut sugar is a great alternative as well.
White Chocolate Mini Eggs: These add fun and sweetness. If you can’t find them, regular chocolate chunks or even dried fruits can add both flavor and texture.
Milk Chocolate (for Frosting): You could use dark or white chocolate instead but keep in mind that this will alter the flavor. Personally, I love using dark chocolate for a contrasting taste!
How Do I Ensure My Brownies Are Fudgy and Not Overbaked?
Getting perfectly fudgy brownies can be tricky, but here are some tips:
- Watch the baking time closely: Start checking around 20 minutes. A toothpick should pull out a few moist crumbs, not clean.
- Let them cool completely before cutting. This helps them firm up without getting dry.
- Underbake just a little if you prefer them gooey – remember they’ll continue to cook slightly as they cool.
Don’t rush the cooling process; it’ll make all the difference for that fudgy texture you’re aiming for!
How to Make Frosted Mini Egg Easter Brownies
Ingredients You’ll Need:
For the Brownies:
- 200g (7 oz) dark chocolate, chopped
- 150g (2/3 cup) unsalted butter
- 250g (1 1/4 cups) granulated sugar
- 3 large eggs
- 1 tsp vanilla extract
- 95g (3/4 cup) all-purpose flour
- 30g (1/4 cup) unsweetened cocoa powder
- 1/4 tsp salt
- 100g (about 2/3 cup) white chocolate mini eggs, chopped roughly or whole depending on size
For the Frosting:
- 100g (3.5 oz) milk chocolate, chopped
- 50g (1/4 cup) unsalted butter
- 2 tbsp heavy cream
Decoration:
- Mini Cadbury style Easter eggs (whole, pastel colors)
- Optional: chocolate chips or flakes for extra texture
How Much Time Will You Need?
This delicious brownie recipe will take about 20 minutes of preparation time, plus an additional 20-25 minutes of baking time. Allow a little time for cooling before you frost and serve them, making the total time approximately 1 hour, including cooling.
Step-by-Step Instructions:
1. Preheat Oven and Prepare Pan:
First things first! Preheat your oven to 180°C (350°F). Line a square 8×8 inch (20×20 cm) baking pan with parchment paper. Make sure to leave some overhang on the sides. This makes it super easy to lift the brownies out later.
2. Melt Chocolate and Butter:
Next, take a heatproof bowl and place it over a pot of simmering water (this is called a double boiler). Add the chopped dark chocolate and butter to the bowl. Stir until everything is melted and smooth. Once melted, remove from the heat and set it aside to cool slightly.
3. Mix Eggs and Sugar:
In a large mixing bowl, whisk together the sugar and eggs until the mixture turns pale and slightly fluffy. This usually takes about 2-3 minutes. Now, add the vanilla extract and give it another quick whisk.
4. Combine Chocolate and Egg Mixtures:
It’s time to bring things together! Slowly pour the melted chocolate mixture into your egg mixture while stirring constantly. This helps combine everything without cooking the eggs.
5. Add Dry Ingredients:
Sift in the all-purpose flour, cocoa powder, and salt into the bowl. Gently fold these dry ingredients into the batter using a spatula. Be careful not to overmix; just mix until you don’t see any flour.
6. Add White Chocolate Mini Eggs:
Now, fold in those fun white chocolate mini eggs, making sure they are evenly distributed throughout the brownie batter.
7. Bake Brownies:
Pour your brownie batter into the prepared pan and smooth out the top. Bake in the preheated oven for 20 to 25 minutes. To check for doneness, insert a toothpick near the center. It should come out with a few moist crumbs. Just make sure not to overbake, so they stay nice and fudgy!
8. Cool Brownies:
Once baked, let the brownies cool completely in the pan on a wire rack. This is an important step—you want them cool before frosting!
9. Prepare Frosting:
In another heatproof bowl placed over simmering water, melt together the milk chocolate and butter until smooth. Once melted, remove it from the heat and stir in the heavy cream until everything is glossy and smooth.
10. Frost Brownies:
Now it’s time to frost! Pour and spread the rich chocolate frosting evenly over the cooled brownies.
11. Decorate:
While the frosting is still soft, press the pastel mini Easter eggs into the top of the brownies, spacing them out evenly. If you like, sprinkle extra chocolate chips or flakes around for a bit of added flair!
12. Set and Serve:
Let the frosting set at room temperature for a bit. If you want to speed things up, you can pop the brownies in the fridge briefly. Once set, cut into squares and enjoy!
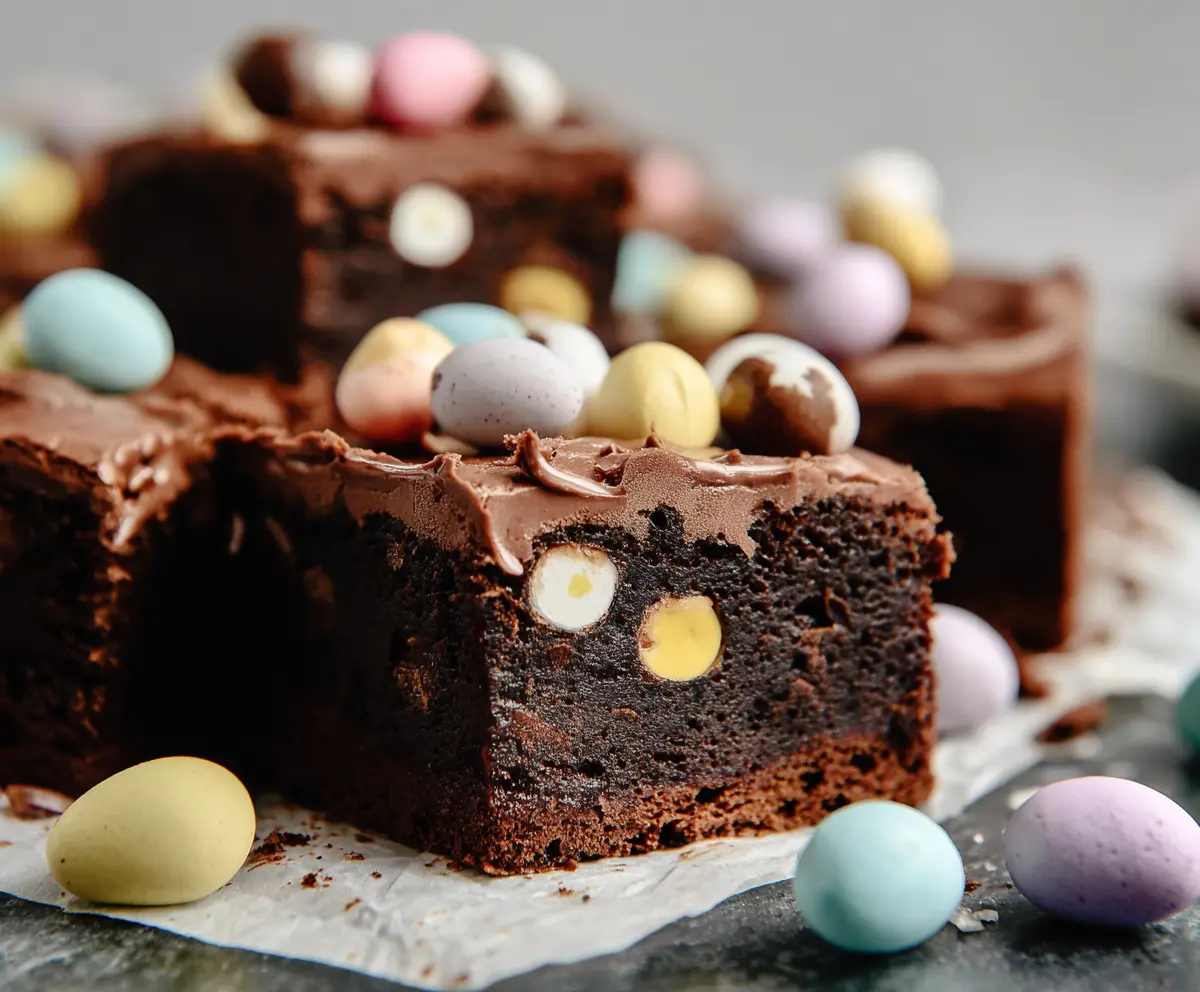
Enjoy your festive, fudgy Frosted Mini Egg Easter Brownies, complete with creamy chocolate topping and colorful candy eggs!
Can I Use Different Types of Chocolate for This Recipe?
Absolutely! You can substitute the dark chocolate with semi-sweet or bittersweet chocolate, depending on your taste. For the frosting, feel free to use dark chocolate instead of milk chocolate for a richer flavor.
How Should I Store Leftover Brownies?
Store any leftover brownies in an airtight container at room temperature for up to 3 days. For longer storage, you can refrigerate them for up to a week or freeze them for up to 3 months. Just make sure to wrap them well to prevent freezer burn!
What Can I Use Instead of Unsalted Butter?
If you don’t have unsalted butter on hand, you can use salted butter in a pinch. Just be careful to reduce the added salt in the recipe. Alternatively, coconut oil or margarine works well for a dairy-free version!
Can I Make These Brownies Gluten-Free?
Yes, you can! Just substitute the all-purpose flour with a gluten-free flour blend. Make sure your baking powder is also gluten-free if you use it in your mix. The texture may vary slightly, but they will still be delicious!