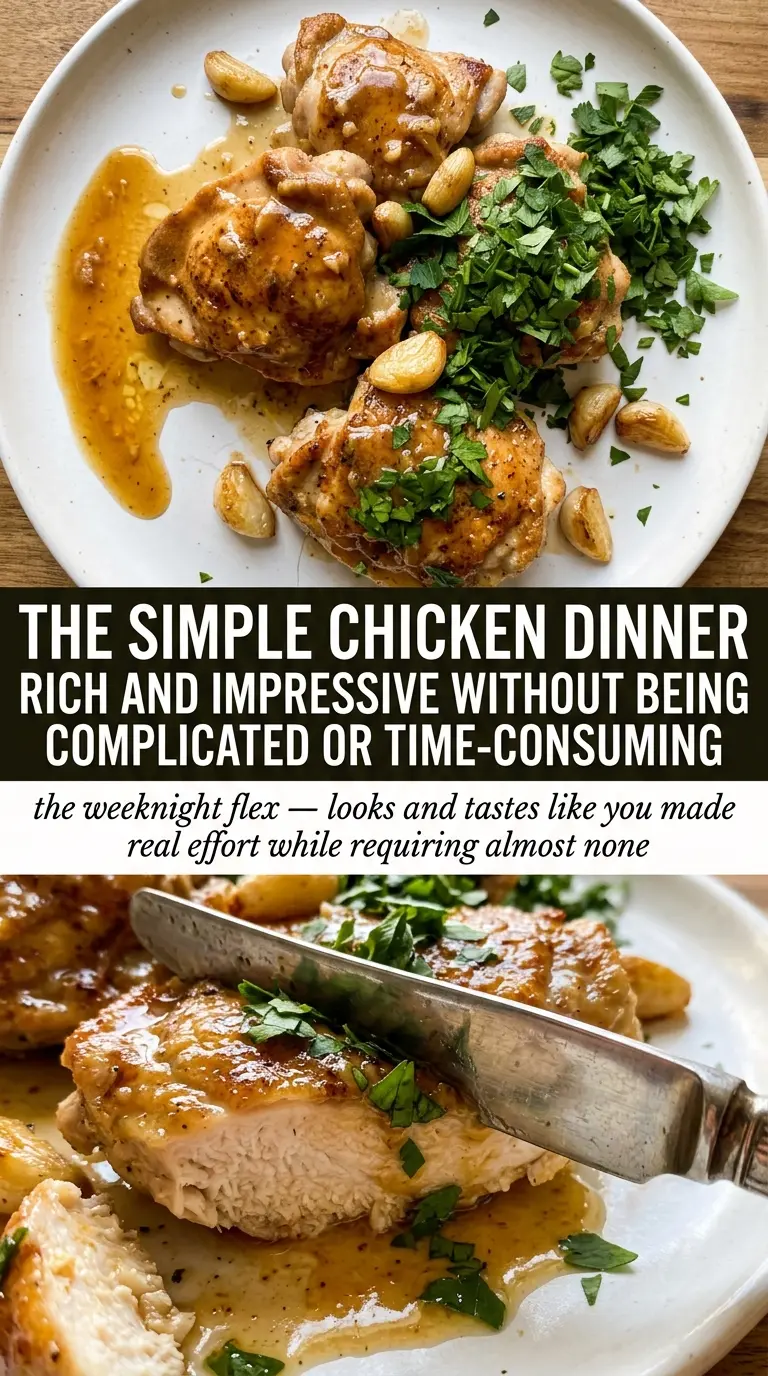
Golden chicken breasts with a garlicky butter sauce are the kind of dinner that gets wiped out before the skillet even hits the table. The chicken stays juicy because it gets a hard sear first, then finishes in a quick pan sauce that picks up every browned bit from the pan. That means you get crisp edges, tender meat, and a sauce that tastes like it took a lot more effort than it did.
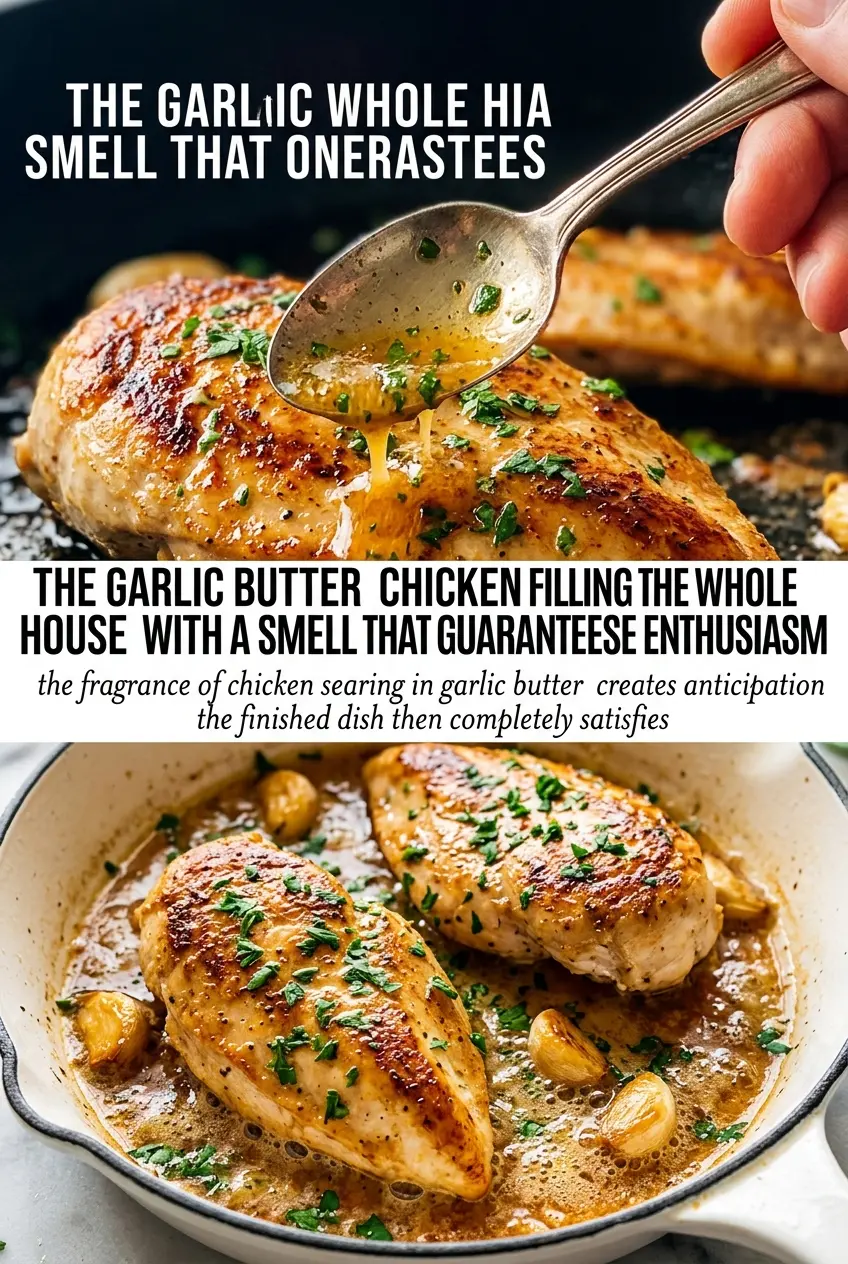
What makes this version work is the order. The chicken sears before the sauce goes in, so the pan has enough heat to build color instead of steaming the meat. Then the garlic cooks in butter just long enough to turn fragrant without going bitter, and the broth loosens the fond into a glossy sauce that clings to the chicken instead of pooling like soup.
Below, I’ve included the small details that matter most: how to keep the garlic from burning, what to look for when the chicken is actually done, and a few smart swaps if you need to adjust what’s in your kitchen.
The chicken seared up beautifully and the garlic butter sauce clung to every slice. I deglazed with the broth exactly like the recipe said, and the pan sauce turned glossy instead of greasy.
Save this garlic butter chicken for the nights when you want a skillet dinner with crisp edges and a glossy pan sauce.
The Sear Is the Sauce Builder Here
Chicken breasts can go dry fast if they sit around waiting for the pan sauce to come together, which is why the sear comes first and the sauce comes second. You want a deep golden crust on the outside and the center just cooked through to 165°F. If the chicken is pale, the skillet was crowded or not hot enough. If the crust is dark before the middle is done, the heat was too aggressive.
The pan drippings matter here. Those browned bits are what give the broth and butter something to grab onto, and without them the sauce tastes flat. Scraping the skillet after the broth goes in pulls all that flavor into the sauce, and it also keeps the butter from separating into an oily layer.
What the Garlic, Butter, and Broth Each Do
- Chicken breasts — Boneless breasts cook fast and take on the garlic butter sauce well, but they dry out if they’re uneven. If one side is much thicker, pound them lightly so they finish at the same time and sear more evenly.
- Butter — This is where the sauce gets its body and shine. You can’t fully replace it with oil and get the same result, because butter emulsifies with the broth and coats the chicken instead of sliding off.
- Garlic — Fresh minced garlic is worth using here. Jarred garlic works in a pinch, but it’s often wetter and less fragrant, and it can turn harsh faster in the pan. Keep the heat at medium once the butter goes in so it softens and blooms instead of burning.
- Chicken broth — Broth turns the browned bits into sauce. Water will loosen the pan, but it won’t give you the same savory backbone. Use low-sodium broth if you want more control over seasoning at the end.
- Lemon juice — A small squeeze at the end keeps the sauce from tasting heavy. Add it after the pan comes off the strongest heat so it stays bright instead of cooking dull.
- Fresh parsley — Parsley is more than garnish here; it cuts through the richness and keeps the finish clean. Dried parsley won’t give you the same fresh lift.
How to Keep the Sauce Glossy, Not Greasy
Season and Sear the Chicken Hard
Pat the chicken dry before seasoning it. Moisture on the surface is what blocks browning, and browning is what gives this dish its depth. Heat the olive oil until it shimmers, then lay the chicken down and leave it alone long enough to form a crust. If you move it too soon, it sticks and tears instead of releasing cleanly.
Cook the Garlic in the Butter, Not Before It
Once the chicken is out, lower the heat before adding the butter and garlic. Butter burns faster than most people expect, and burned garlic turns bitter in a few seconds. You want the garlic to smell fragrant and look lightly softened, not browned. If the pan is screaming hot, pull it off the burner for a moment before the garlic goes in.
Use the Broth to Pull Up the Fond
When the broth hits the skillet, scrape the bottom with a wooden spoon and keep it moving. The sauce should look slightly loose at first, then tighten as it simmers for a couple of minutes. That short simmer concentrates the flavor without reducing it into something salty or sticky. Return the chicken while the sauce still has enough movement to coat the spoon.
Finish with Lemon and Parsley at the End
Lemon juice belongs at the finish because heat mutes its brightness. Stir in the parsley right before serving so it stays green and fresh. Spoon the sauce over the chicken in the pan, then serve it immediately while the butter is still glossy and the edges of the chicken are crisp.
How to Adapt This Chicken When You Need a Different Finish
Make It Dairy-Free
Swap the butter for a plant-based butter that melts cleanly, not margarine with a strong processed taste. You’ll lose a little of the classic richness, but the garlic, broth, and lemon still carry the dish well. Keep the heat moderate so the substitute doesn’t break or scorch.
Use Chicken Thighs Instead
Boneless thighs give you more forgiveness and a deeper savory flavor. They usually need a few extra minutes to cook through, but they stay juicy even if they go a touch past ideal. Keep the same sauce method and check that the center reaches 165°F.
Add a Gluten-Free Side Without Changing the Recipe
The chicken itself is naturally gluten-free, so nothing in the pan sauce needs changing. Serve it over mashed potatoes, rice, or roasted vegetables instead of bread if you’re avoiding gluten. Just confirm your broth is labeled gluten-free, since that’s the ingredient most likely to hide a problem.
Make the Sauce a Little Lighter
Cut the butter back by a tablespoon and lean on the broth and lemon for balance. The sauce won’t be as rich, but it will still coat the chicken and taste clean instead of heavy. This is the best move if you want the garlic front and center.
Storage and Reheating
- Refrigerator: Store leftovers in an airtight container for up to 3 days. The sauce will thicken as it chills, which is normal.
- Freezer: It freezes, but the butter sauce can separate a little after thawing. If you do freeze it, cool it completely first and use it within 2 months.
- Reheating: Warm it gently in a covered skillet over low heat with a splash of broth. High heat is what dries out the chicken and breaks the sauce.
Answers to the Questions Worth Asking
Garlic Butter Chicken
Ingredients
Equipment
Method
- Season the chicken breasts generously with salt and pepper.
- Heat the olive oil in a large skillet over medium-high heat, then sear the chicken for 6-7 minutes per side until golden and cooked through to 165°F.
- Remove the chicken to a plate and set aside, then reduce the heat to medium.
- Add the butter and garlic to the skillet and cook for 1-2 minutes until fragrant, letting the garlic turn lightly golden.
- Add the chicken broth and dried thyme, scraping up any browned bits, then simmer for 2-3 minutes.
- Return the chicken to the pan and spoon the sauce over top.
- Add lemon juice to taste and sprinkle with fresh parsley, then serve immediately.