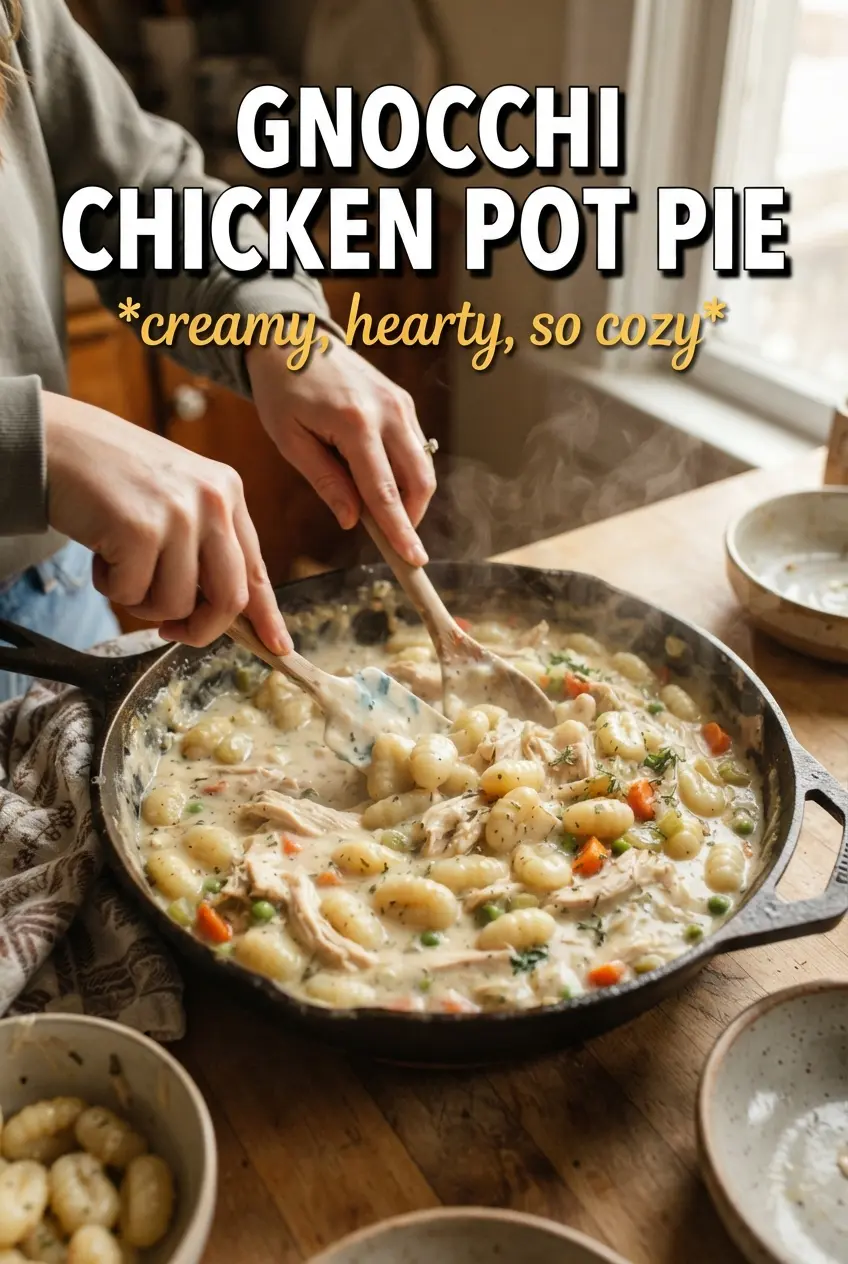
Gnocchi chicken pot pie lands with the kind of comfort that makes people go quiet at the table for a minute. The filling turns creamy and rich without feeling heavy, the gnocchi slip in like little dumplings, and the top bakes to a crisp, golden lid that cracks just enough when you spoon through it. It has all the cozy payoff of chicken pot pie, but the gnocchi give it a softer, more satisfying bite than a standard crust-only version.
The trick is building the filling before the oven ever sees it. The vegetables need time to soften in butter so they taste sweet instead of raw, and the flour has to cook for a full minute before the broth goes in or the sauce can taste pasty. The gnocchi go in uncooked, which saves a step and lets them finish in the sauce as they bake, soaking up flavor while staying tender.
Below, I’ve included the part that matters most if you want the sauce to thicken properly, plus a few simple swaps for the topping and a couple of ways to adapt the dish for different diets.
The sauce thickened up beautifully and the gnocchi stayed pillowy instead of mushy. I used puff pastry on top and it came out golden and crisp all the way across.
Save this gnocchi chicken pot pie for the nights when you want a creamy filling, a crisp golden top, and one-pan comfort with a little extra texture.
The Secret to Keeping the Gnocchi Tender Instead of Gummy
The biggest mistake with a dish like this is treating the gnocchi like pasta and boiling them first. They don’t need it. Uncooked gnocchi go straight into the thickened filling, then finish in the oven where they absorb flavor without falling apart. If you pre-cook them, they can go soft fast once they sit in the sauce and bake a second time.
The other thing that matters is the thickness of the filling before it goes into the oven. It should coat a spoon, not pour like soup. If it’s too loose, the gnocchi will sink and the top will bake before the center has the right body. A quick simmer after adding the broth and cream gives you that creamy base that clings to every bite.
- Gnocchi — shelf-stable potato gnocchi works well here, and it’s one place where the store-bought version is fine. Just use them straight from the package.
- Chicken — cooked, shredded chicken keeps the timing simple. Rotisserie chicken is the easiest swap and brings a little extra seasoning.
- Heavy cream — this gives the filling its velvety texture. Half-and-half works in a pinch, but the sauce will be a little lighter and less rich.
- Puff pastry or biscuits — puff pastry gives a flaky, bakery-style top, while biscuits make the dish more rustic and hearty. Either one works, but puff pastry needs the egg wash to brown evenly.
Building the Filling Before the Oven Takes Over
Softening the Vegetables
Start with the onion, carrots, and celery in butter and cook them until the onion looks translucent and the carrots have just begun to lose their raw edge. That first five minutes matters because undercooked vegetables stay crunchy after baking, and this dish should eat like a finished dinner, not a casserole that needs more time. If the pan looks dry, lower the heat and let the butter do the work instead of browning the vegetables too fast.
Cooking Out the Flour
Once the garlic and thyme hit the pan, add the flour and stir for a full minute. You’re looking for a paste that smells a little nutty, not raw and dusty. This step keeps the sauce smooth later, and skipping it is what leaves you with a filling that tastes like flour paste instead of pot pie gravy.
Thickening the Sauce
Pour in the broth gradually while whisking, then add the cream and let the mixture simmer until it coats the back of a spoon. The sauce should look glossy and slightly thick before the chicken and gnocchi go in. If it feels thin at this stage, it will stay thin in the oven, because the moisture from the chicken and gnocchi will loosen it even more.
Finishing Under the Crust
Fold in the chicken, peas, and gnocchi, then season well before the topping goes on. The filling should taste a touch more seasoned than you think it needs, because the pastry or biscuits mute some of the salt. Bake until the top is deeply golden and the filling is bubbling at the edges; that bubbling is your sign the center has heated through and the gnocchi are done.
Three Ways to Adapt This Without Losing the Comfort
Puff Pastry for a Flaky, Crisp Finish
Use puff pastry if you want a lighter, shattering top that bakes into crisp layers. Lay it over the hot filling and brush it with egg wash so it browns instead of drying out. This version feels a little more elegant and less like a biscuit-topped casserole.
Biscuit Topping for a Hearty, Homey Version
Refrigerated biscuits make the topping more substantial and give you soft, buttery centers with golden edges. Space them over the filling so the steam can escape; if they’re packed too tightly, the middles can stay doughy while the tops brown. This version is better if you want a sturdier dinner and less fuss with rolling dough.
Dairy-Free Version
Use a plant-based butter and an unsweetened, full-fat dairy-free cream alternative. The sauce won’t be quite as rich as the original, but it still thickens well if you keep the heat moderate and give the flour time to cook. Choose a topping that fits your needs, since both puff pastry and some biscuit brands contain butter.
Storage and Reheating
- Refrigerator: Store leftovers covered for up to 4 days. The gnocchi will absorb more sauce as it sits, so the filling gets thicker.
- Freezer: Freeze before baking for the best texture. Assemble in a freezer-safe dish, wrap tightly, and bake from thawed for the most even result; baked leftovers can freeze, but the topping won’t stay as crisp.
- Reheating: Reheat in the oven at 350F, covered loosely with foil until hot, then uncover for the last few minutes to re-crisp the top. Microwaving works in a pinch, but it softens the crust and can make the gnocchi a little too tender.