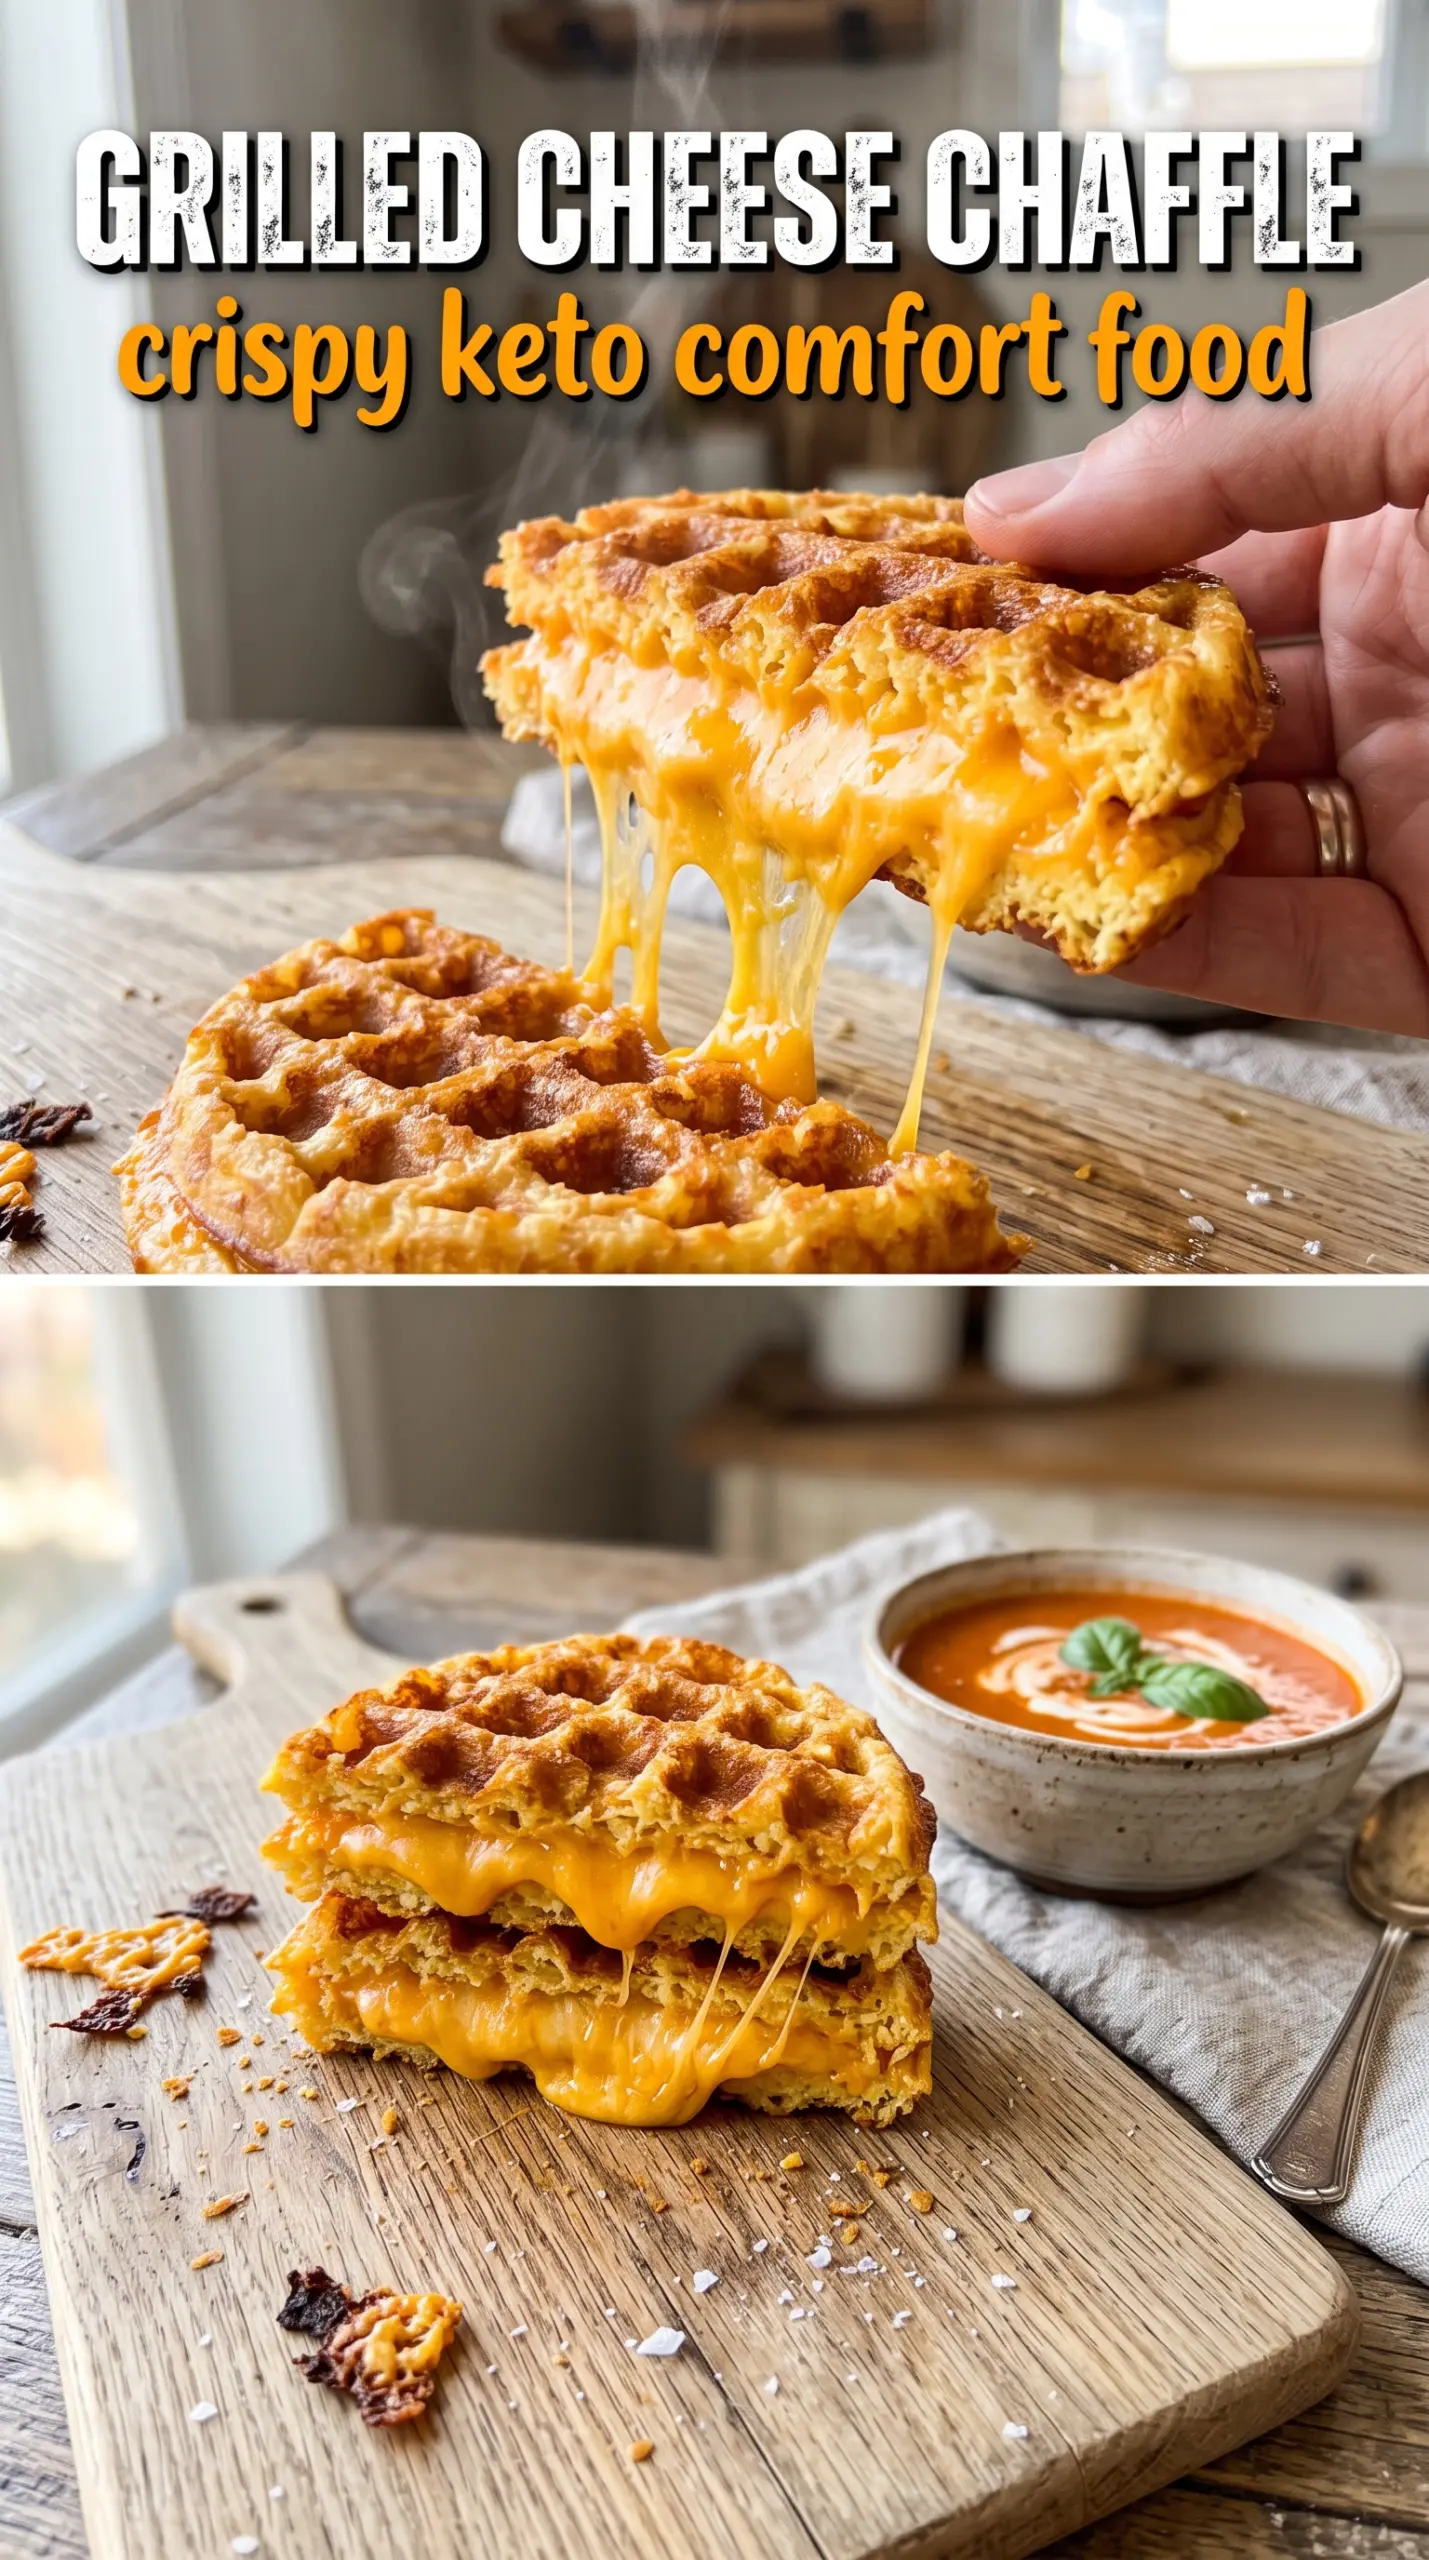
Grilled cheese chaffles give you the crisp, buttery bite of a waffle with the kind of melted cheese center that stretches across the plate when you cut into it. The outside stays sturdy enough to hold the filling, but the inside still tastes like the comfort-food sandwich you wanted in the first place. It’s a small swap that changes the whole texture in a way regular bread can’t match.
The trick is keeping the chaffle batter tight and letting the waffle maker do most of the work before the sandwich ever hits the skillet. Mozzarella gives structure, cream cheese keeps the crumb tender, and a short cook in the pan at the end seals everything together without burning the exterior. If you rush the skillet stage, the cheese inside won’t fully melt before the crust darkens.
Below, I’m walking through the part that matters most: how to get crisp chaffles instead of soft eggy waffles, plus a few swaps that keep the sandwich sturdy if you want to change the cheese or make it dairy-free.
The chaffles turned out crisp enough to hold the sandwich, and the cheddar melted right through without making the middle soggy. My kids asked for tomato soup on the side, which was the perfect call.
Like this grilled cheese chaffle? Save it to Pinterest for the crispiest low-carb sandwich nights.
The Crisp Shell That Keeps the Sandwich from Going Soft
The failure point in a grilled cheese chaffle is almost always moisture. Eggs need enough cheese around them to set into a crisp waffle, not a tender omelet pretending to be bread. That’s why the mozzarella-to-egg ratio matters here: mozzarella firms up as it cooks, while cream cheese softens the texture just enough to keep the chaffle from turning dry and rubbery.
The other mistake is flipping straight from the waffle maker into a hot skillet and expecting the filling to behave. Let the chaffles cool for a minute so the steam can escape. If you sandwich them while they’re still piping hot, the crust softens fast and the cheese inside turns the whole thing slippery before the skillet has a chance to finish the job.
What Each Cheese Is Doing in This Sandwich
- Mozzarella — This is the structure cheese. It melts into a stretchy batter that sets into a firm, crisp chaffle. Pre-shredded works fine here, though freshly shredded melts a little smoother.
- Cream cheese — Just enough cream cheese keeps the chaffle tender instead of tough. Softened cream cheese blends cleanly; cold cream cheese leaves little lumps that can make the batter cook unevenly.
- Sharp cheddar or American — This is the filling cheese, and it matters more than you’d think. Cheddar gives a deeper bite, while American melts faster and gives you that classic ooze. Use sliced cheese, not shredded, so the middle melts before the outside overbrowns.
- Garlic powder — It adds a little savory depth without making the chaffles taste like garlic bread. You can leave it out, but the sandwich tastes flatter without it.
- Butter for pressing — A thin layer in the skillet helps the outside brown evenly and gives the chaffles that grilled-cheese finish. Don’t overload the pan or the sandwich will fry instead of crisp.
Building the Chaffles Before the Cheese Goes In
Heating the Waffle Maker Properly
Get the mini waffle maker hot before the batter goes in. A hot surface starts the crust immediately, which is what keeps the chaffle from soaking up steam and turning spongy. If the iron isn’t fully preheated, the batter spreads without setting and the edges come out pale and soft.
Mixing the Batter Until It Looks Uniform
Stir the eggs, mozzarella, cream cheese, and garlic powder until the mixture looks evenly coated and the cream cheese is broken down as much as possible. You don’t need a perfectly smooth batter, but you do need it to look cohesive. Large pockets of cream cheese can create uneven cooking spots and give you a chaffle that browns in patches.
Cooking the Chaffles to a Deep Golden Finish
Divide the batter between the two chaffles and cook until the steam slows down and the outside is a deep golden color. That usually takes 3 to 4 minutes, depending on your waffle maker. If you open it too soon, the center tears instead of lifting cleanly, and the waffle won’t have the structure to hold the sandwich.
Pressing the Sandwich in the Skillet
Put the cheddar or American cheese between the two chaffles and cook the sandwich in a buttered skillet over medium heat. Press gently, just enough to help the layers bond. If the heat is too high, the outside darkens before the filling melts; if it’s too low, the chaffle loses its crispness before the cheese is ready.
How to Adapt This Chaffle Without Losing the Crunch
Make it dairy-free
Use dairy-free shredded mozzarella-style cheese in the chaffles and a meltable plant-based slice for the filling. The texture will be a little less stretchy and a touch less rich, but the sandwich still crisps up well if you let the waffle maker do its full job before moving it to the skillet.
Use a different filling cheese
Mozzarella, provolone, and Monterey Jack all melt smoothly if you want a milder center. If you use a drier cheese like extra-sharp cheddar, slice it thin so it has time to melt before the chaffle gets too dark.
Add a bacon layer
A strip or two of crisp bacon fits neatly inside the sandwich and adds a salty crunch that works well with the tomato soup on the side. Keep the bacon cooked and drained first; raw bacon will leak fat into the chaffle and make the middle greasy before the cheese has a chance to melt.
Make it gluten-free and low carb
This recipe already fits both of those needs as written, which is part of why it works so well. The chaffles replace bread without needing flour, almond meal, or any extra binder, so you get the sandwich structure without the carbs.
Storage and Reheating
- Refrigerator: Store cooked chaffles or the assembled sandwich for up to 3 days. The exterior softens a bit in the fridge, but it comes back with heat.
- Freezer: The plain chaffles freeze well. Wrap them tightly, freeze flat, and reheat before assembling the sandwich. I don’t recommend freezing the fully assembled grilled cheese, since the filling can turn grainy when thawed.
- Reheating: Reheat in a skillet over medium-low heat or in a toaster oven until the outside crisps again and the center is hot. The biggest mistake is microwaving it, which makes the chaffle rubbery and wipes out the crisp edge.
Questions I Get Asked About This Recipe

Grilled Cheese Chaffle
Ingredients
Equipment
Method
- Preheat a mini waffle maker and spray the plates with cooking spray.
- Mix large eggs, shredded mozzarella cheese, softened cream cheese, and garlic powder together until smooth and combined.
- Pour half the batter into the waffle maker, close, and cook for 3–4 minutes until golden and set.
- Repeat with the remaining batter to make the second chaffle, also cooking 3–4 minutes until golden and set.
- Sandwich sharp cheddar slices between the two chaffles so the cheese is sealed inside.
- Cook the sandwich in a buttered skillet over medium heat, pressing gently, for 2–3 minutes per side until the exterior is golden and the cheese is fully melted.
- Slice the grilled cheese chaffle and serve with tomato soup for dipping.