
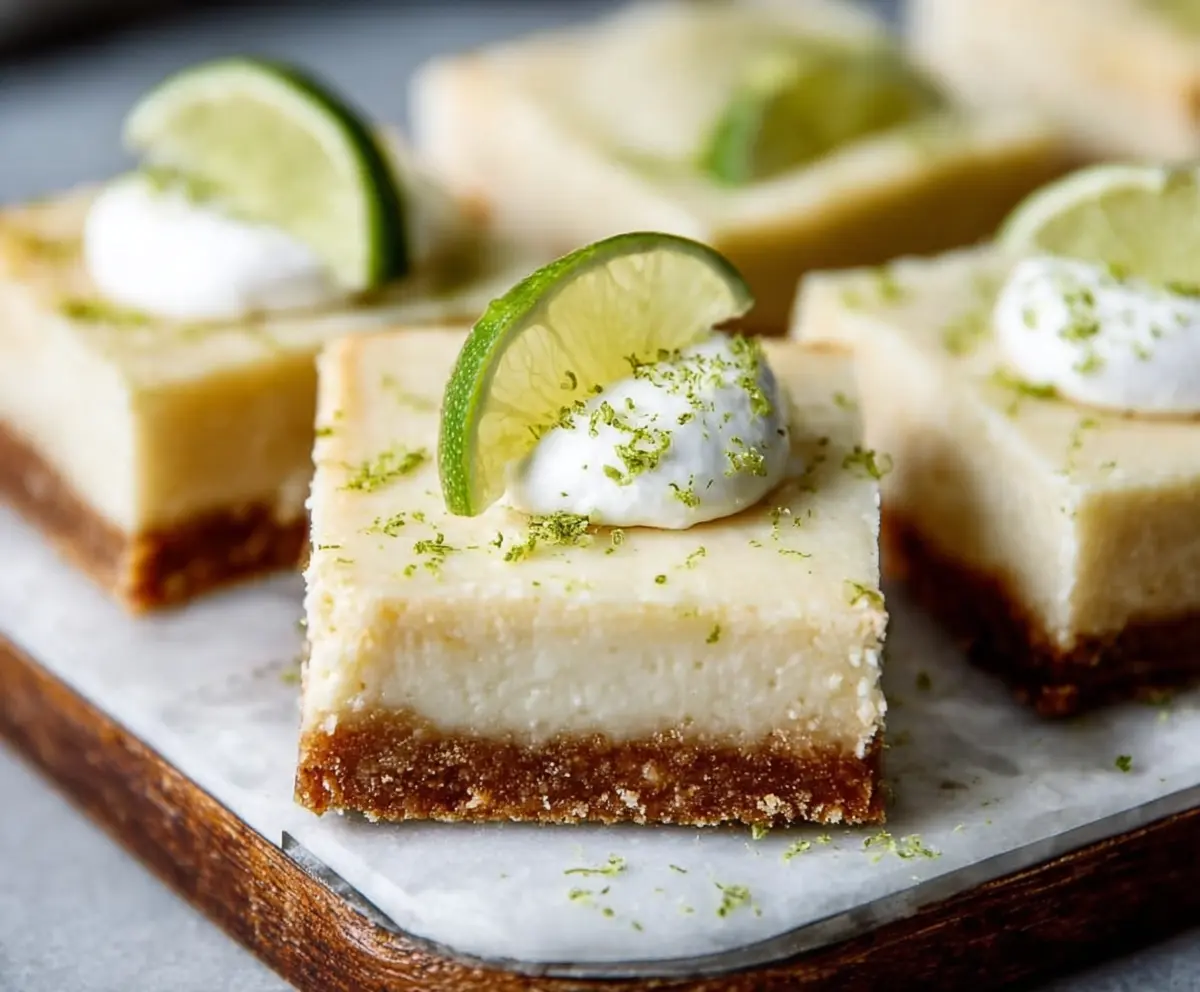
These Key Lime Pie Bars are a delicious treat that brings a taste of the tropics right to your kitchen! With a zesty lime filling and a crumbly graham cracker crust, they’re simply refreshing.
I love how easy they are to make. Just mix, bake, and chill! Perfect for any gathering, or when you just want a little citrusy goodness in your day. 🍋
Key Ingredients & Substitutions
Graham cracker crumbs: These give the crust its delicious flavor. If you can’t find them, crushed digestive biscuits or Oreo cookies work too for a fun twist!
Sweetened condensed milk: This creates the creamy filling. If you’re looking for a dairy-free option, try using coconut cream or a dairy-free sweetened condensed milk substitute.
Key lime juice: Freshly squeezed is best for flavor, but bottled juice works in a pinch. Regular lime juice can also substitute, though it’s a bit less tart.
Heavy whipping cream: For the topping, you can replace this with coconut whipped cream for a dairy-free option. It adds a nice tropical flavor!
How Do I Ensure My Filling Sets Just Right?
Getting the filling to set can be tricky. Start by whisking the eggs well before adding other ingredients. This helps create a smooth texture. When baking, pull the bars from the oven while the center is still slightly jiggly; it will firm up as it cools, leading to the right creamy consistency.
- Whisk eggs completely before adding the condensed milk and lime juice.
- Bake until the edges are set but the center remains a tad wobbly.
- Let the bars cool completely before chilling in the fridge to help them set further.
How to Make Key Lime Pie Bars
Ingredients You’ll Need:
For the Crust:
- 1 1/2 cups graham cracker crumbs (about 10-12 full sheets)
- 1/4 cup granulated sugar
- 6 tablespoons unsalted butter, melted
For the Filling:
- 4 large eggs
- 1 can (14 ounces) sweetened condensed milk
- 1/2 cup key lime juice (freshly squeezed or bottled)
- 2 teaspoons key lime zest (or regular lime zest)
For the Topping:
- 1 cup heavy whipping cream
- 2 tablespoons powdered sugar
- Lime slices or wedges, for garnish
- Additional lime zest, for garnish
How Much Time Will You Need?
This recipe takes about 30 minutes of active preparation time and about 2 hours of chilling time. In total, you’ll need around 2 hours and 30 minutes to make these refreshing Key Lime Pie Bars. The layers are simple to create, and the hardest part is waiting for them to chill!
Step-by-Step Instructions:
1. Preheat Oven and Prepare Pan:
Start by preheating your oven to 350°F (175°C). While it heats up, line a 9×9-inch baking pan with parchment paper, making sure to leave some extra paper hanging over the edges. This will help you lift the bars out later.
2. Make the Crust:
In a medium bowl, mix the graham cracker crumbs, sugar, and melted butter together. Stir until the crumbs are all coated and stick together when pressed. Next, press this crumb mixture firmly and evenly into the bottom of the prepared pan—you want it nice and compact!
3. Bake the Crust:
Bake the crust in your preheated oven for about 8-10 minutes, until it’s just lightly golden and firm. When done, take it out and cool it on a wire rack for a bit.
4. Prepare the Filling:
In a large bowl, whisk the eggs until they are well beaten. Gradually add in the sweetened condensed milk, key lime juice, and lime zest, whisking until everything is smooth and combined.
5. Bake the Filling:
Pour the lime filling gently over your cooled crust in the pan. Bake for another 15-20 minutes until the filling is set but has a slight jiggle in the center. Remember, it’ll firm up more as it cools, so don’t overbake it!
6. Cool and Chill:
Once you take the pan out of the oven, let it cool to room temperature. After that, cover it and refrigerate for at least 2 hours, until the bars are cold and firm.
7. Prepare the Topping:
In a mixing bowl, beat the heavy cream and powdered sugar together with a mixer until stiff peaks form. This will become your fluffy topping!
8. Assemble and Garnish:
Spread or pipe the whipped cream over the chilled bars. You can have fun with this—make it as neat or swirly as you like! Finish off by garnishing each bar with a lime slice or wedge and a sprinkle of extra lime zest for a colorful touch.
9. Serve:
Carefully lift the bars out of the pan using the parchment paper overhang. Cut into squares and enjoy your delicious Key Lime Pie Bars chilled!
Enjoy every tangy and sweet bite!
Can I Use Regular Lime Juice Instead of Key Lime Juice?
Yes, you can use regular lime juice, but be aware that it will have a slightly different flavor. Key limes are more tart and aromatic, giving that classic taste to the bars. If you have access to them, they’re definitely worth using!
How Do I Store Leftover Key Lime Pie Bars?
Store any leftovers in an airtight container in the fridge for up to 3 days. You can also wrap them tightly in plastic wrap if you prefer. Just make sure to keep them chilled to maintain their creamy texture!
Can I Freeze Key Lime Pie Bars?
Yes, you can freeze these bars! Just make sure they are completely chilled and cut into squares. Wrap each piece tightly in plastic wrap, then place them in an airtight container. They will keep well in the freezer for up to 3 months. Thaw them in the fridge before serving.
How Can I Make These Bars Gluten-Free?
To make gluten-free Key Lime Pie Bars, simply use gluten-free graham cracker crumbs or a similar crumb alternative made from nuts or oats. Just ensure the other ingredients you use are also gluten-free to keep everything compliant!